2019 Red Centre Kimberley Caravan
Problems & Solutions
Page under construction. June 14 2024
hand coded HTML5 on Linux, old school for Desktop & Laptop, may not display correctly on phone or tablet
(click any image below for an enlargement)
These problems will be typical for any Victorian built caravan using the same construction techniques. The problems are the consequence of having a non regulated caravan industry. Solutions & preventative measures will apply to any like caravan.
2019-2024
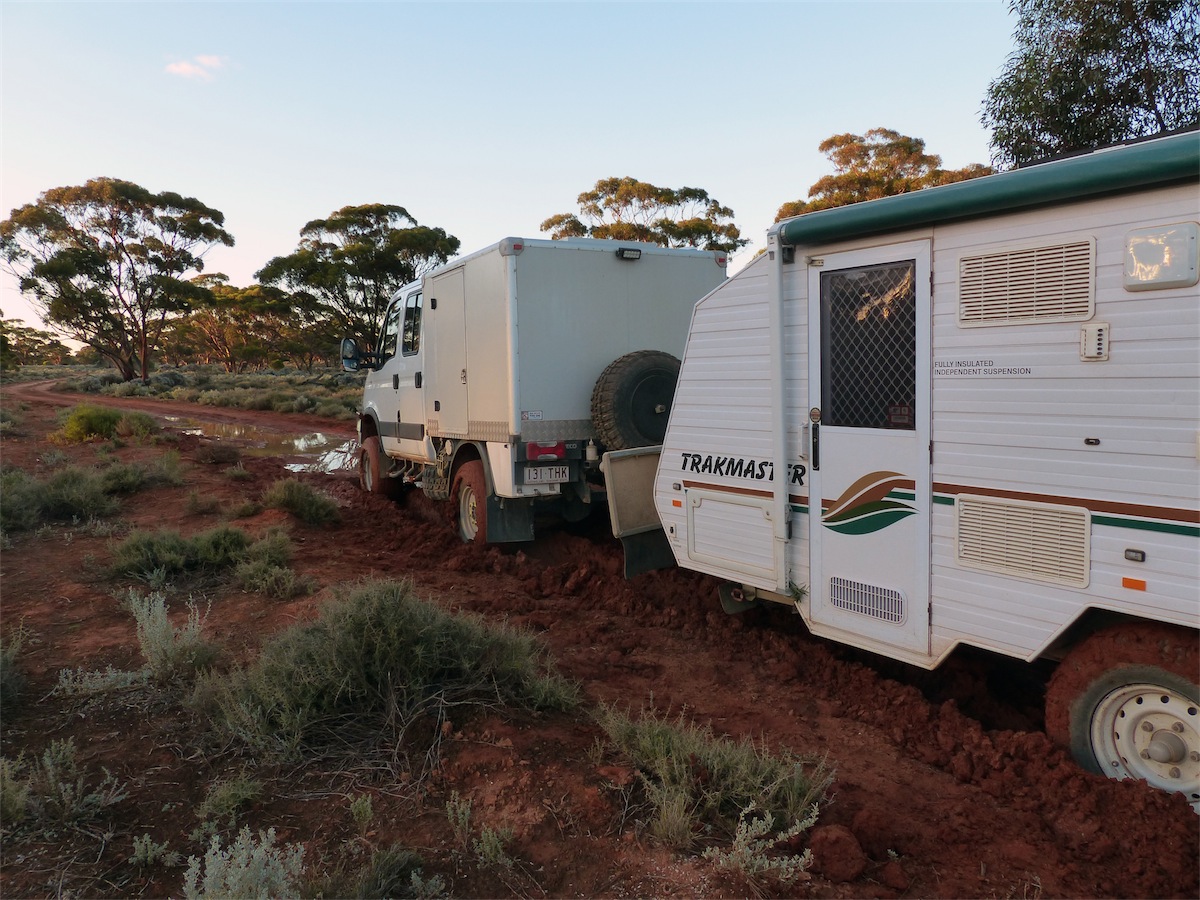
In 2019 we were in the market for a new van after touring Australia for a few years with our Trakmaster Sturt (photo in banner above)
The Trakmaster didn't live up to the hype, the most disappointing
aspect was the caravan was at its weight limit with full water tank and
gas bottles, That did not allow for anything else, so was always
overloaded, With the rollout of roadside caravan weight checking it was
time to move on.
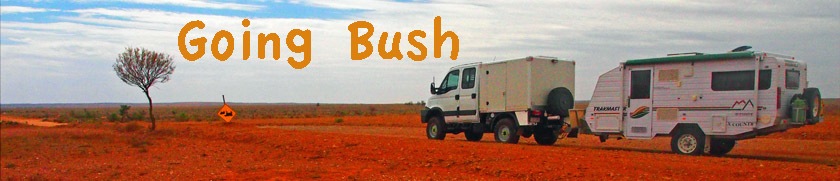
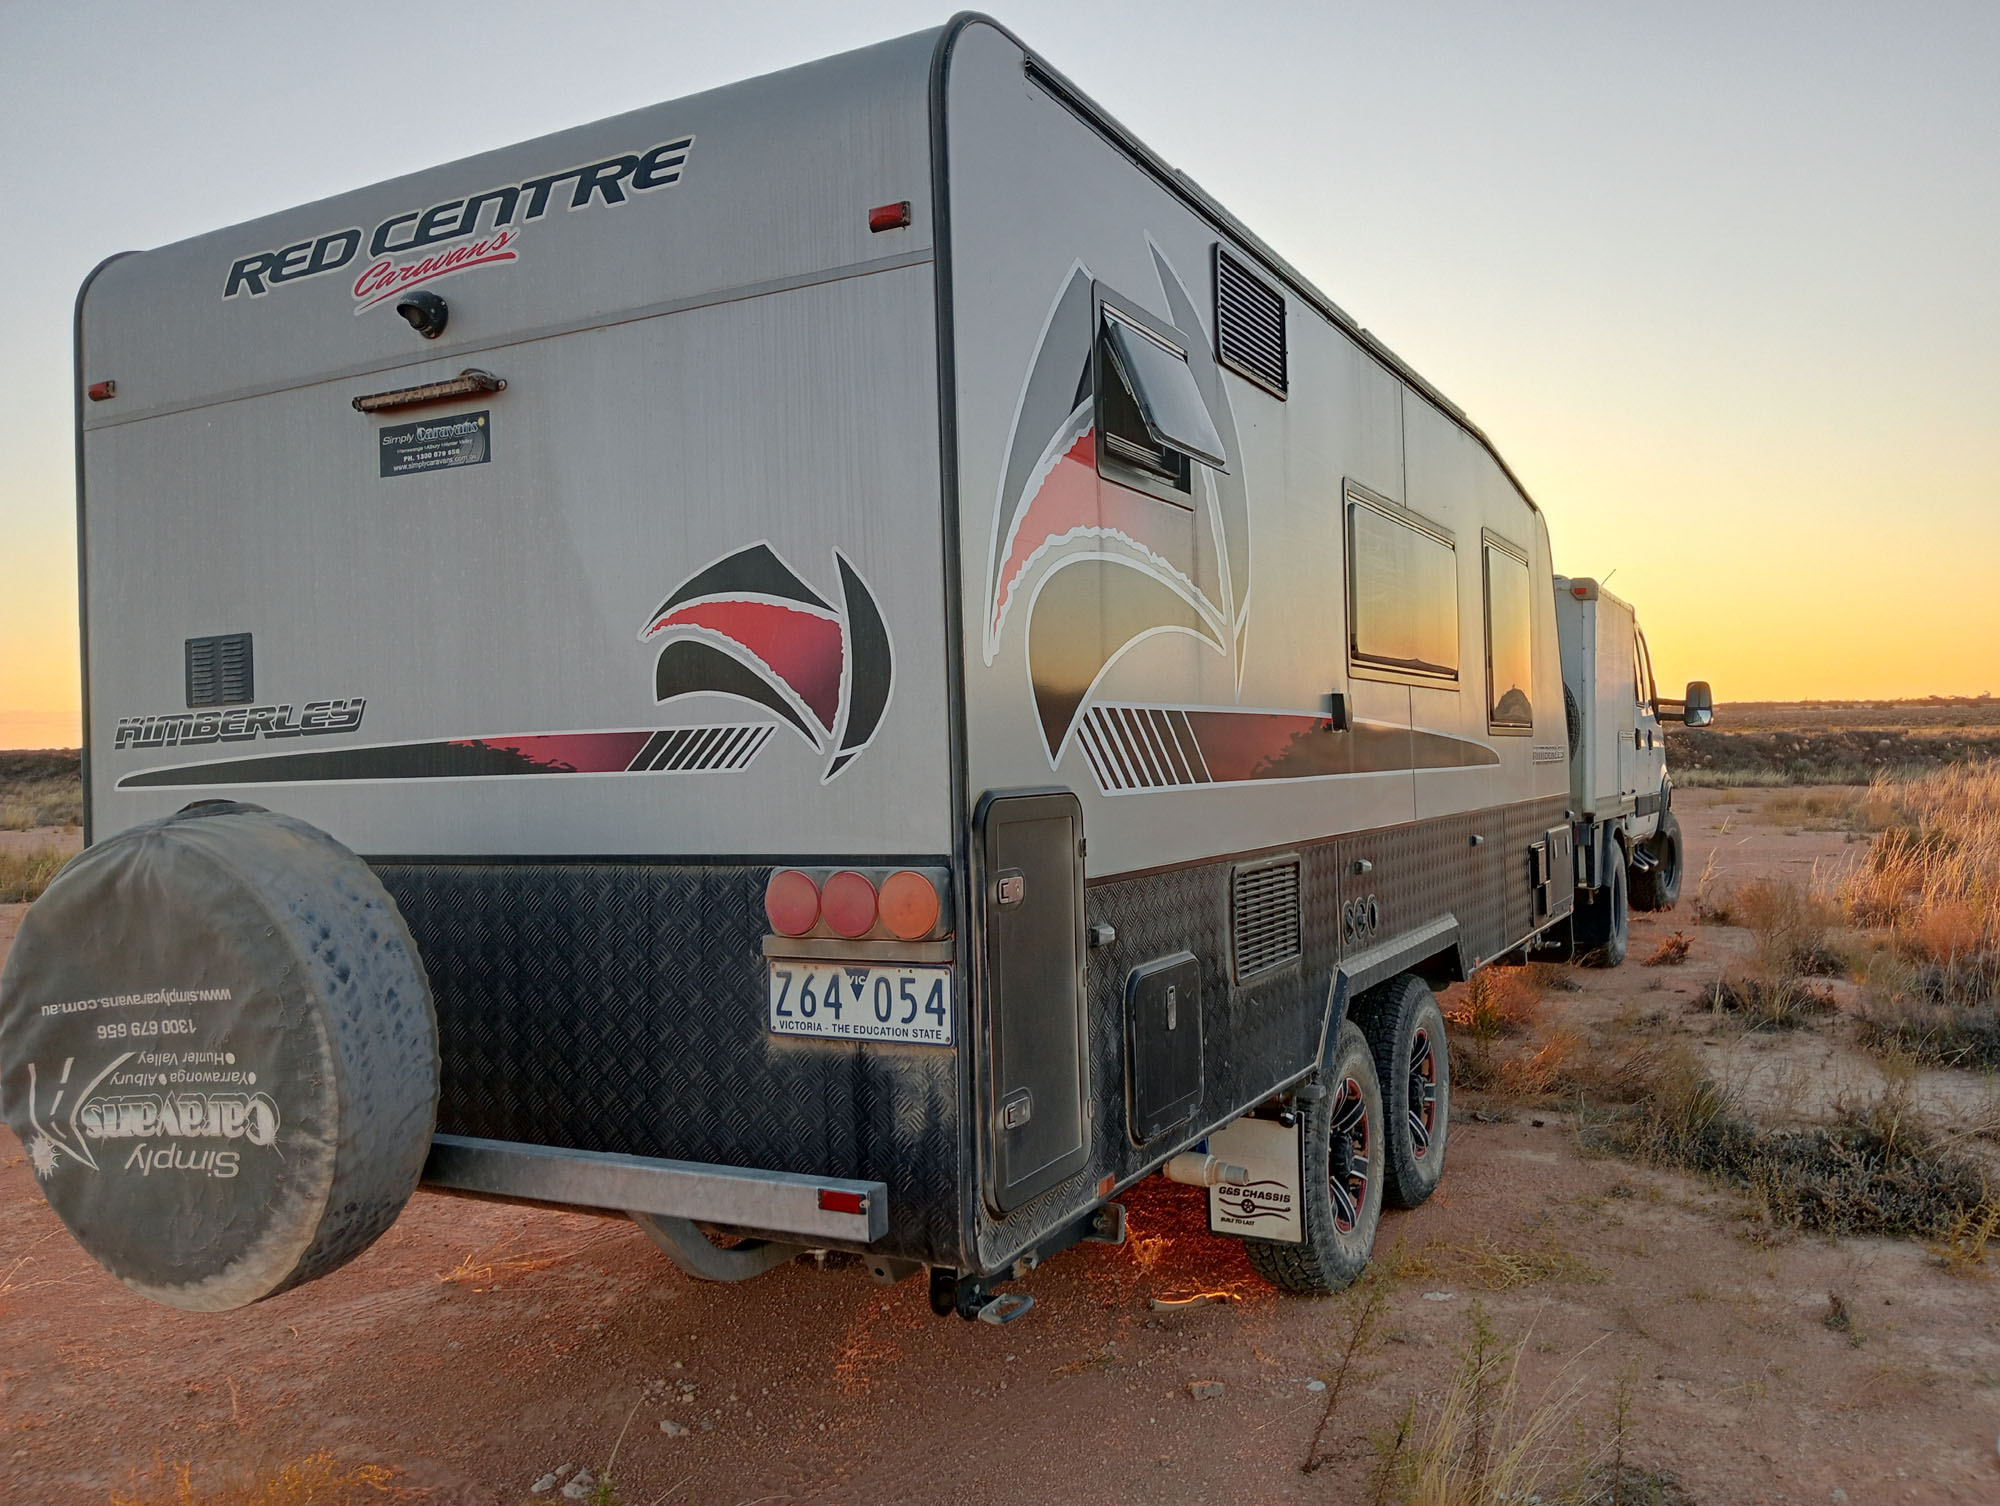
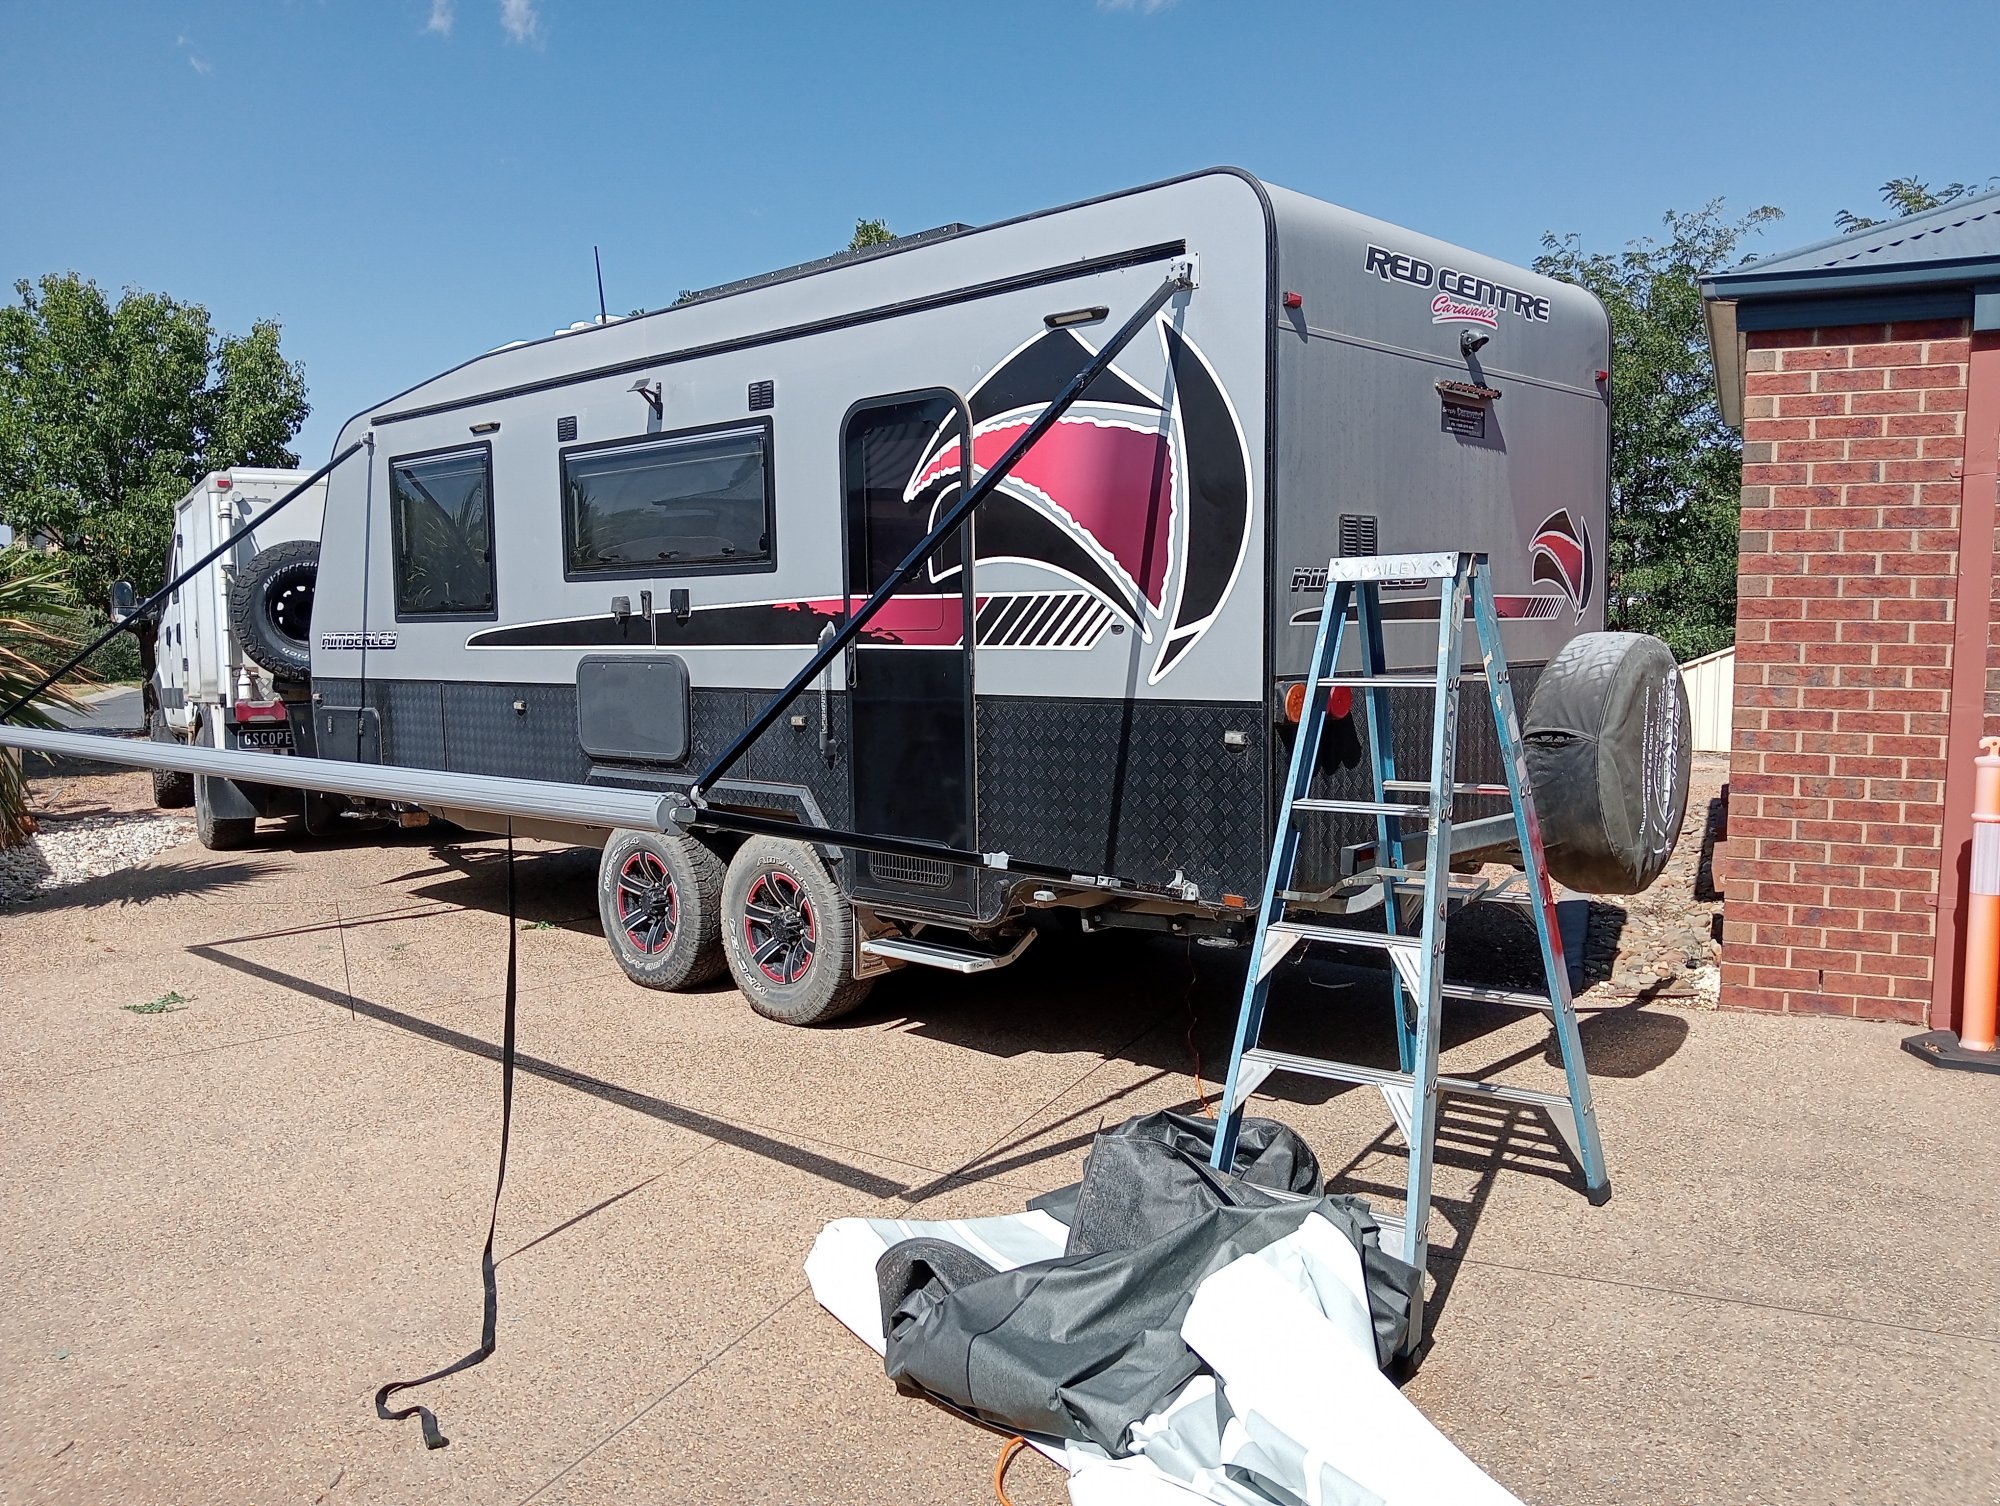
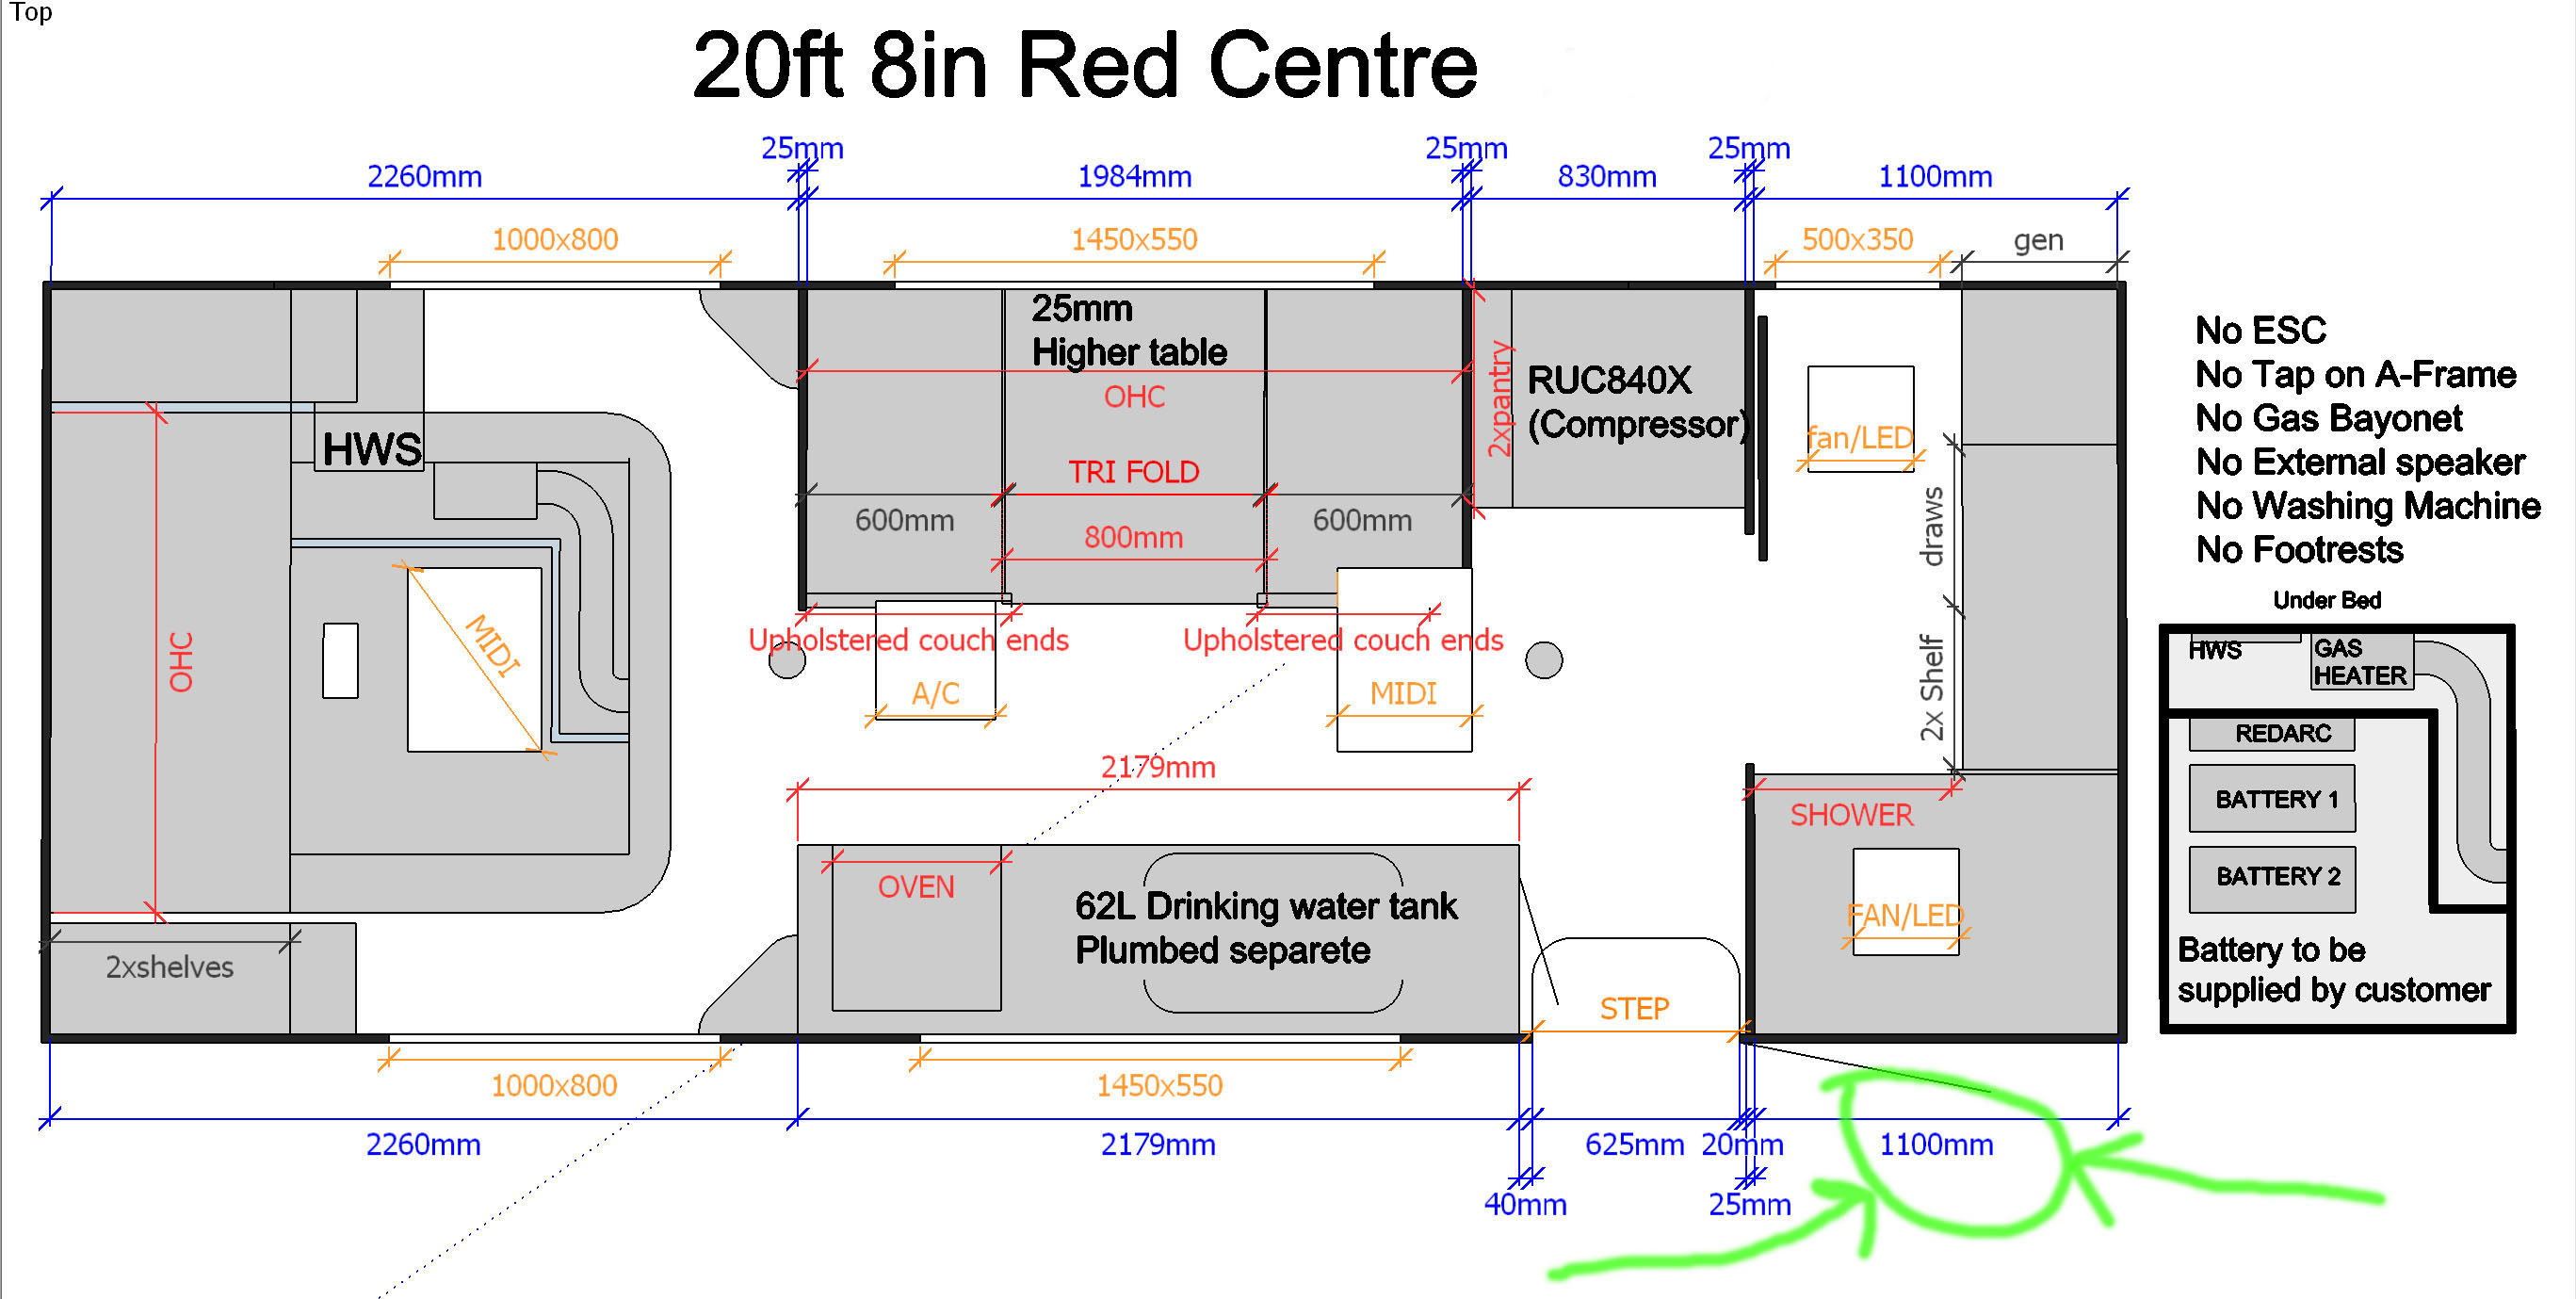
We traded the Trakmaster on a new 20' 8" Kimberley after being shown
through a demo van at the local Caravan sales yard. The Van was
the 3250kg Semi Off-Road model but we specified 3500kg Off Road
suspension to ensure we would never be overloaded. The Van
is plated at 3500kg & Tare 2580, giving 920kg load, so
with 180kg water and ~20kg gas its still good for around
700kg. So basically will never be in danger of overloading.
Disappointment upon delivery, (November 2019) I assumed our van would be the same layout as the demonstrator which had the door hinged on the front edge instead of the rear edge. I'm of the opinion caravan doors should not be rear hinged because if it is inadvertently left unlocked & opens on the move it will catch air & fly open, forward hinged door will always stay closed.
2020
Covid arrives and stymies any chance of another big trip, so the van
was parked up and used as a 'retreat' at home. The following
years with relaxed covid restrictions, but no international travelling.
Caravanning was in an upsurge so we elected to stay home, just a few
short local trips.
2024
Cabin fever hits, and we
prep the van for its first proper trip and to dip its toes into some
outback roads. A few weeks prior I decide to familiarise myself
with the operation of all the Caravan stuff and more disappointment
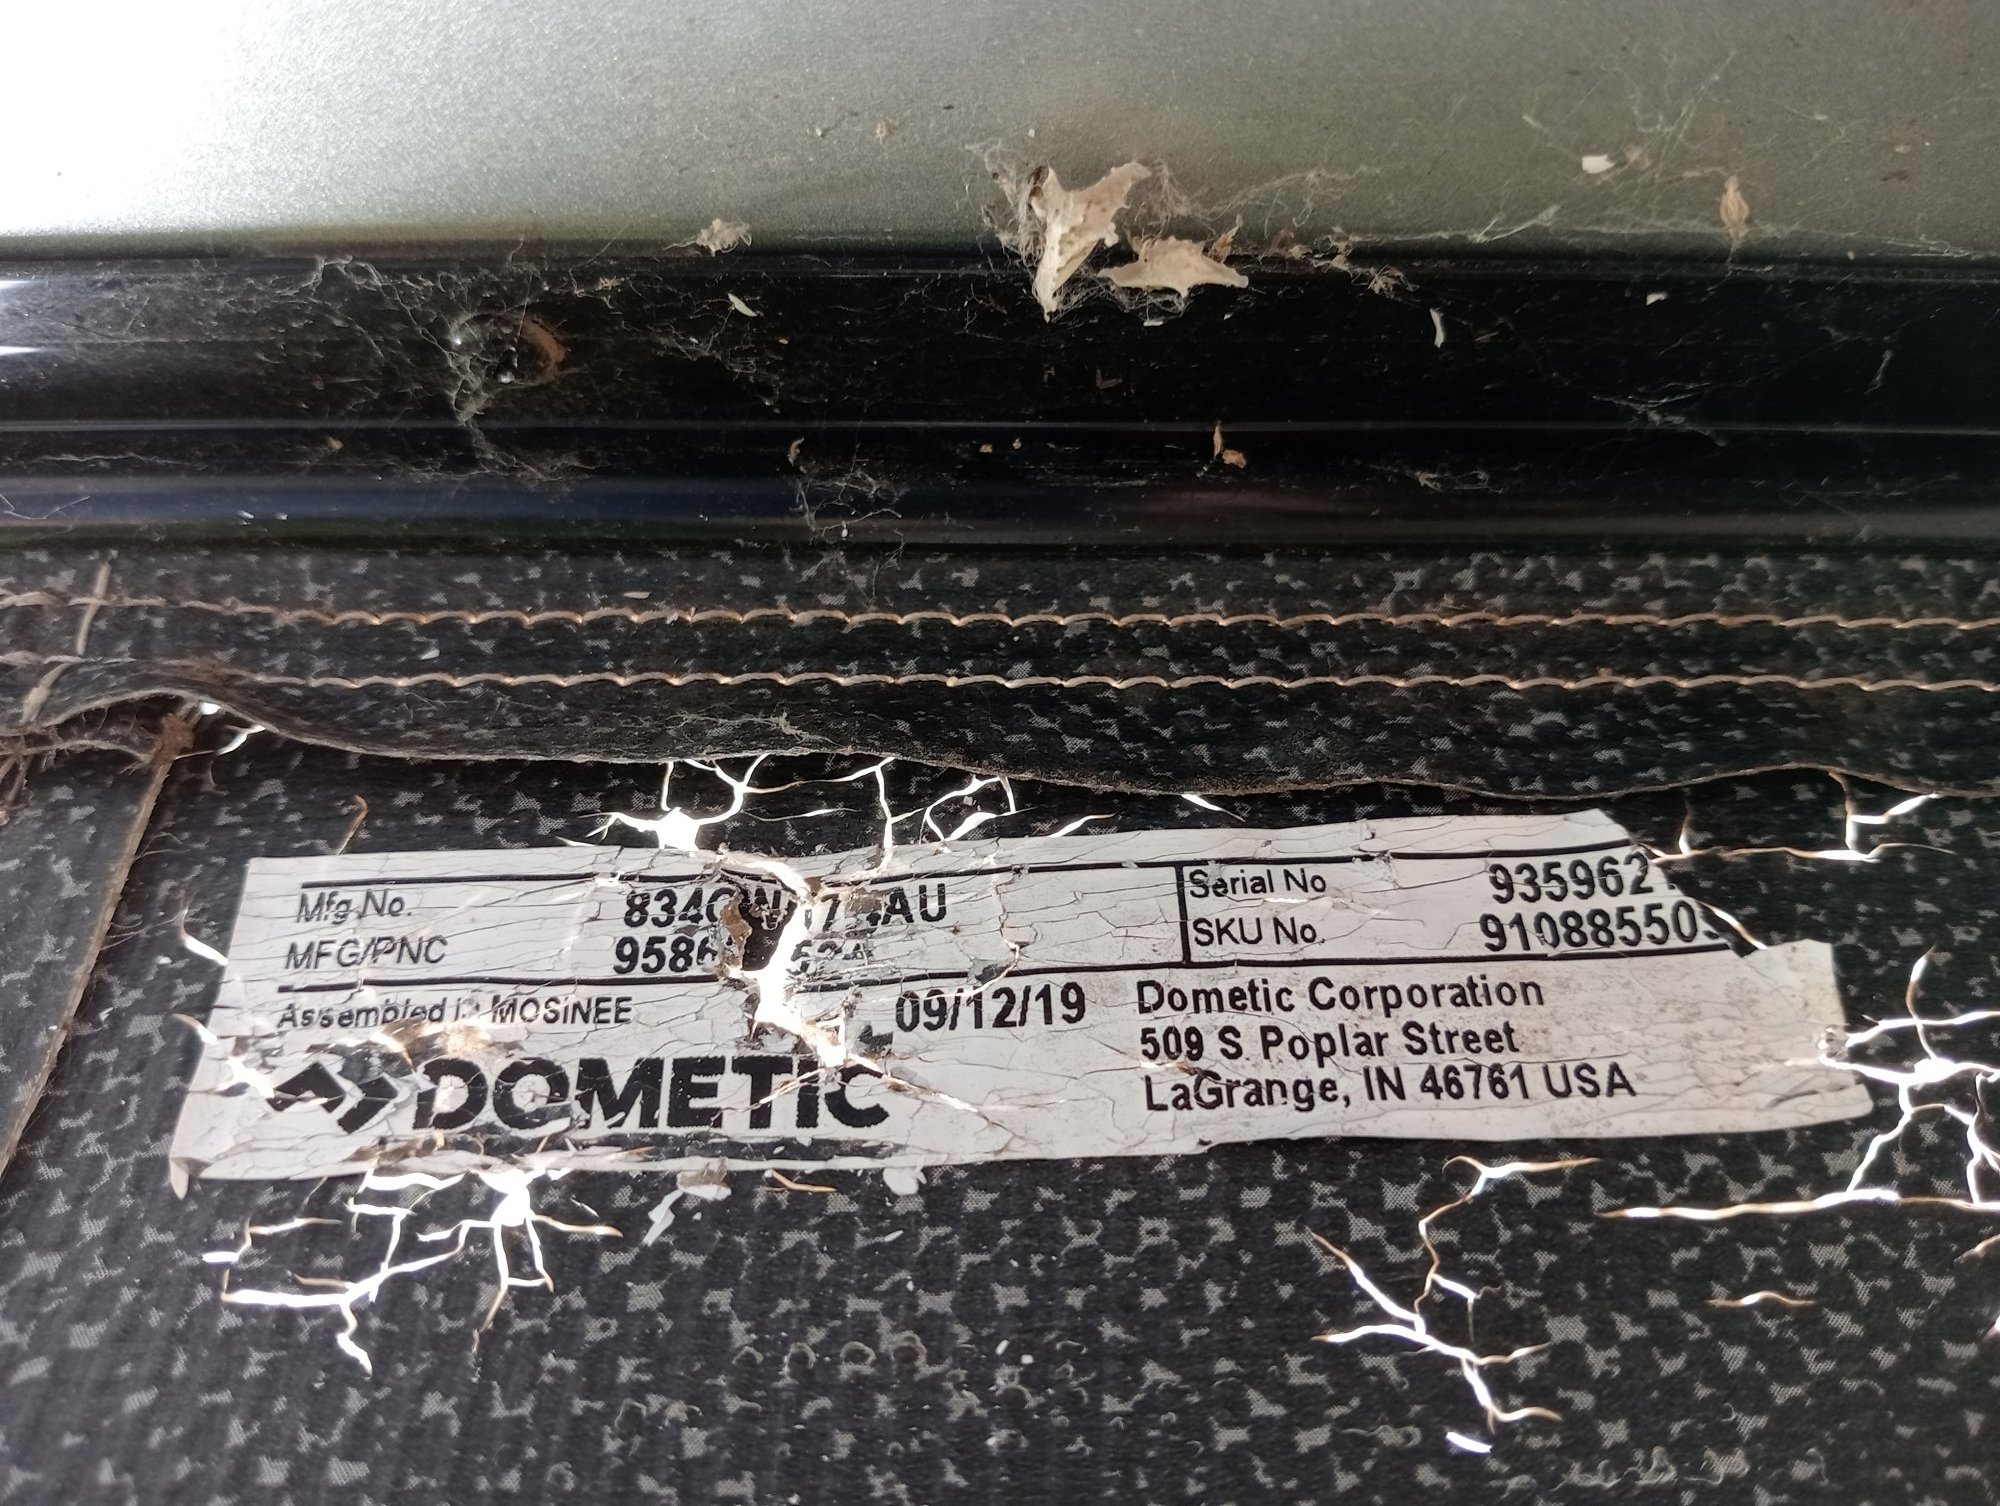
when I unroll the 'brand new' Dometic awning to find its perished
& full of water which has ingressed through the perished canvas.
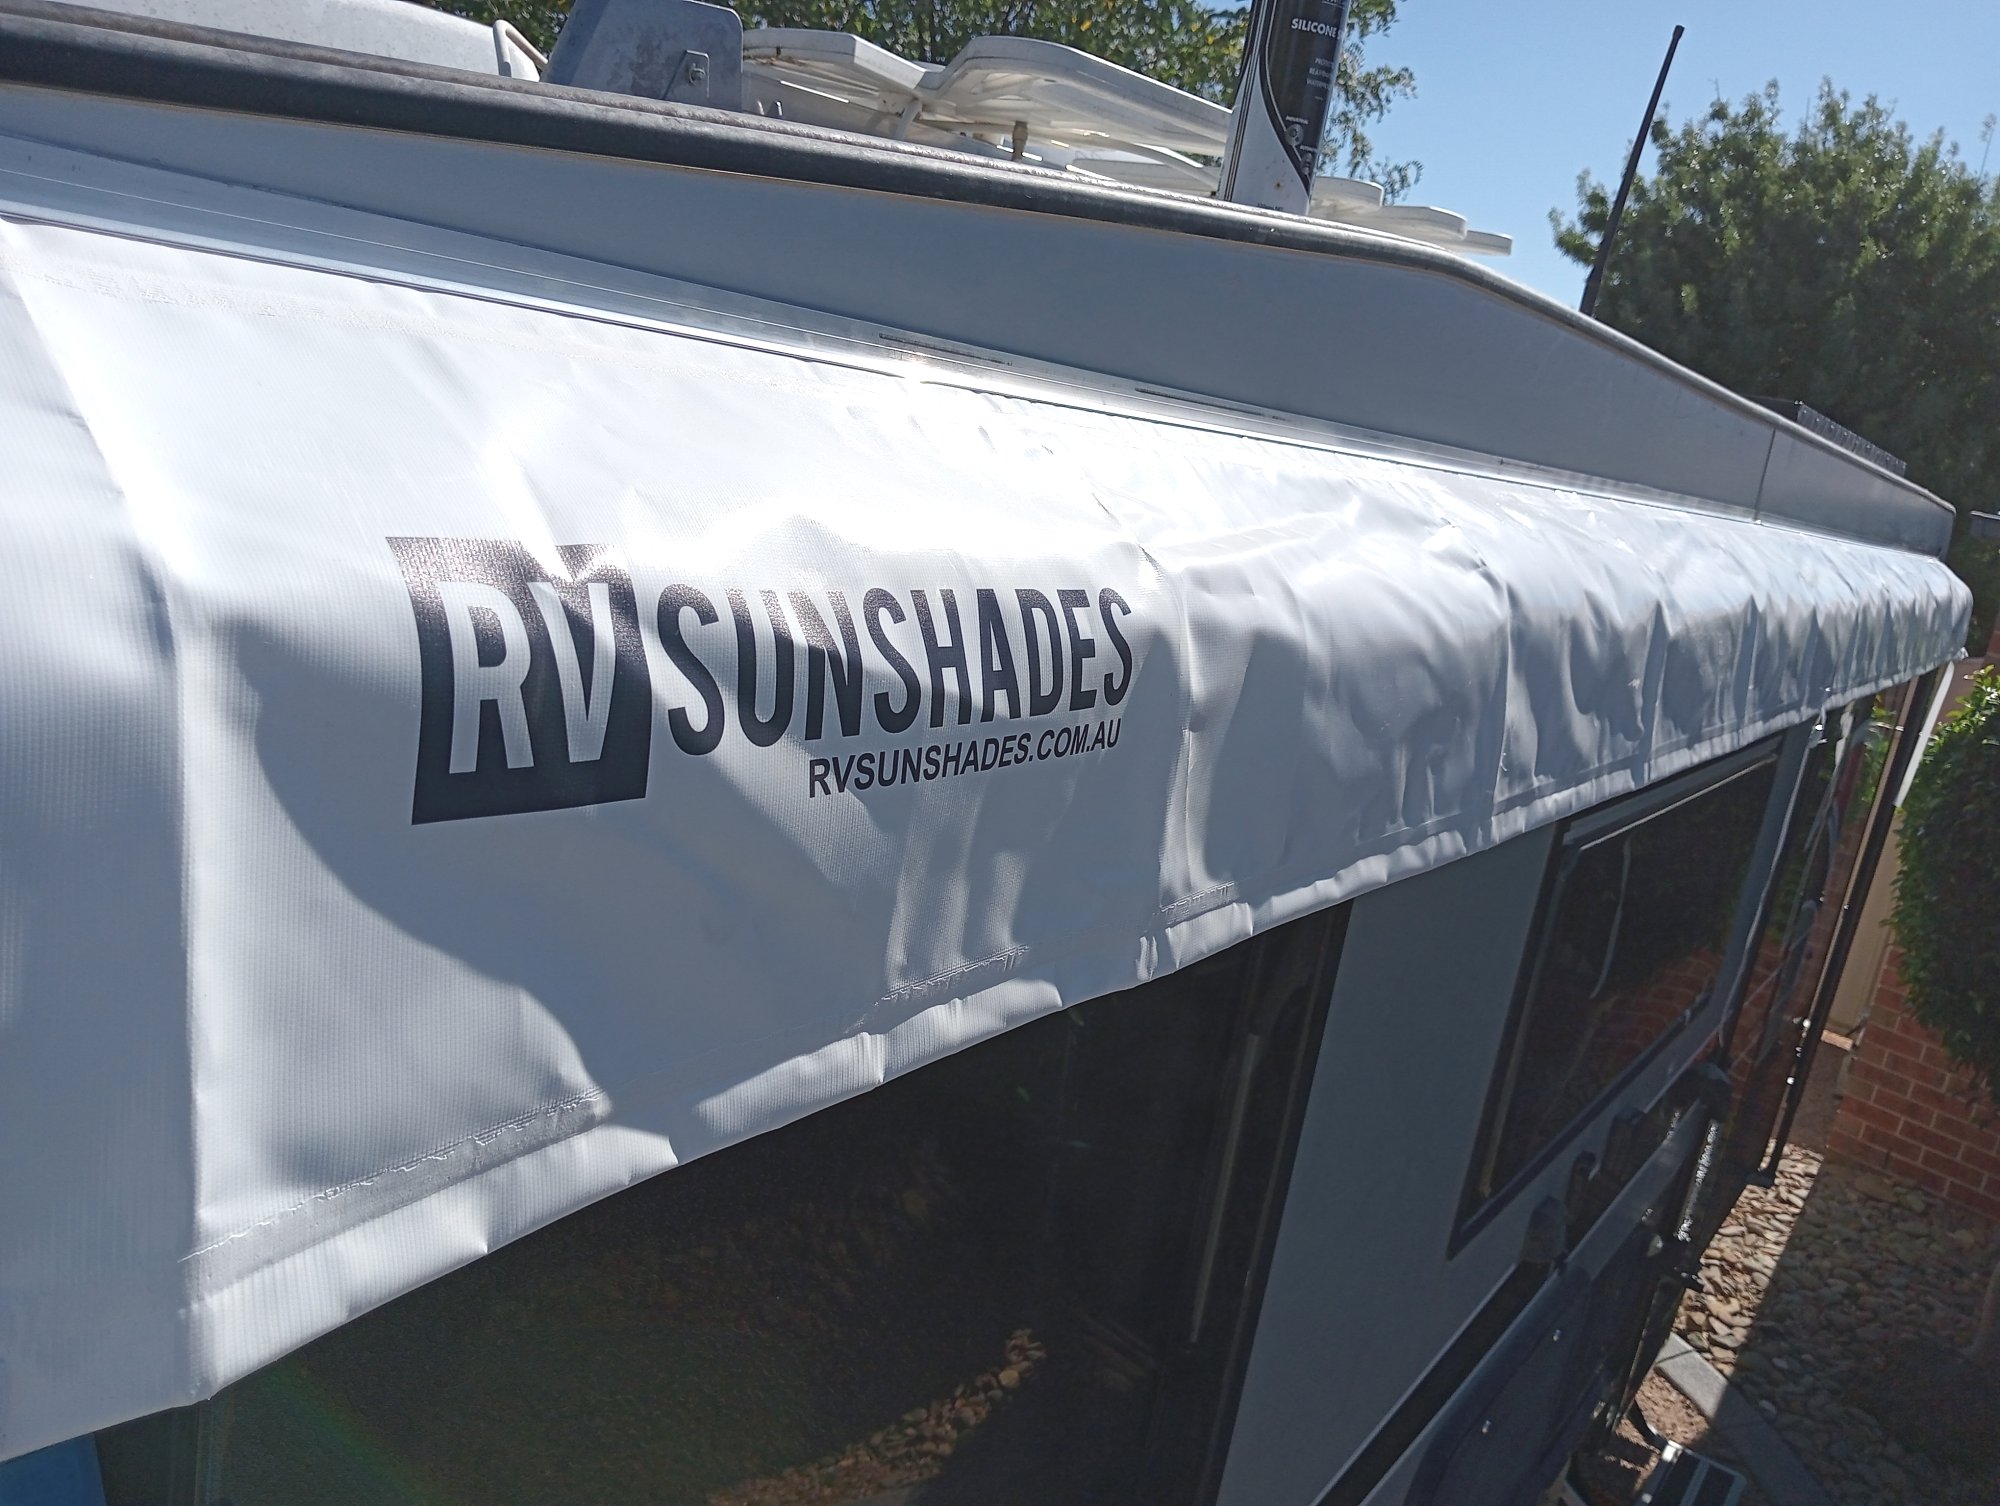
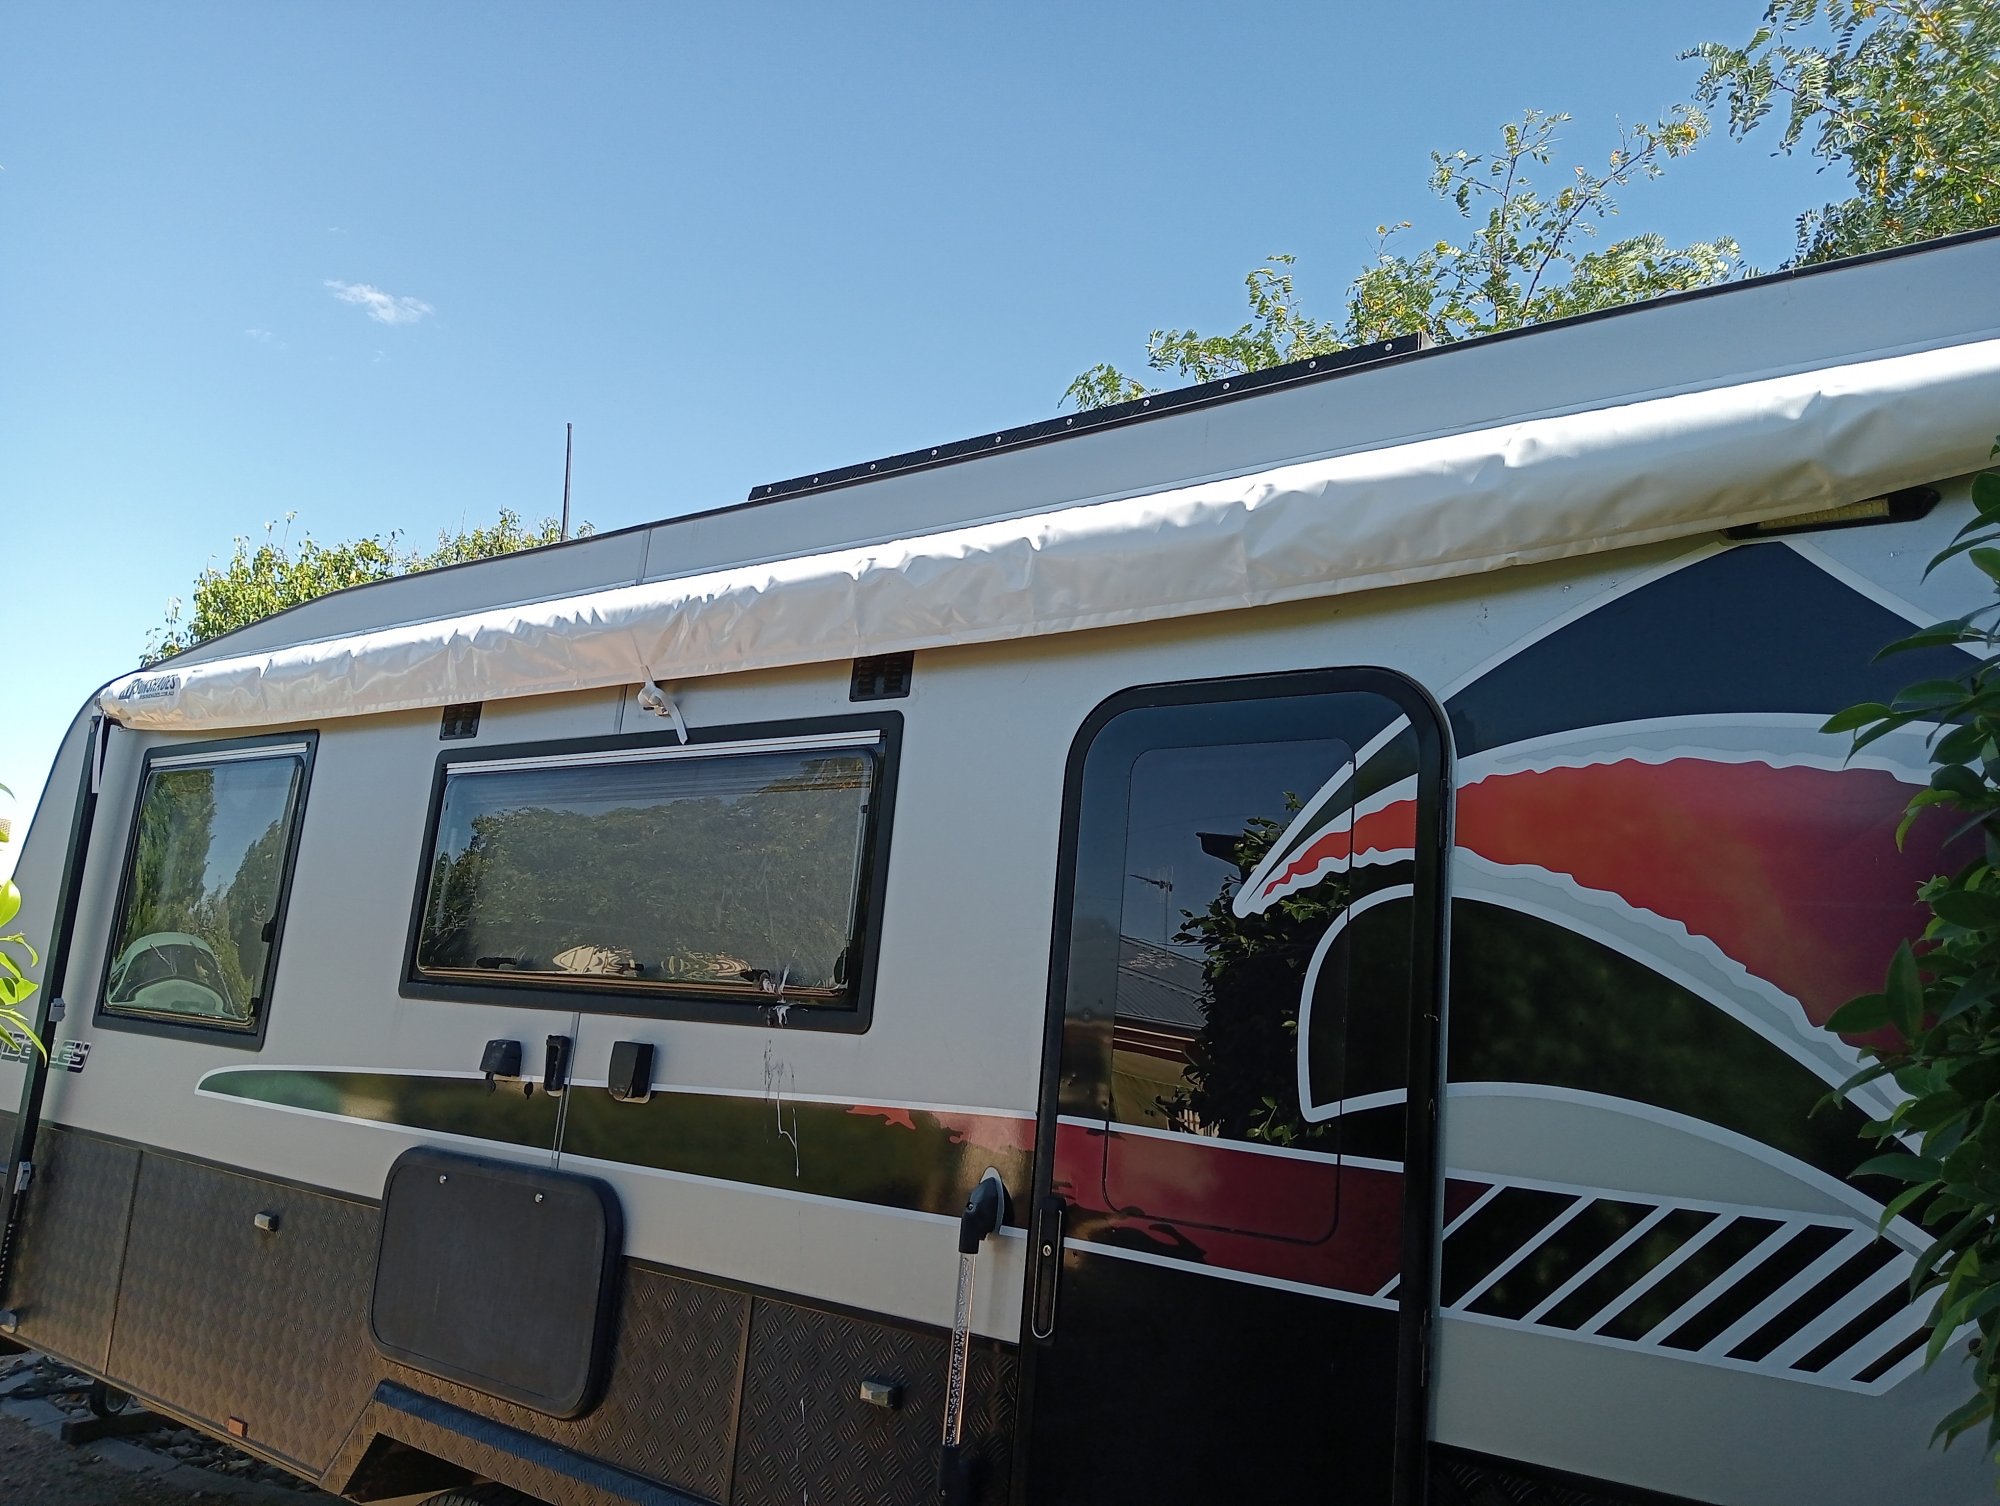
Dometic Awning Fail
The Dometic Awning warranty is only 12 months. Well bugger that , I'm not paying $2000 for another genuine awning, so did some on-line research & bought a decent awning from RV Sunshades for $450 with the optional awning cover to protect the awning from UV when parked up. BTW the RV Sunshade Awning has an 18 month warranty & the fabric really feels far superior. I expect it to last 10-15 years.

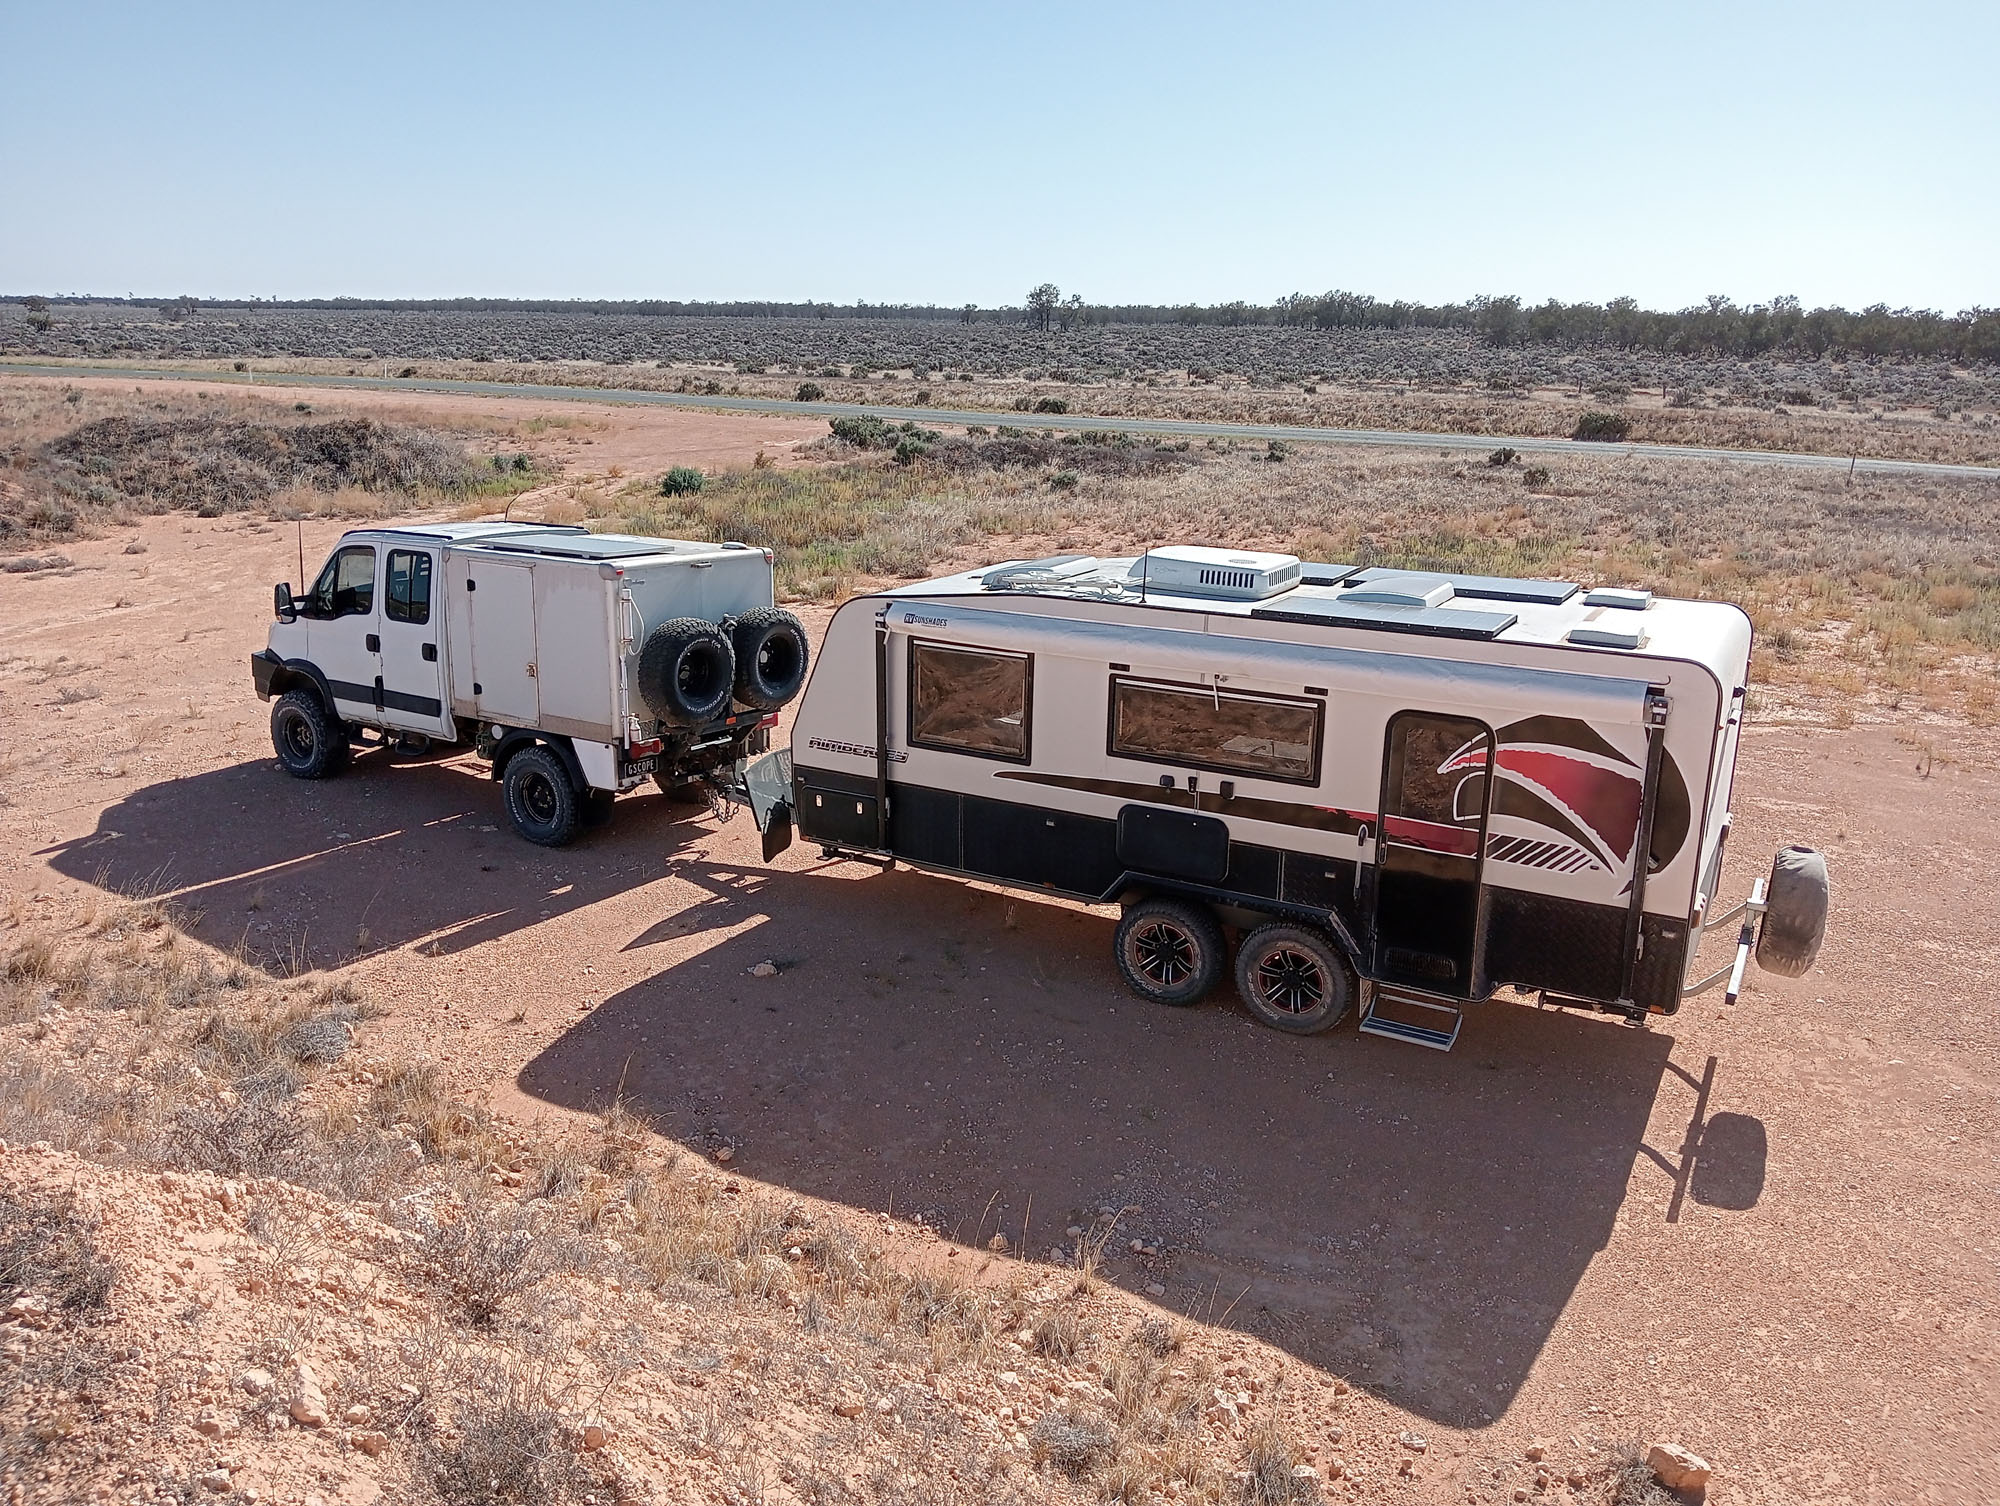
April 2024 - The Good
First road trip, 3000km, We were genuinely impressed with the caravan & how it handled on the highway and rough dusty roads. On the highway we sit on 95-100kmh depending on traffic (always being conscious not to slow trucks following behind us) and 80kmh - 60kmh on gravel, corrugations and bulldust. The truck averaged 18.5L / 100kmh which is impressive and for some reason better than when towing our old smaller / lighter Trakmaster caravan.
Sun Shade
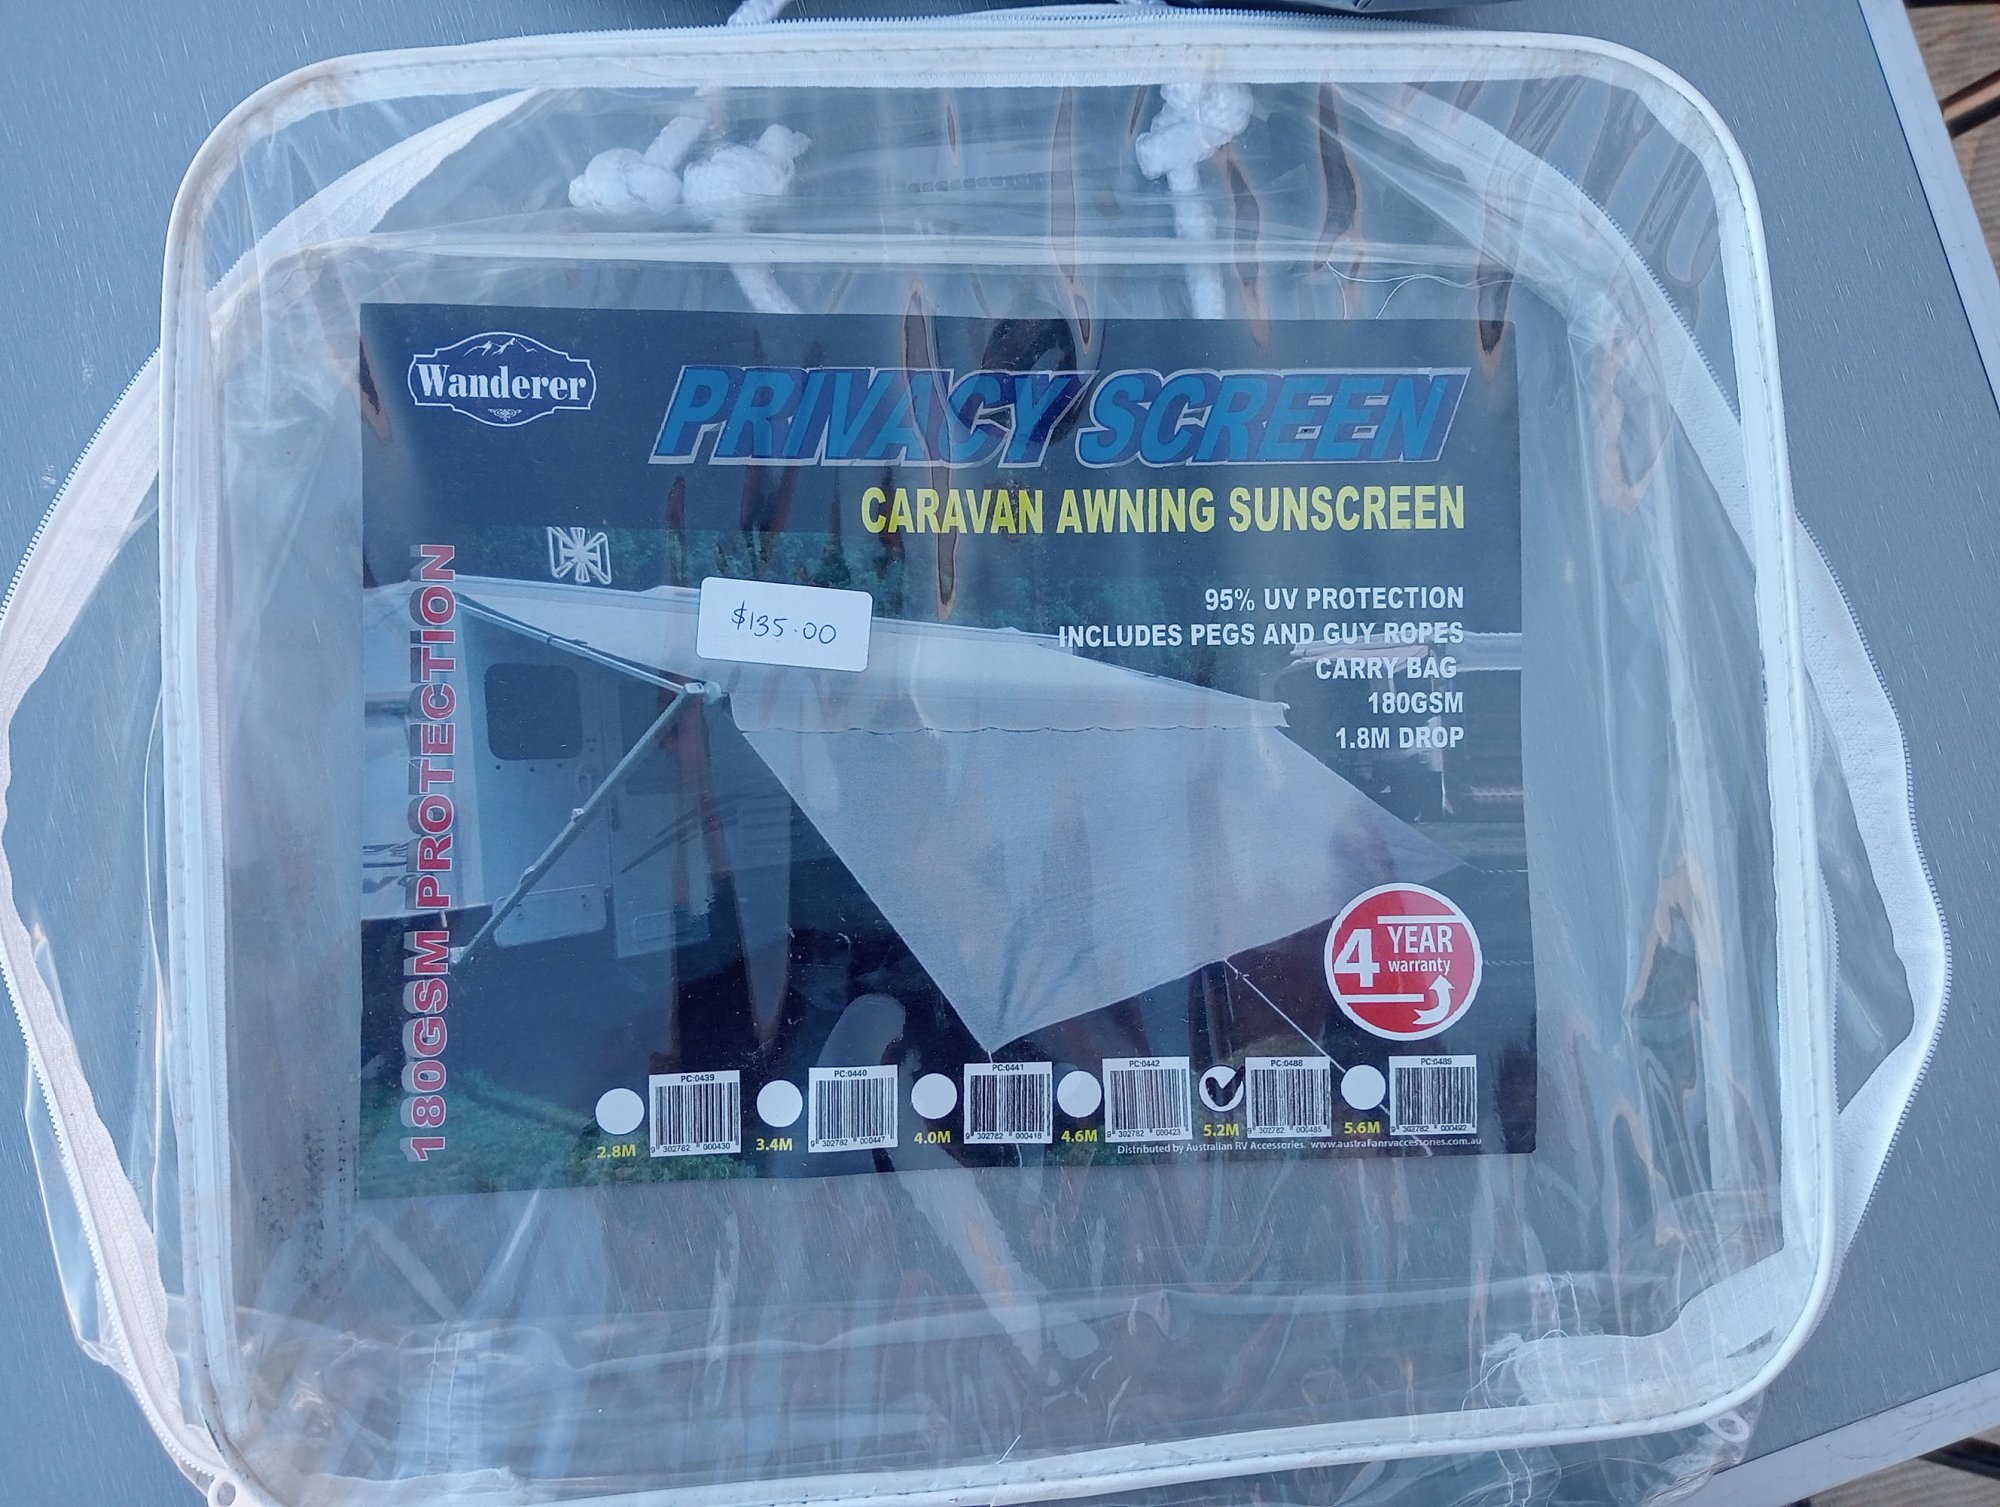
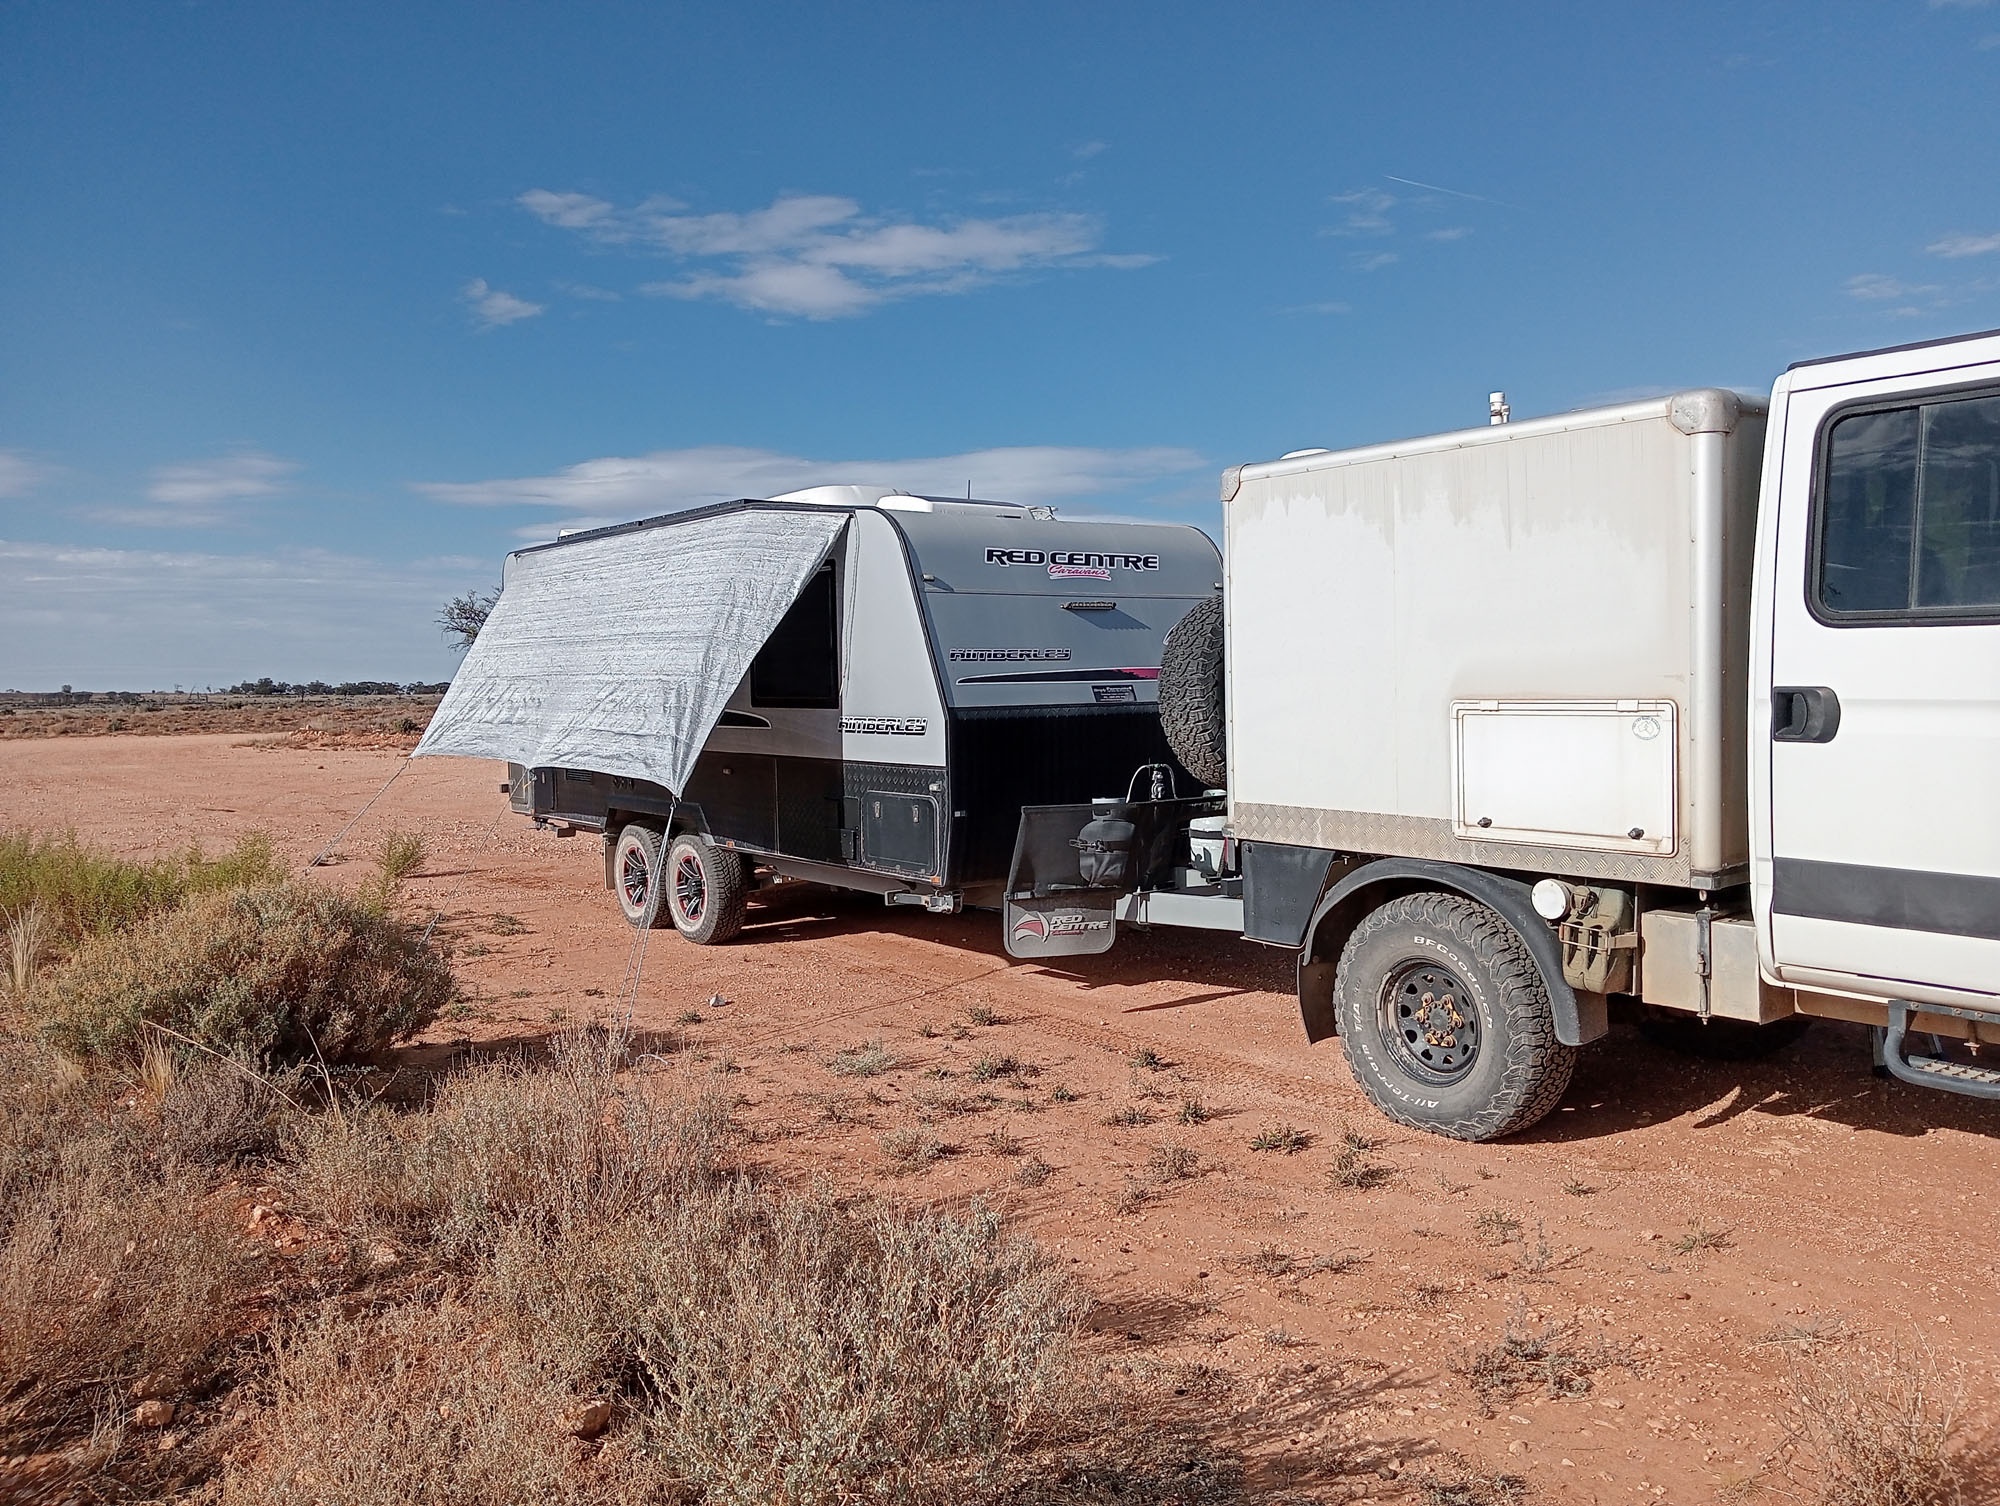
Not a problem with the van, just an annoyance. Remote bush camping in outback South Australia for a few days,
for the first time decided to rig up the sun shade which we paid an
additional $135 upon delivery of the
van.
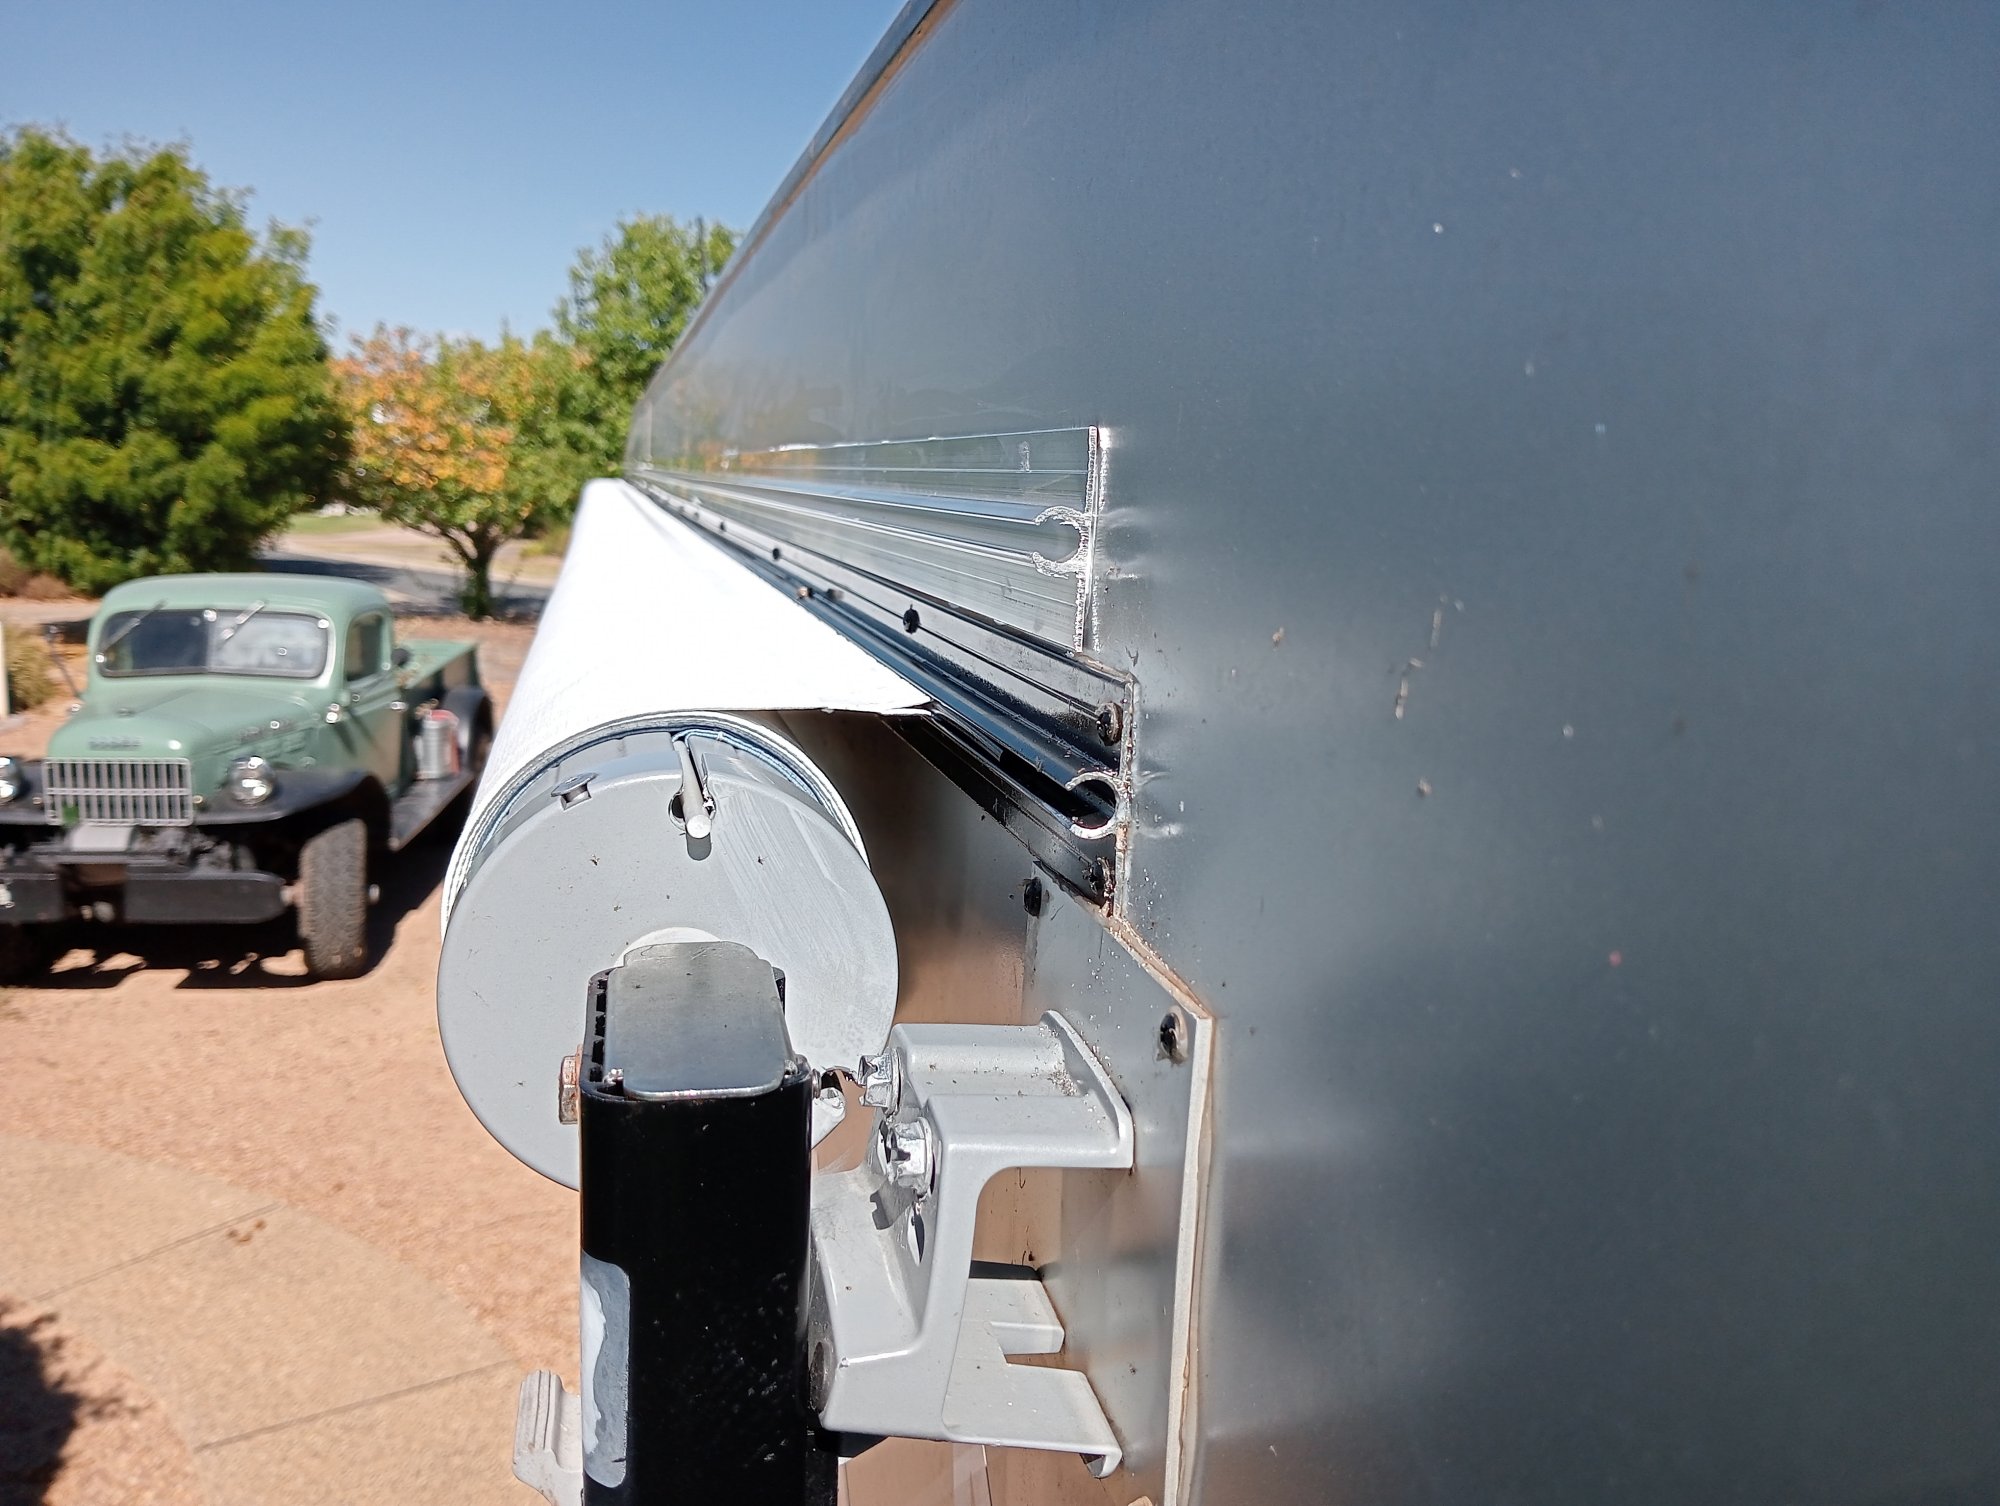
We had ordered a right side sail track to be installed for
that very reason.(mind you I just found the exact item from RV SuperStore for $80, inc post)
Not impressed, the rope in the sun shade was too lhin & fell
straight through the sailtrack. We spent the good part of 2 hours
unstitching the fold where the thin 'rope' was sewn in. We then pulled through
a 6m length of thicker rope which now fits the sailtrack.
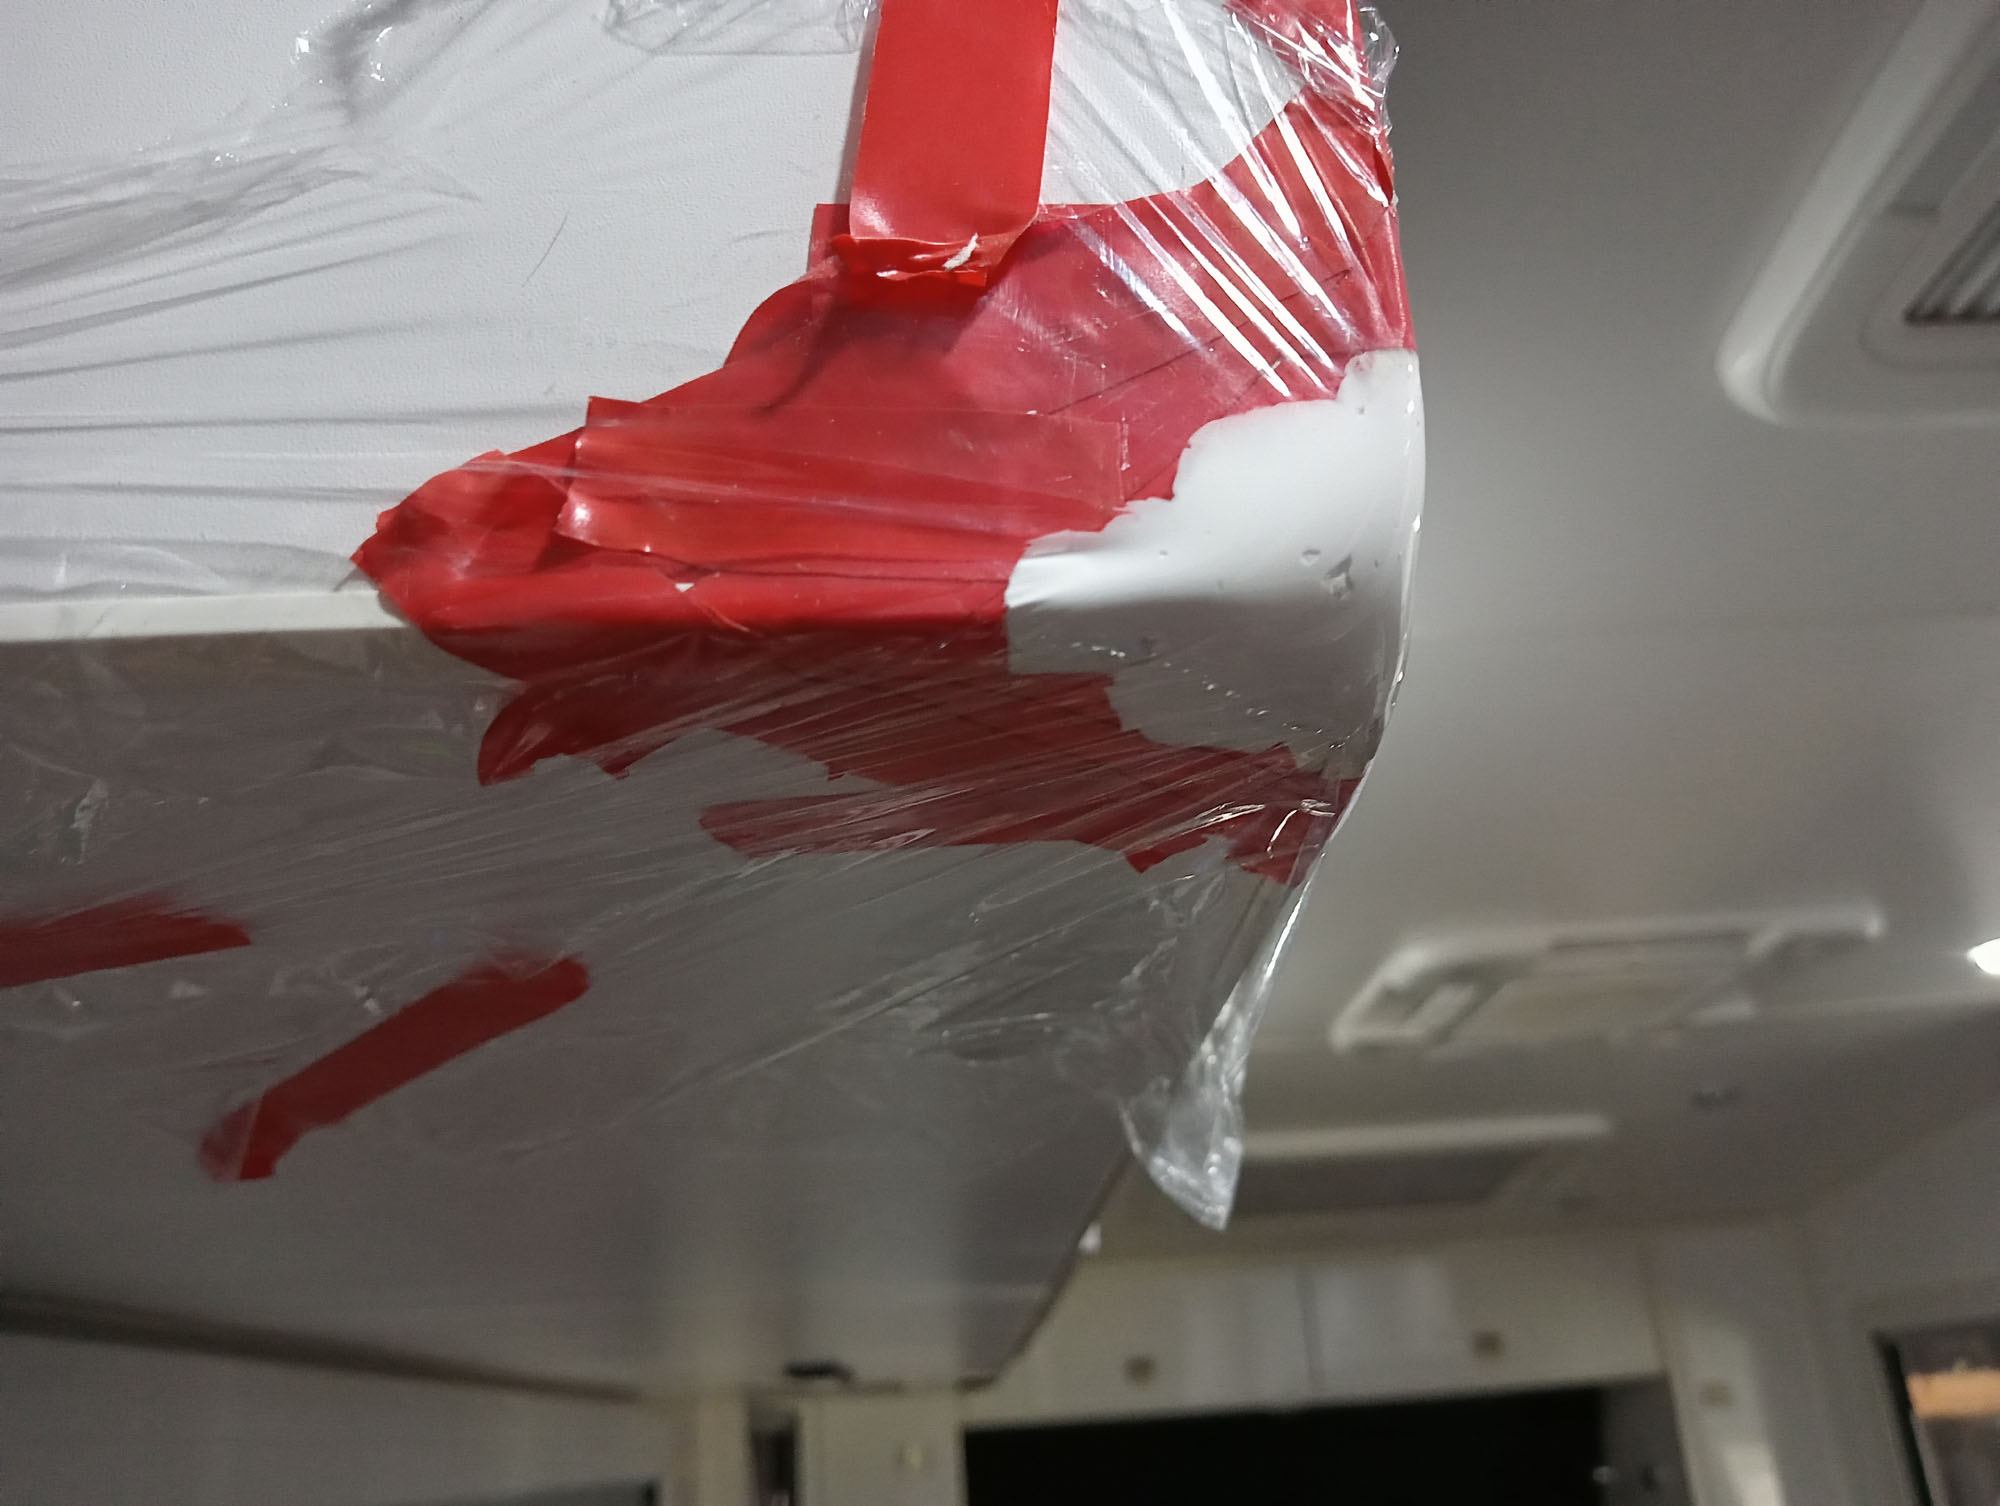
Dust Ingress
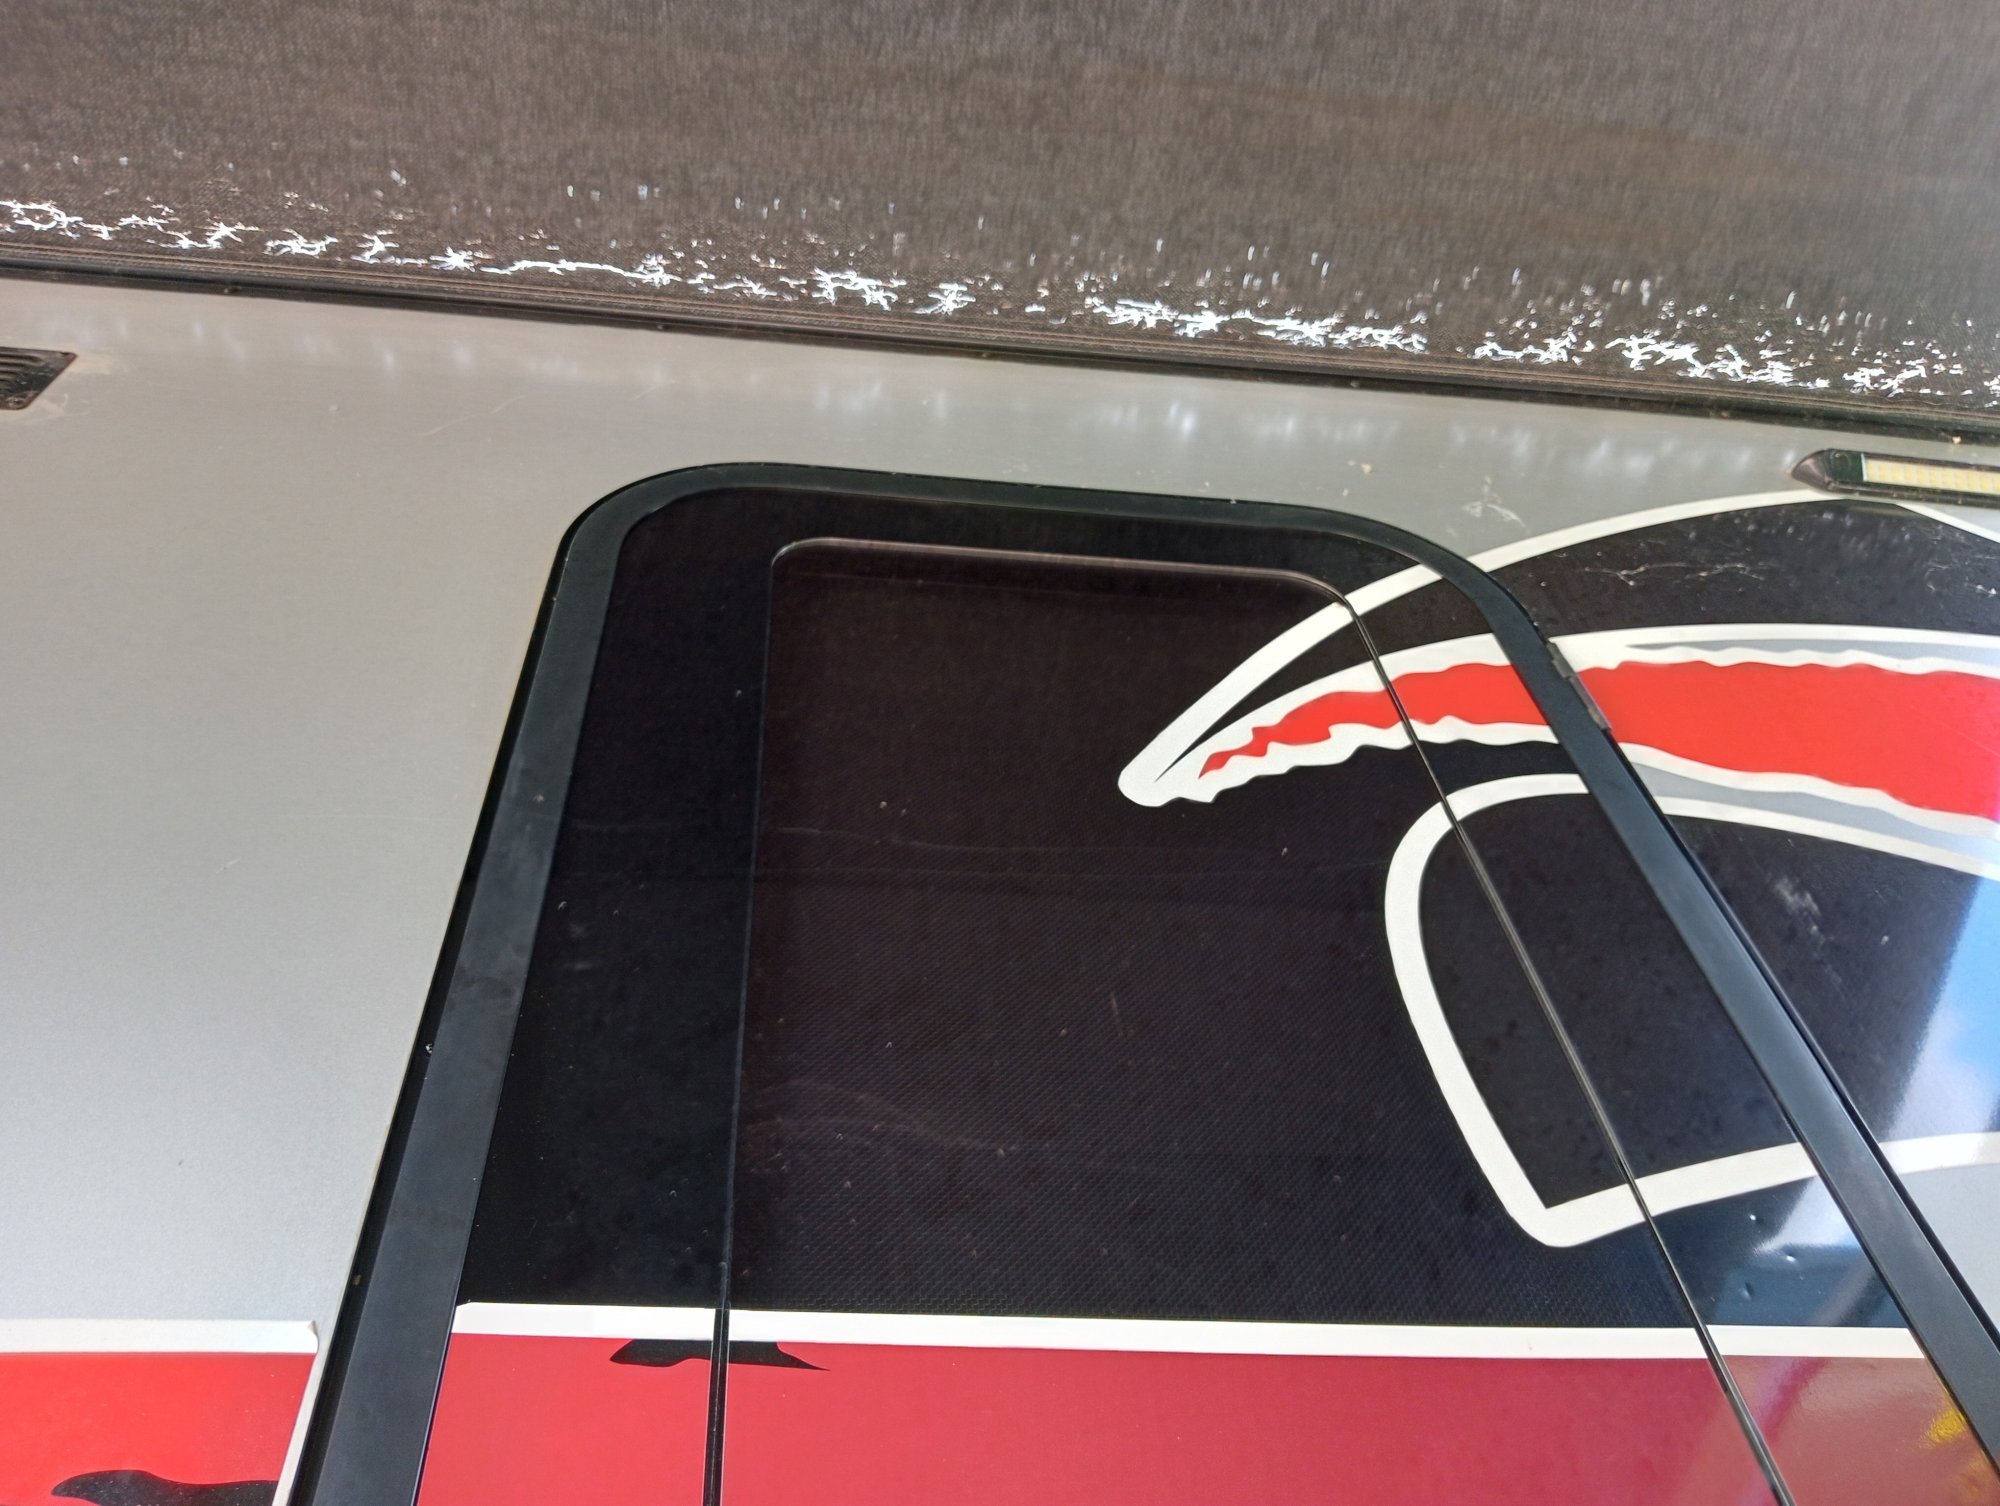
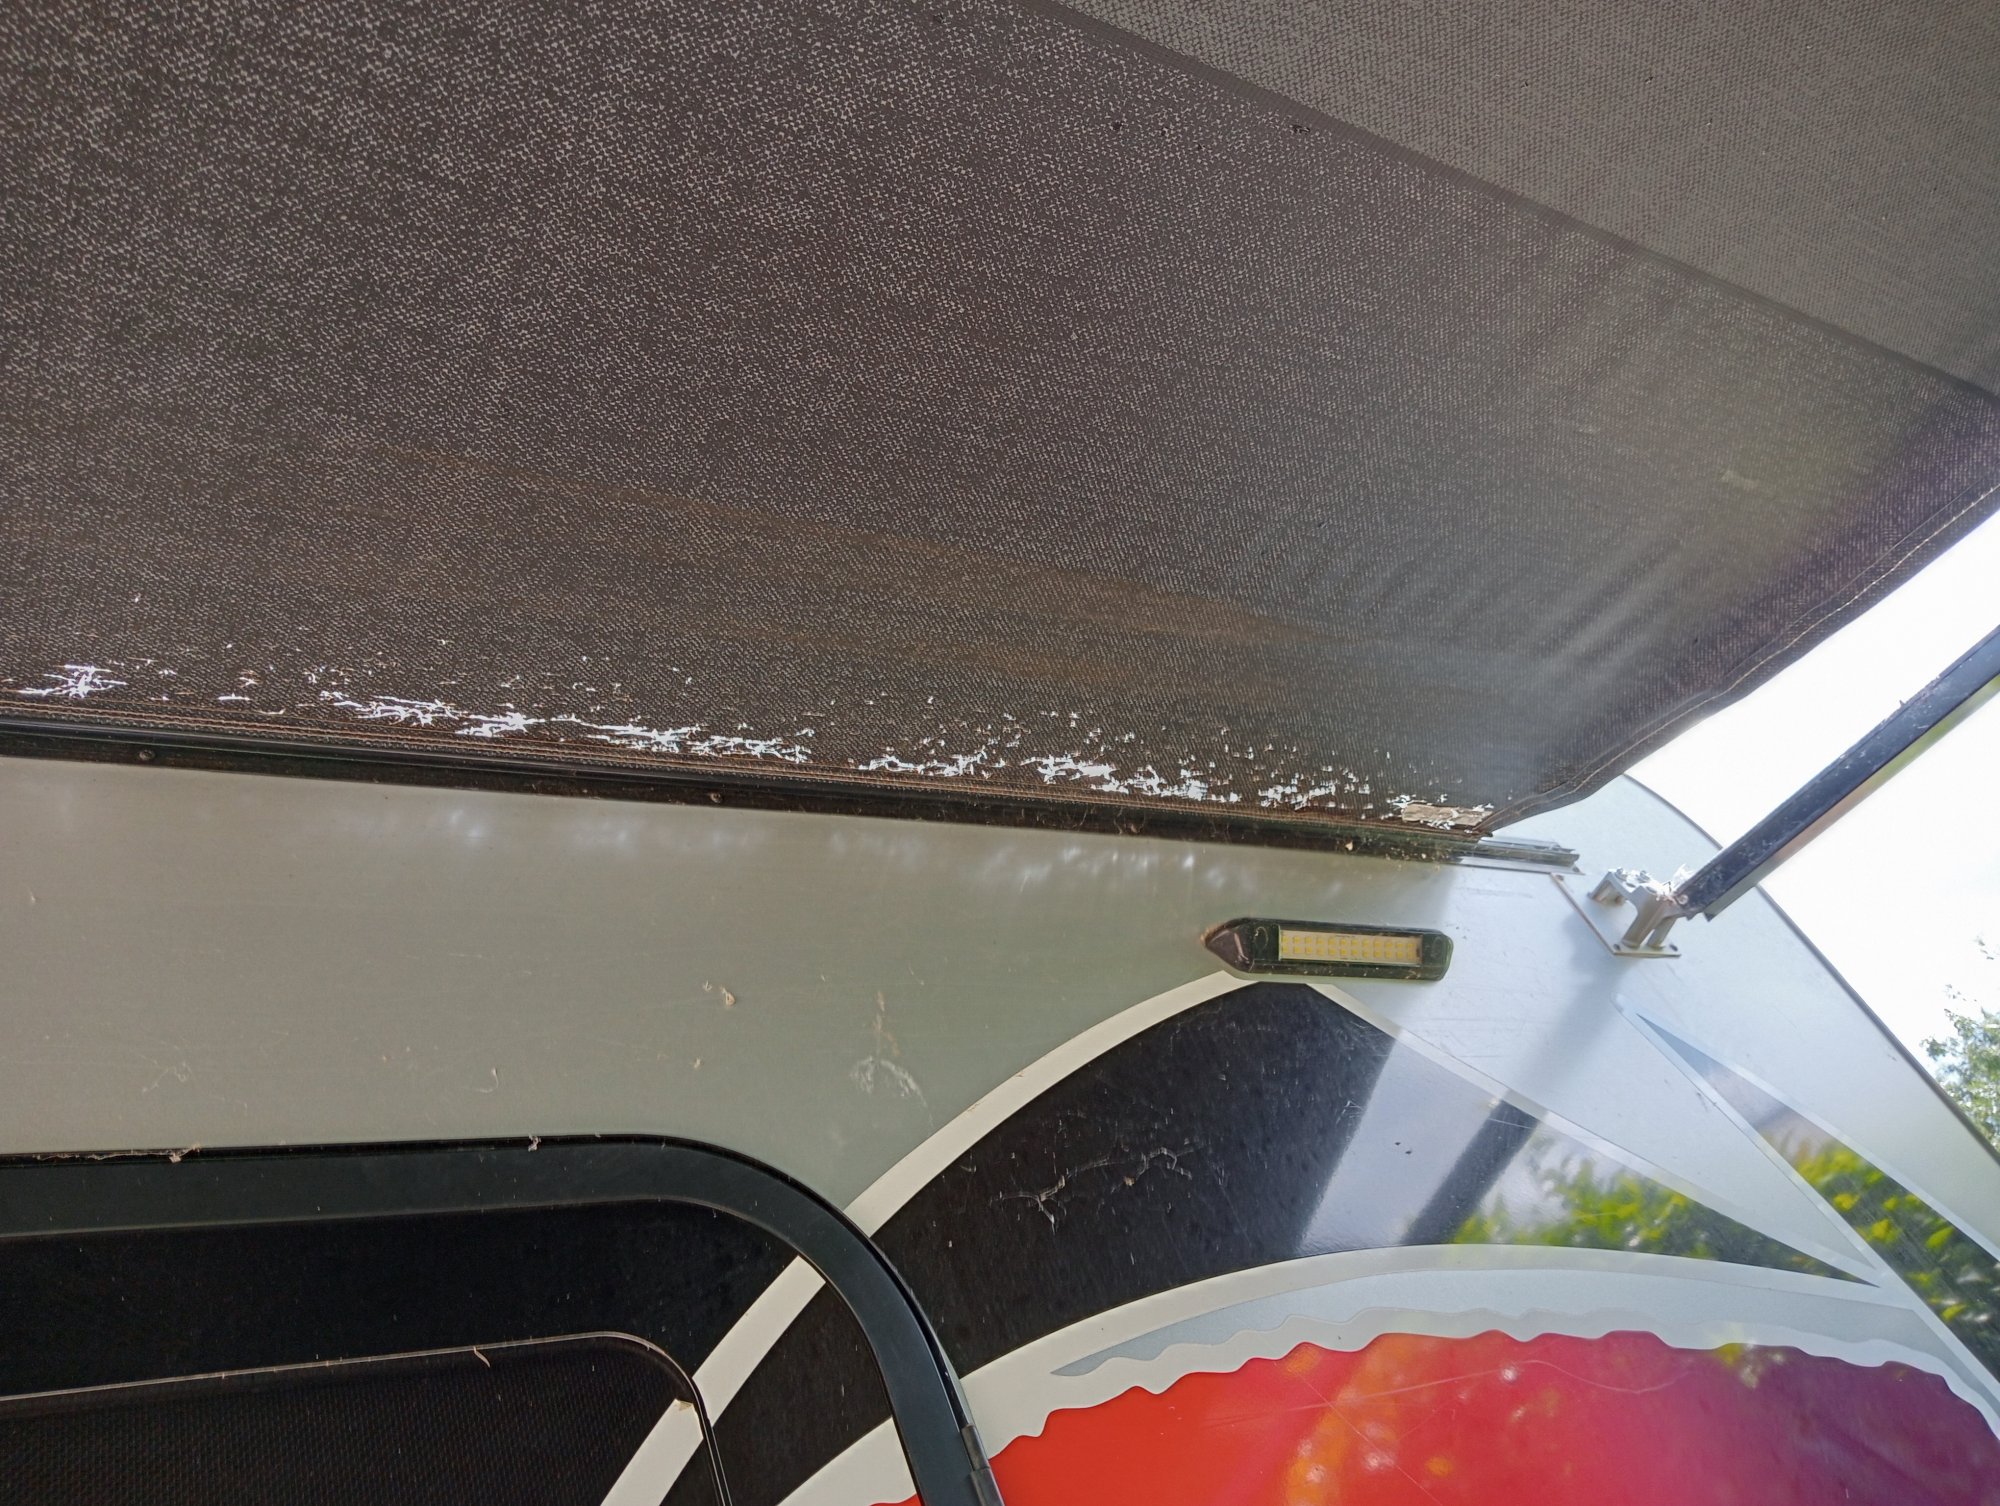
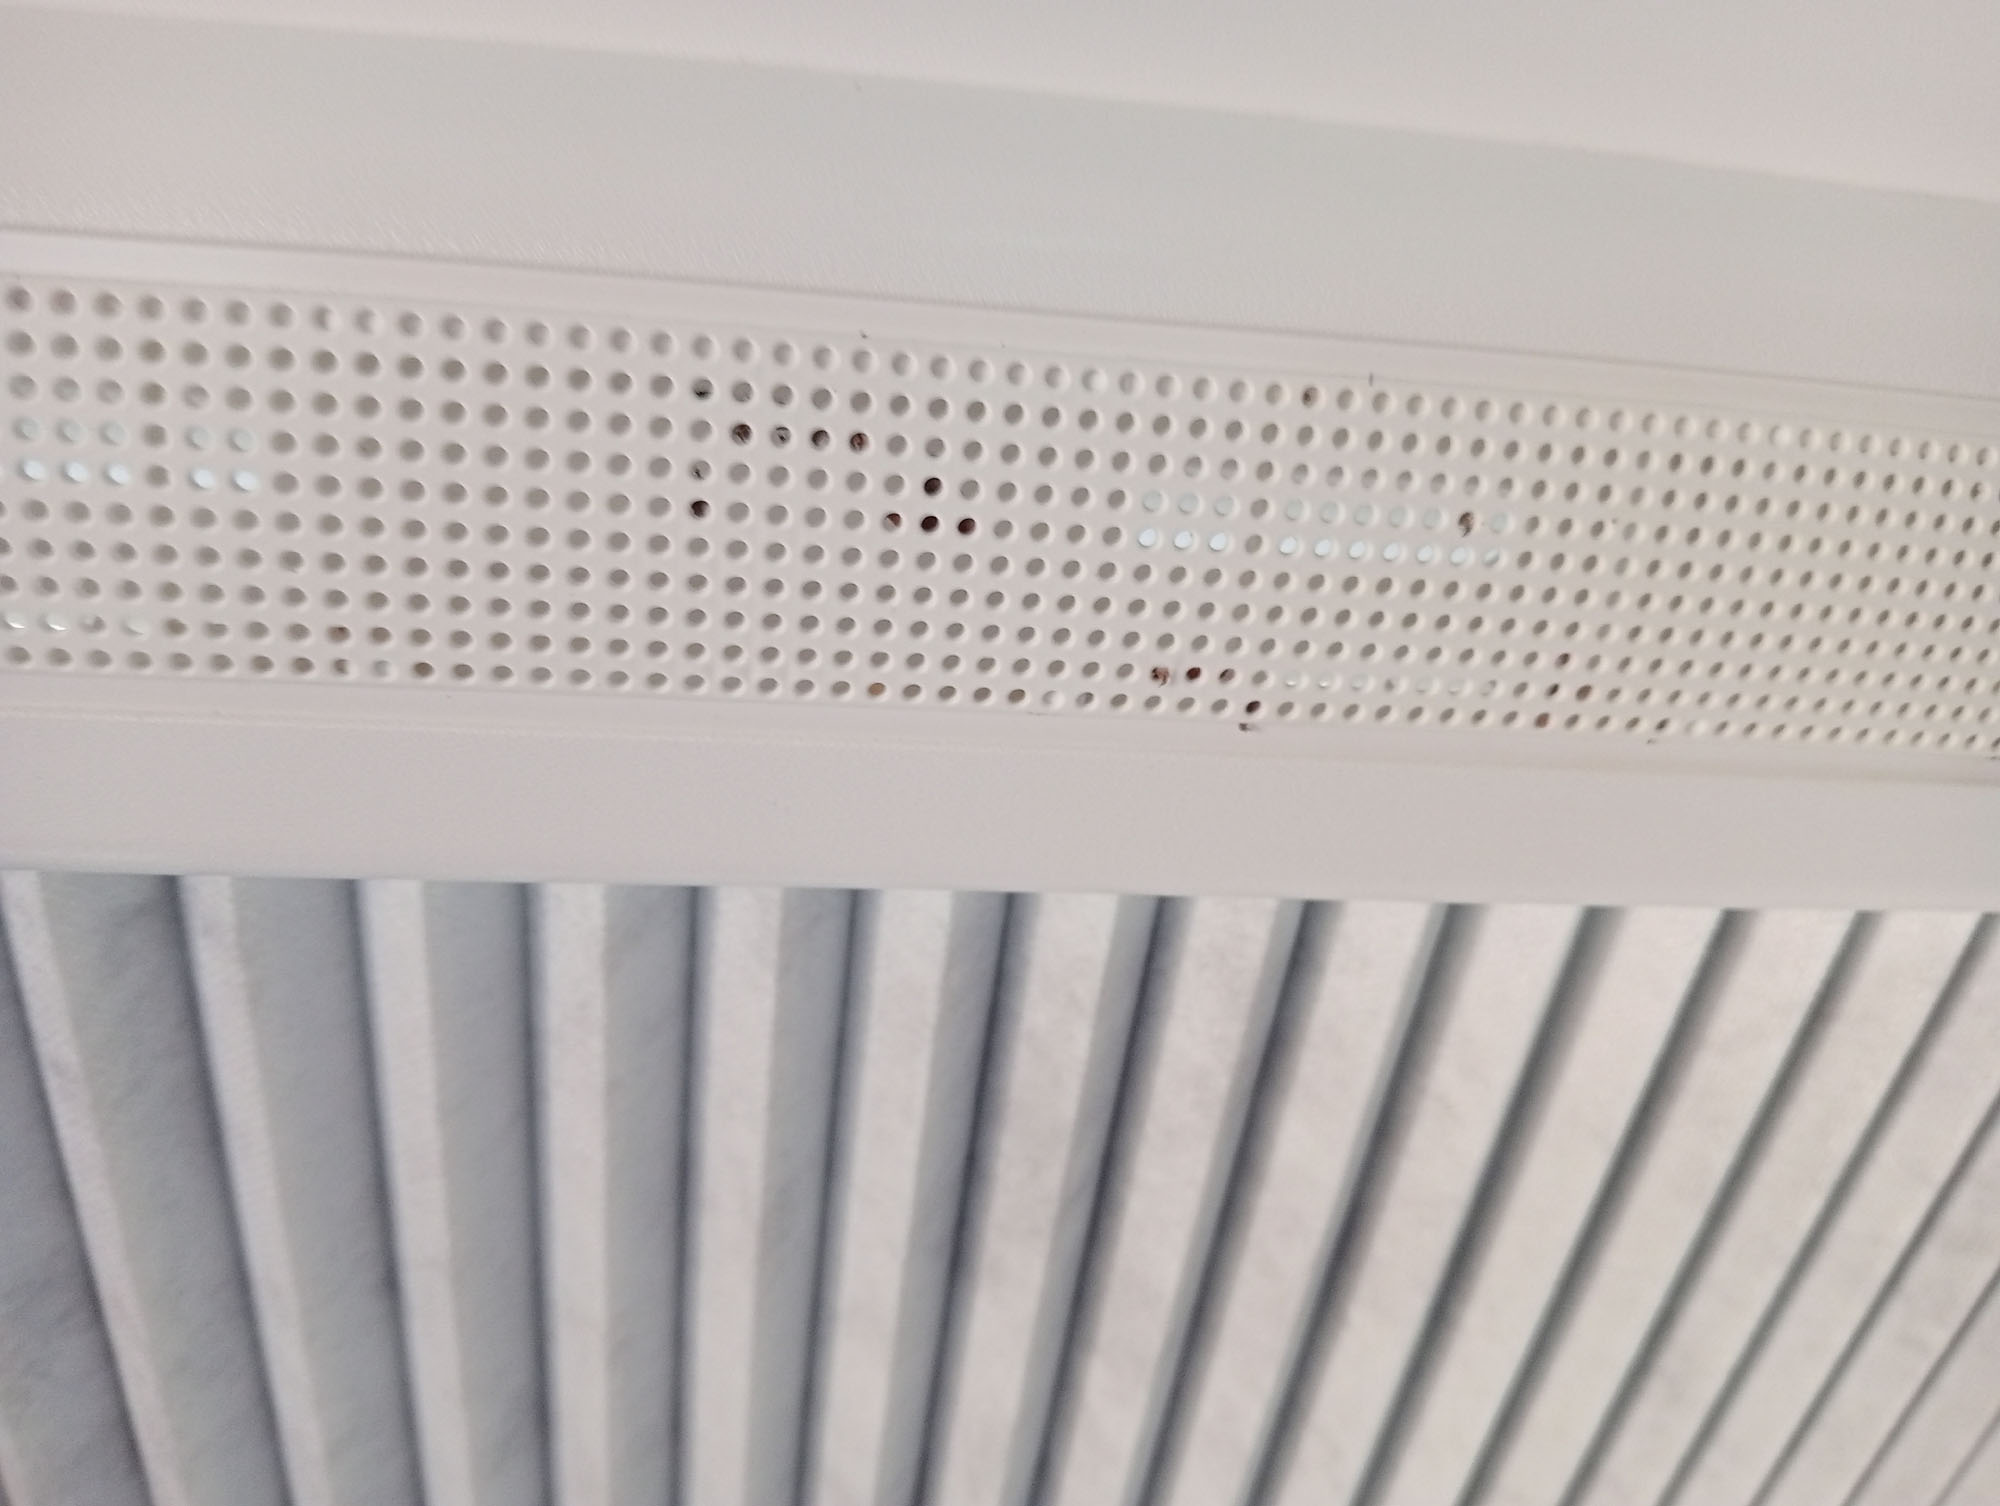
Three hours on the first proper outback road, corrugations & bulldust highlighted some of the worst dust ingress i've seen on any caravan to date. The scupper vent is totally inadequate. I had both fridge vents covered (its a compressor fridge - it actually needs no external venting) I had the door vent blocked. All a waste of time because the skylights are a free flow for air and bugs even when locked shut.


The opening skylights at the top of the van have a 15mm gap all the way around, it makes it impossible to build up any pressure in the van with the scupper vent, what's more insects are free to enter especially at night when the interior lights are on, the bugs are attracted to the light and then have an open invitation into the van. It took a while for the penny to drop but the amount of dead bugs on the floor after a corrugated road, and the fact that some were stuck in the holes in the skylight surround and on top of the skylight concertina blinds made me investigate further.
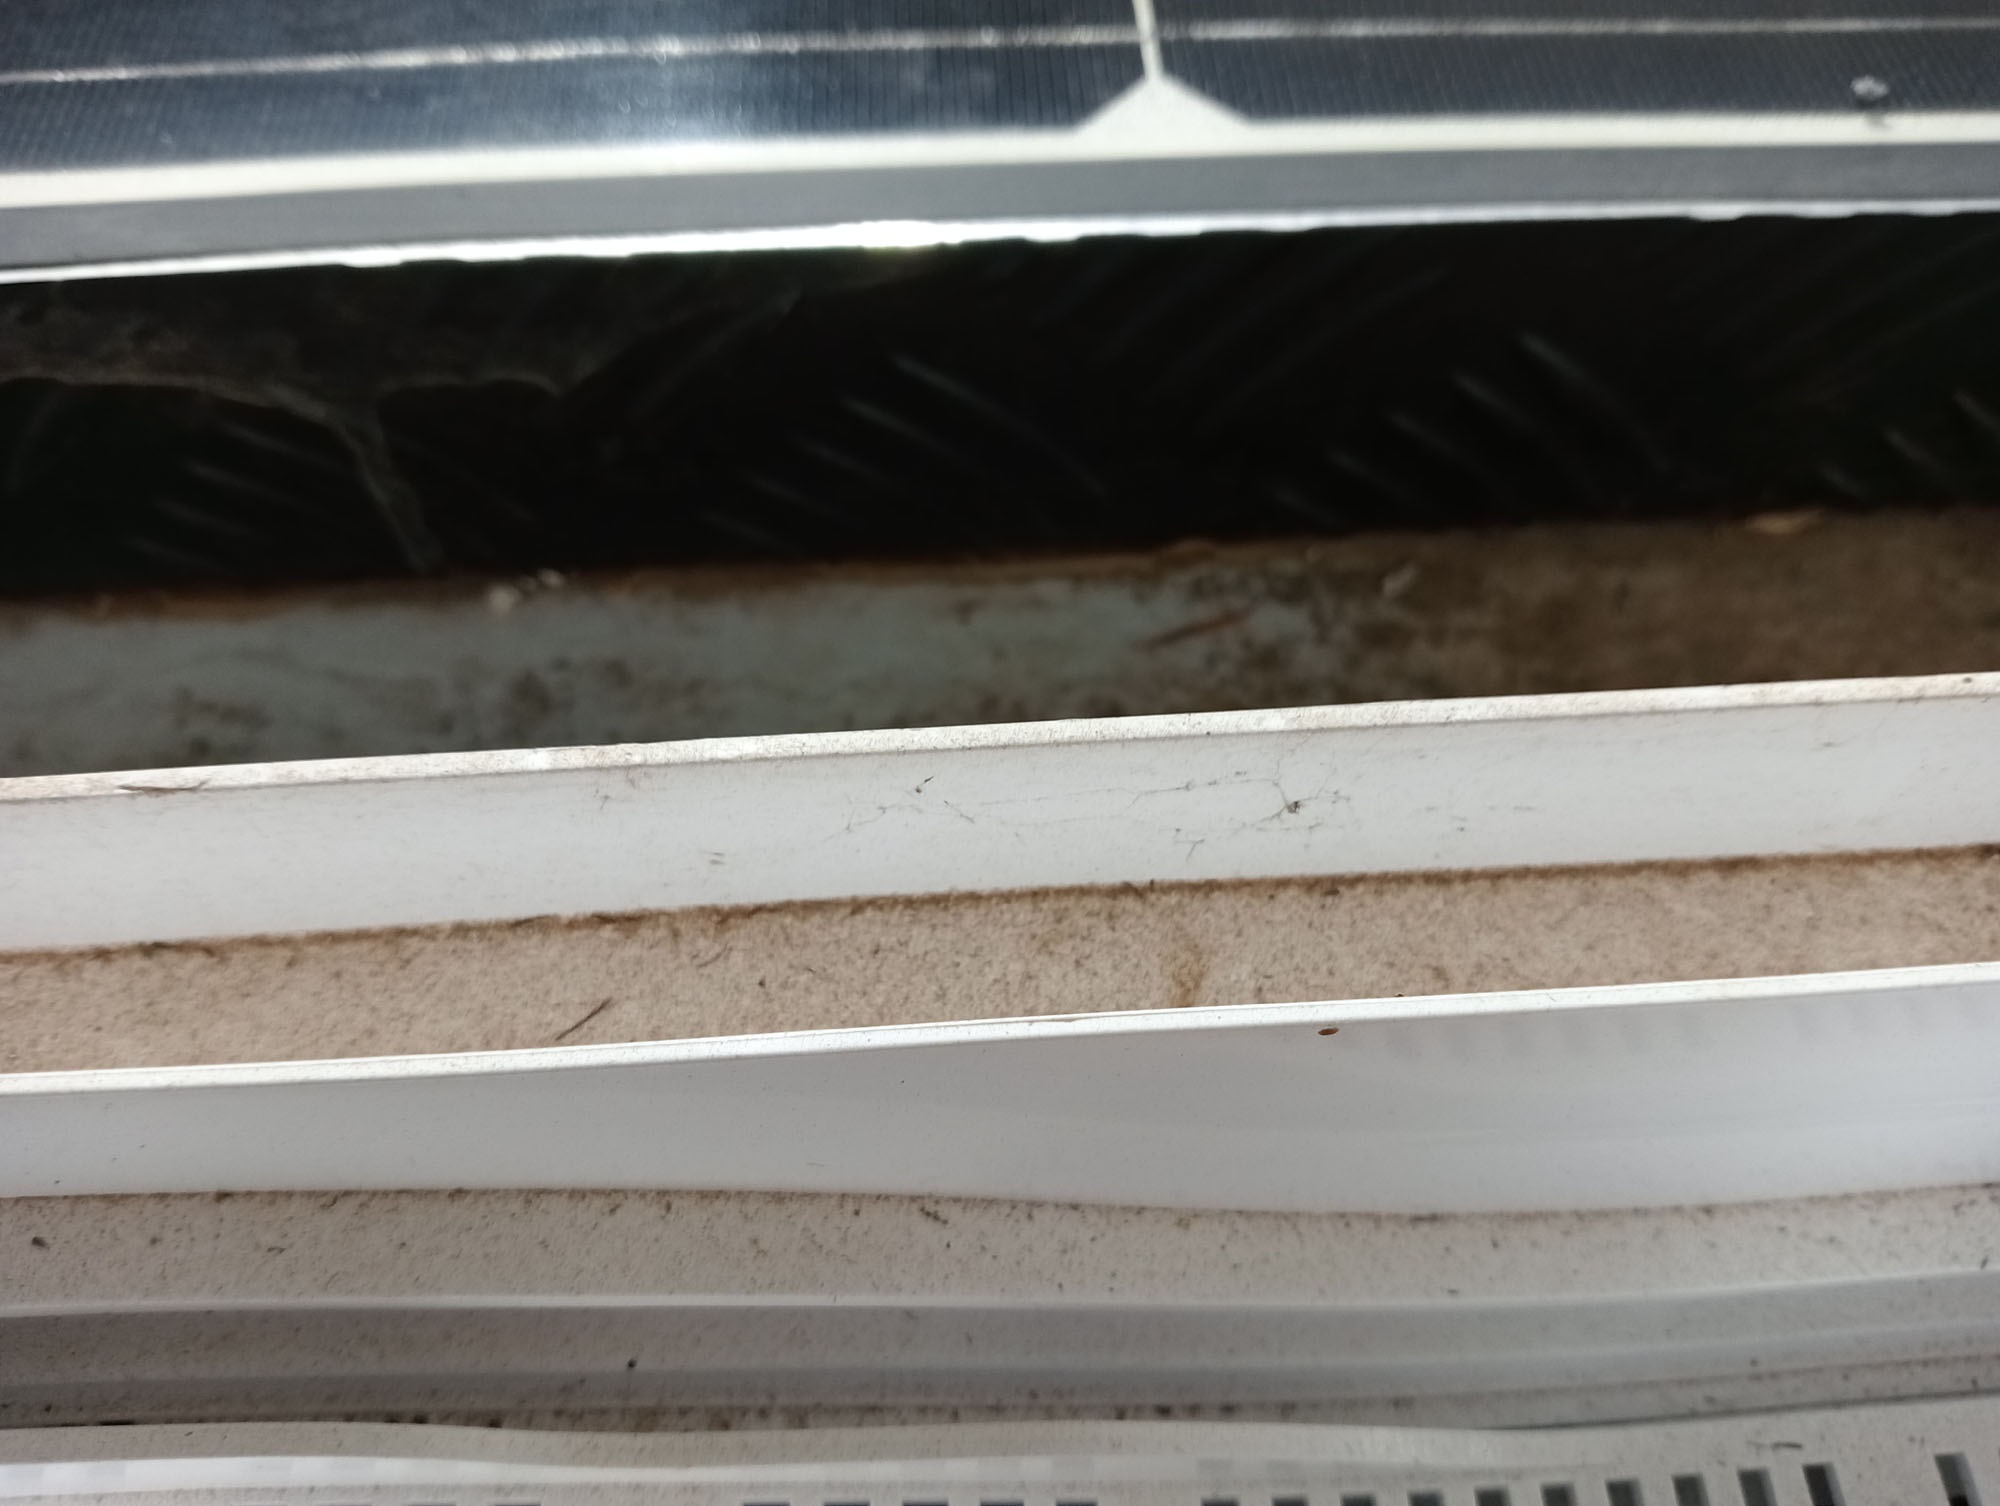
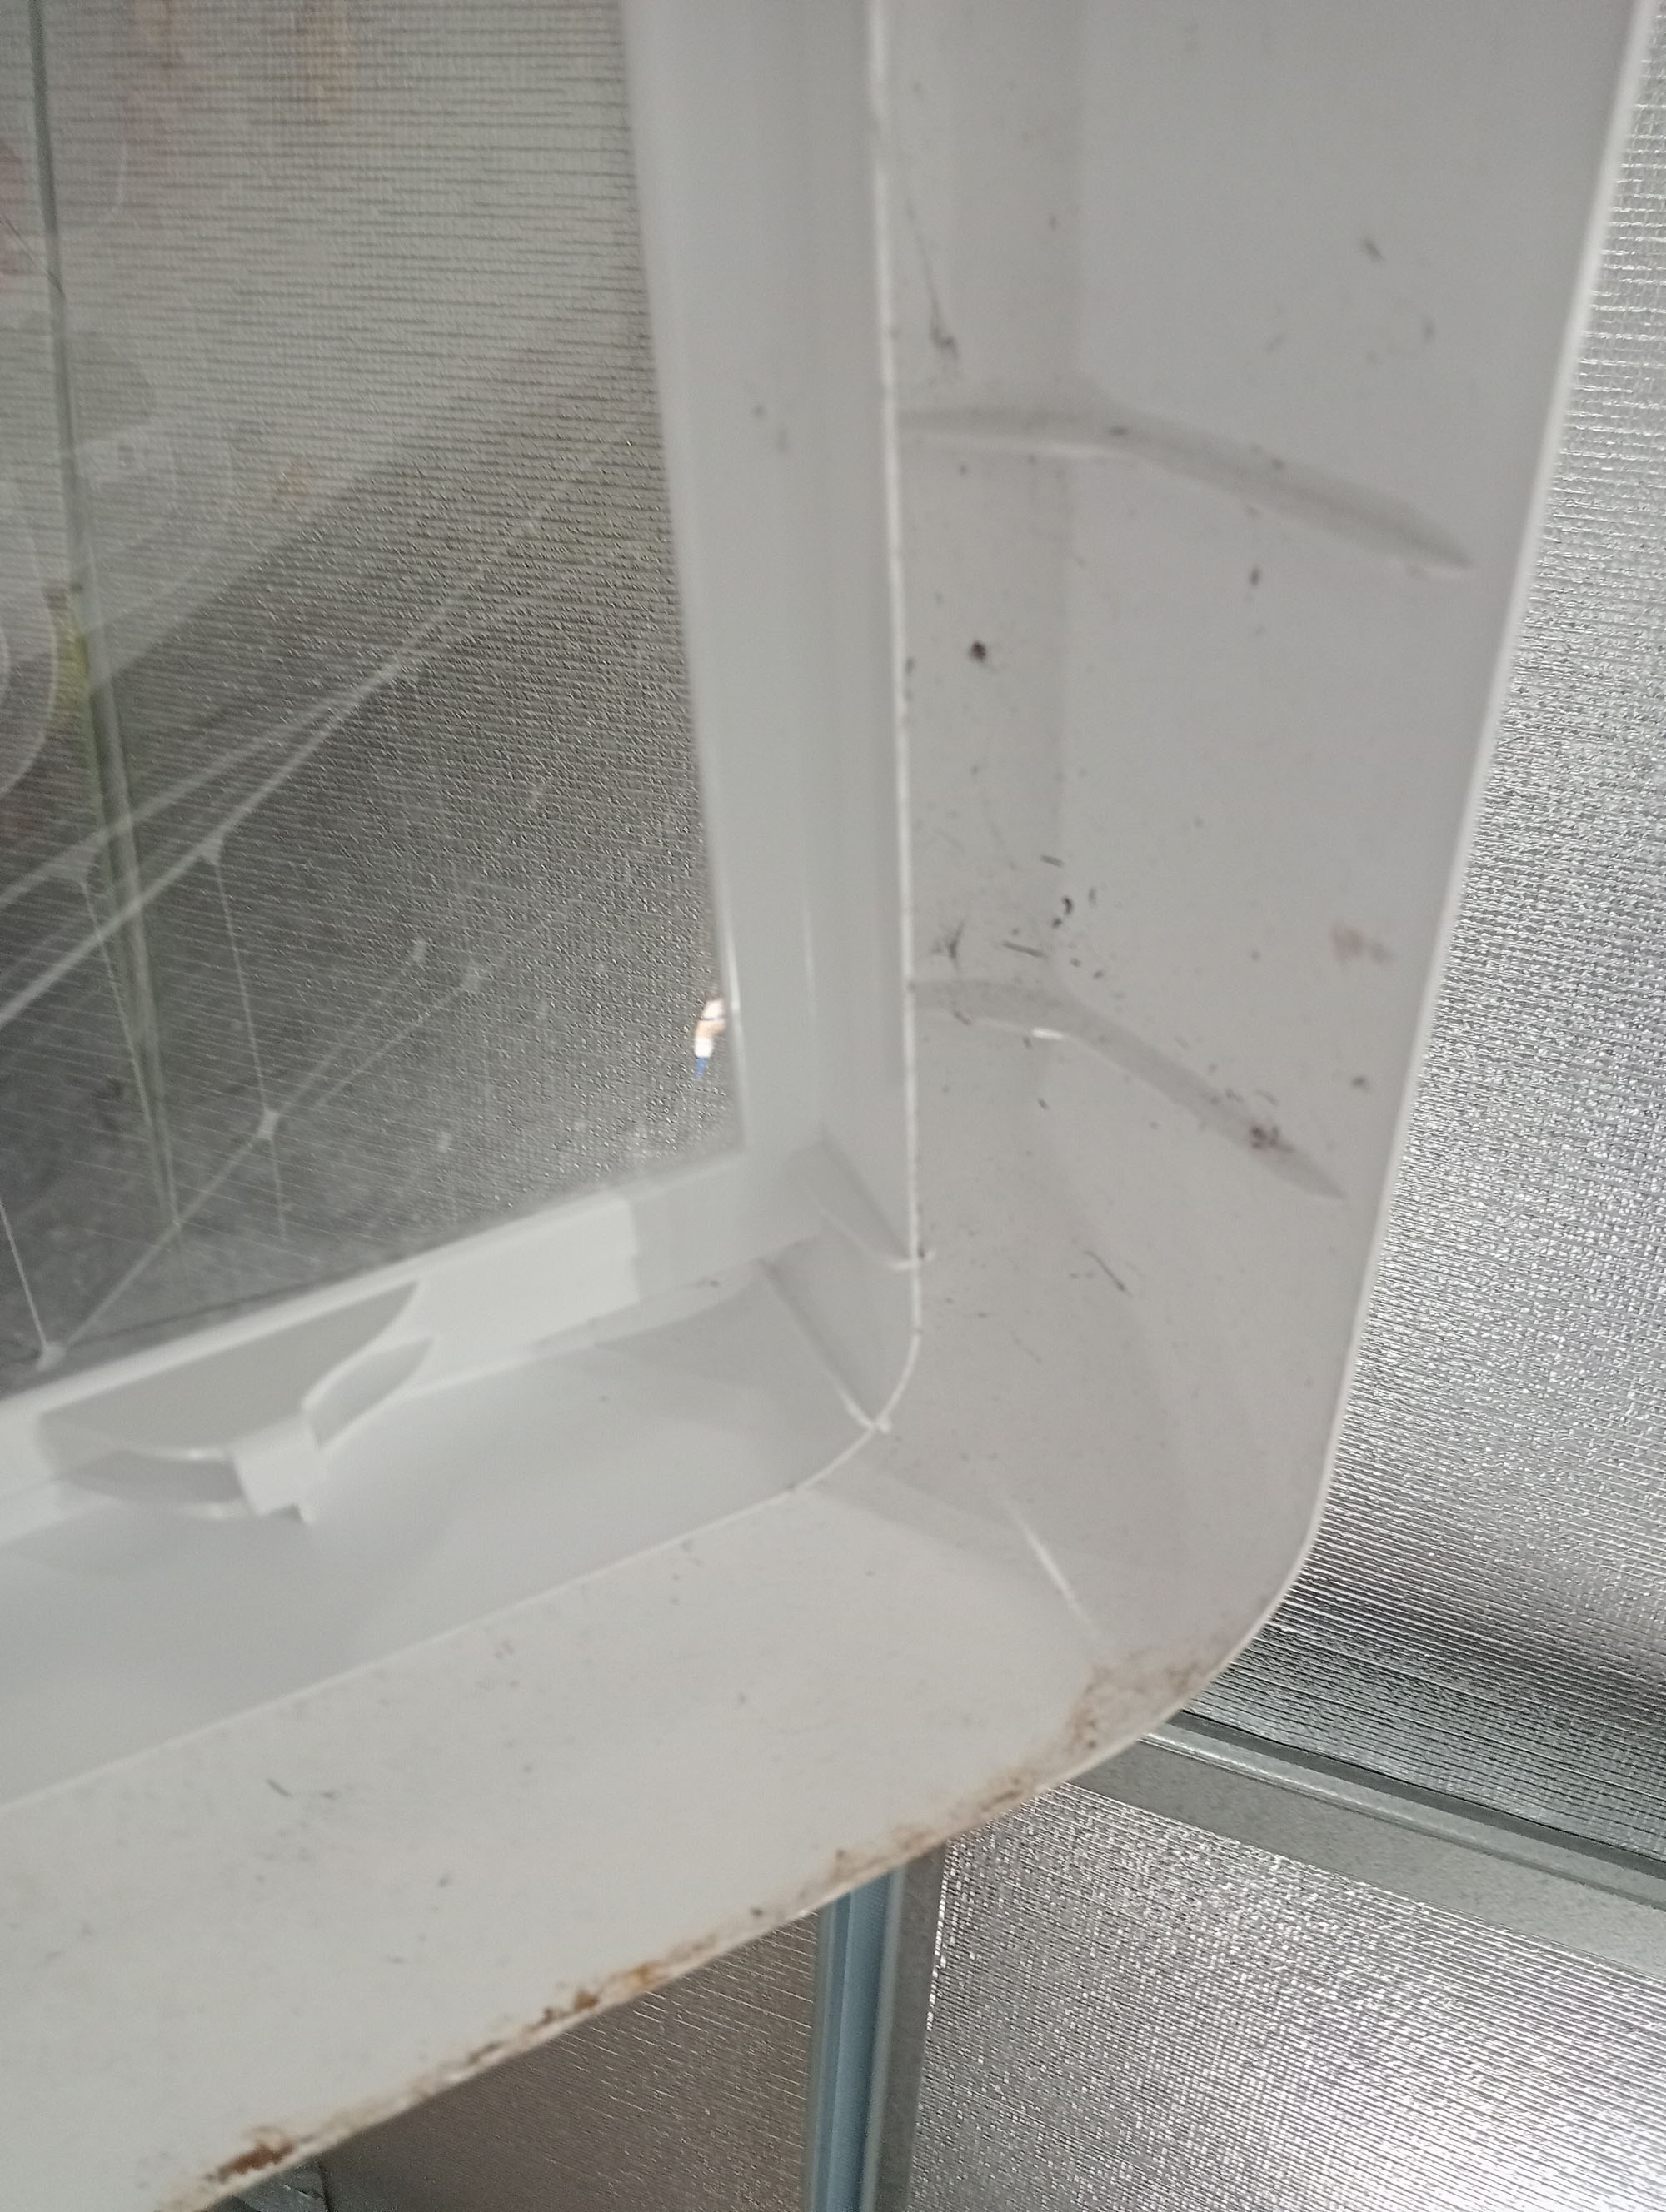
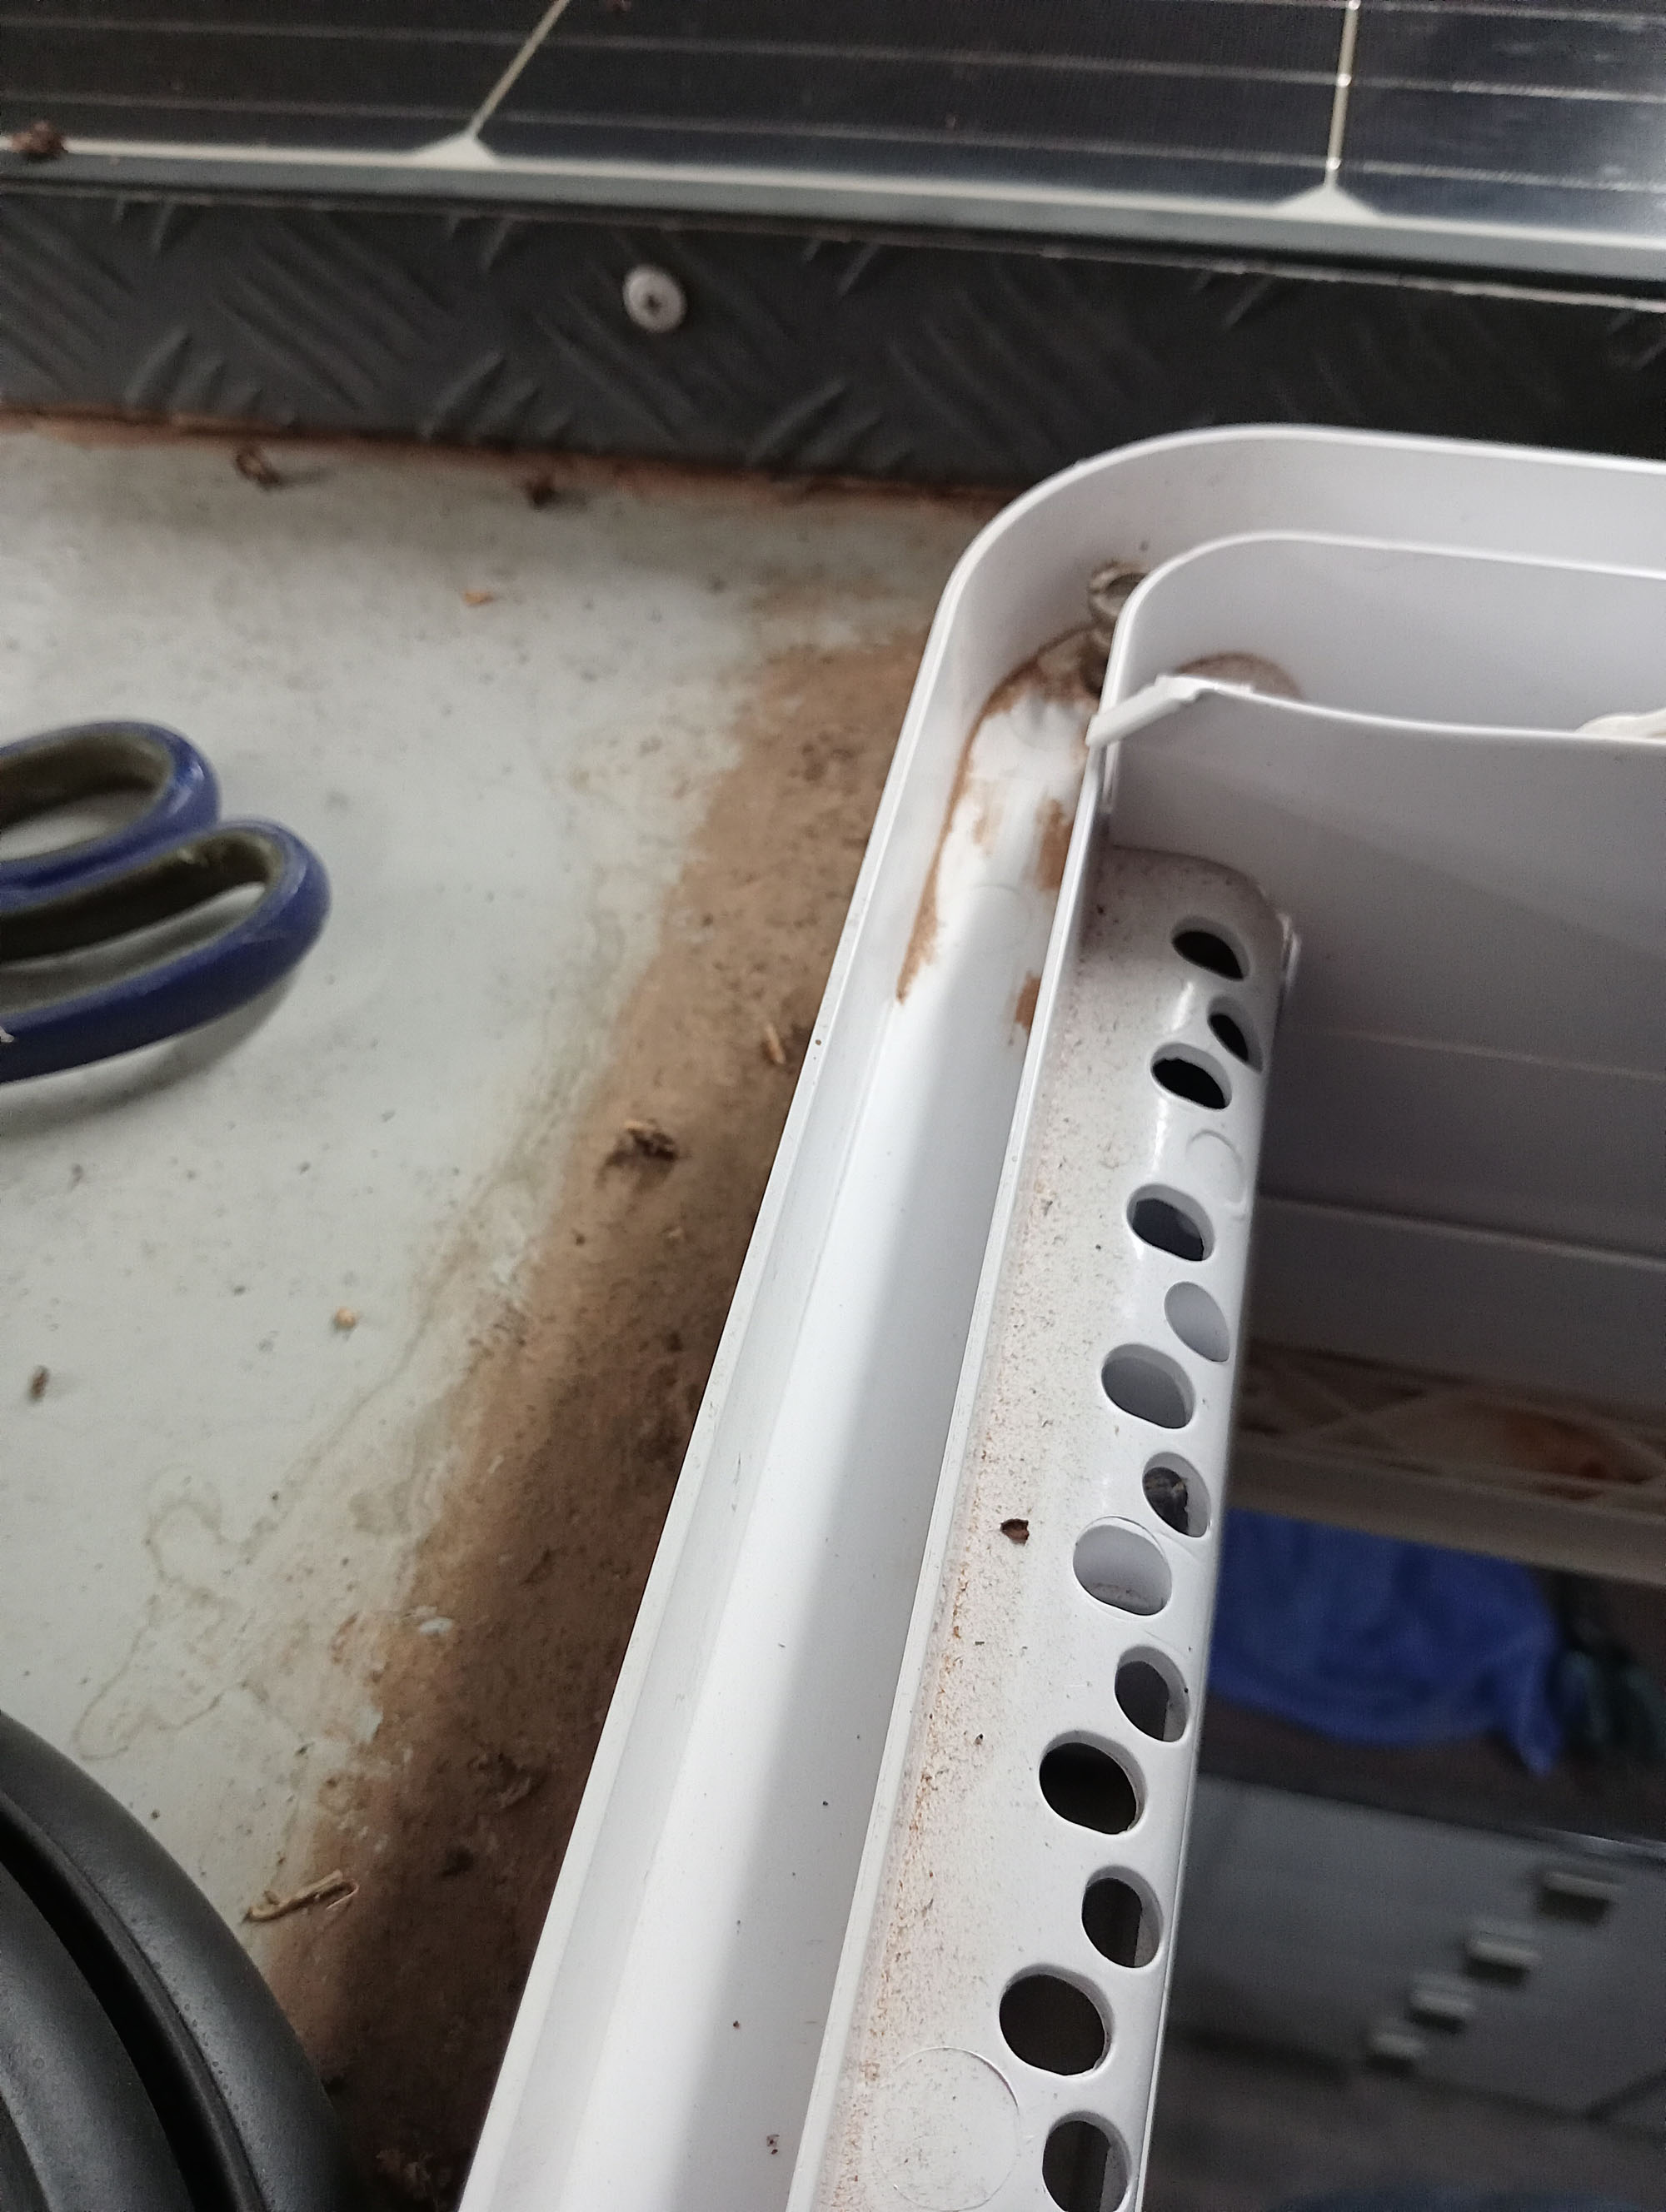
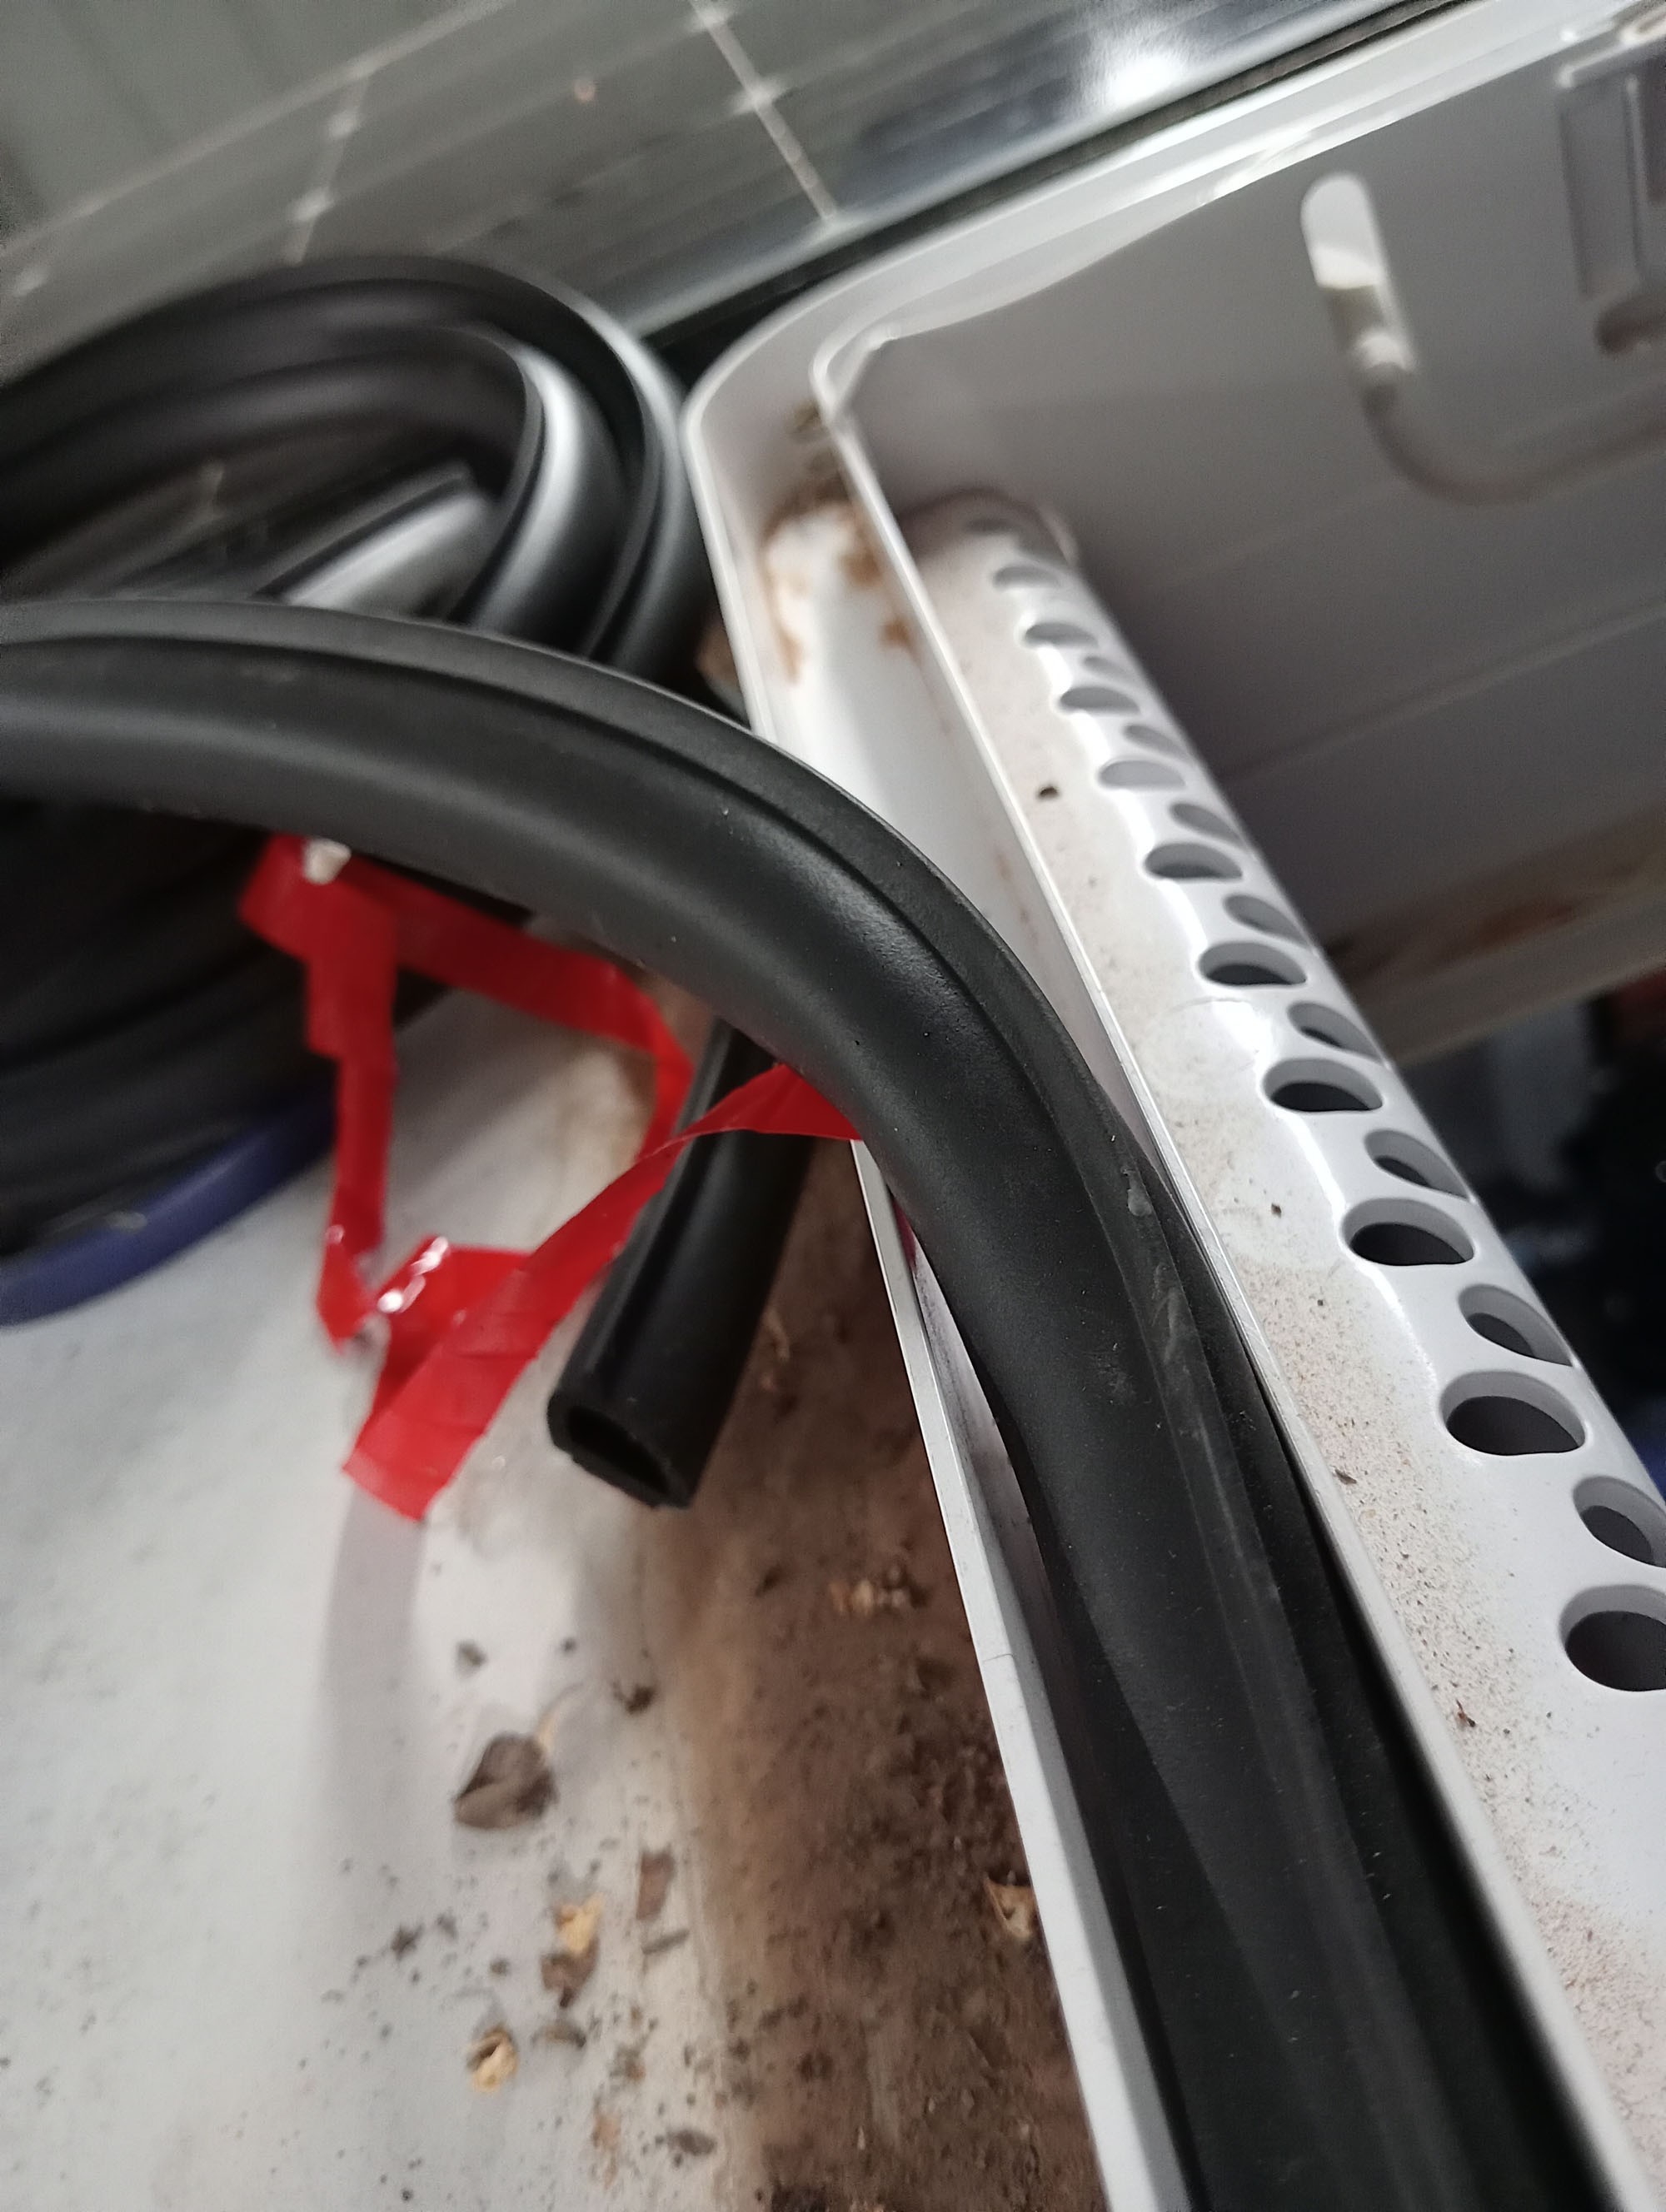
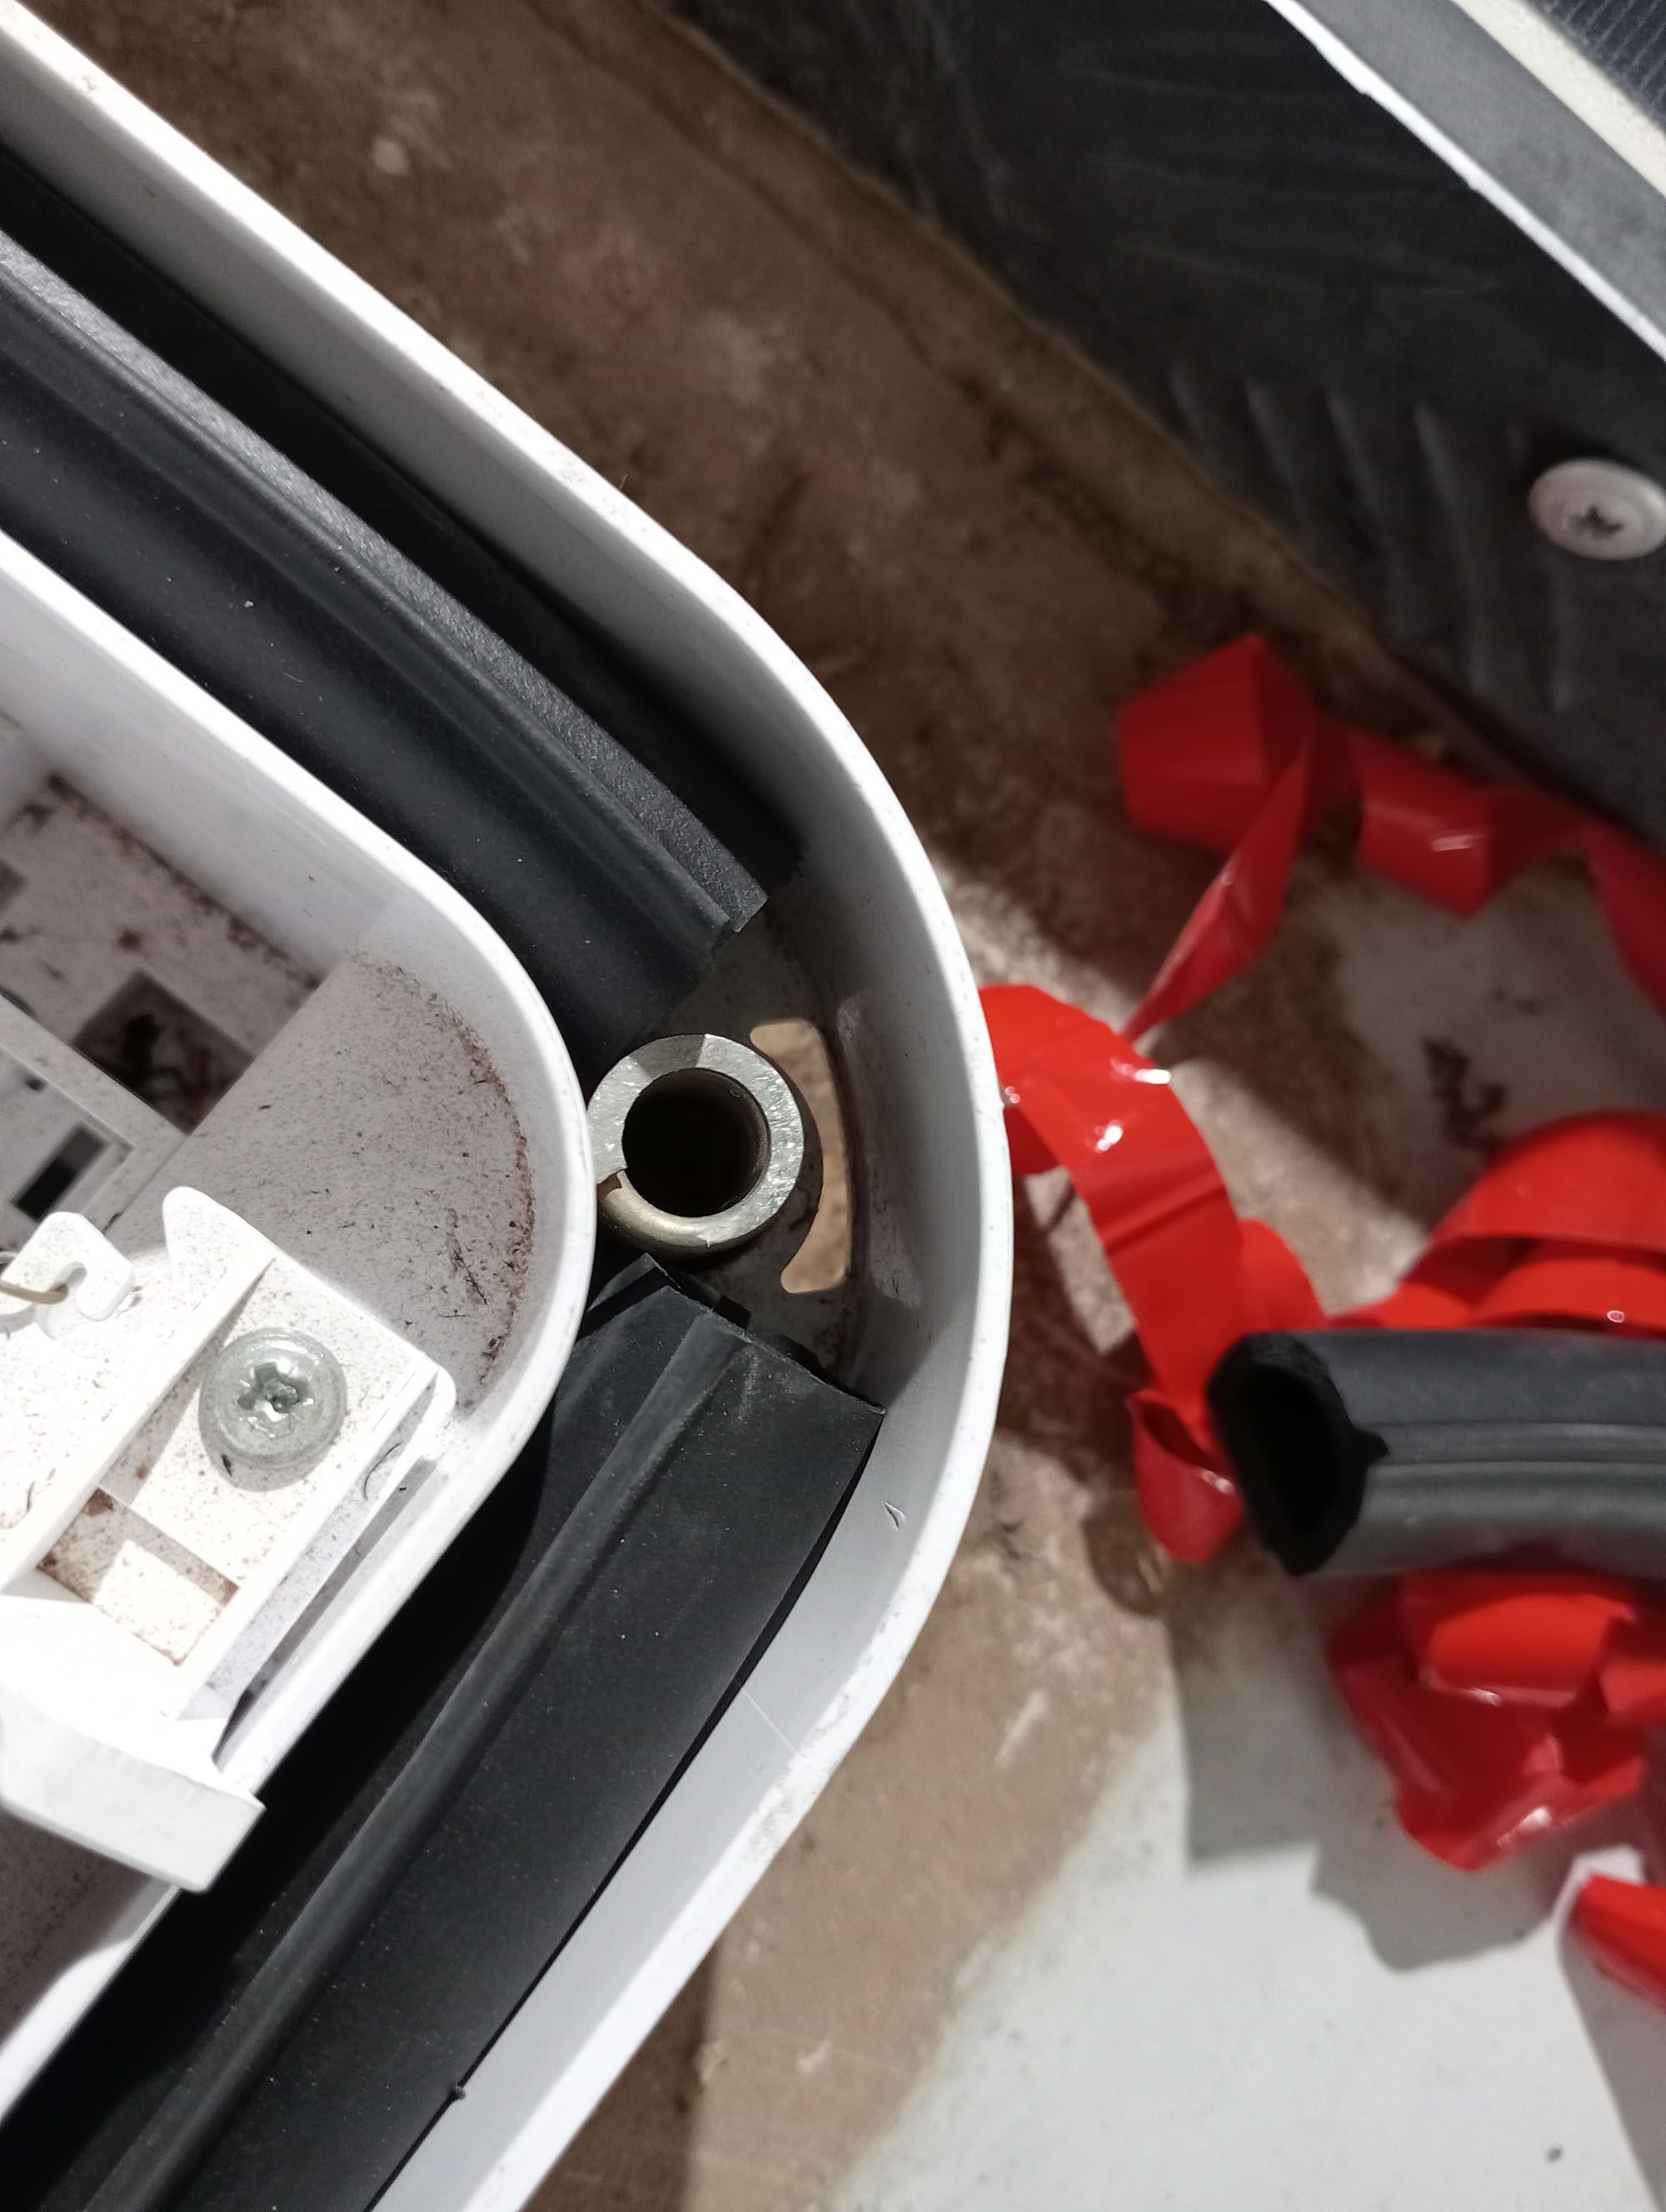
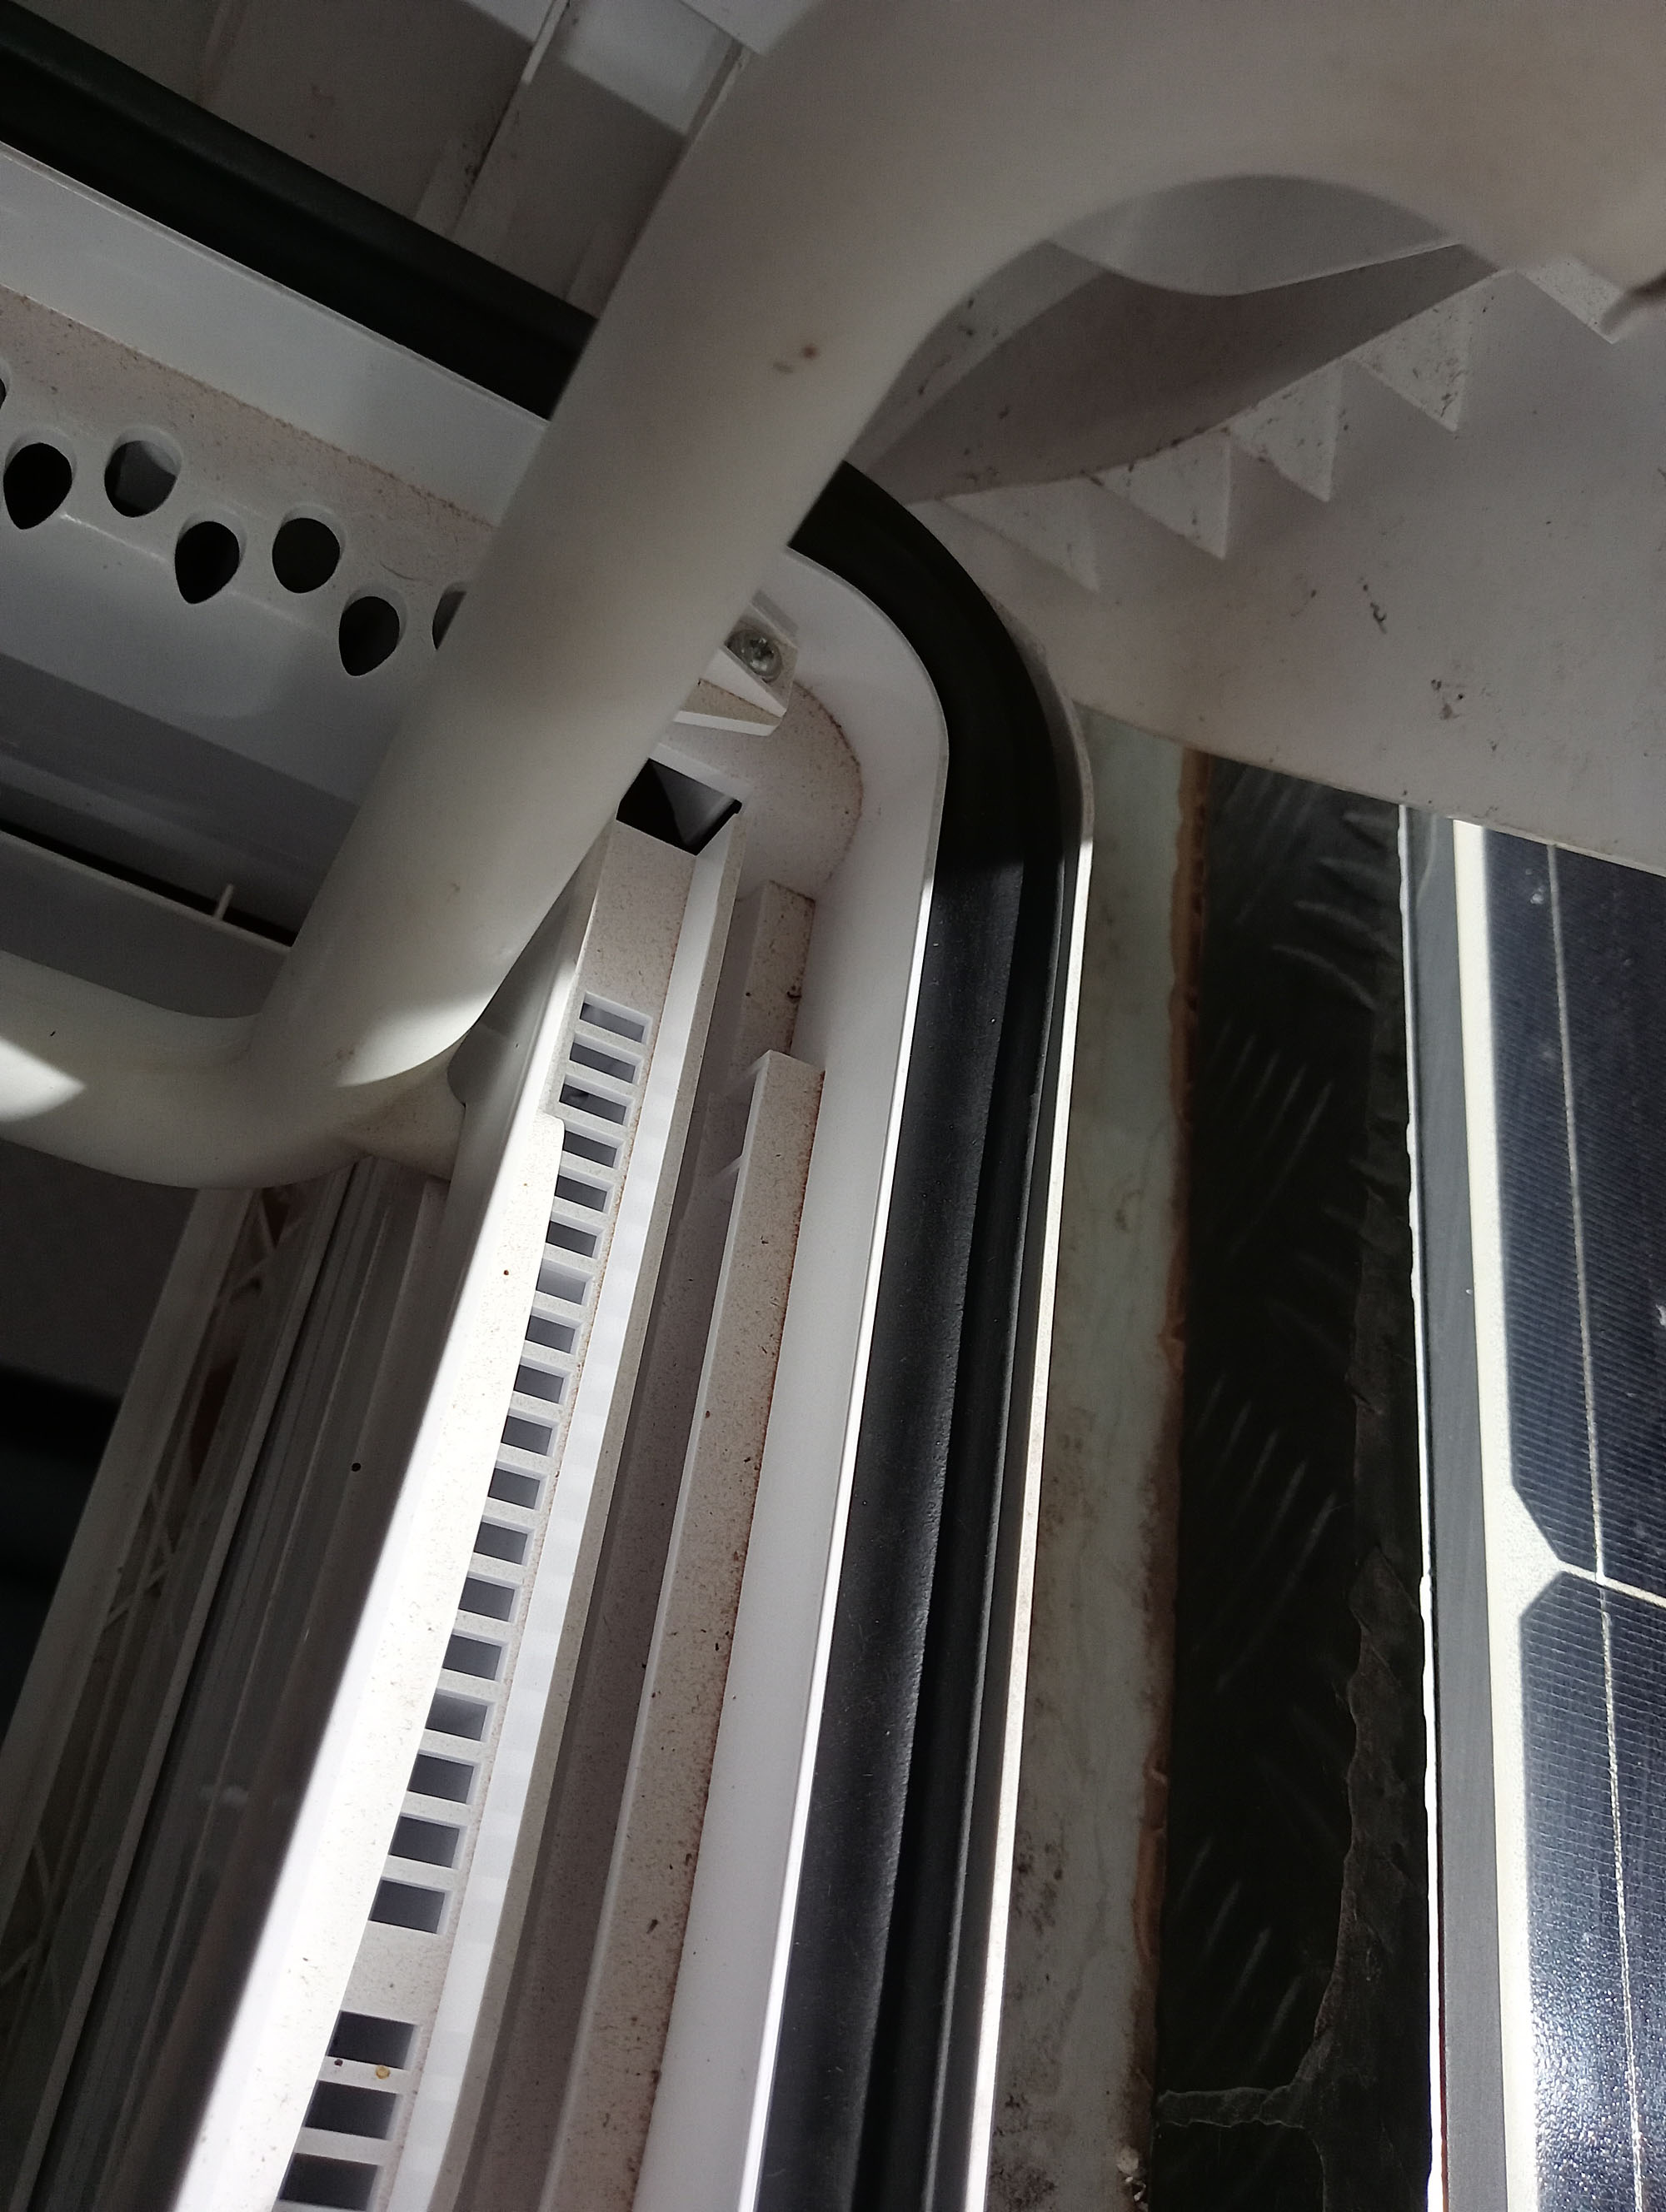
The above series of photos are hard to visualise. If you look at the 3rd photo it shows the open skylight hatch, the edge of which sits in the channel that collects dust, it sits no lower than the springs shown in photos 5, 6 and 7.
The channel that the dust has collected in can be reached by your fingers, both from inside and outside when the hatch is locked down. Dust can come in. During summer your cool airconditioned air escapes, during winter your heated air escapes. I'm actually seriously dissapointed. Caravan dealer will probably tell you its a vent for gas legislation which is baloney, these skylights are optional, when they're not fitted there's no extra vents added to compensate.
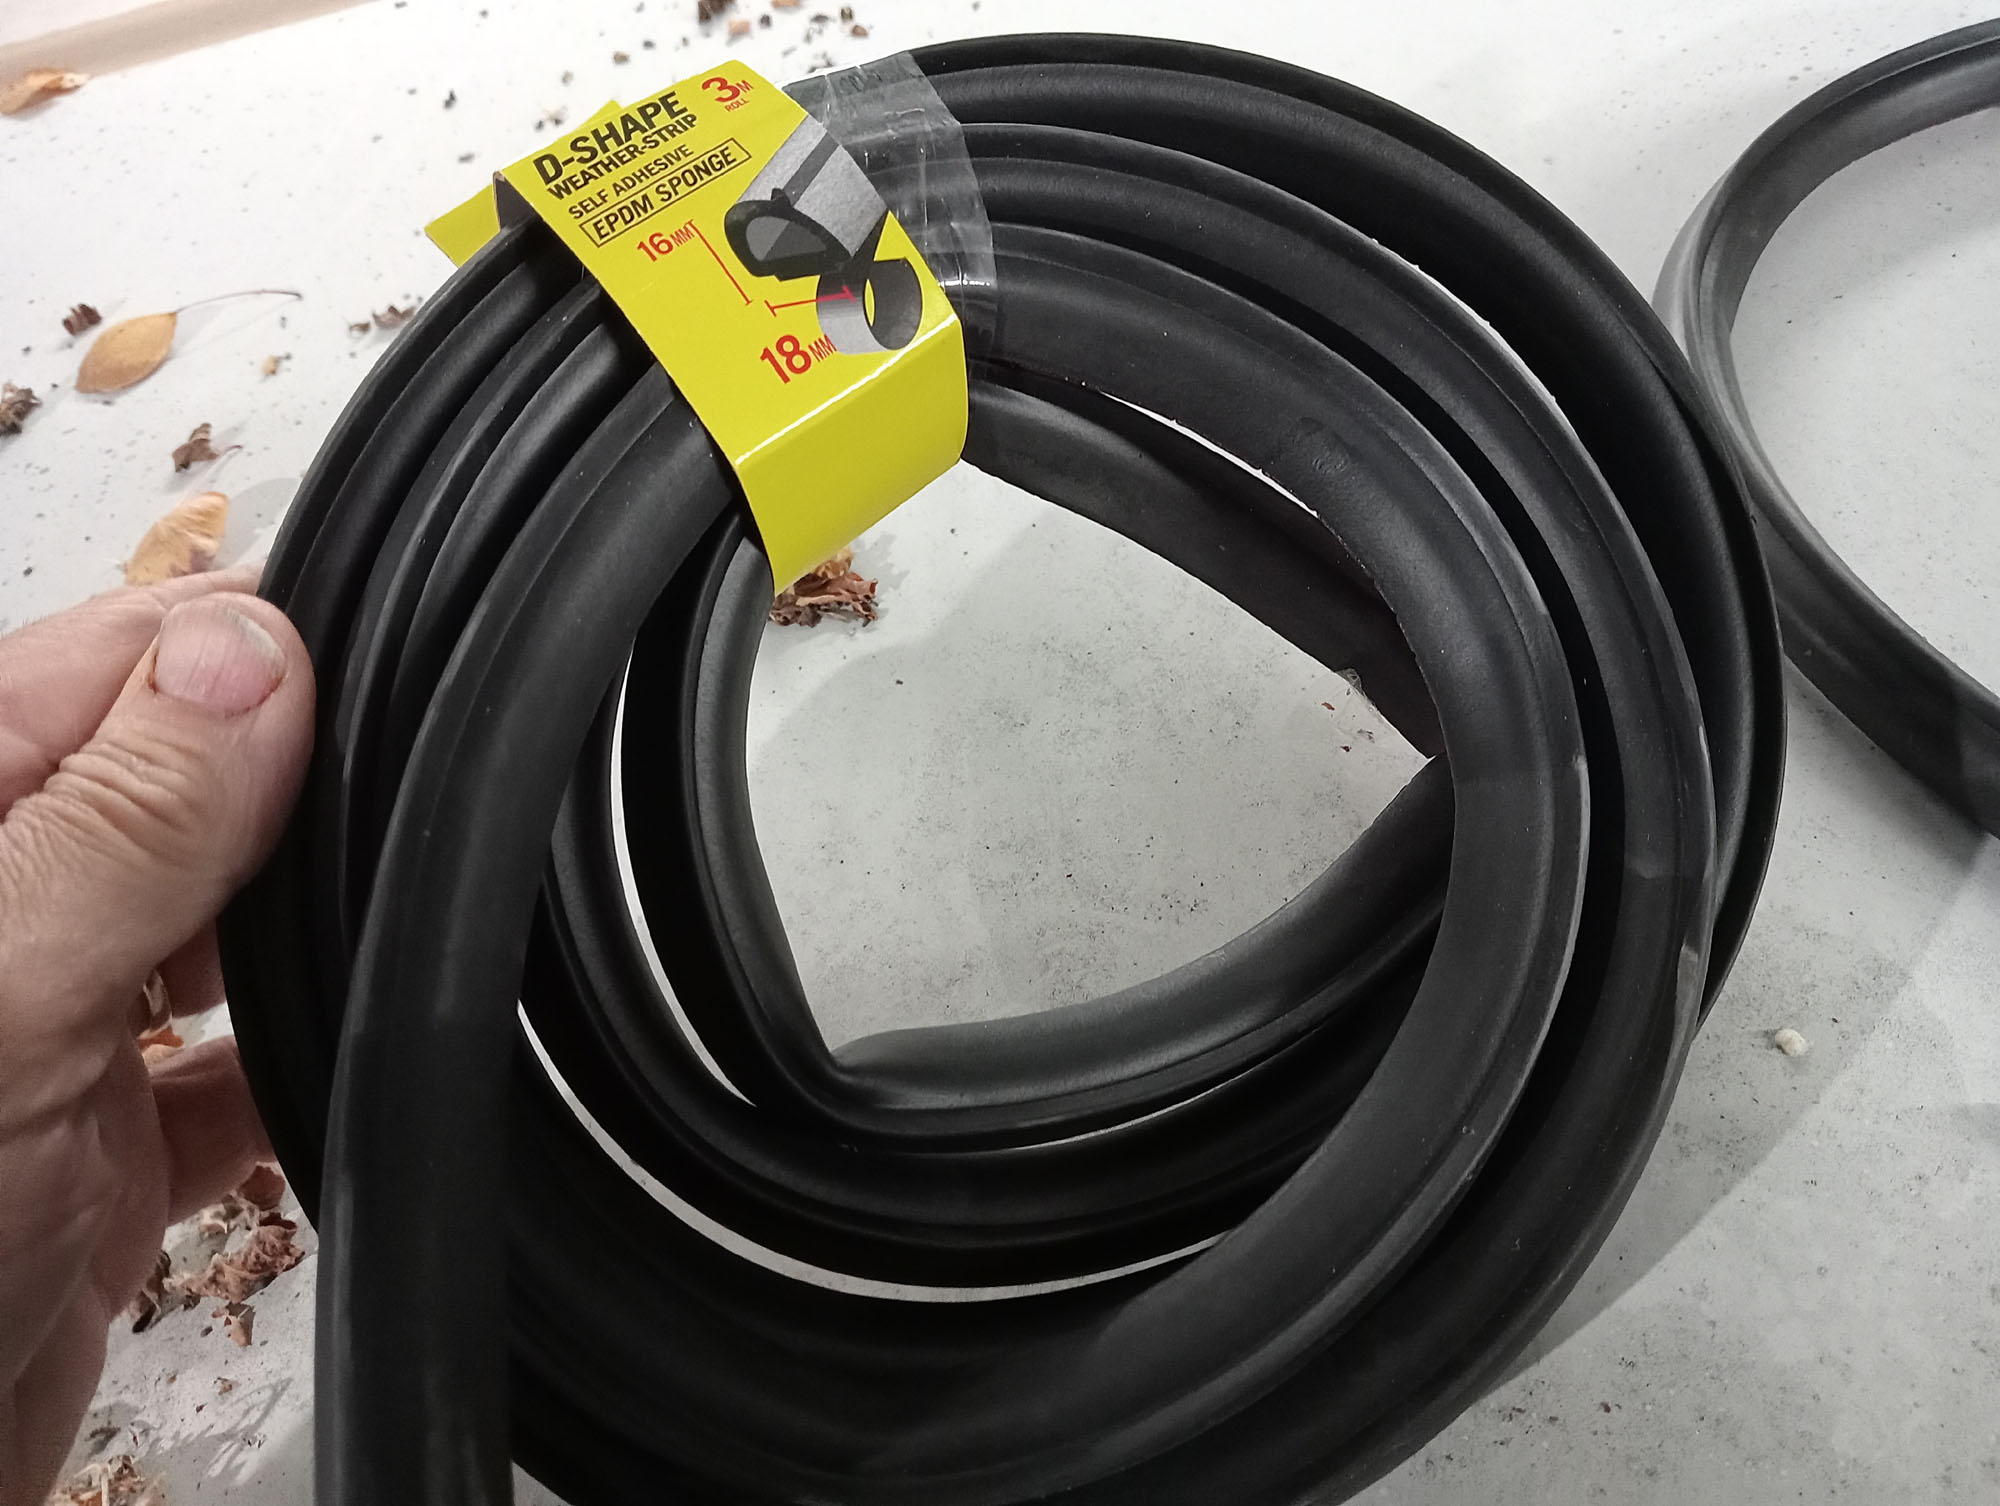
Easy fix, clean the dust out & seal with the pictured self adhesive rubber section from Bunnings about $15 per skylight. Initially you will need to weight down the skylight to be able to lock it.
The Plumbing Fail
Whats that Smell !?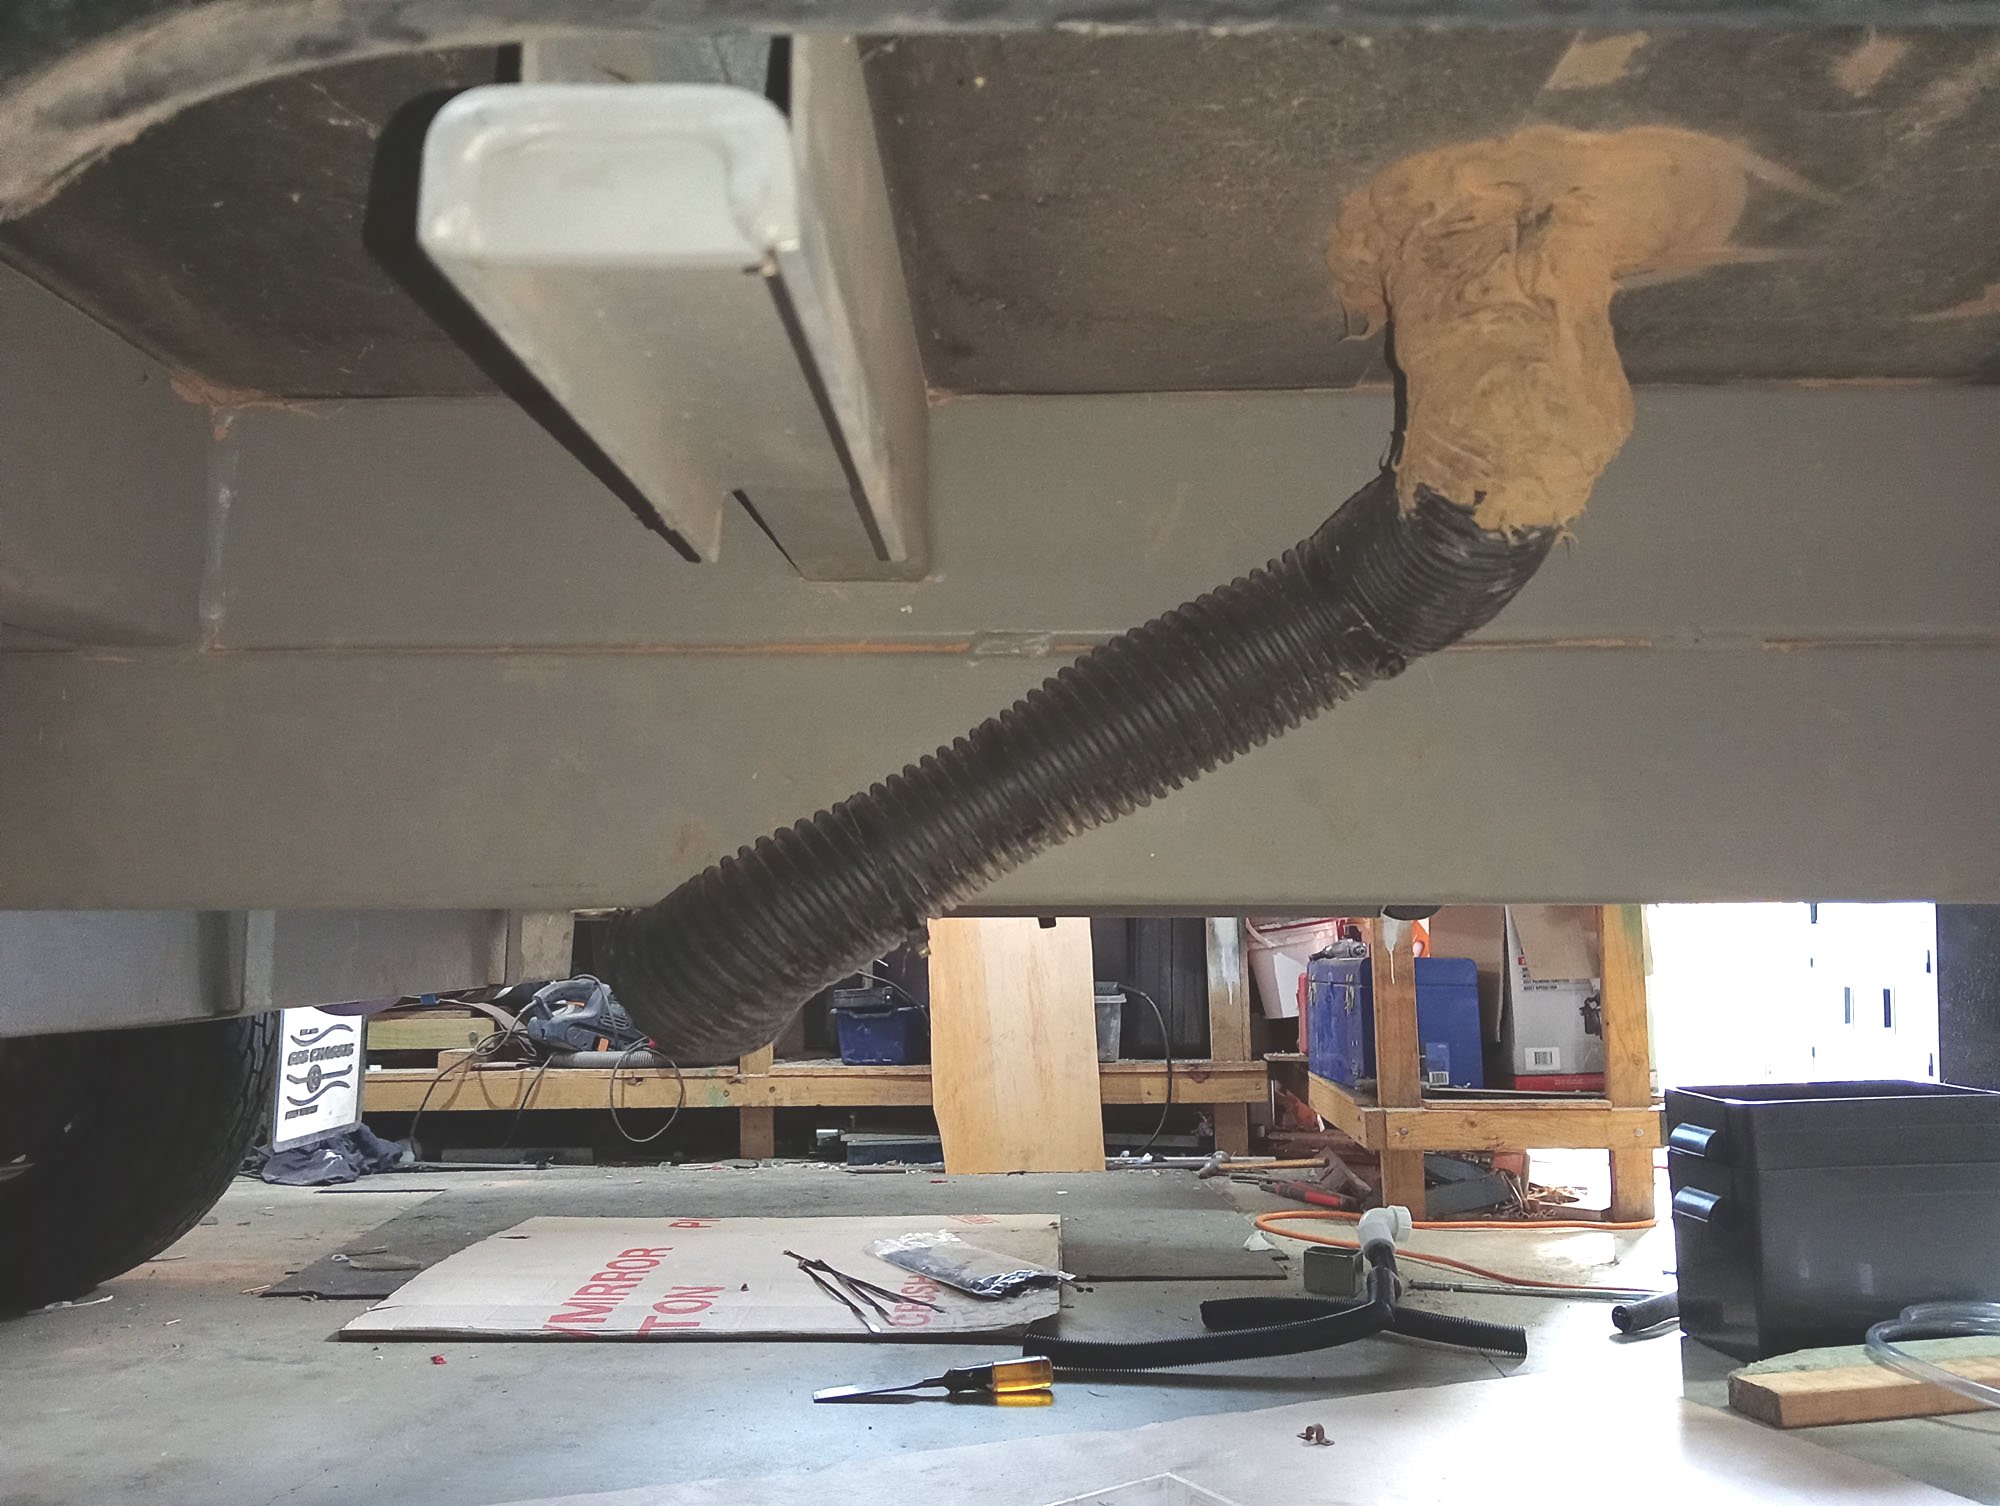
For a few days I'd noticed an unpleasant smell in the Van, kind of like
grey water,
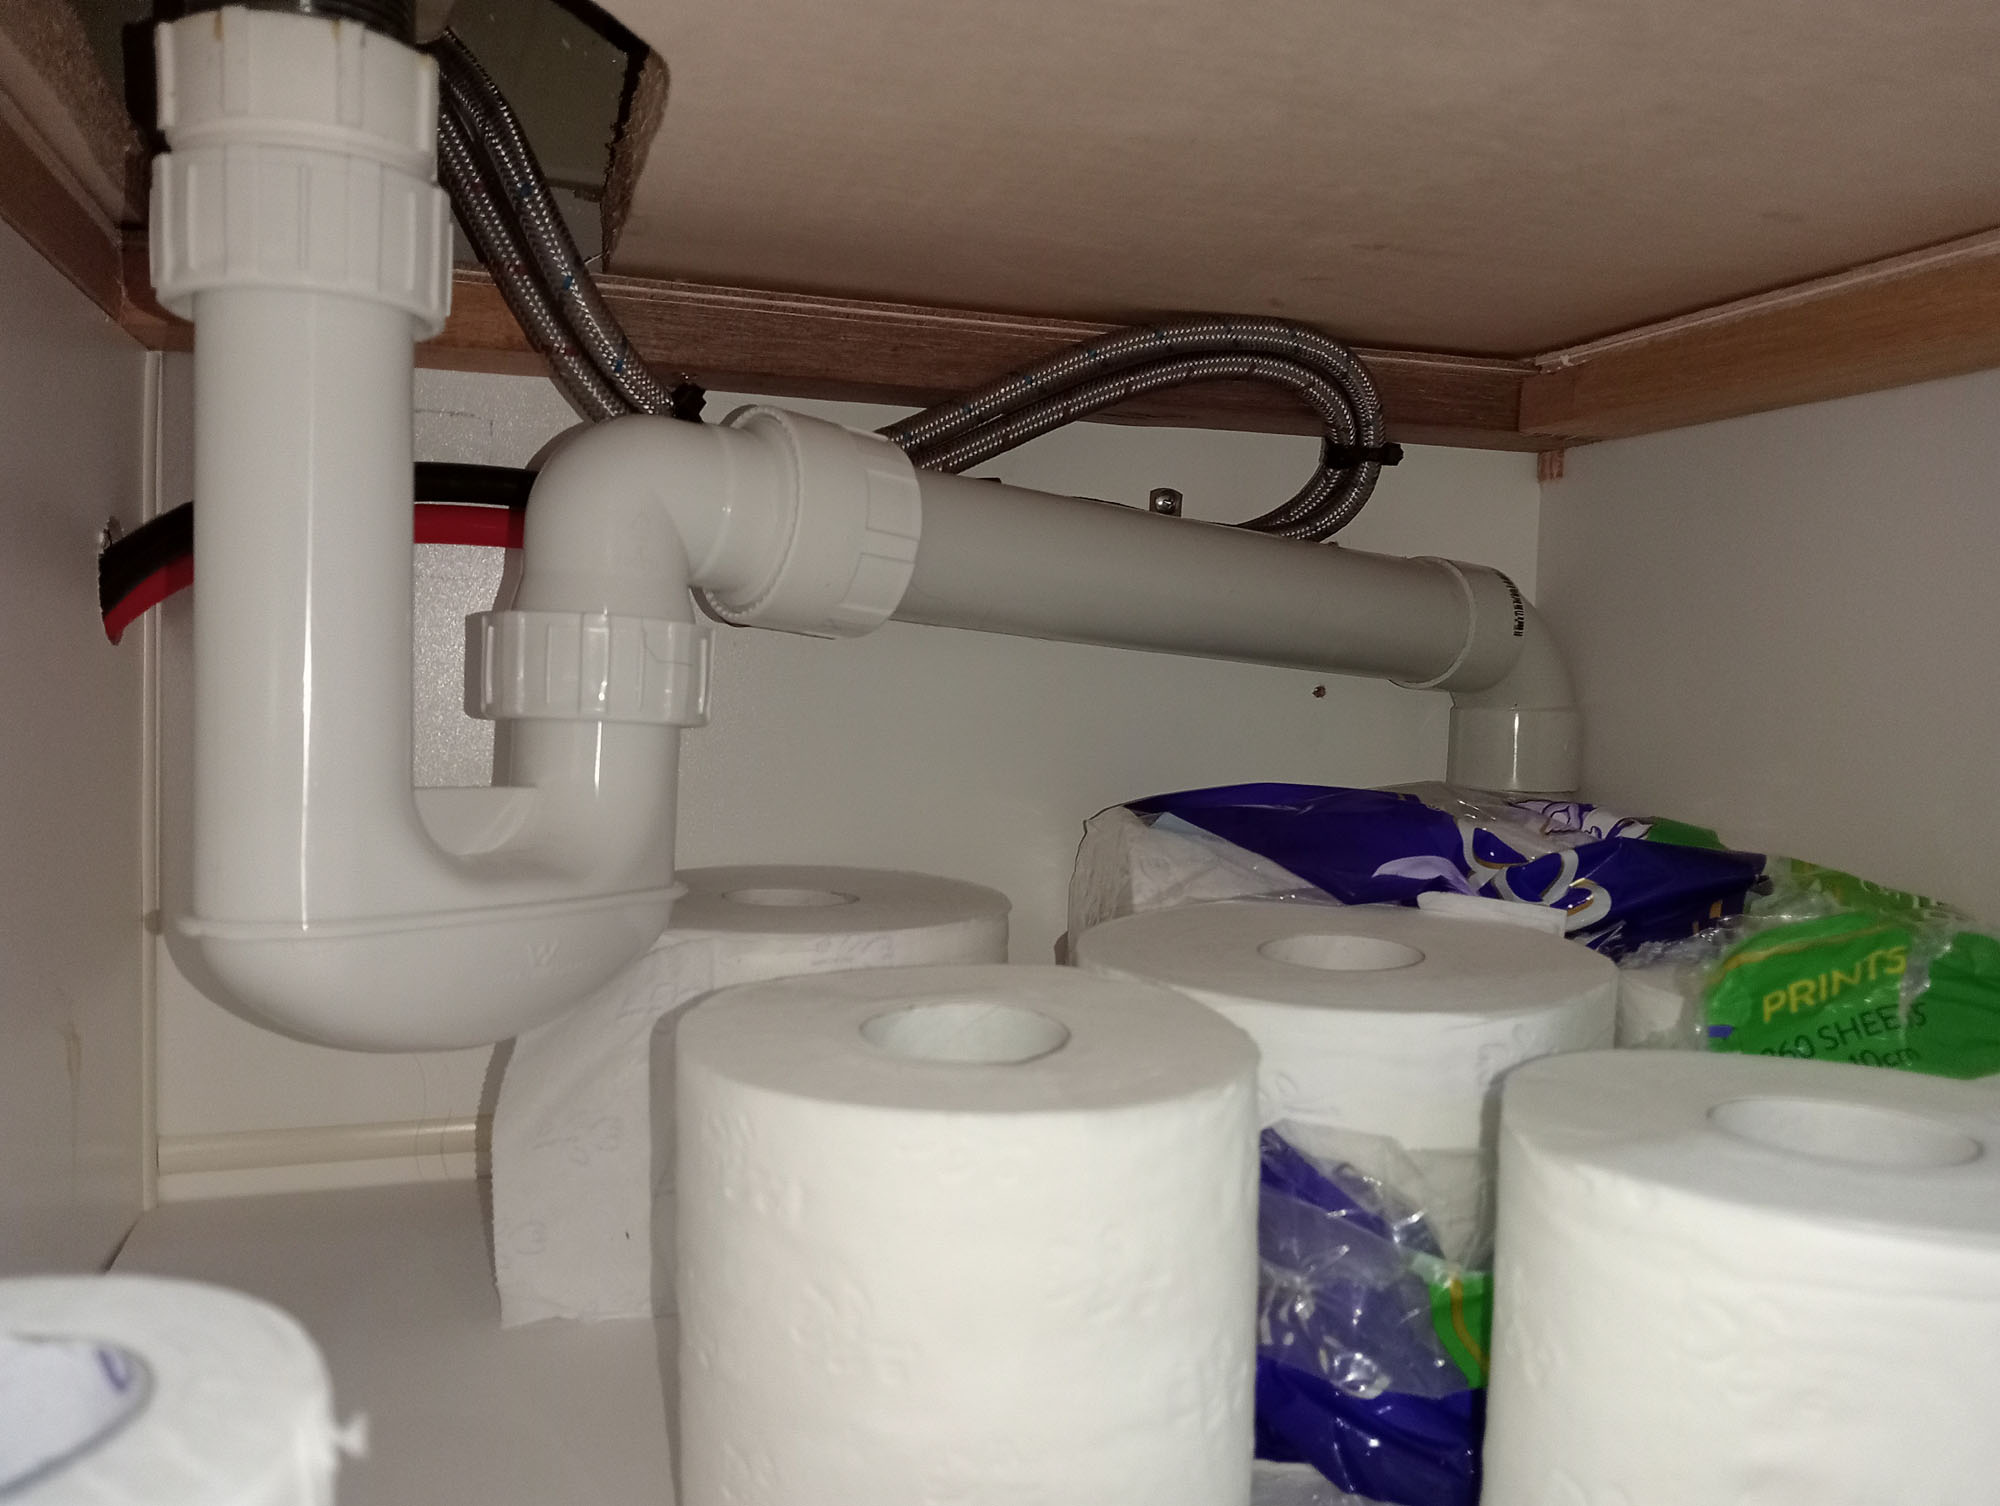
Then the realisation that there are no traps on the kitchen or en-suite
sinks, so the plugs must be kept pushed down to stop stinky air from
the greywater tank.
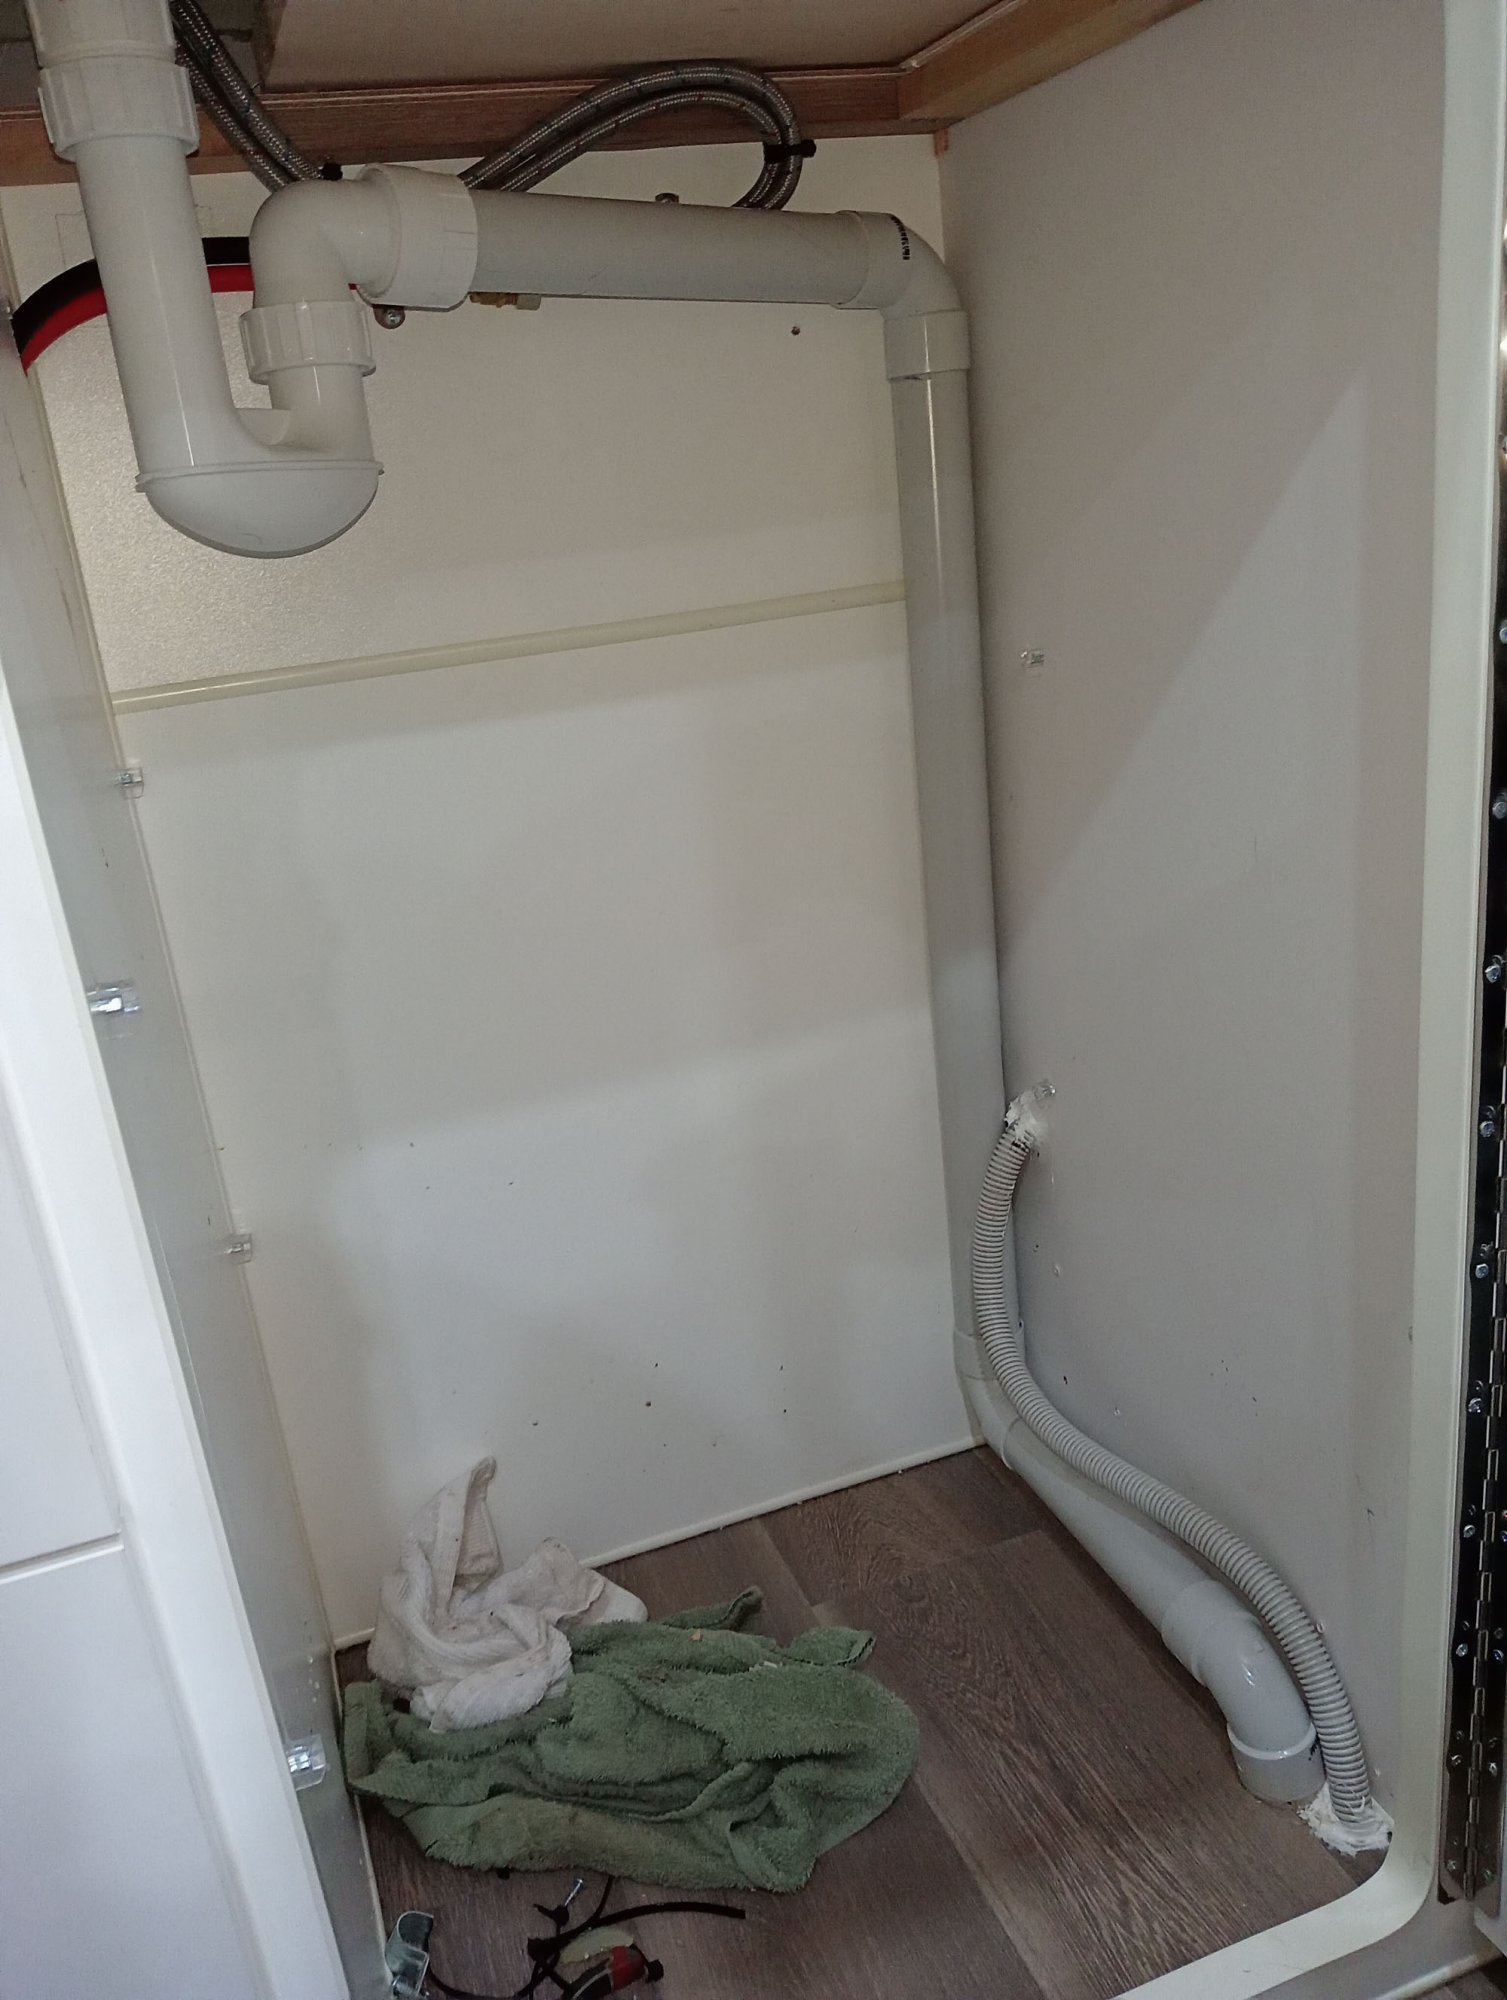
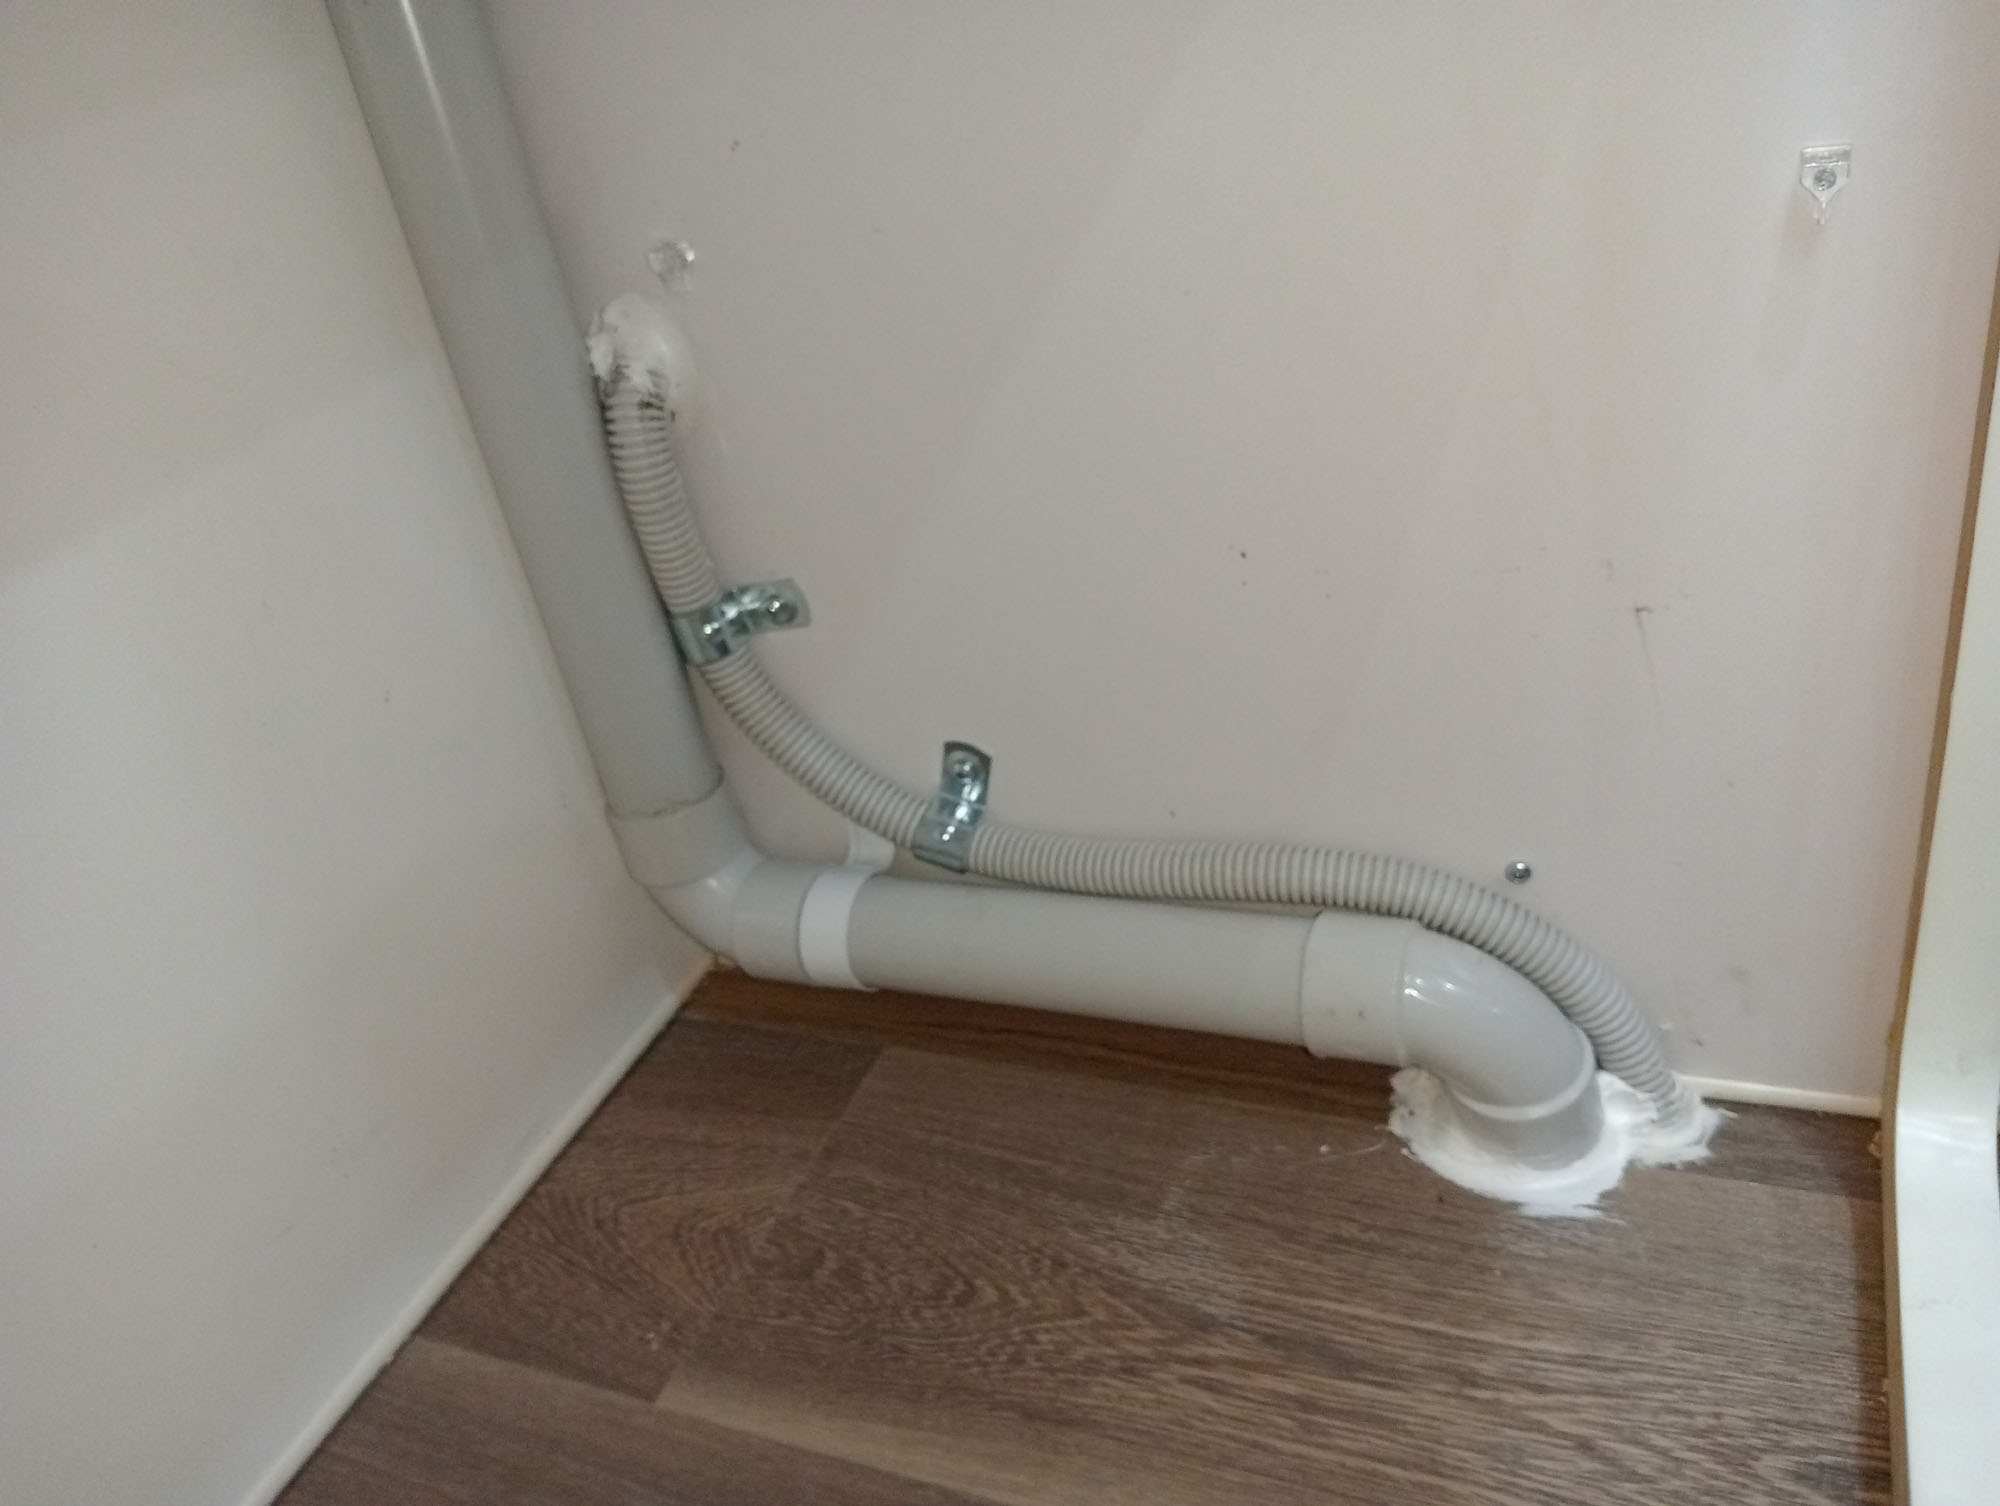
The shower has an unintentional trap by default, as
its drain pipe had to travel underneath the chassis rail then back up
to the greywater tank, so water trapped in there prevents smelly air from
rising.
Don't you love that silicone work, its been put where its not needed, and not put where it is needed. - ugh
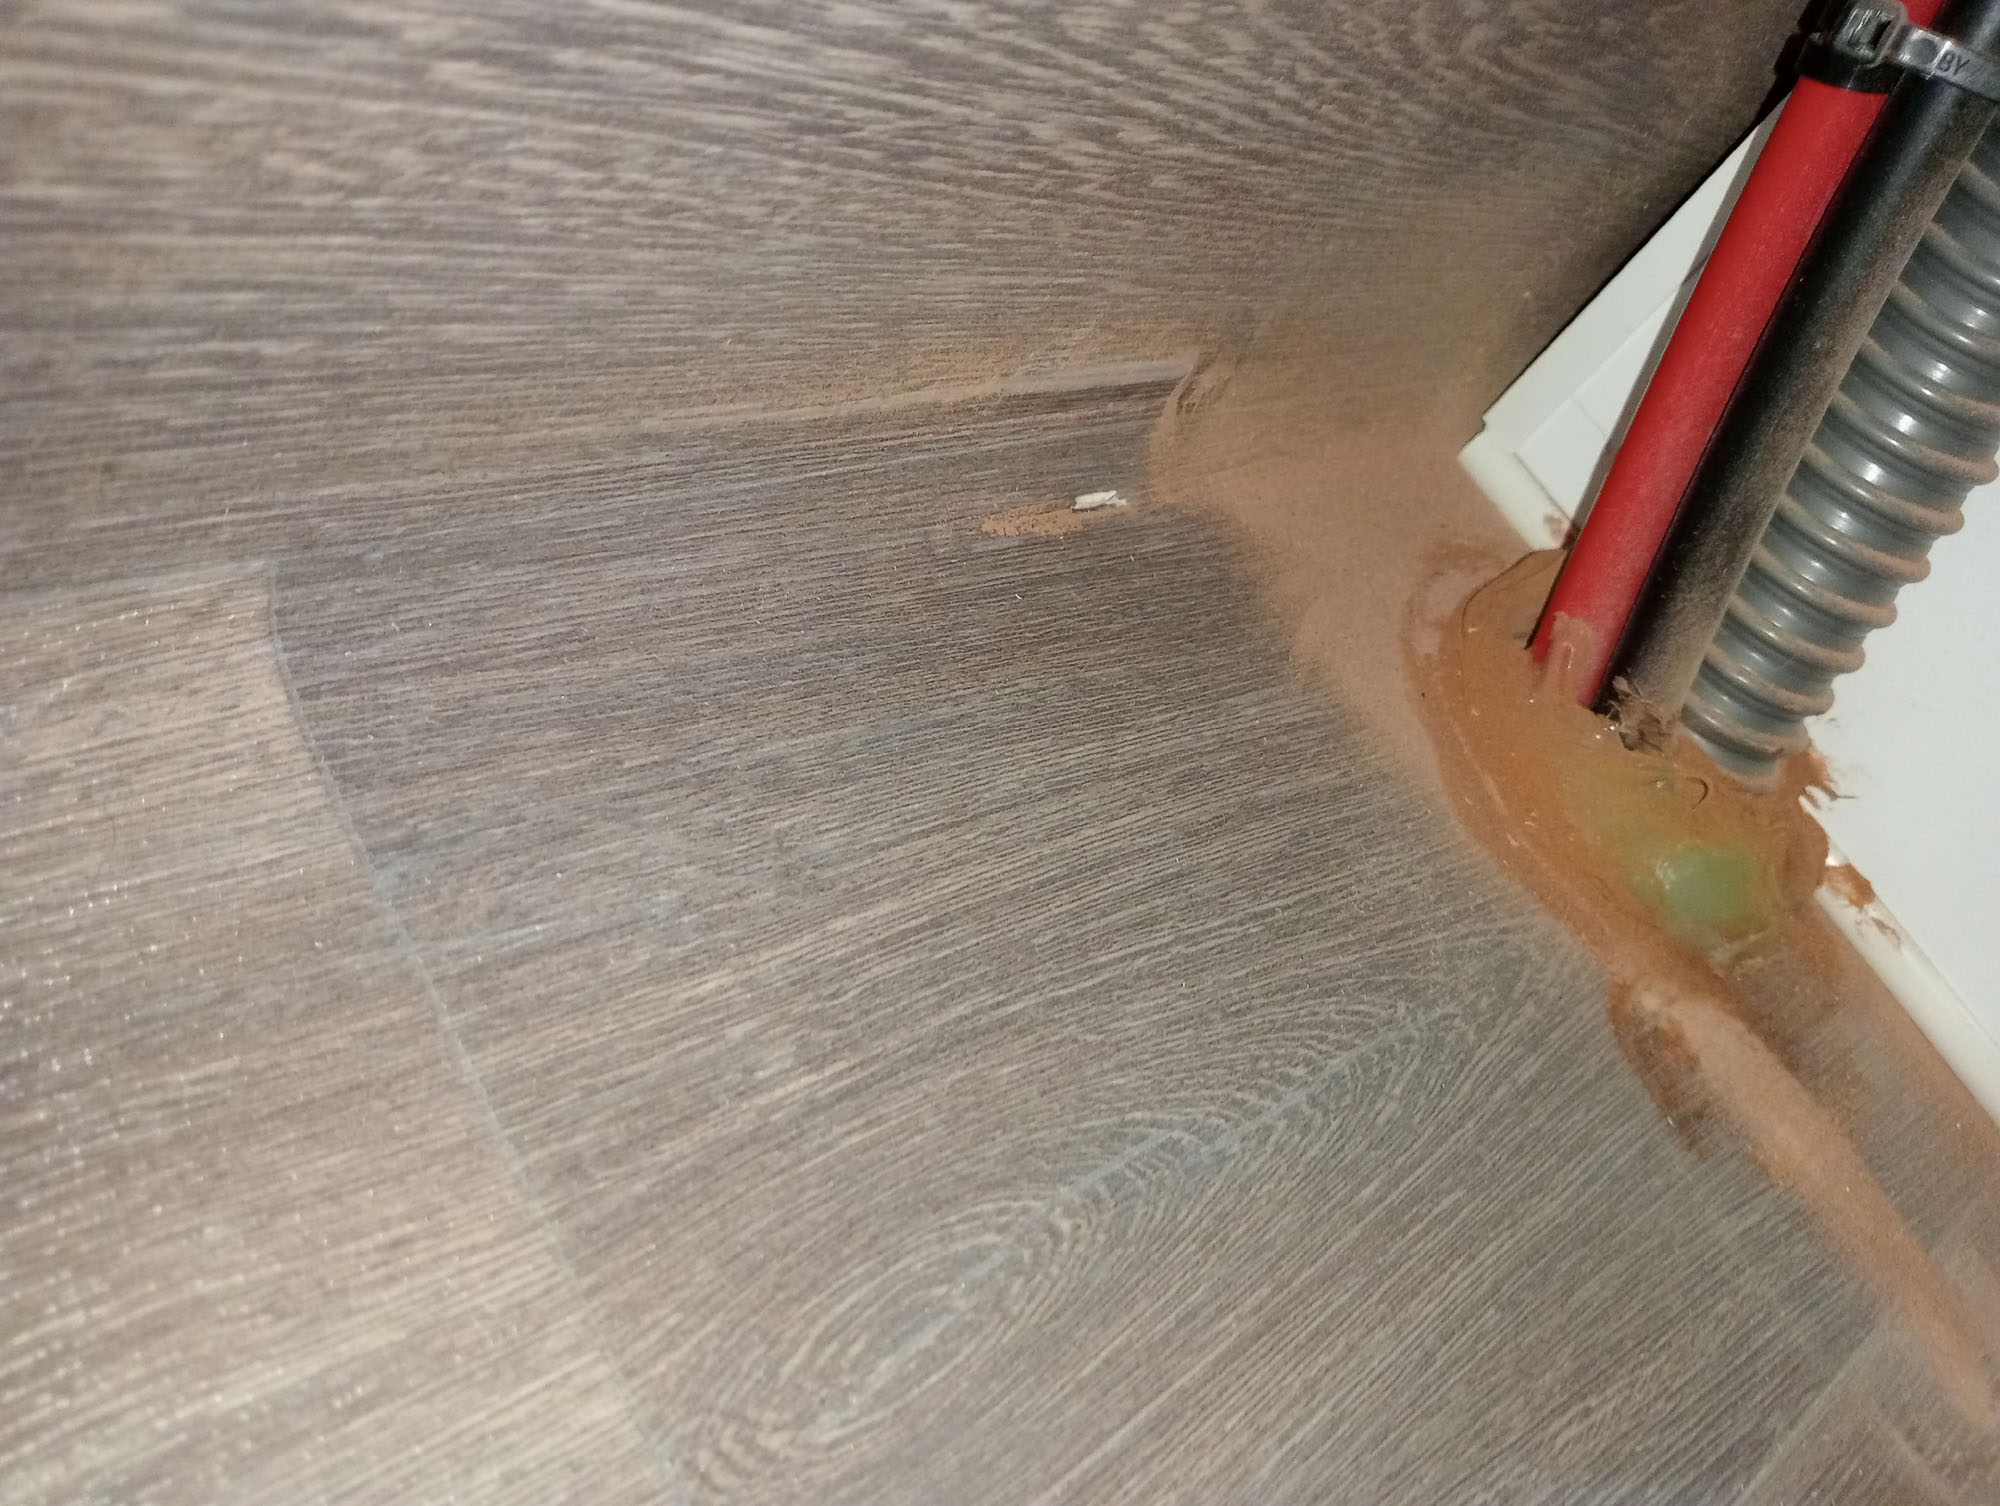
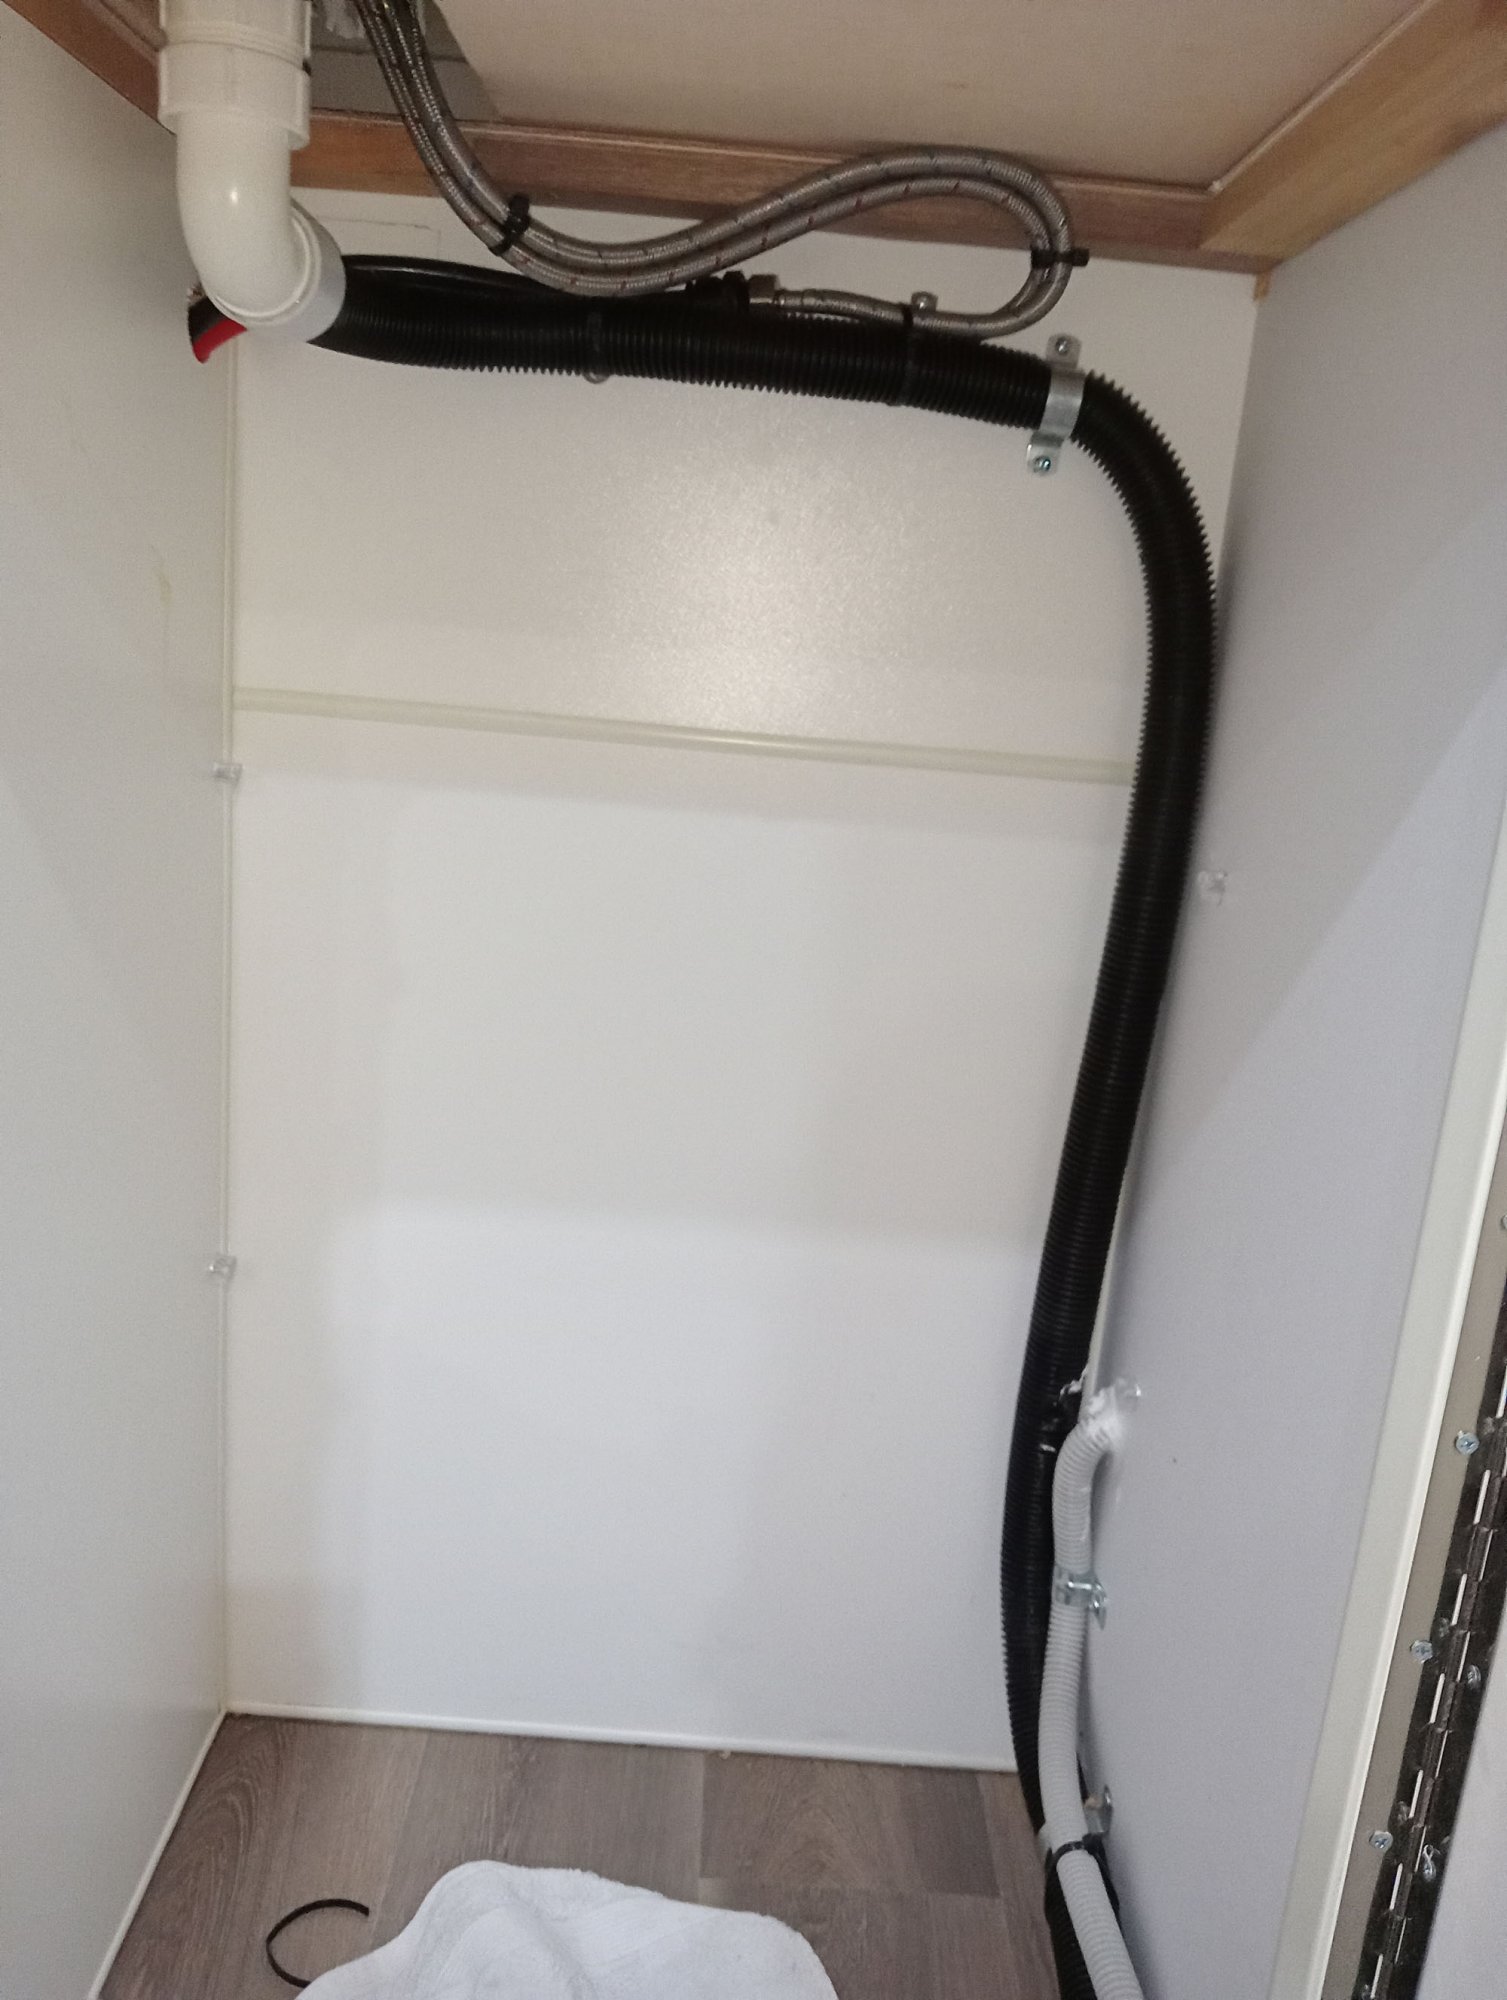
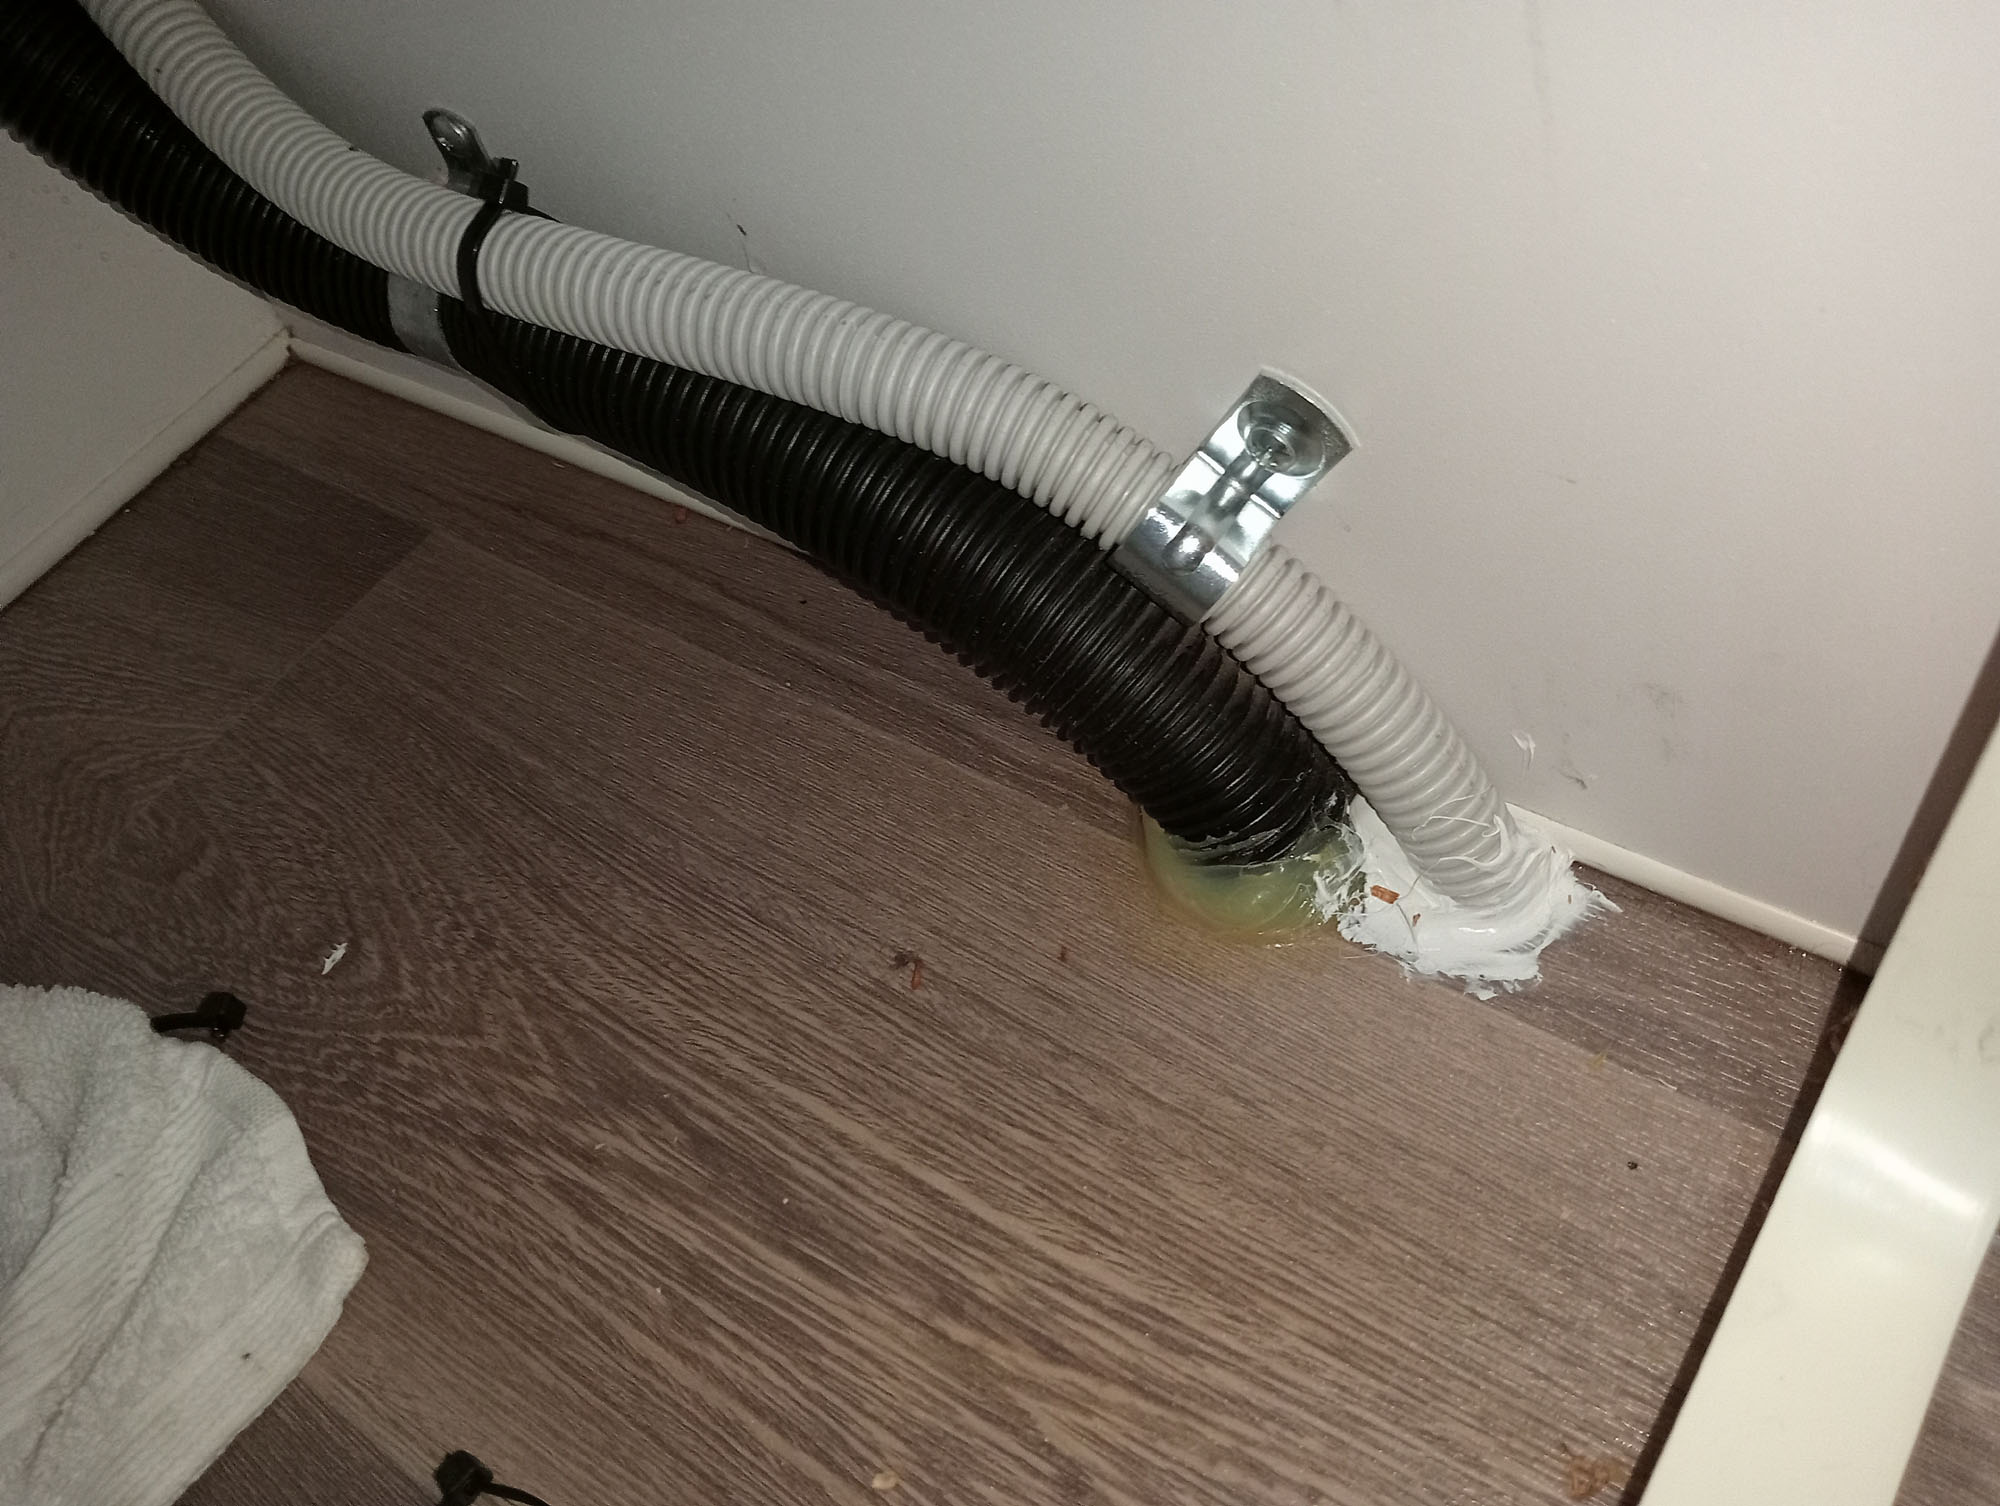
Whilst inspecting the en-suite downpipe I noticed the floor under the sink cabinet was wet, and the water was dripping onto the ground below the van through a hole behind the drain pipe (thank you to that bloke in the factory for not fully sealing around the pipe)
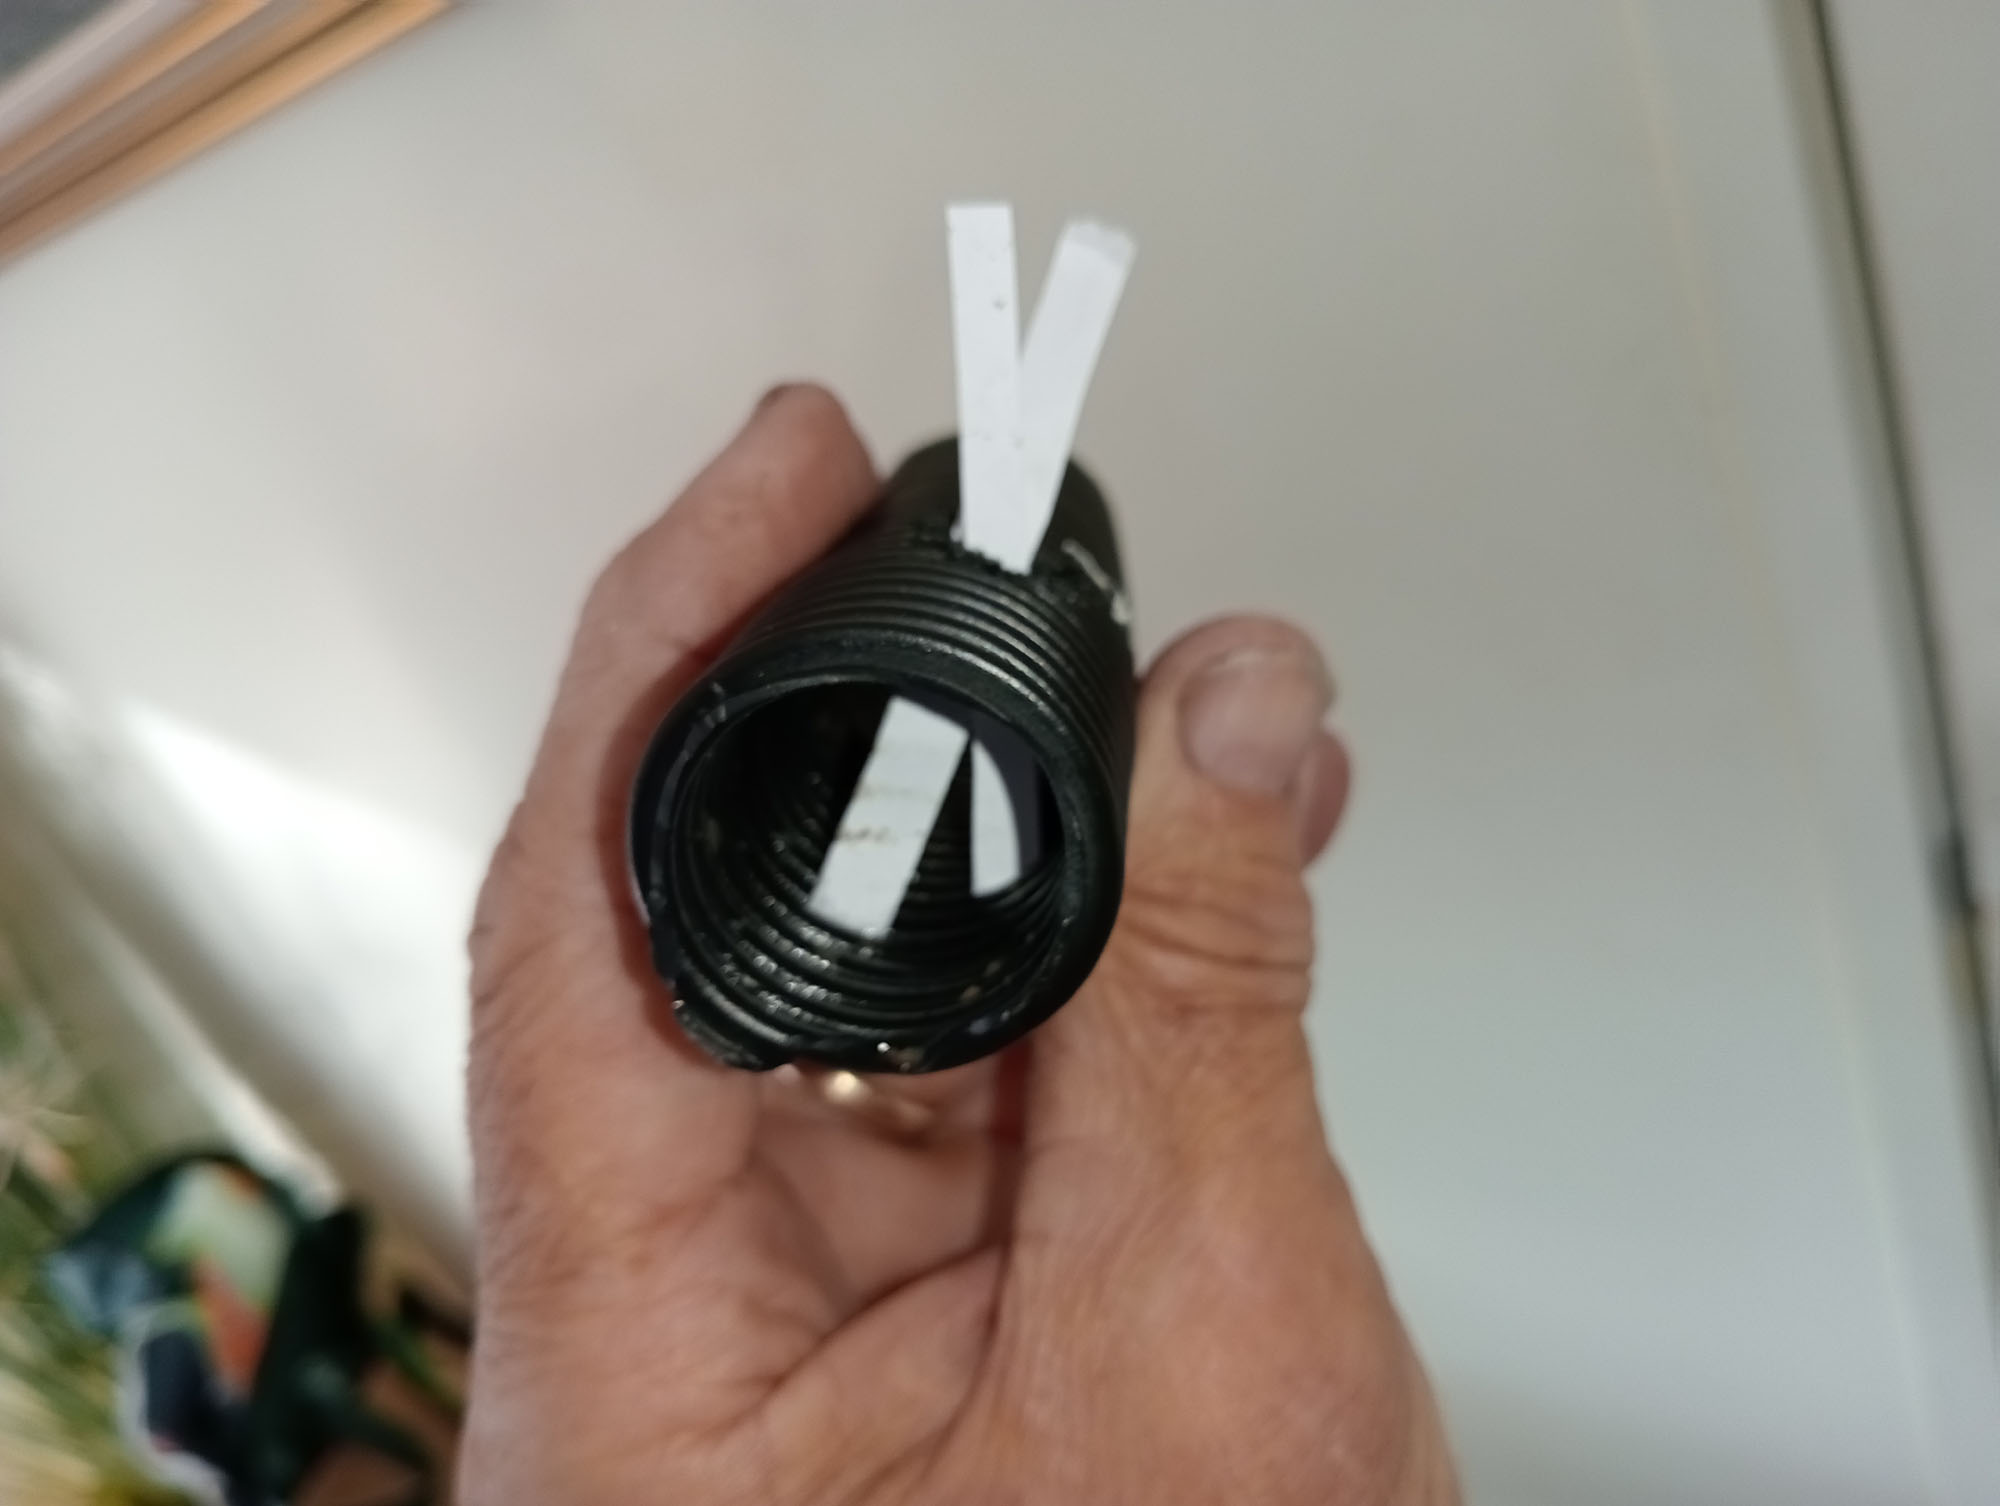
Further inspection revealed a hole in what I thought was the black protection around the down pipe, but I was shocked to find the black 'vacuum cleaner hose' IS the actual down-pipe !! (if you think that's dodgy, you ain't seen nothing yet)
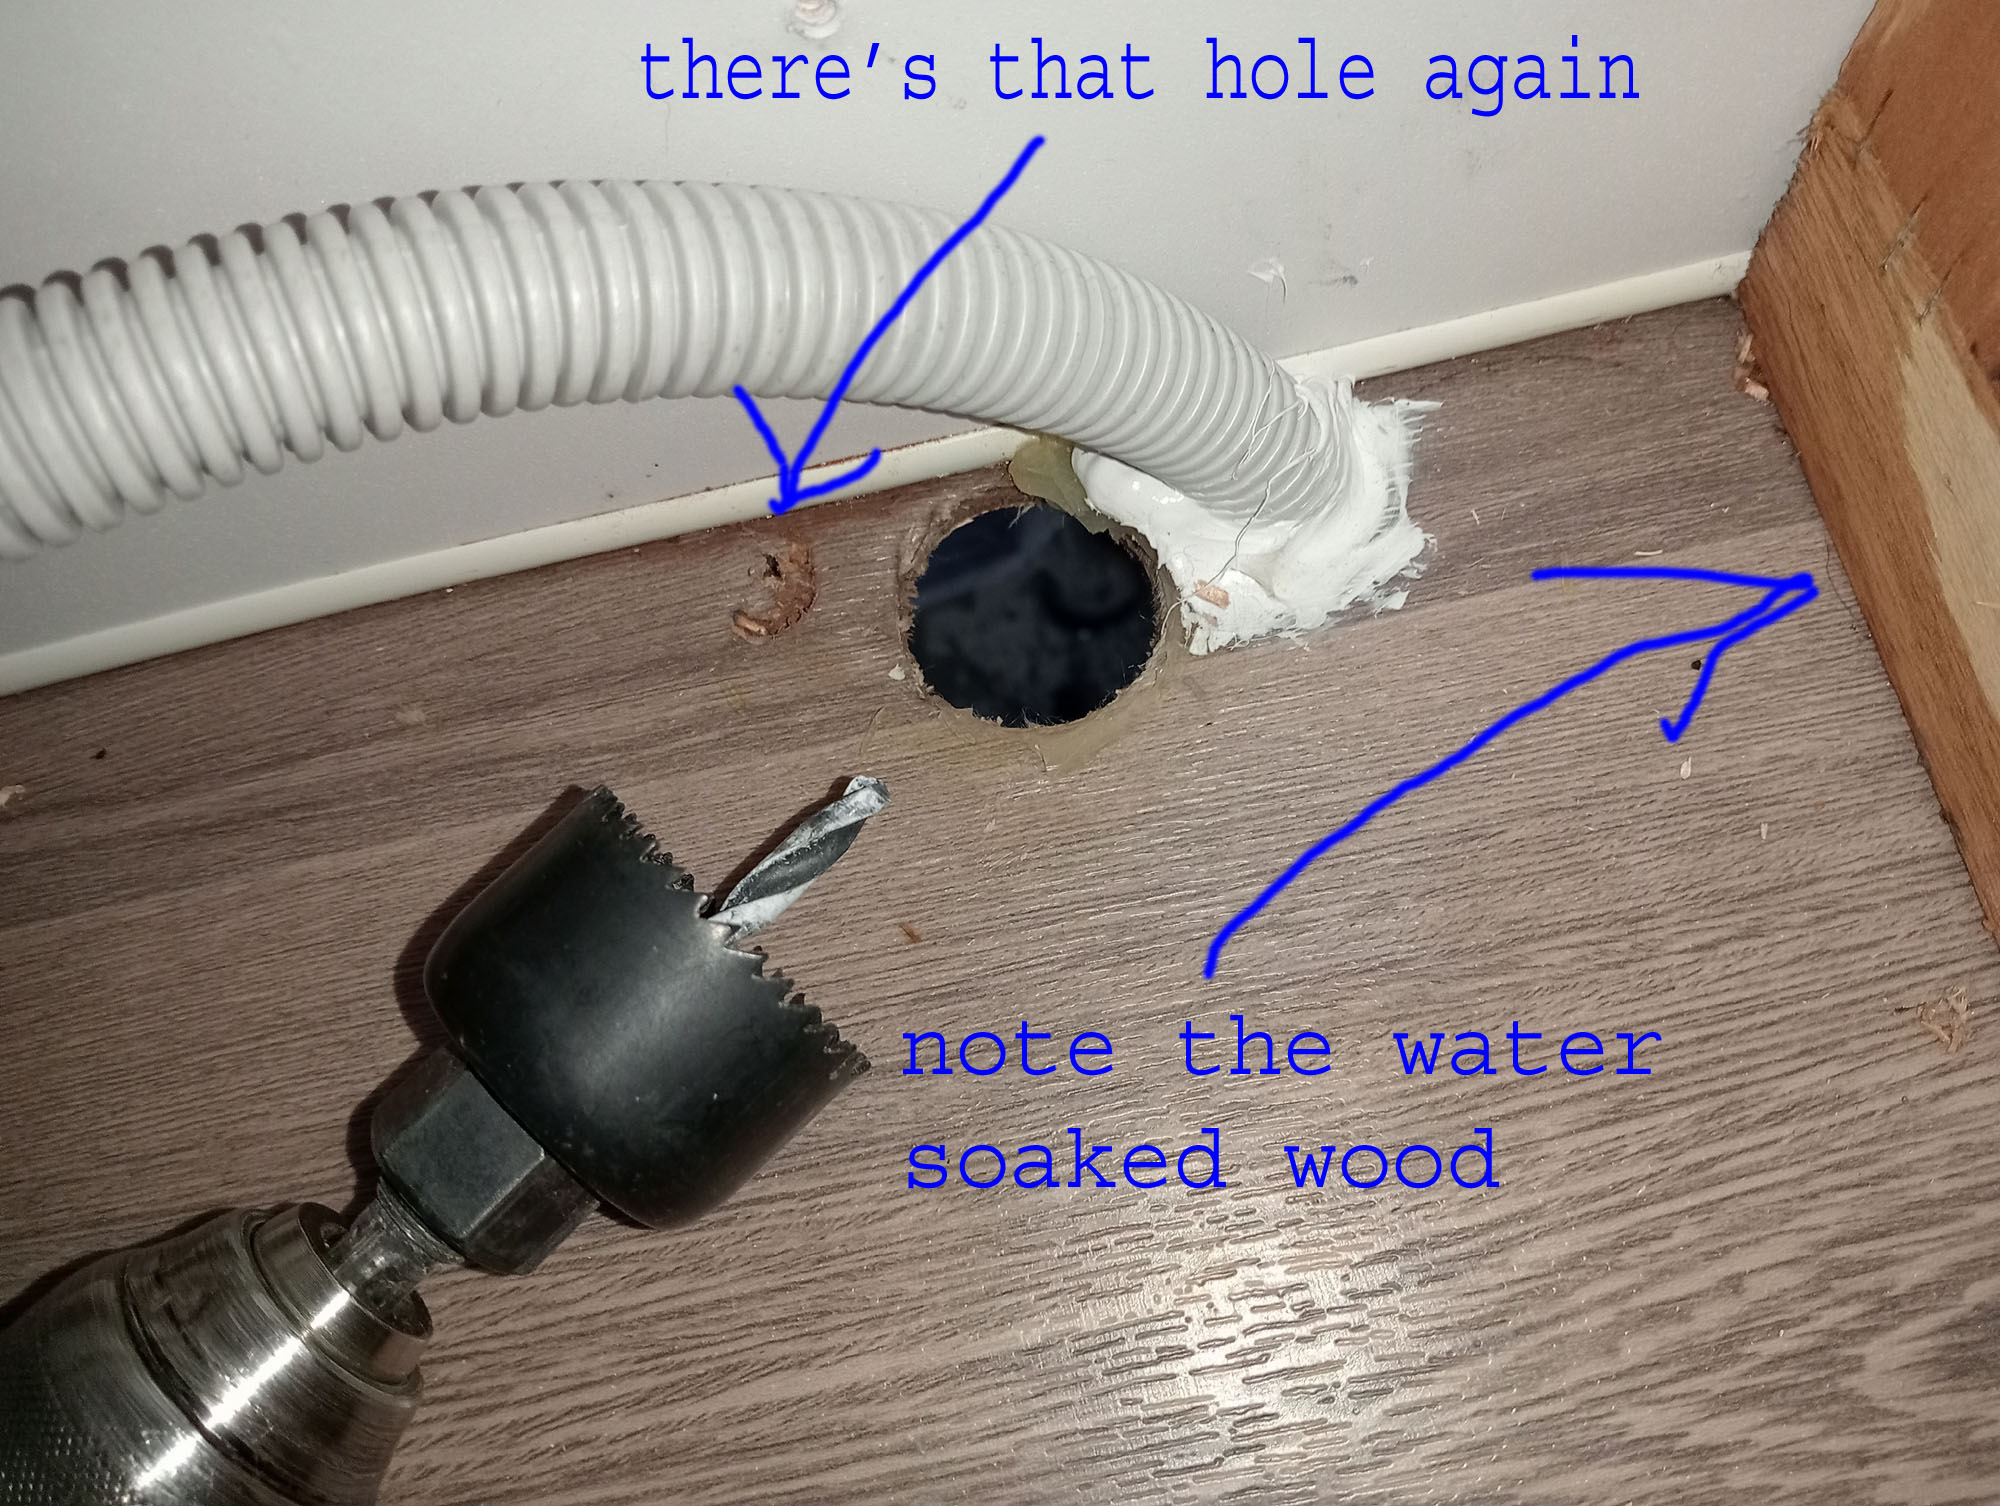
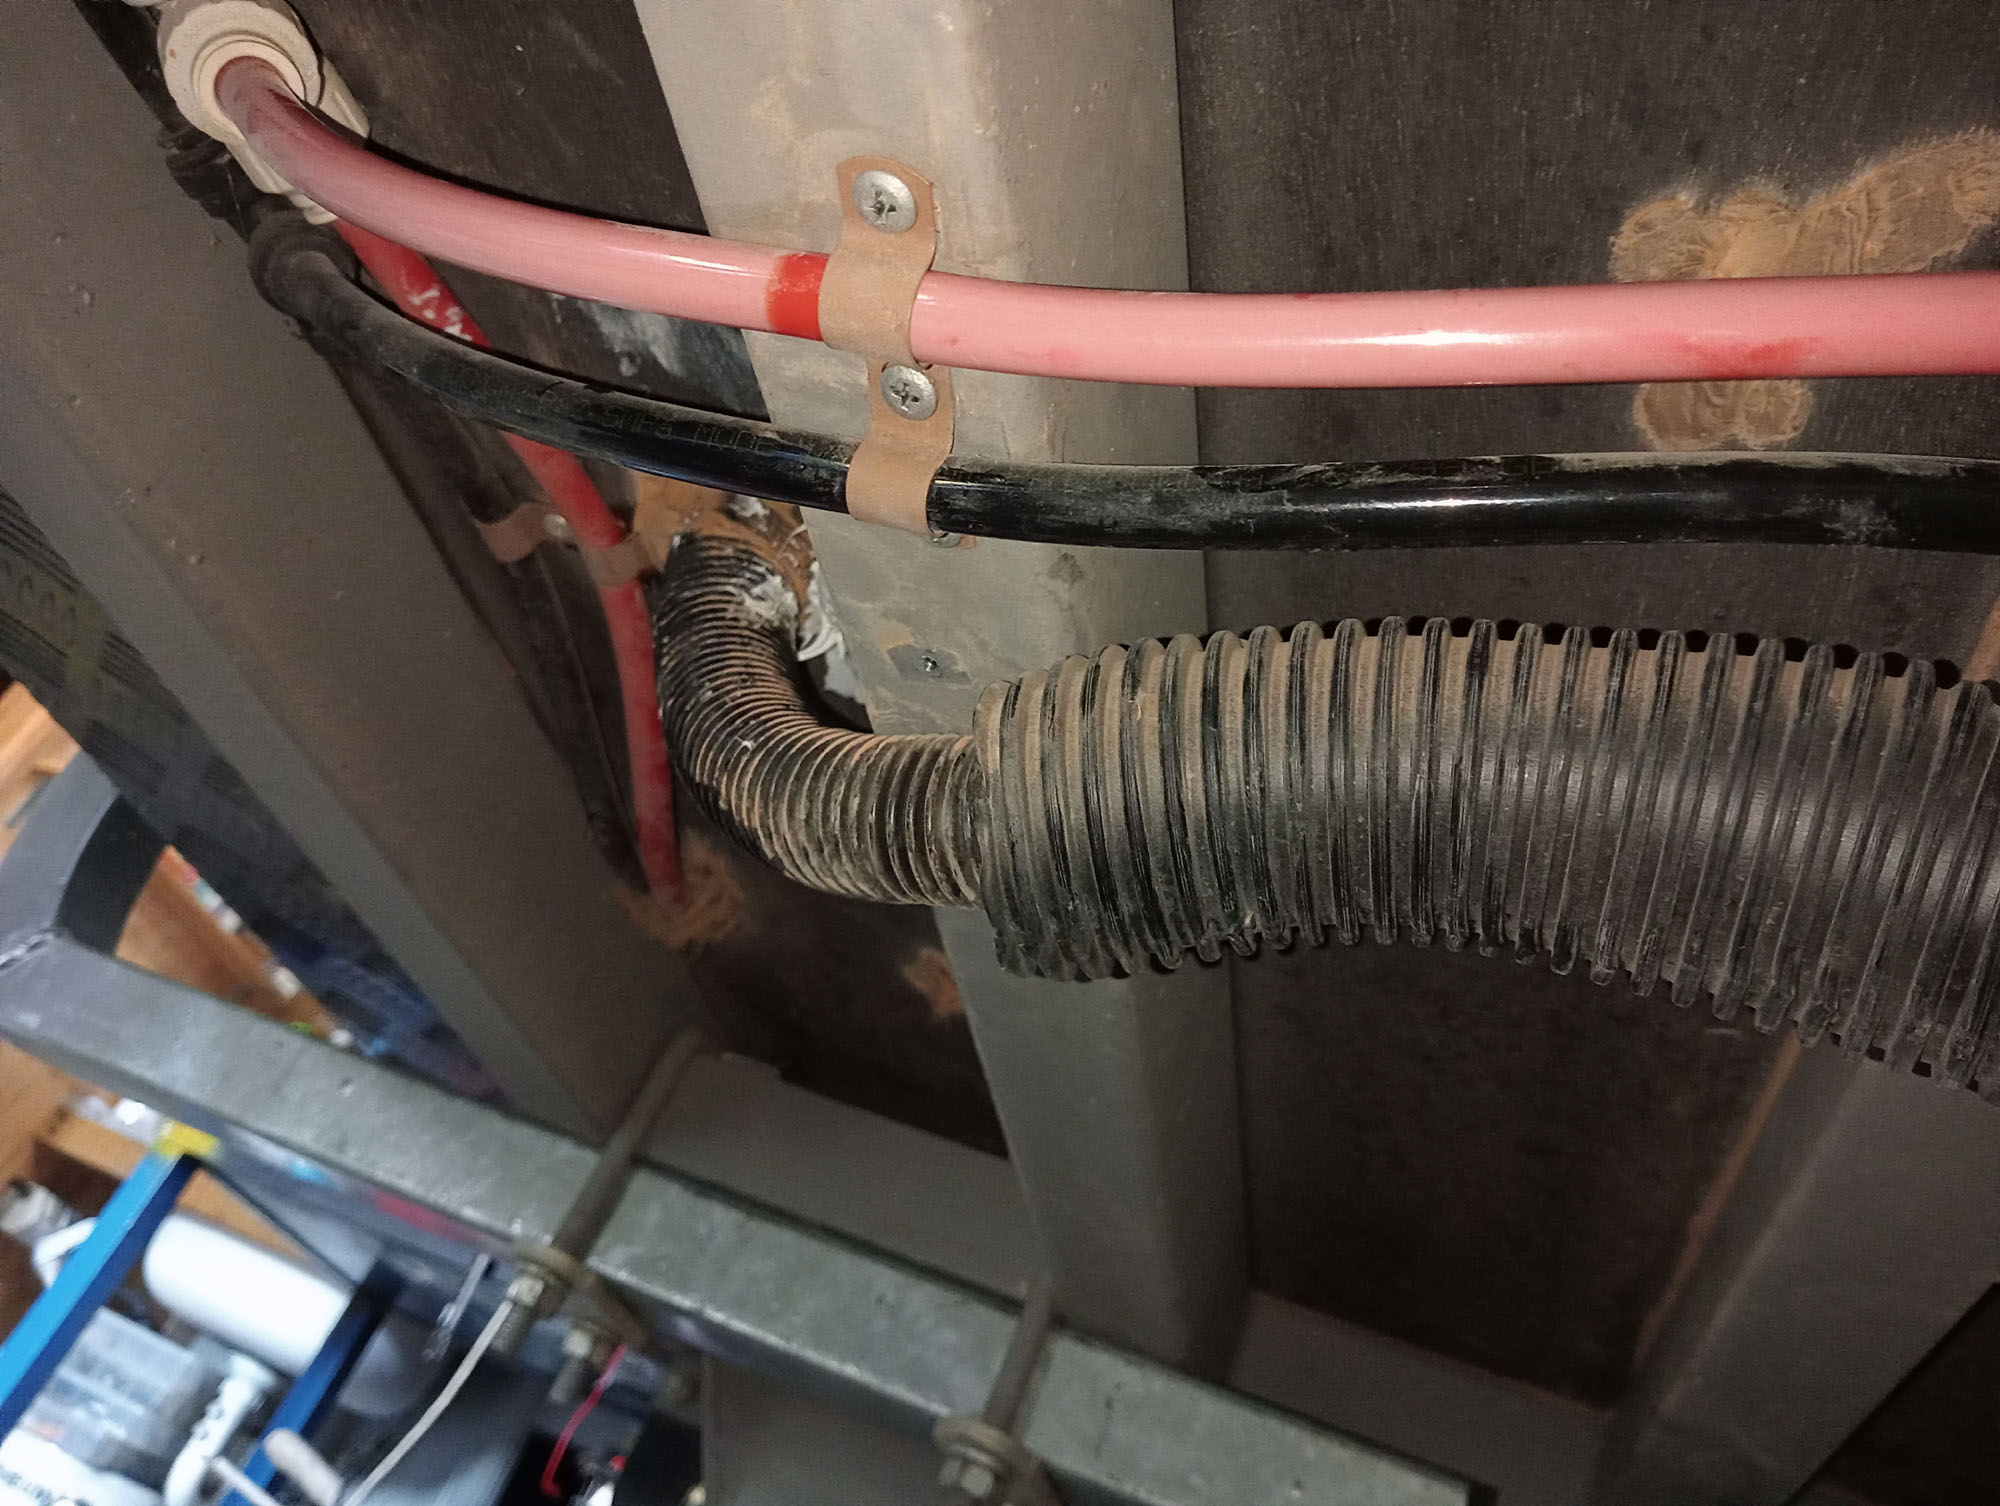

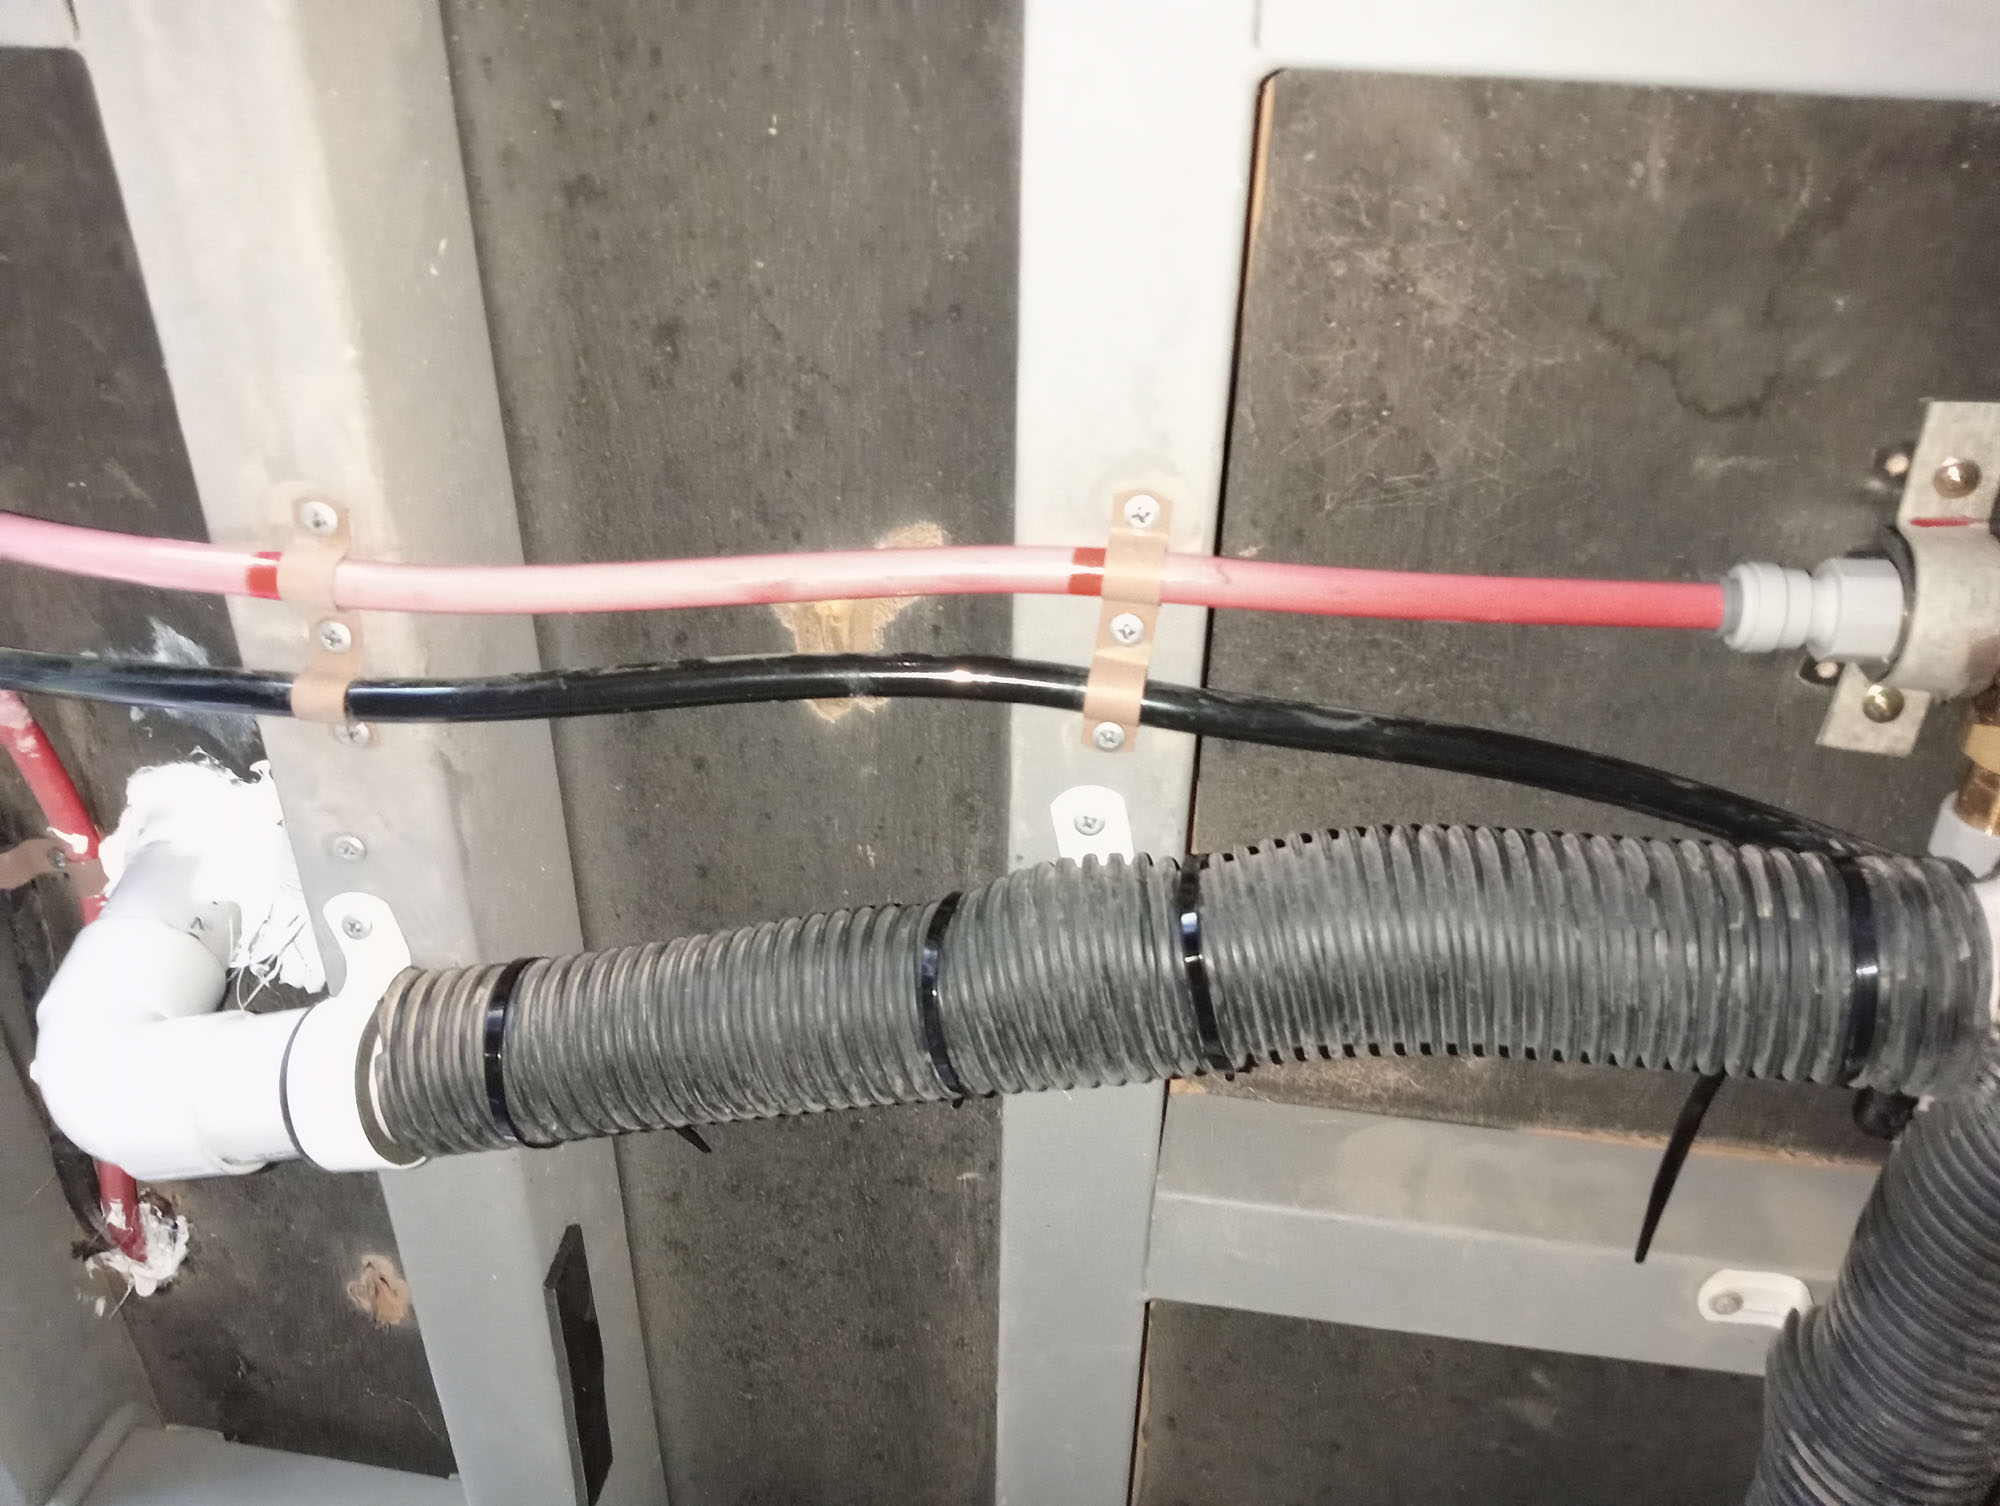
I ripped out the 'vacuum cleaner hose' & drilled a 40mm hole in the floor & installed a 40mm P trap , all of $7.00 from Bunnings & used a a length of actual 40mm PVC drain pipe & some bends to join into the existing 40mm pipe under the van. I do not understand why it isn't like this from factory, not cost saving as this is cheaper than the vacuum hose they use. Perhaps for weight saving?? all of 1kg saved. As well as eliminating the grey-water pong the bonus is if I drop a contact lens in the sink I can retrieve it from the P trap, otherwise it would be another $350 lost for ever. While I was at it, I fitted a cover made from gal downpipe over the vulnerable hot & cold water pipes to the en-suite and gave the 40mm PVC pipe an extra layer of protection.
I read on Facebook recently about a similar caravan that had the pipe from Greywater tank smashed by a rock. The flimsy plastic cover the factory put over the pipes with cable ties is better than nothing but not even close to being adequate. Ideally the protection should be a metal guard or a rubber wrap with stainless cable ties. Nylon cable ties don't last long. (yep I still used them but they will be replaced with stainless).
I made this guard (below) from 2mm sheetmetal to protect the shower drain pipe, Will also make one for the greywater tank drain on the other side.
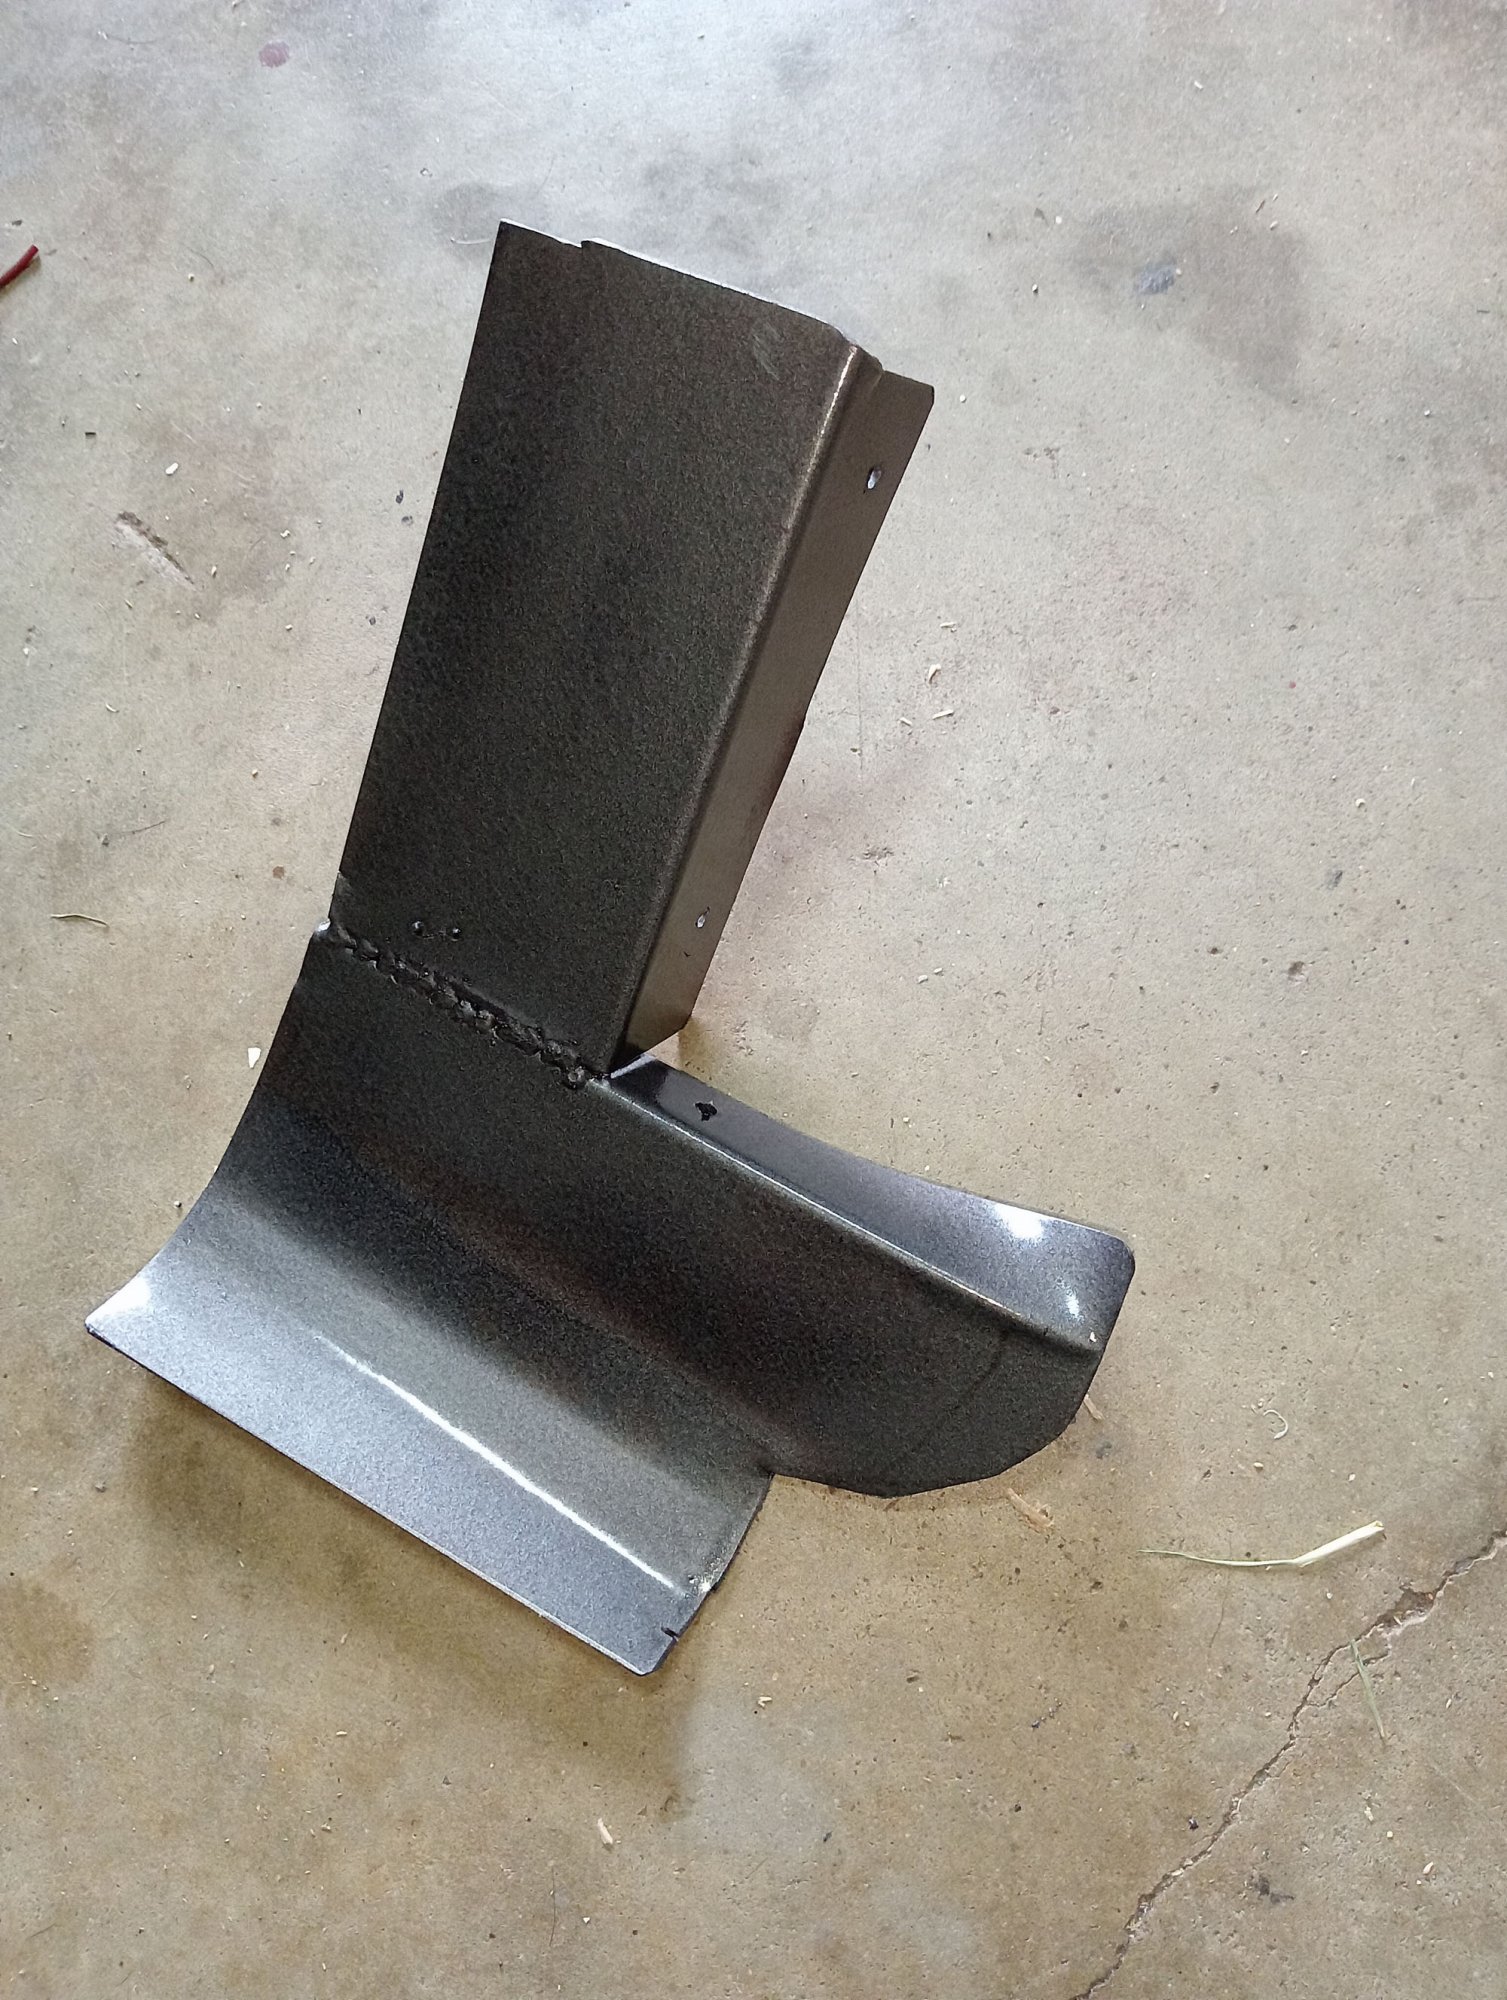
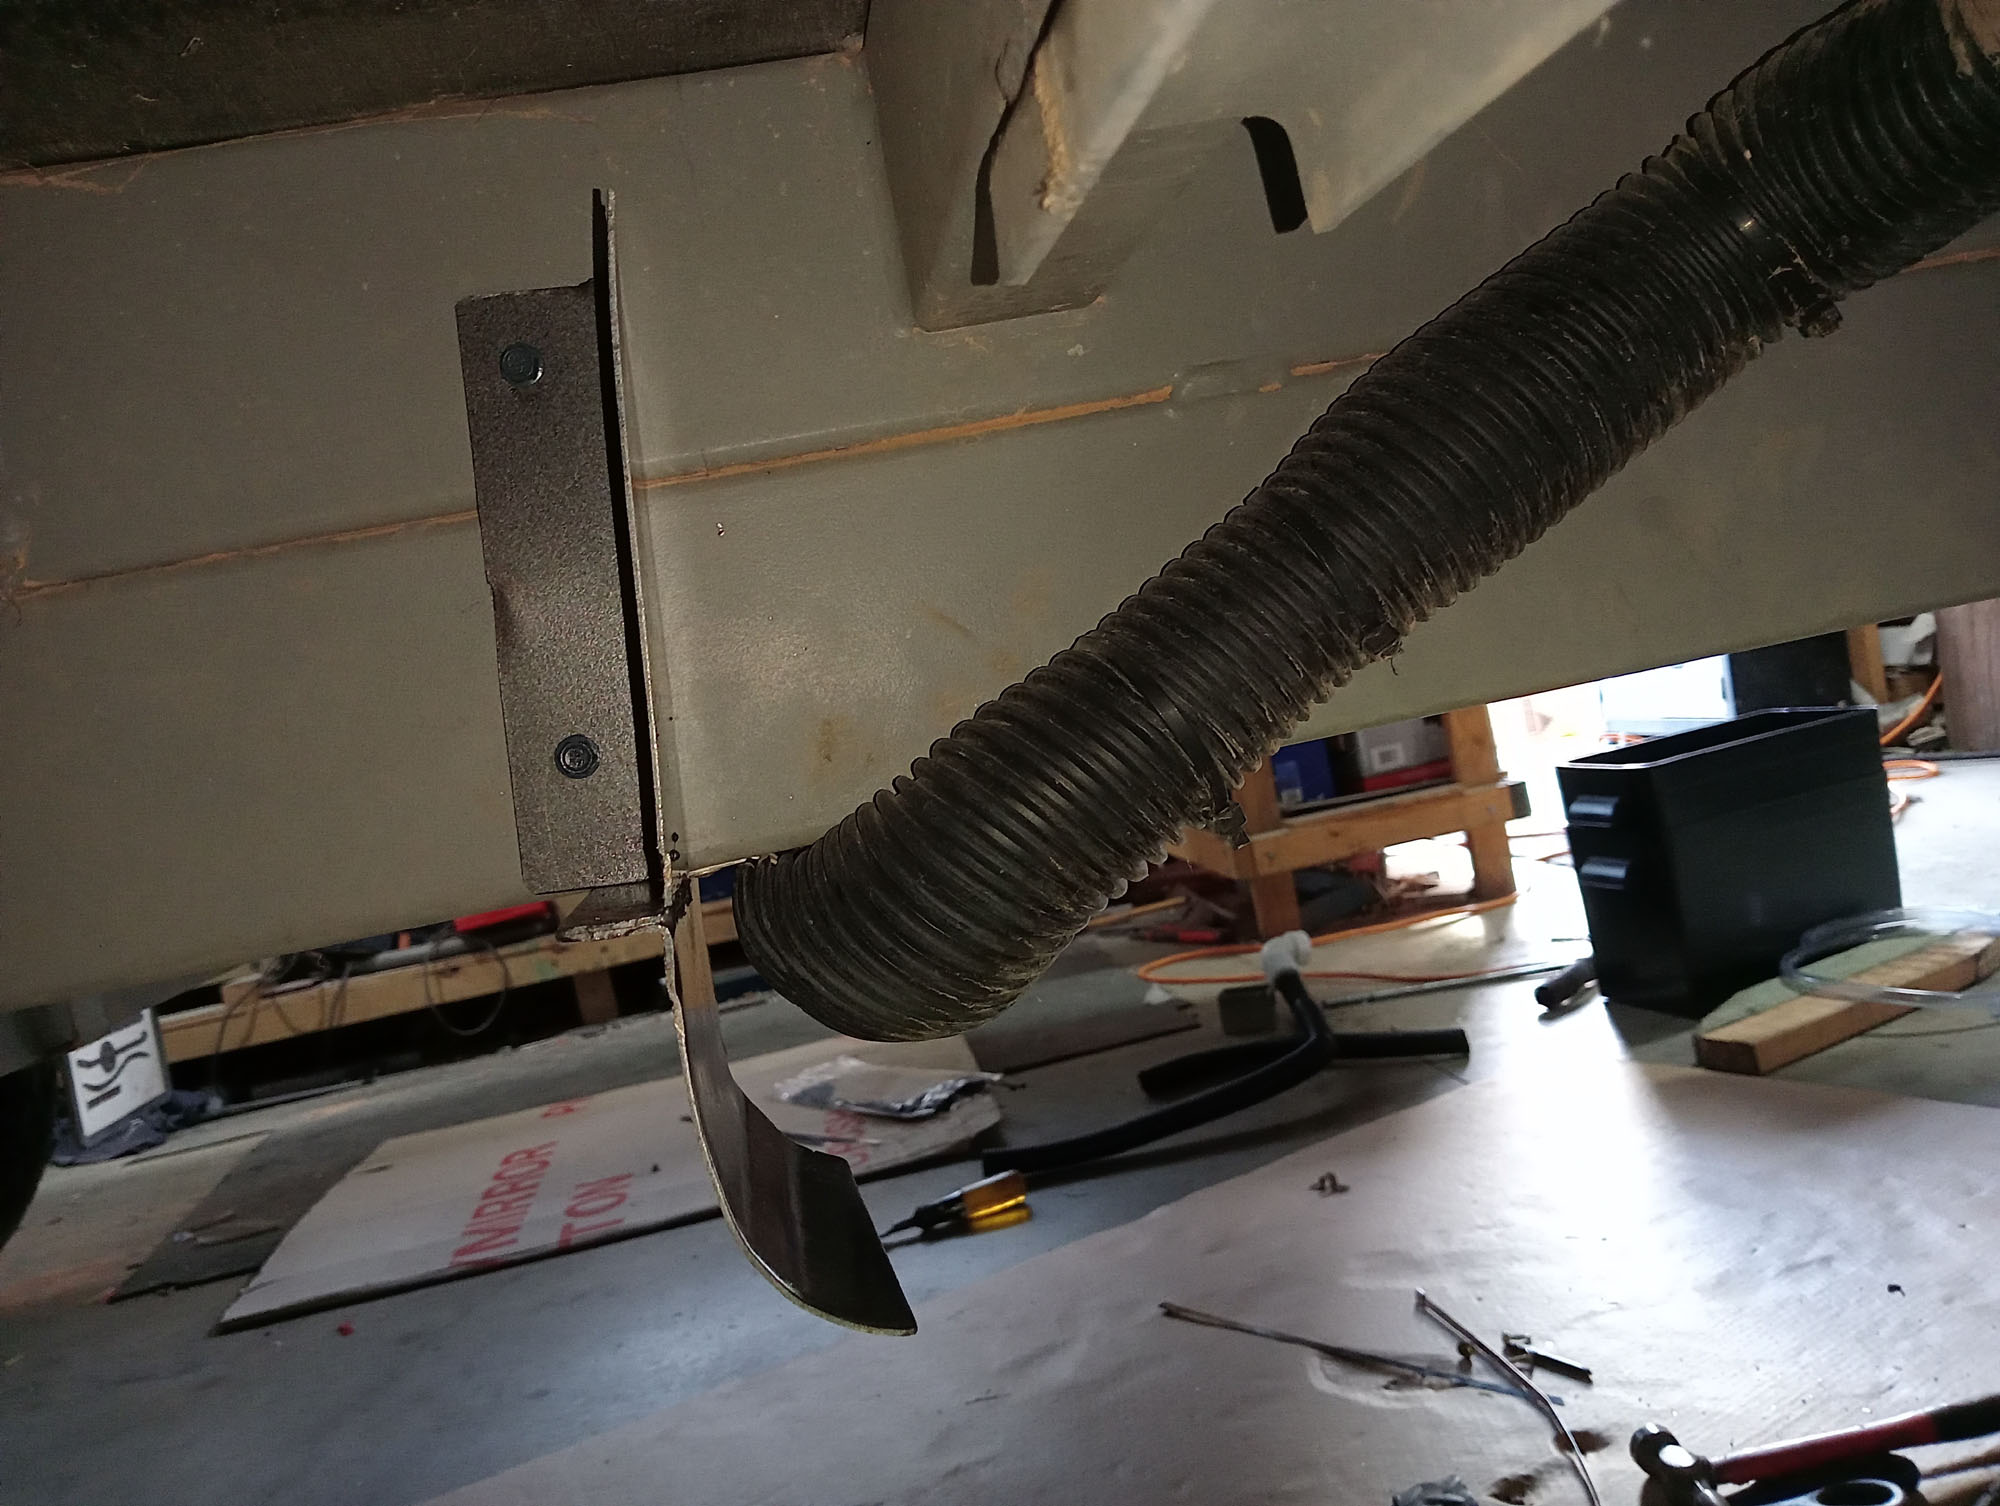
Hint: if you can see the wheels from any vulnerable part (plumbing & electric) behind them, they are prone to rock impact and need protection. (use a torch light aimed at the tyres from the part in question)
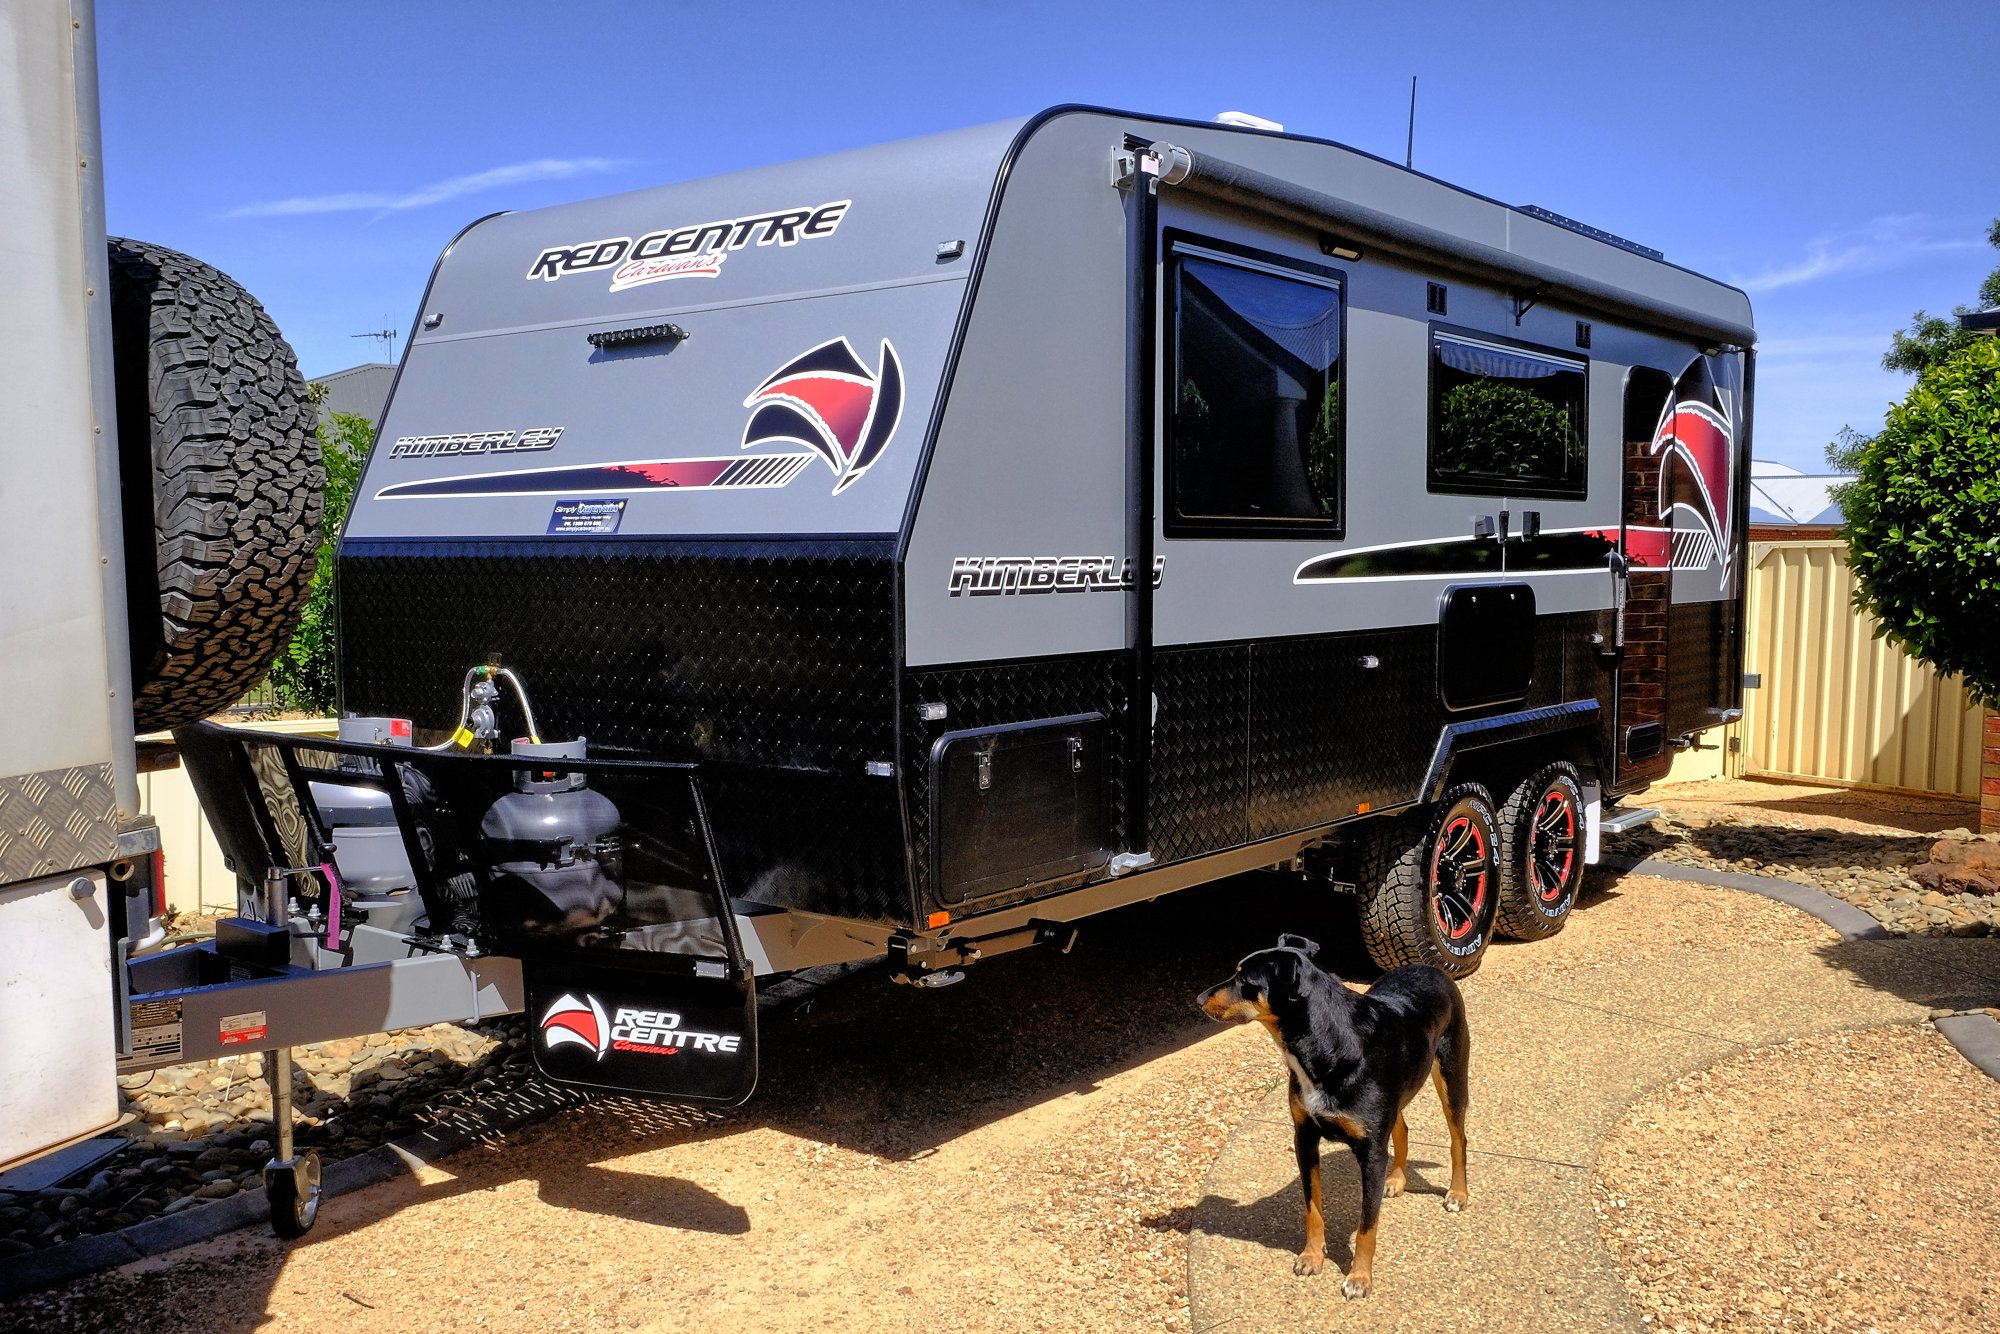
Underbody protection & Gas Heater vent
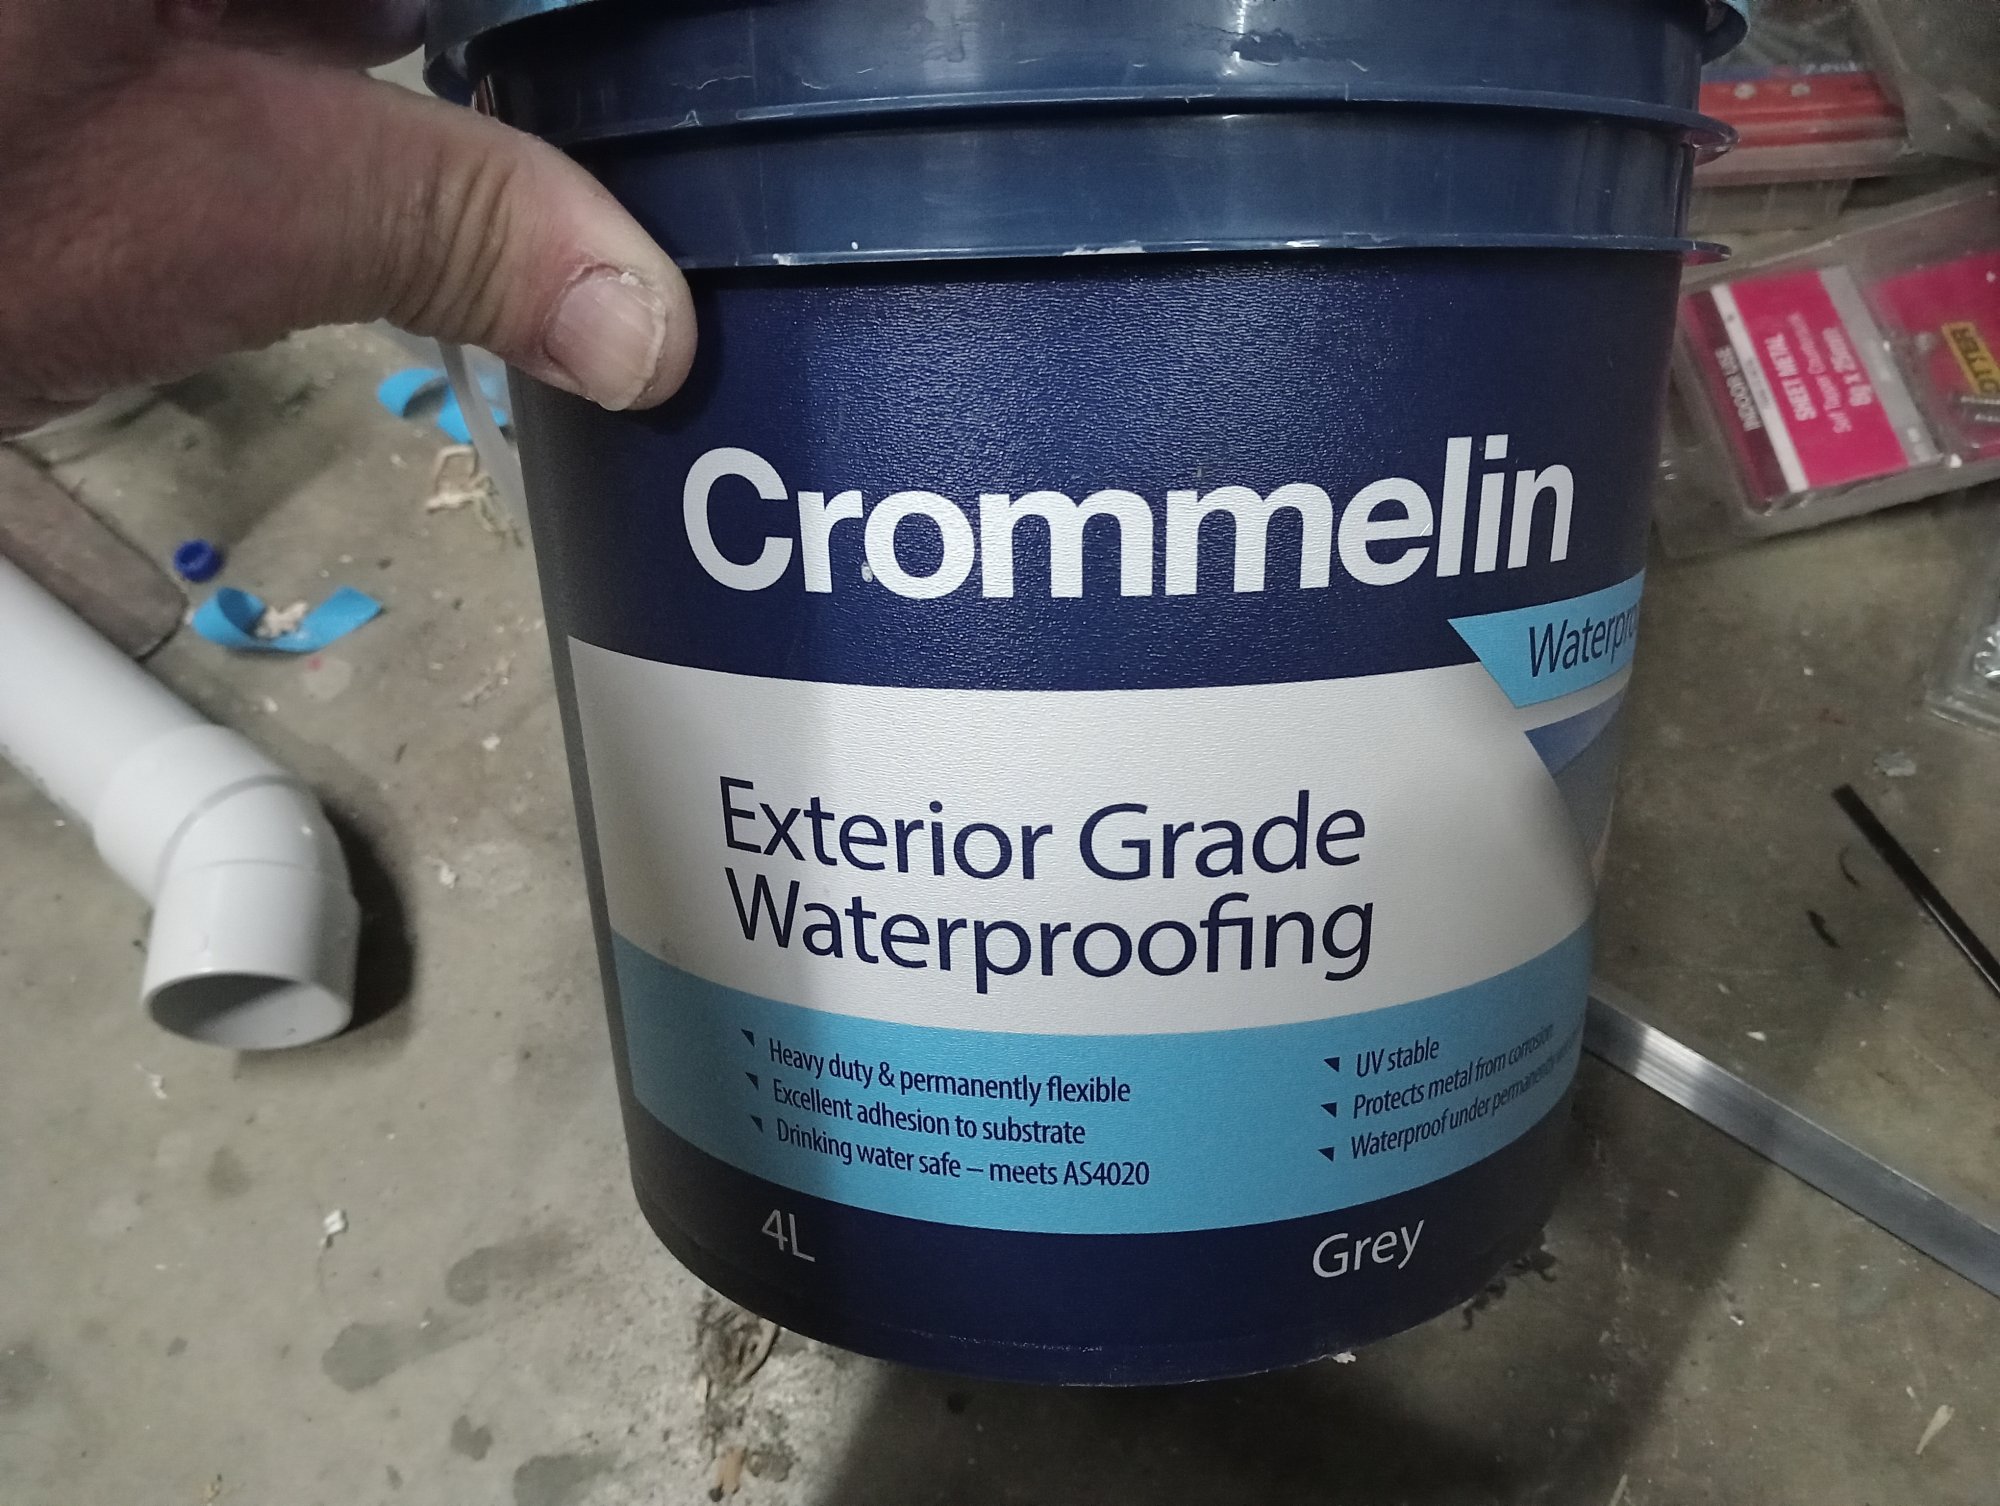

Whilst we are on underbody protection. The entire floor of the caravan is just plywood sheeting. It's a Lightweight marine plywood. Marine plywood does not mean waterproof, Just that the glue used between the plies is waterproof, The wood itself is not and will absorb moisture rapidly & can swell & rot.
The black 'paint' underneath of the plywood floor is a sealer / water- proofer , but the top of the floor (under the lino) and the edges / joins are NOT sealed, nor are any holes for screws/ pipes that breach the floor.
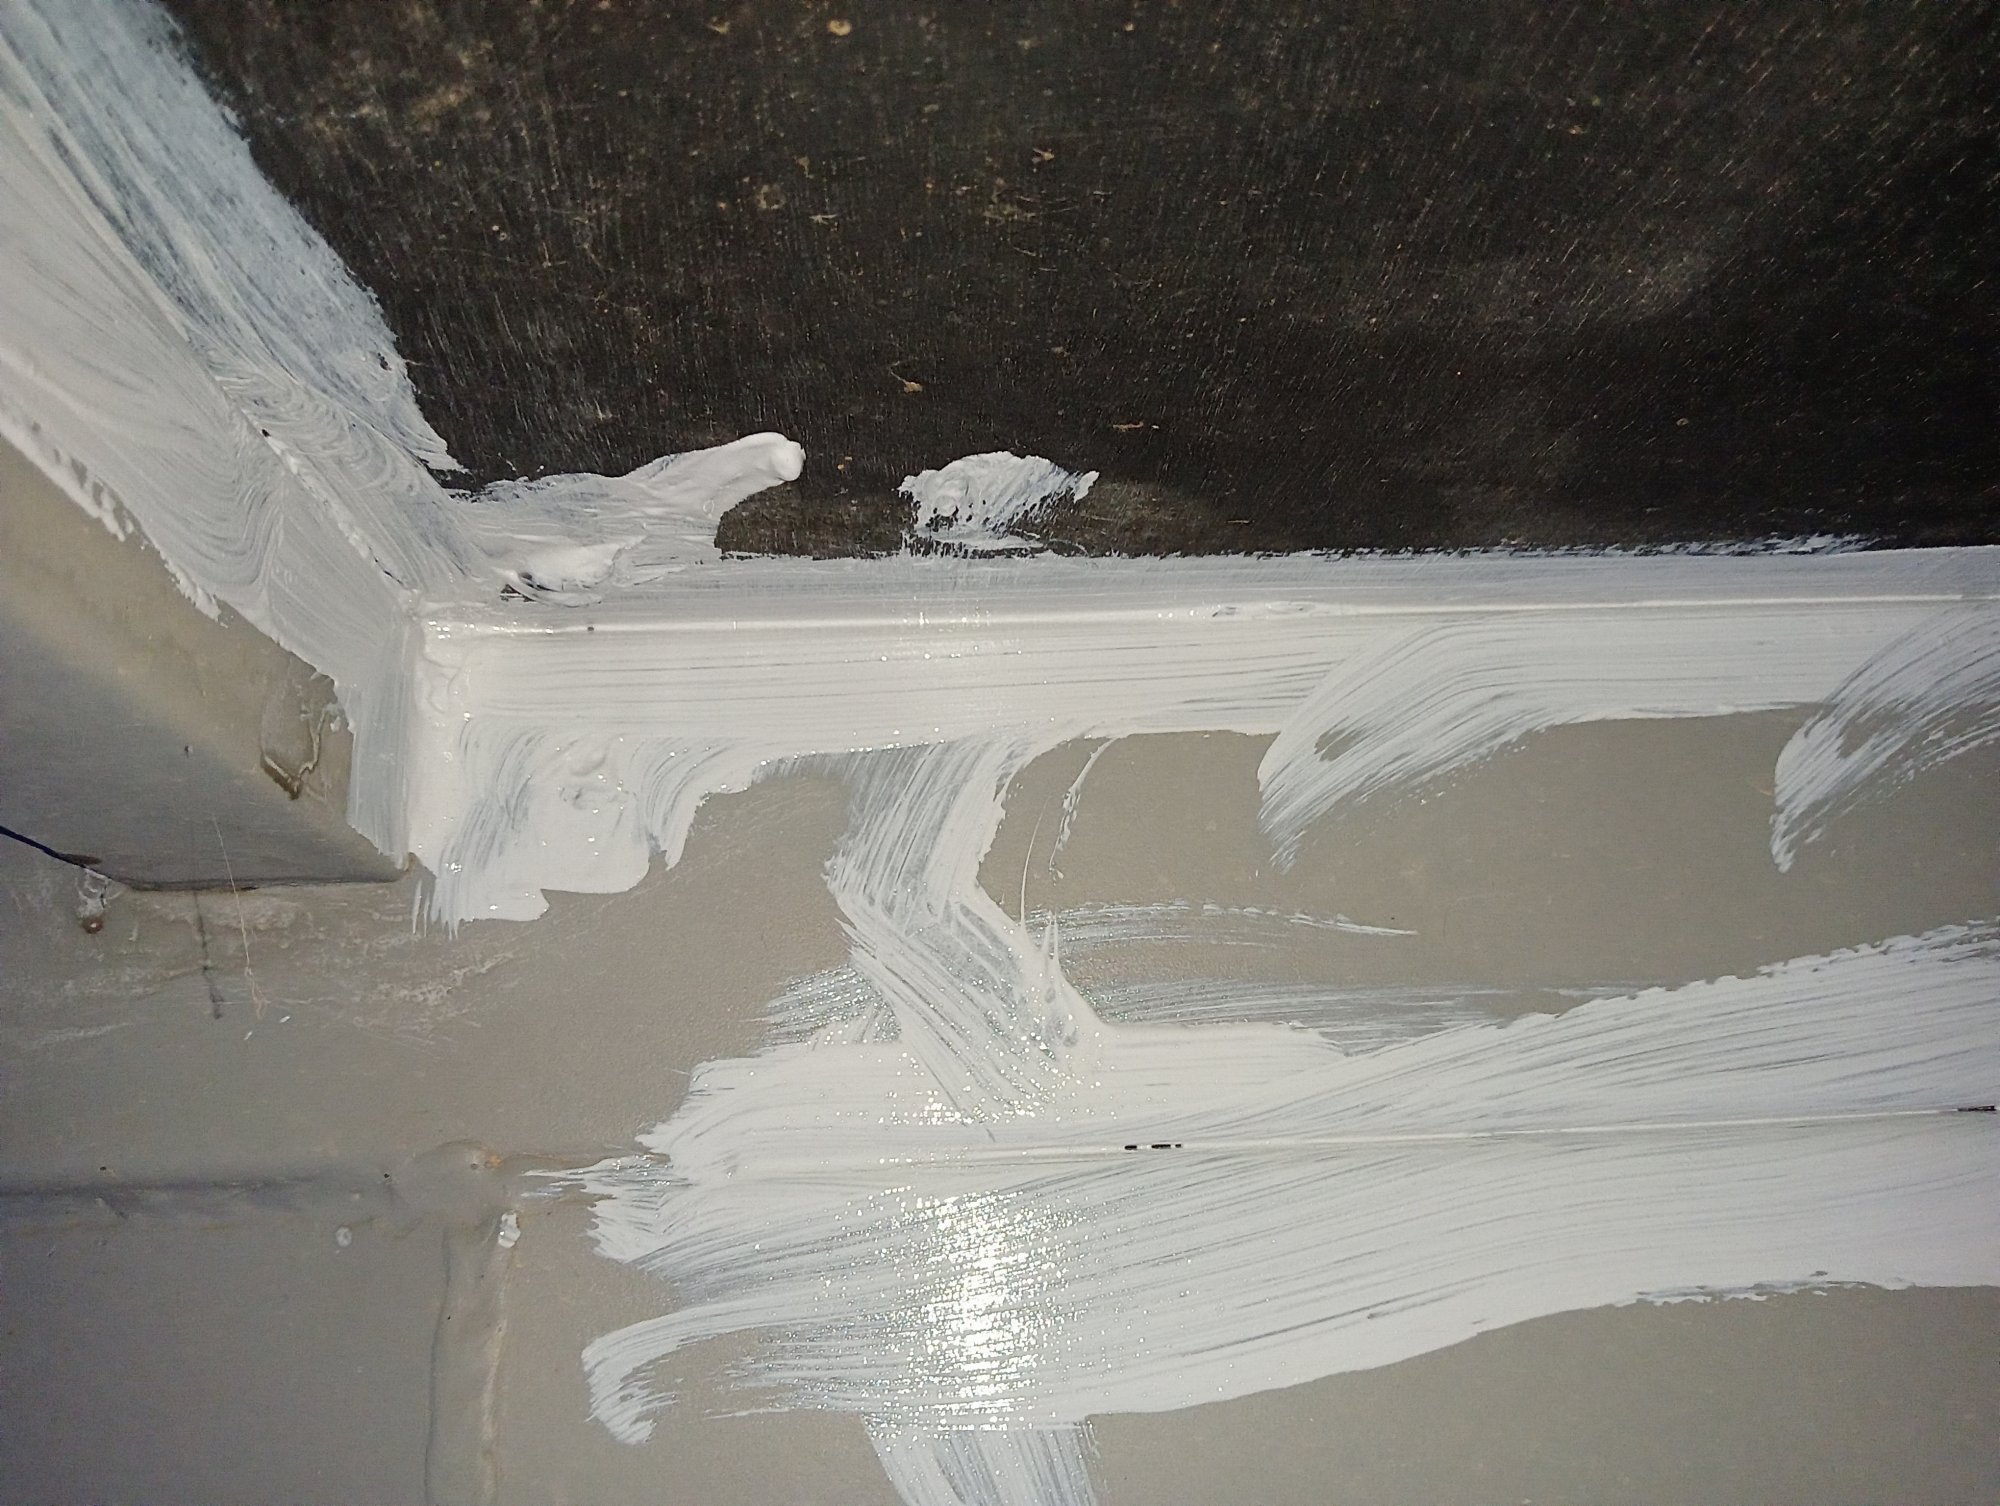
I painted the entire underfloor with a rubberised water-proofer paint/goop.
Go around the edges first & fill in all the gaps, Water will go
straight in here & find the untreated edges of the plywood . You
don't need to be driving through river crossings, just driving on wet
roads in a downpour will saturate the underfloor area. (One owner on
a caravan facebook group suggesting putting a sprinkler under the
van as a easy way to clean it -OMG) If you find any holes & chassis
gaps without screws seal them up. Protect everything.
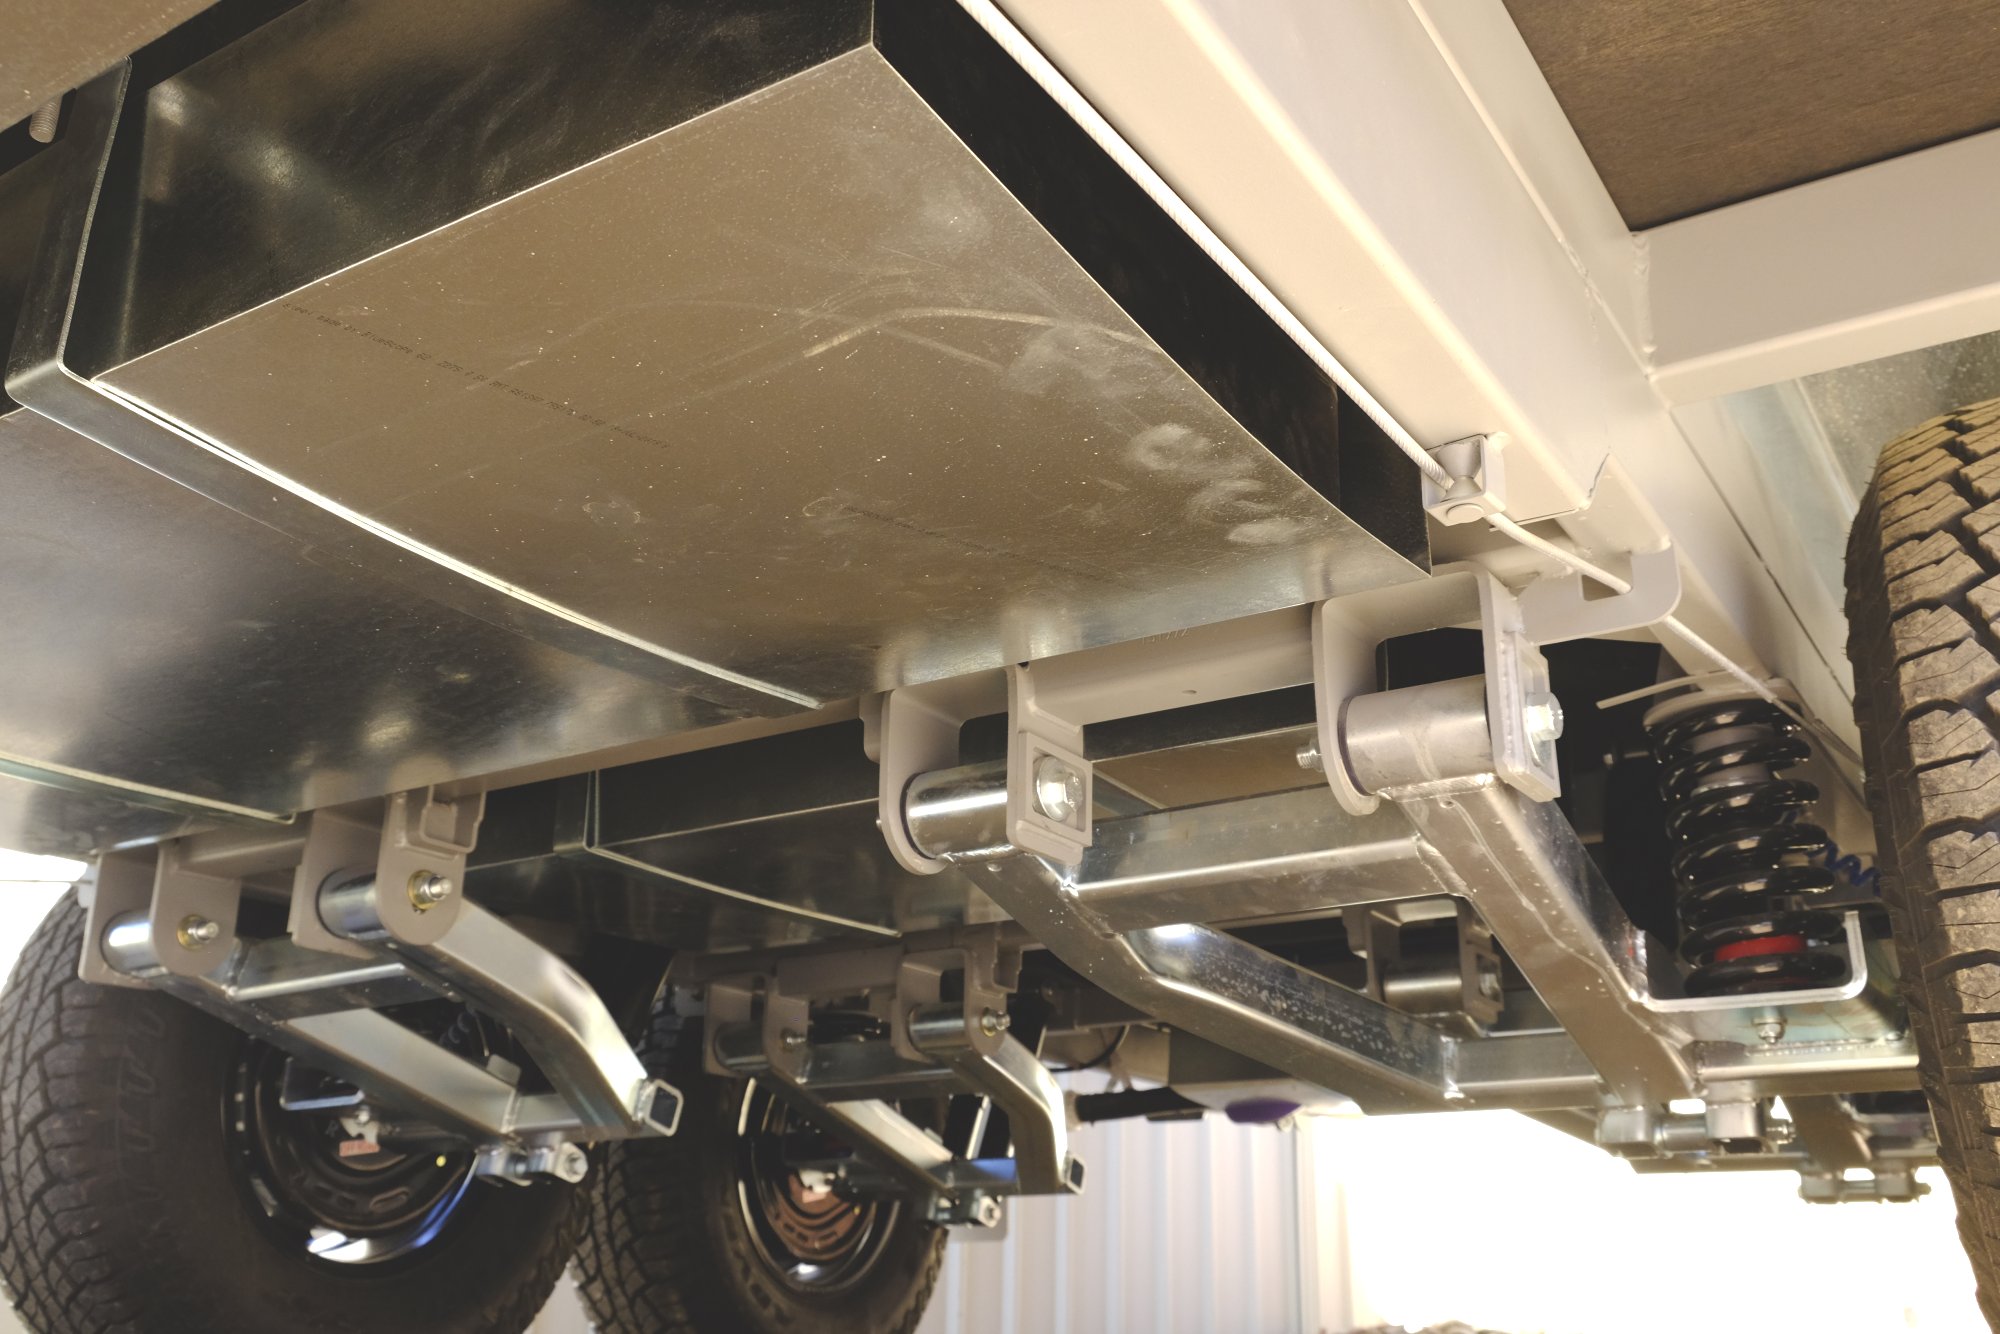
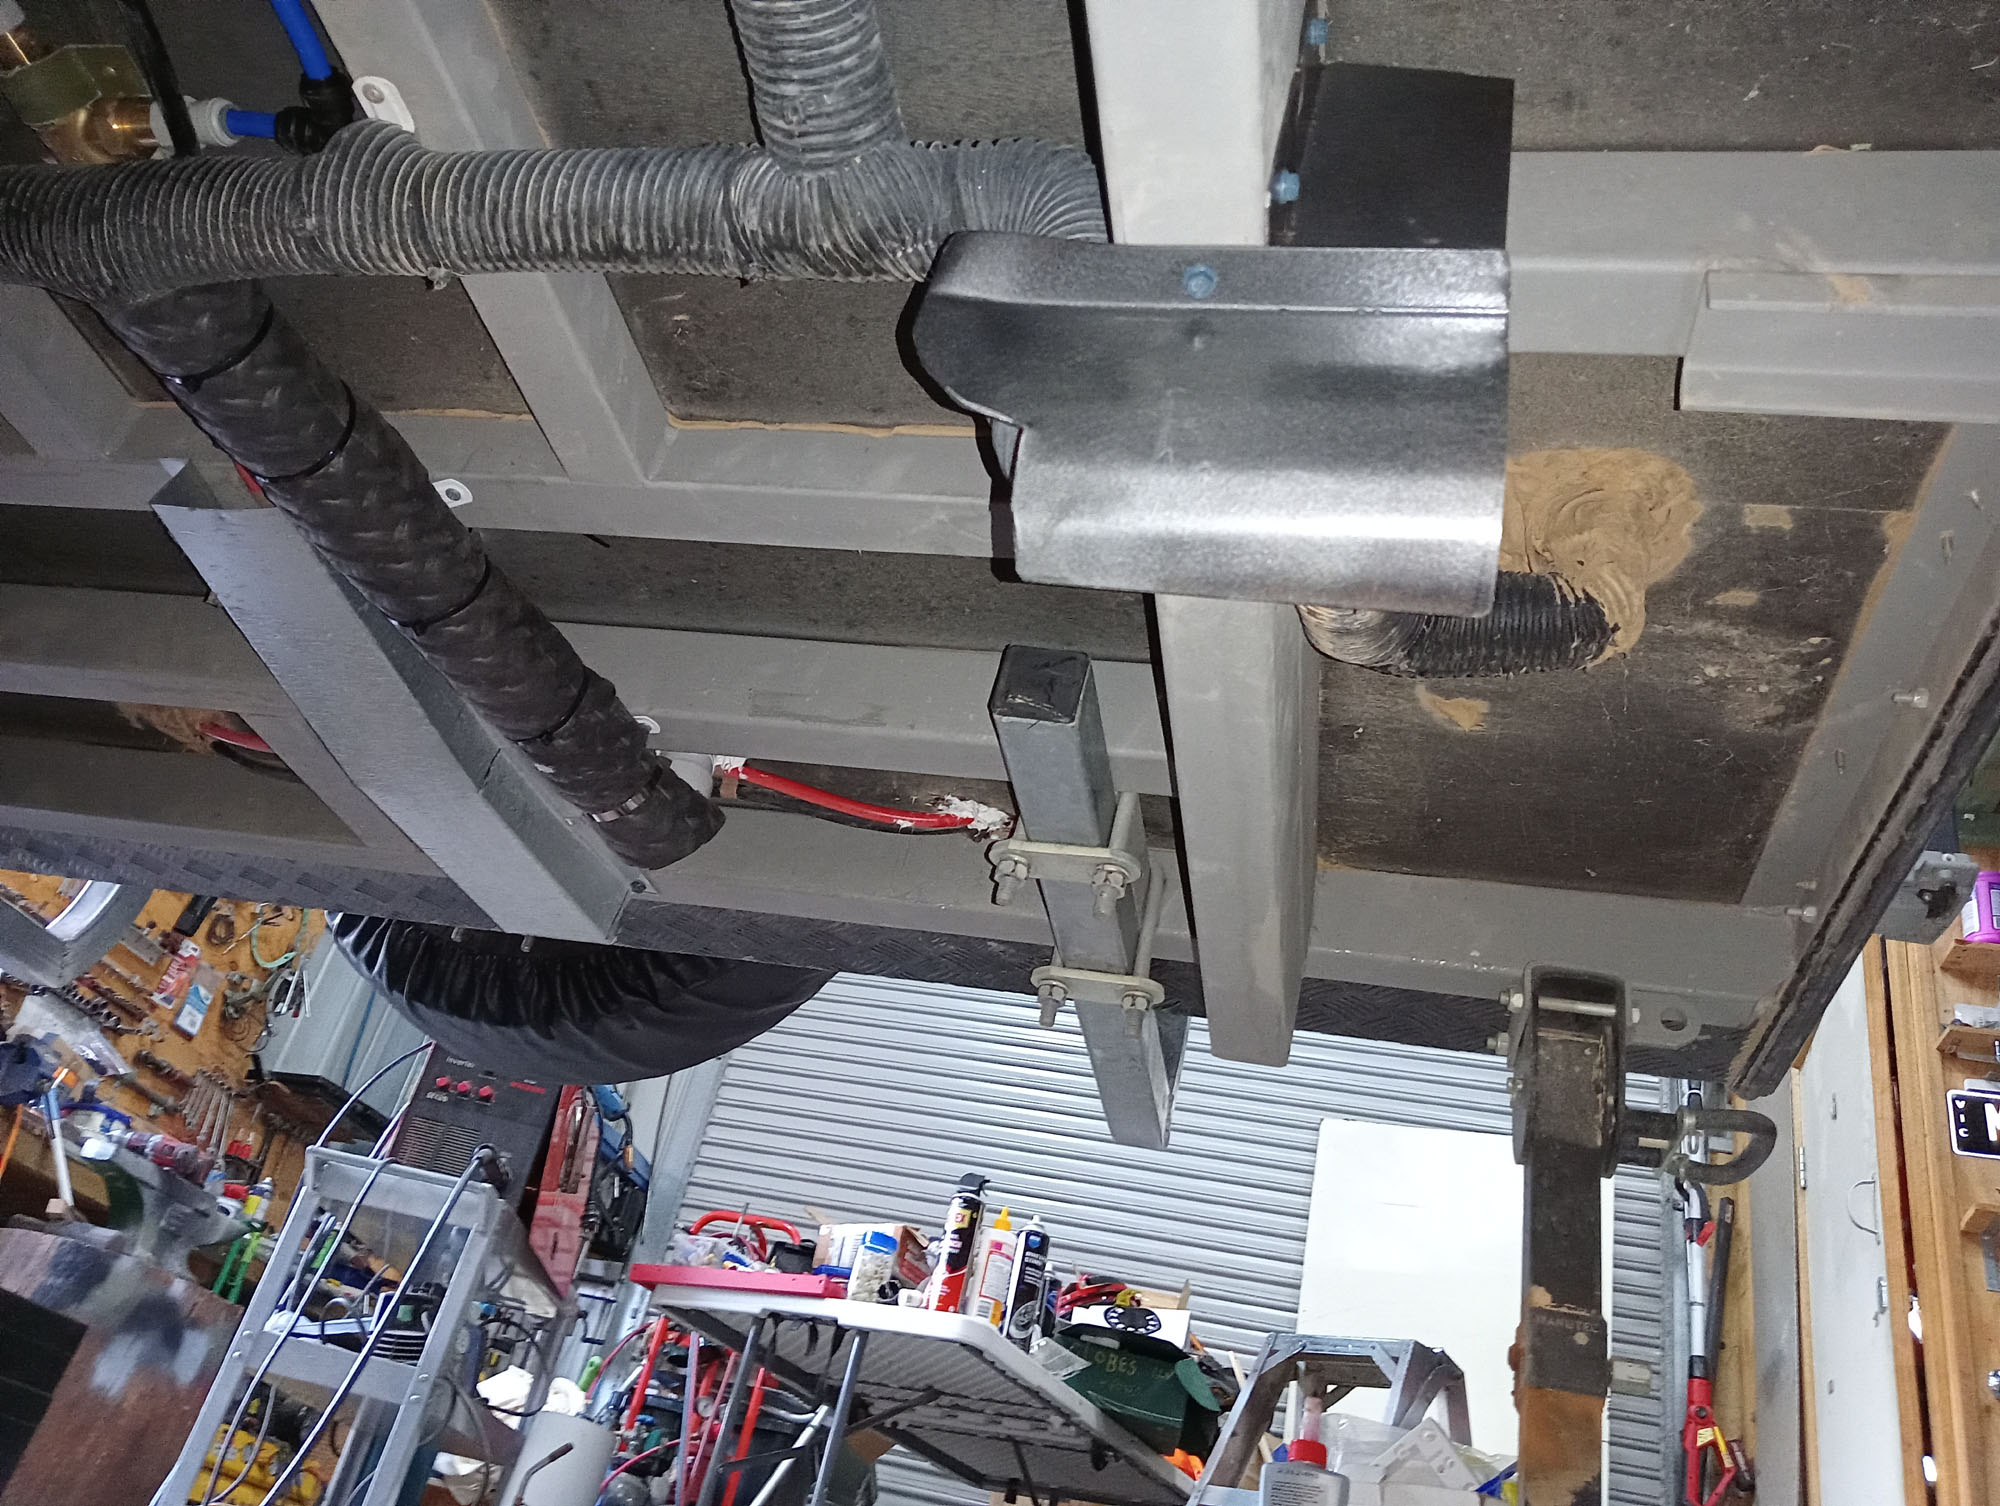
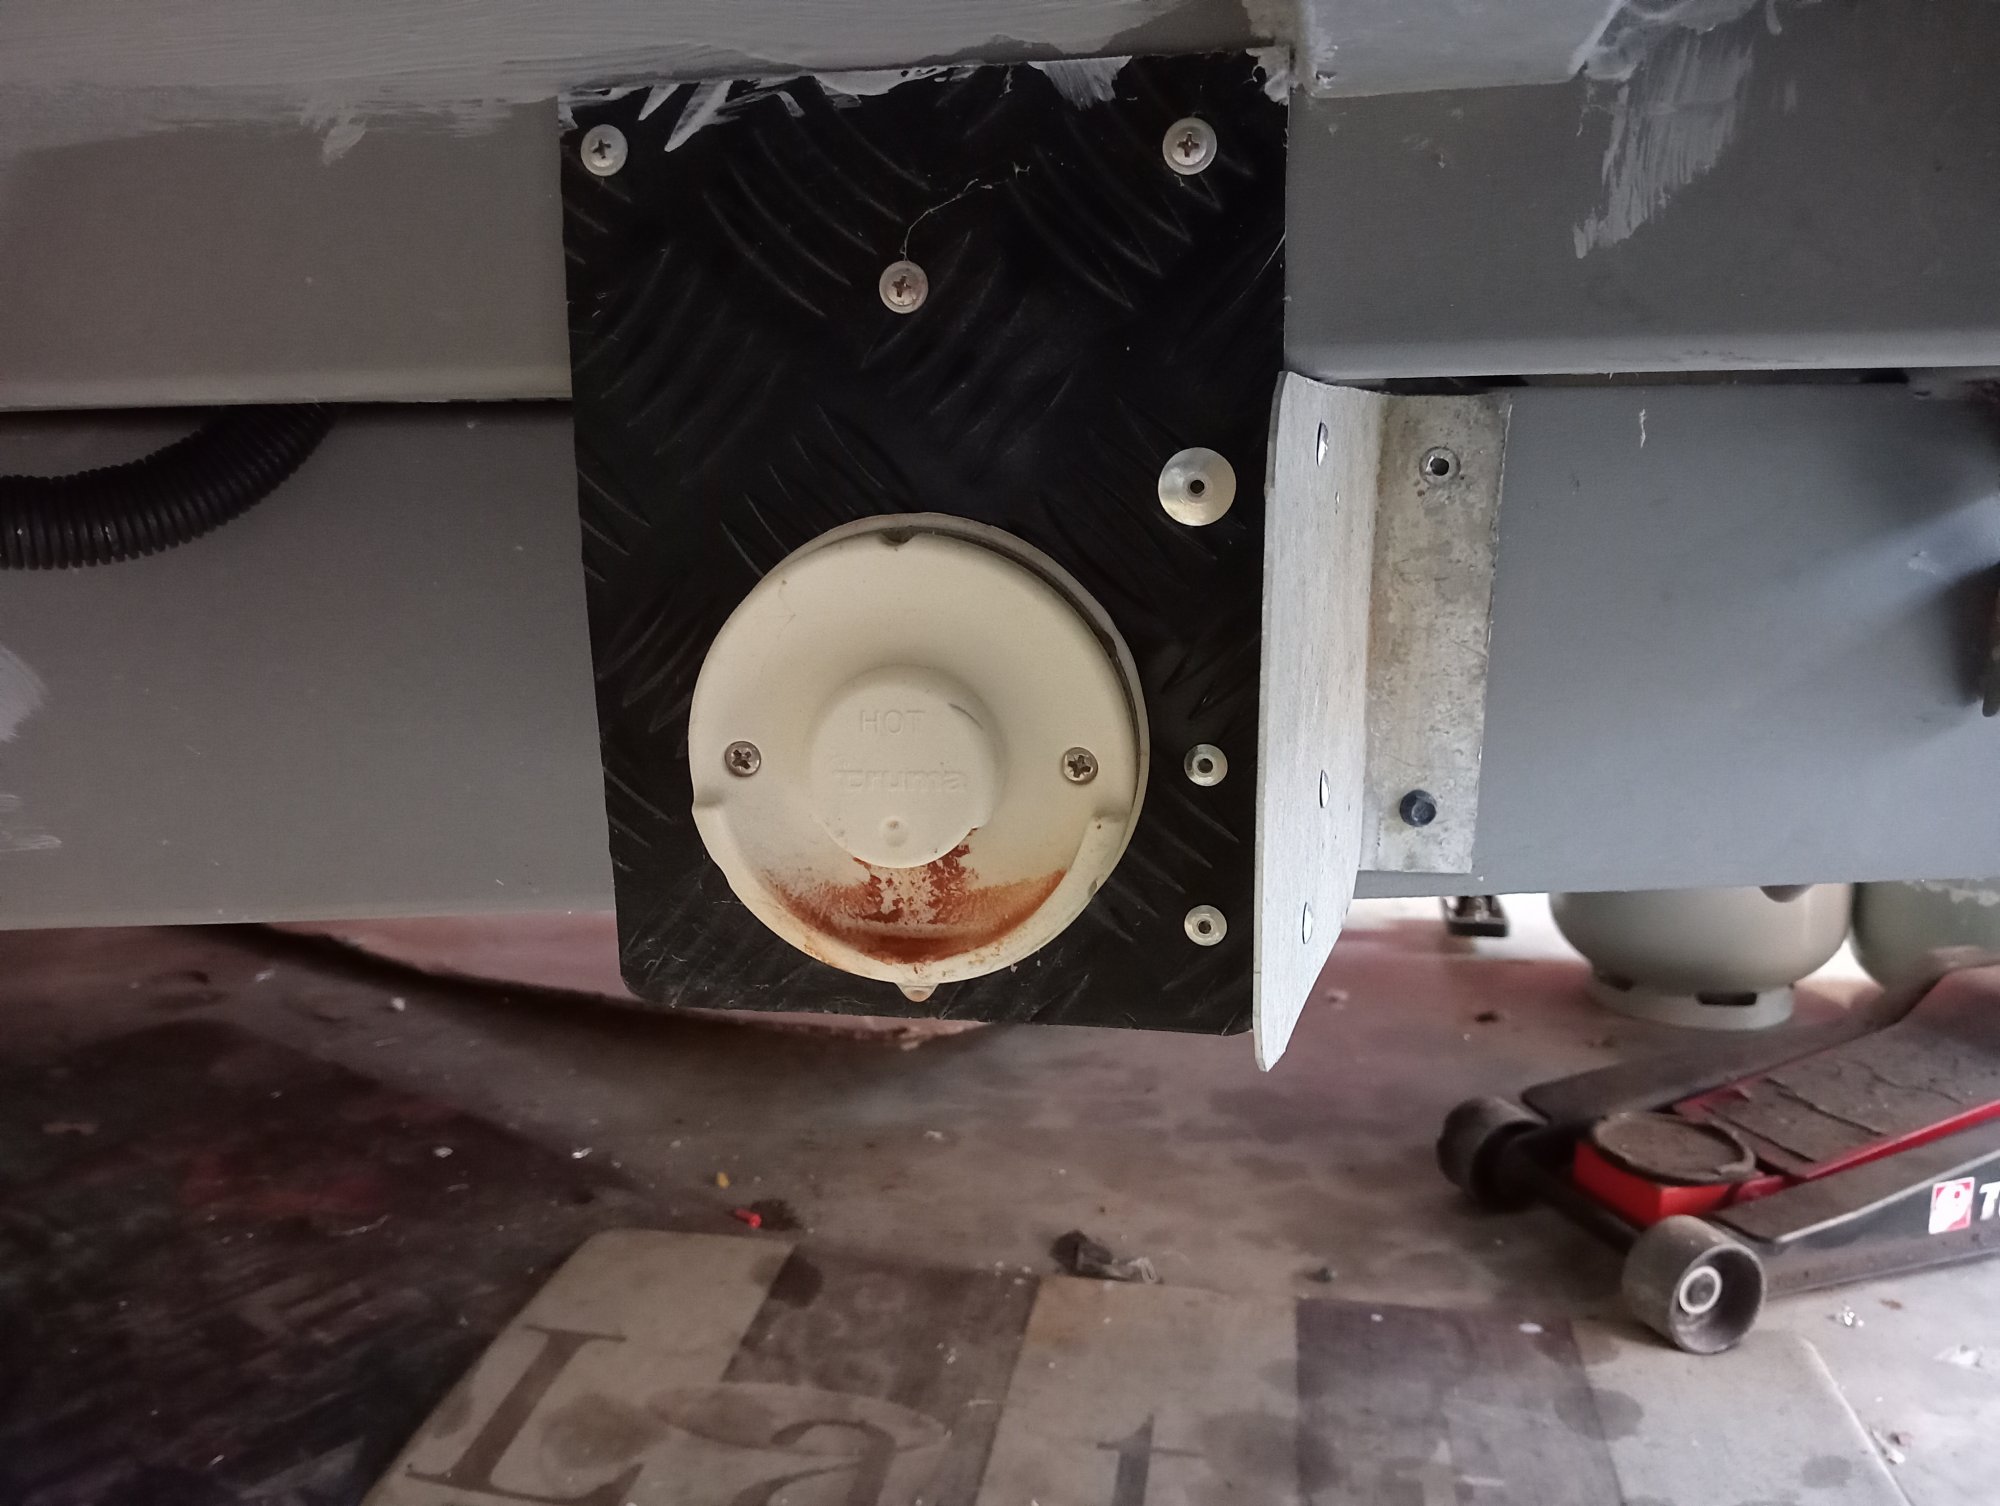
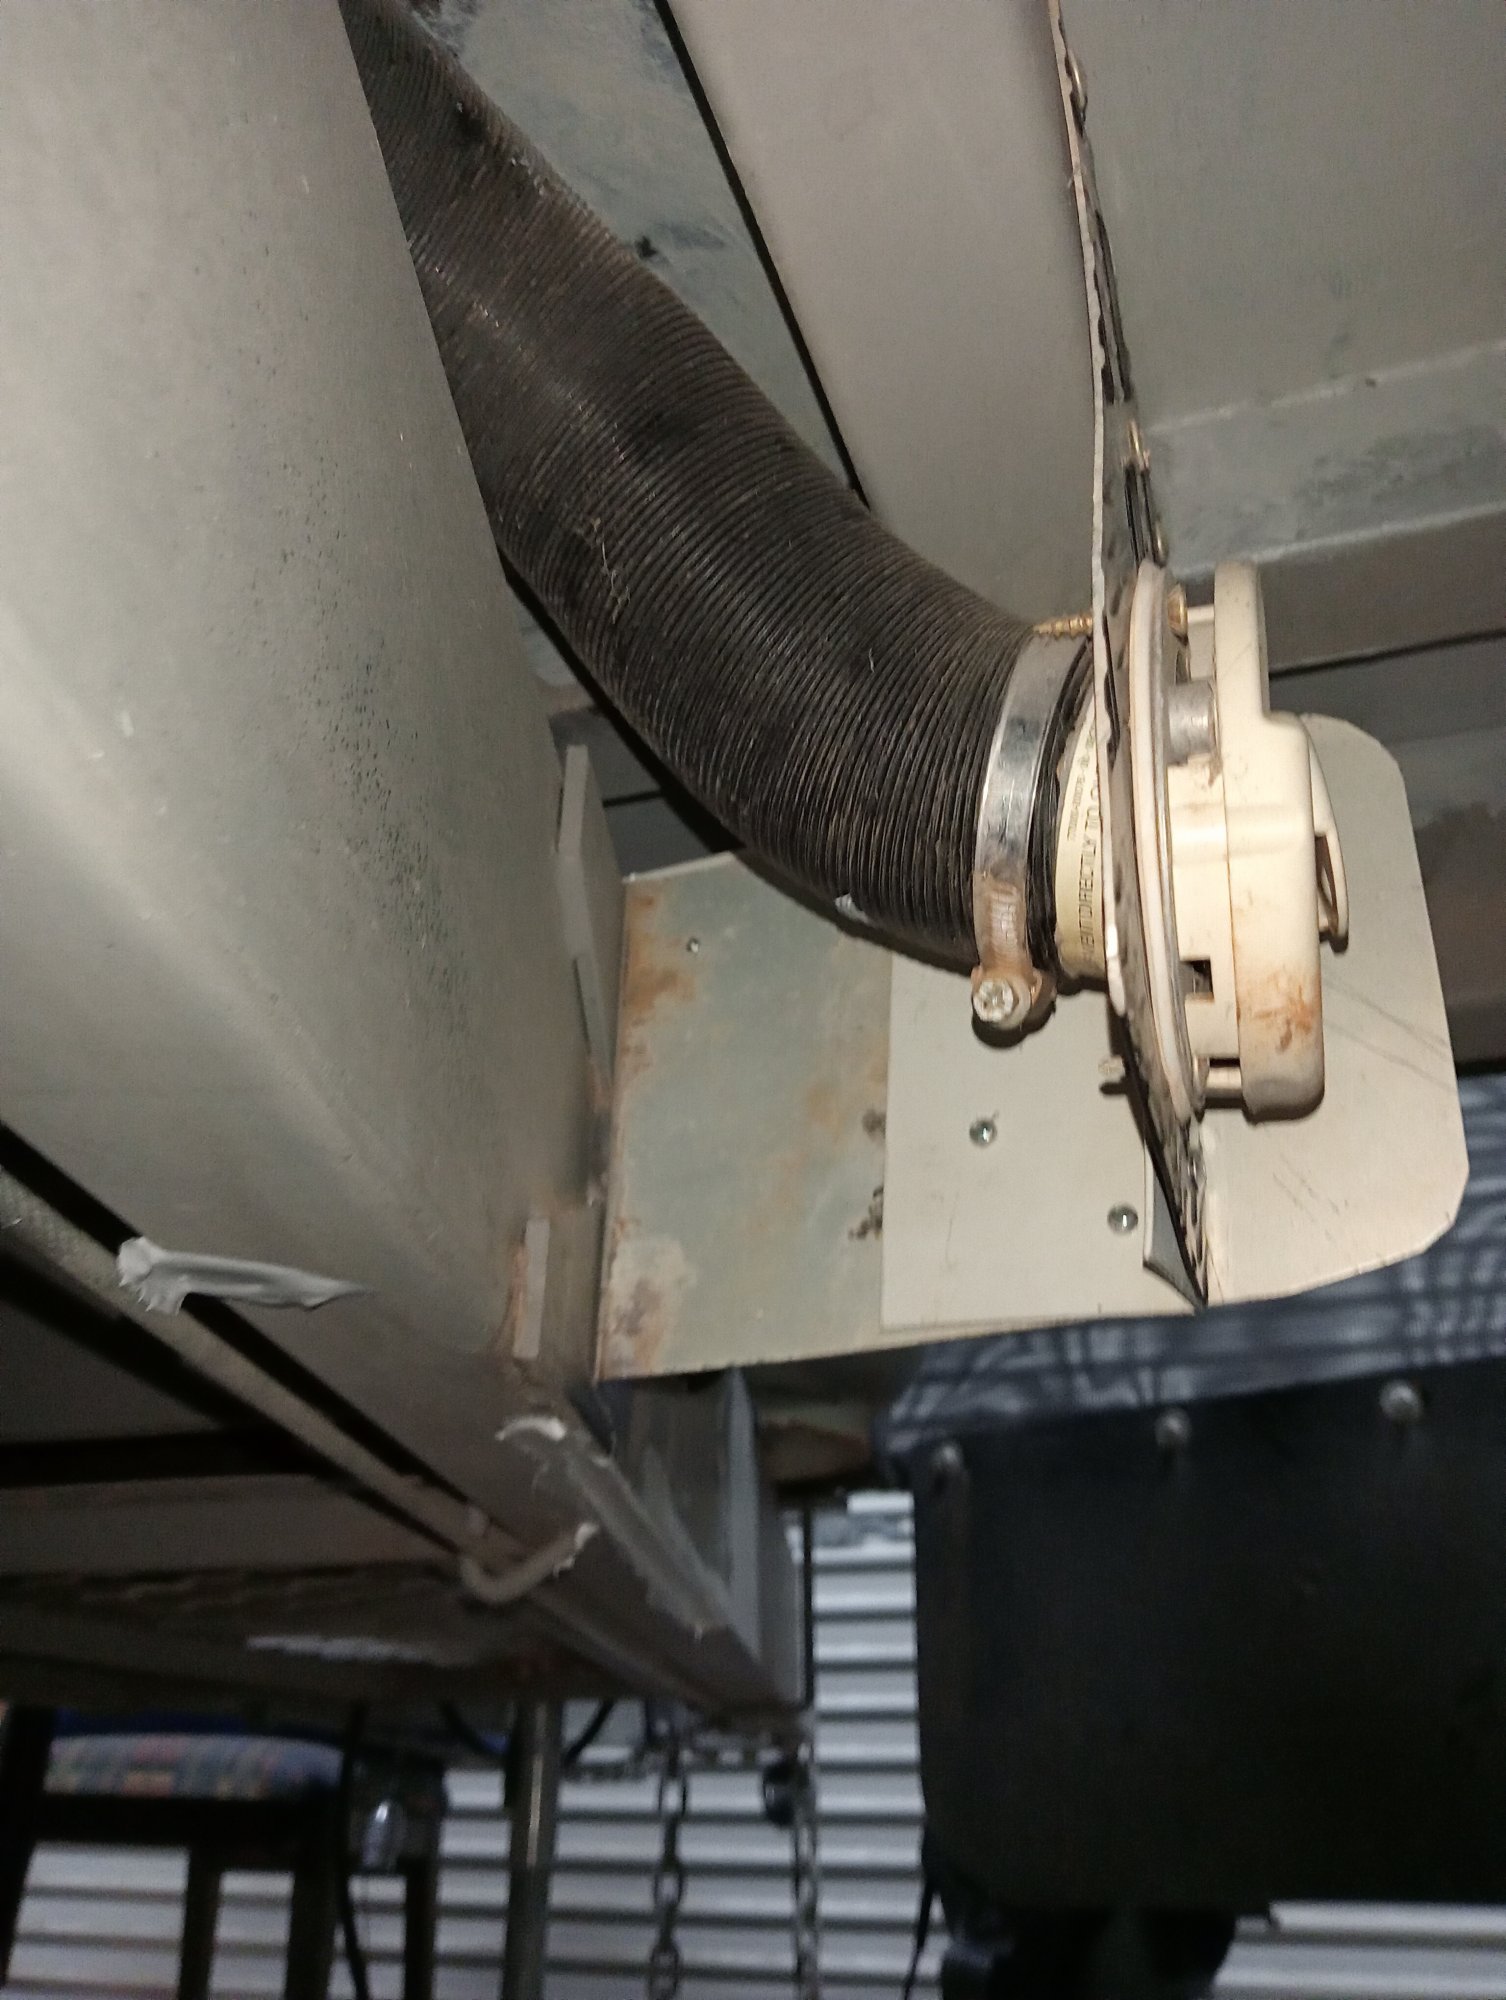
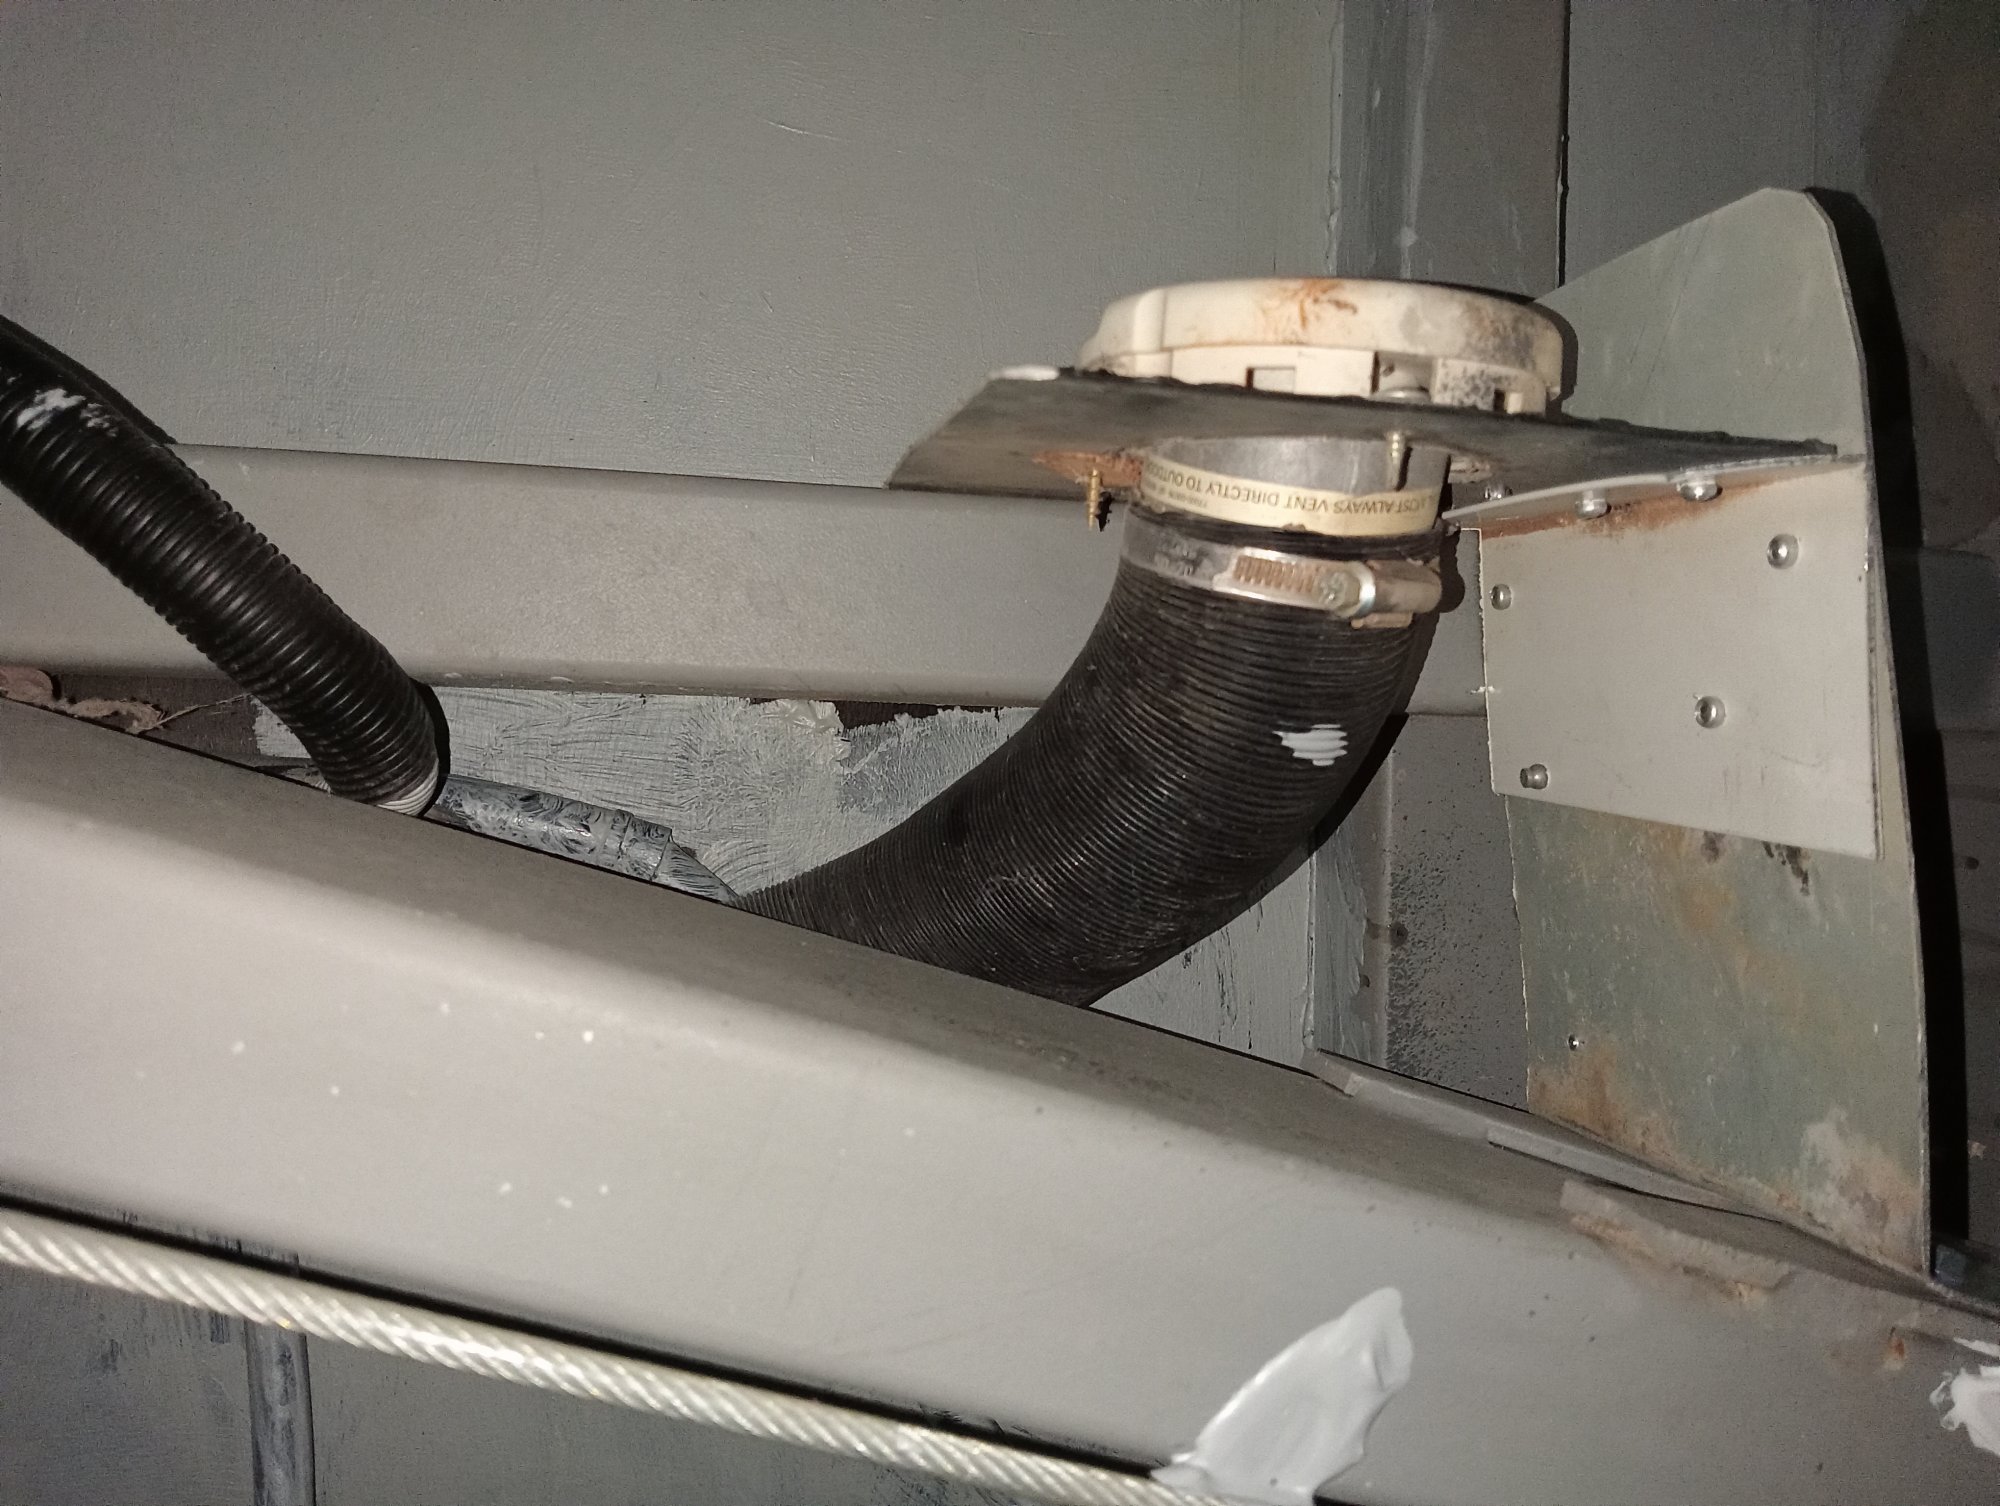
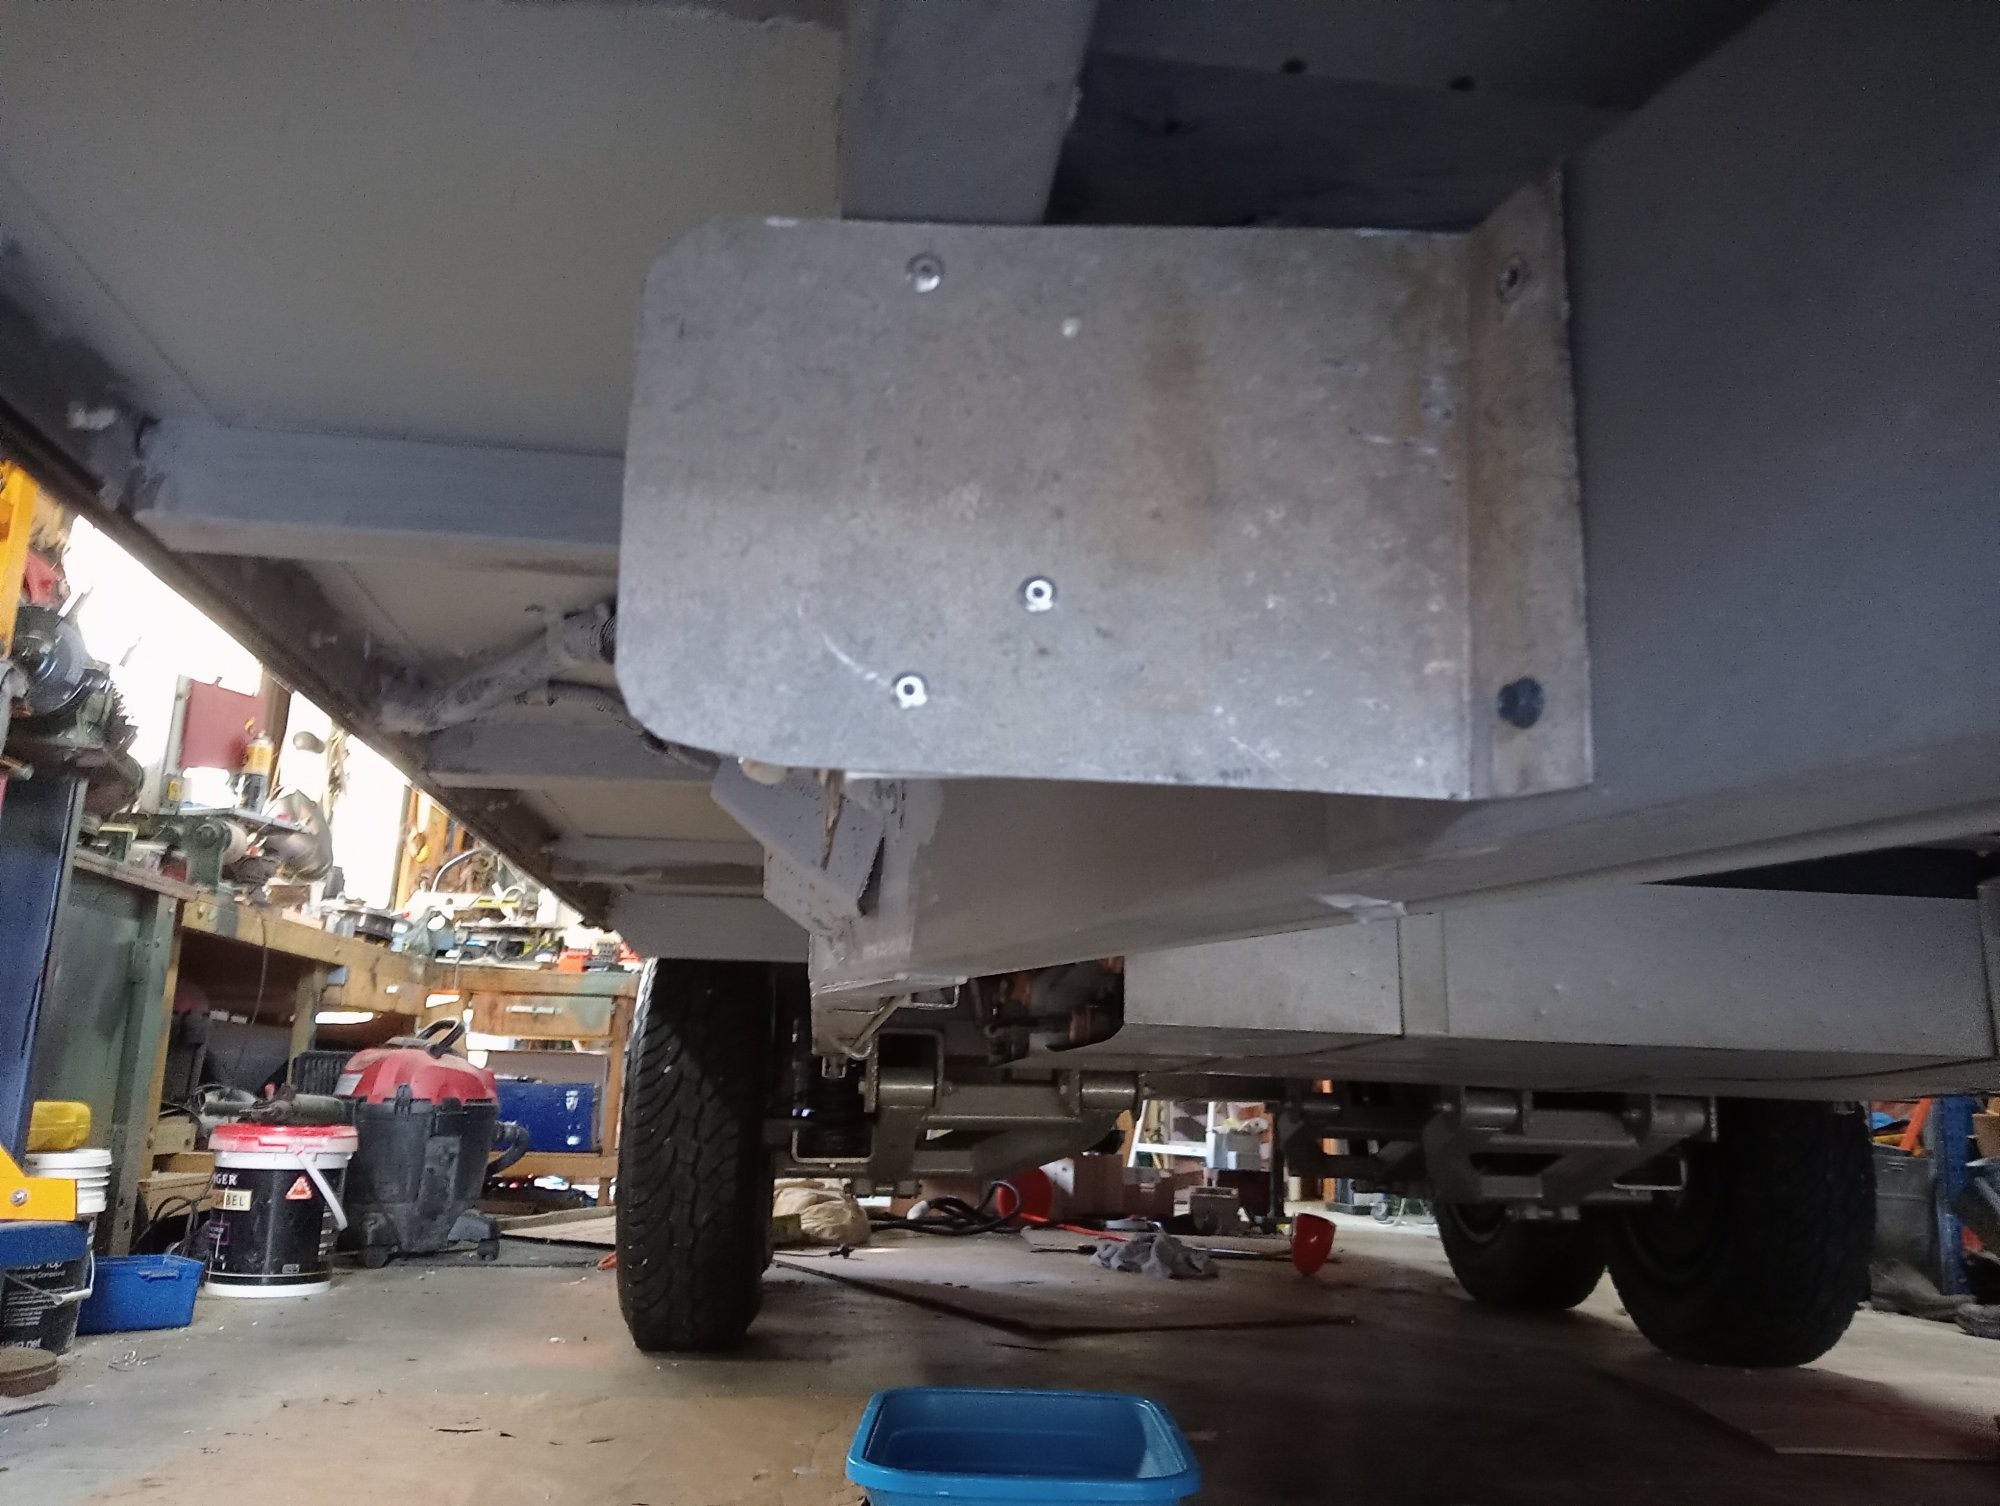
Truma (trauma) Gas Heater Vent
Whilst laying under the van painting the floor I noticed the Vent / exhaust for the Gas heater was totally unprotected. The van builder in their wisdom, put it in a direct path of flying stones & rocks from the tow vehicle rear wheel, not only is the aluminuim foil pipe fragile the plastic vent is a hard brittle plastic & will become more so after repeated hot / cold cycles. Note in the photos the Vent was secured only with the black piece of alloy checkerplate screwed to the frame with 3 tekscrews. I made the forward protection plate & screwed it to the chassis & riveted to the black support with some aluminium angle.
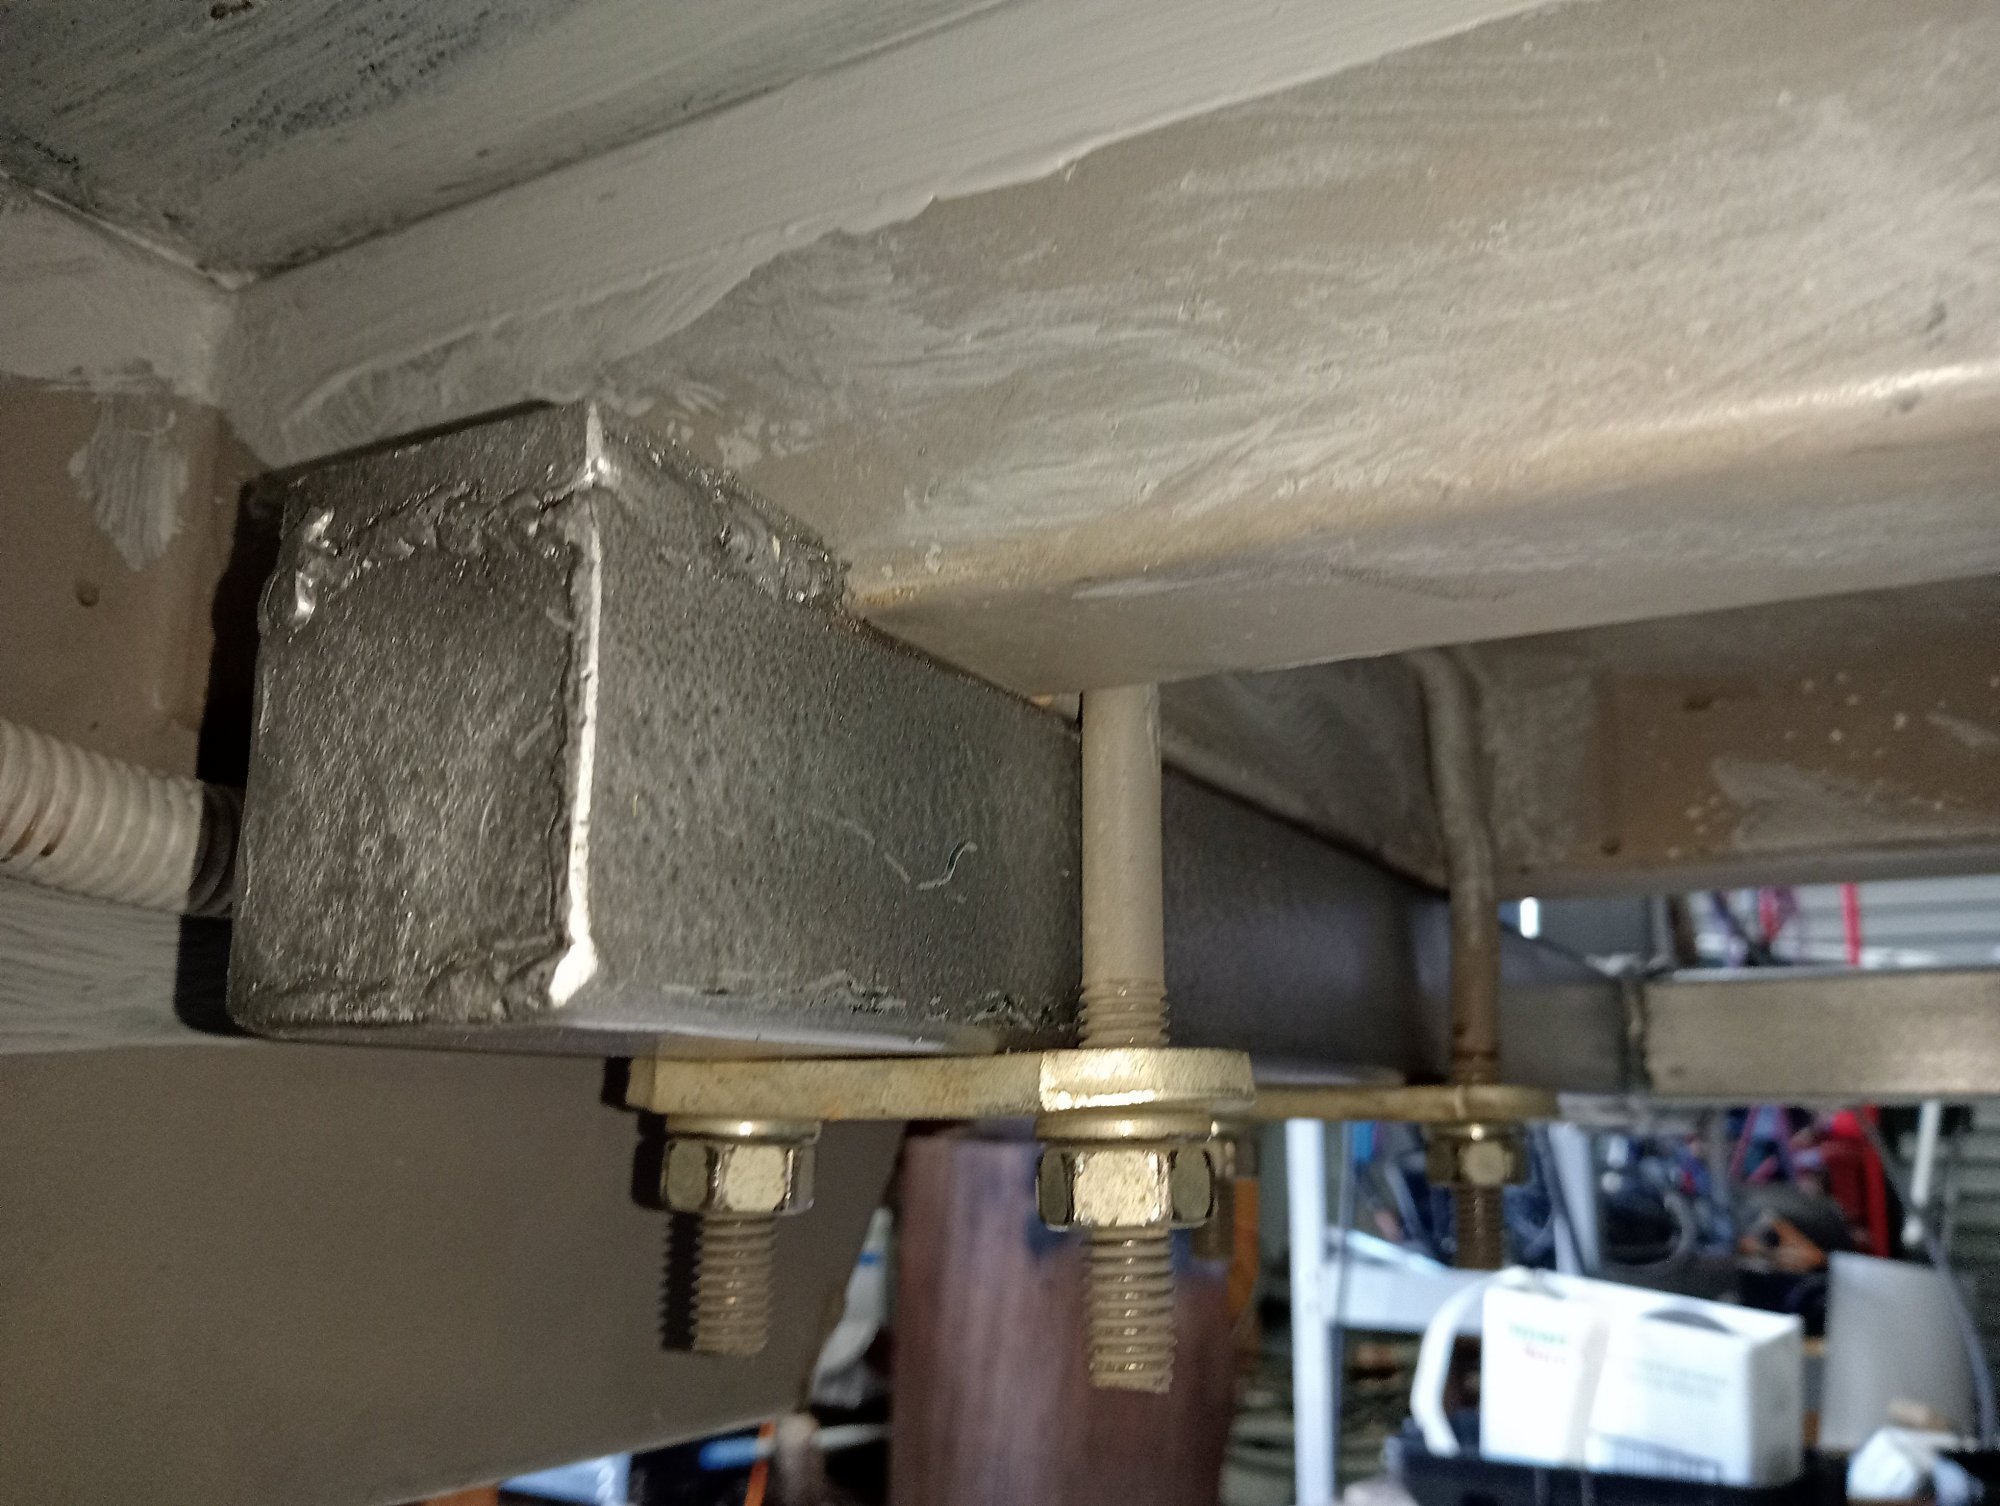
Chassis sealing
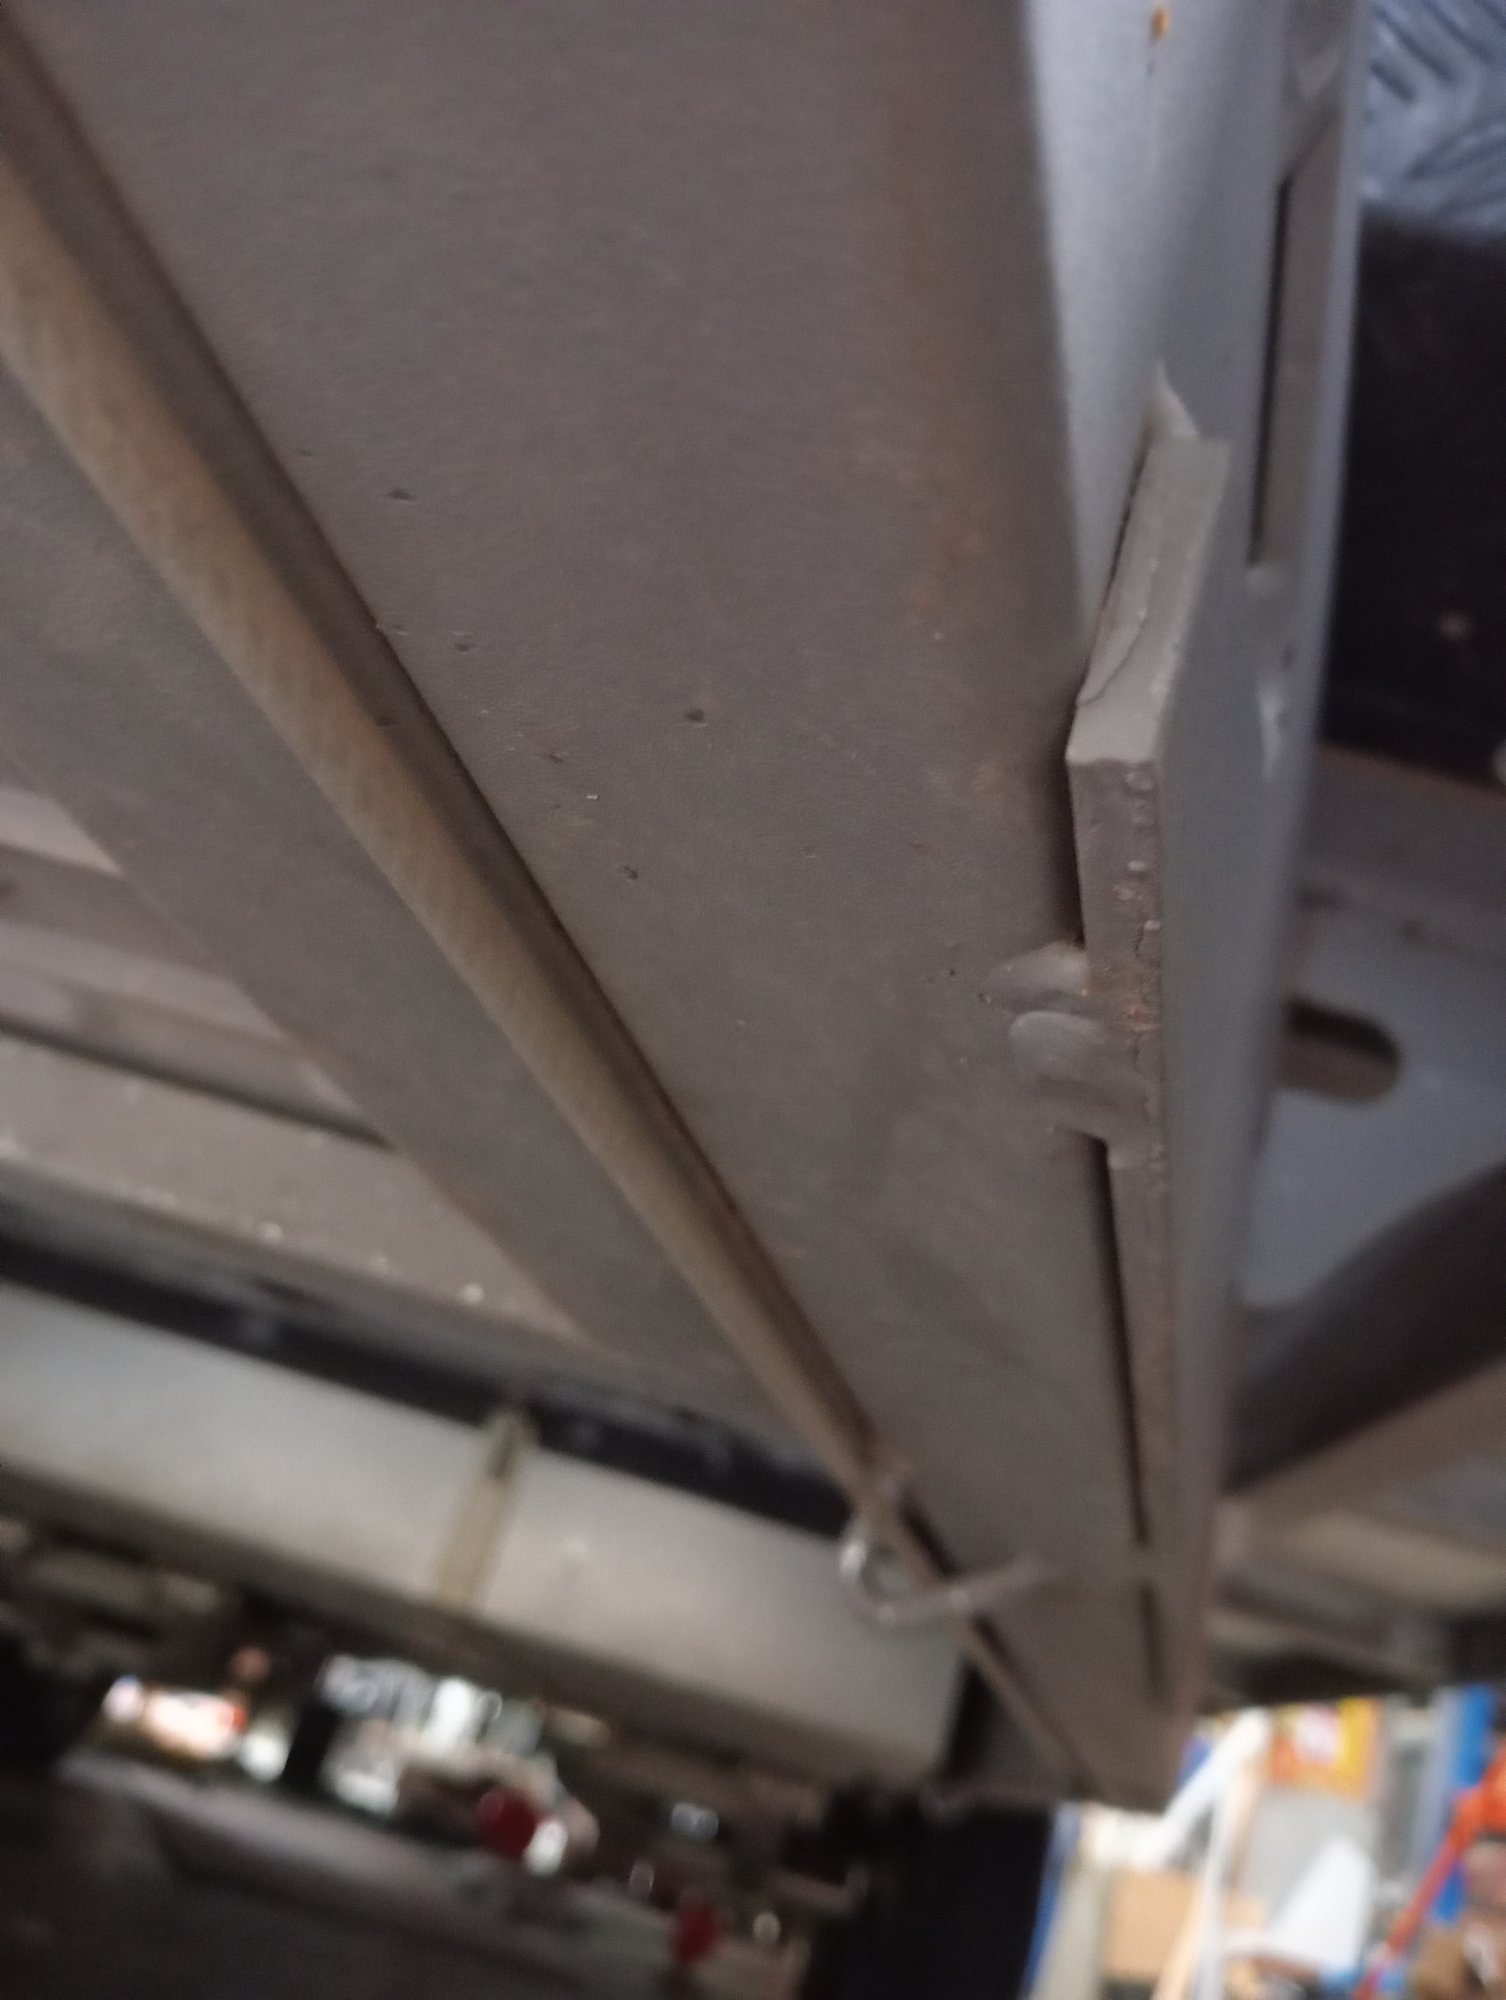
Note on this Caravan the steel chassis is painted, not galvanised. That's a plus in my book. Galvanised chassis are considerably heavier & the galvanising process embrittles the steel, making it more prone to cracking. Less weight in a Caravan the better. The chassis however is more prone to rust & corrosion, surface rust is no big deal but hidden rust and corrosion can chew through a chassis. Clearly driving through salt water is not something any sane caravan owner would do but lots of unsealed roads in Outback Australia are in salty areas salt & these can be a problem when wet . So seal up any chassis gaps, Especially the brace on the drawbar, I can only assume its not sealed from the factory because its not likely to fail within the warranty period. Its only painted where you can see it, down that gap is bare steel.
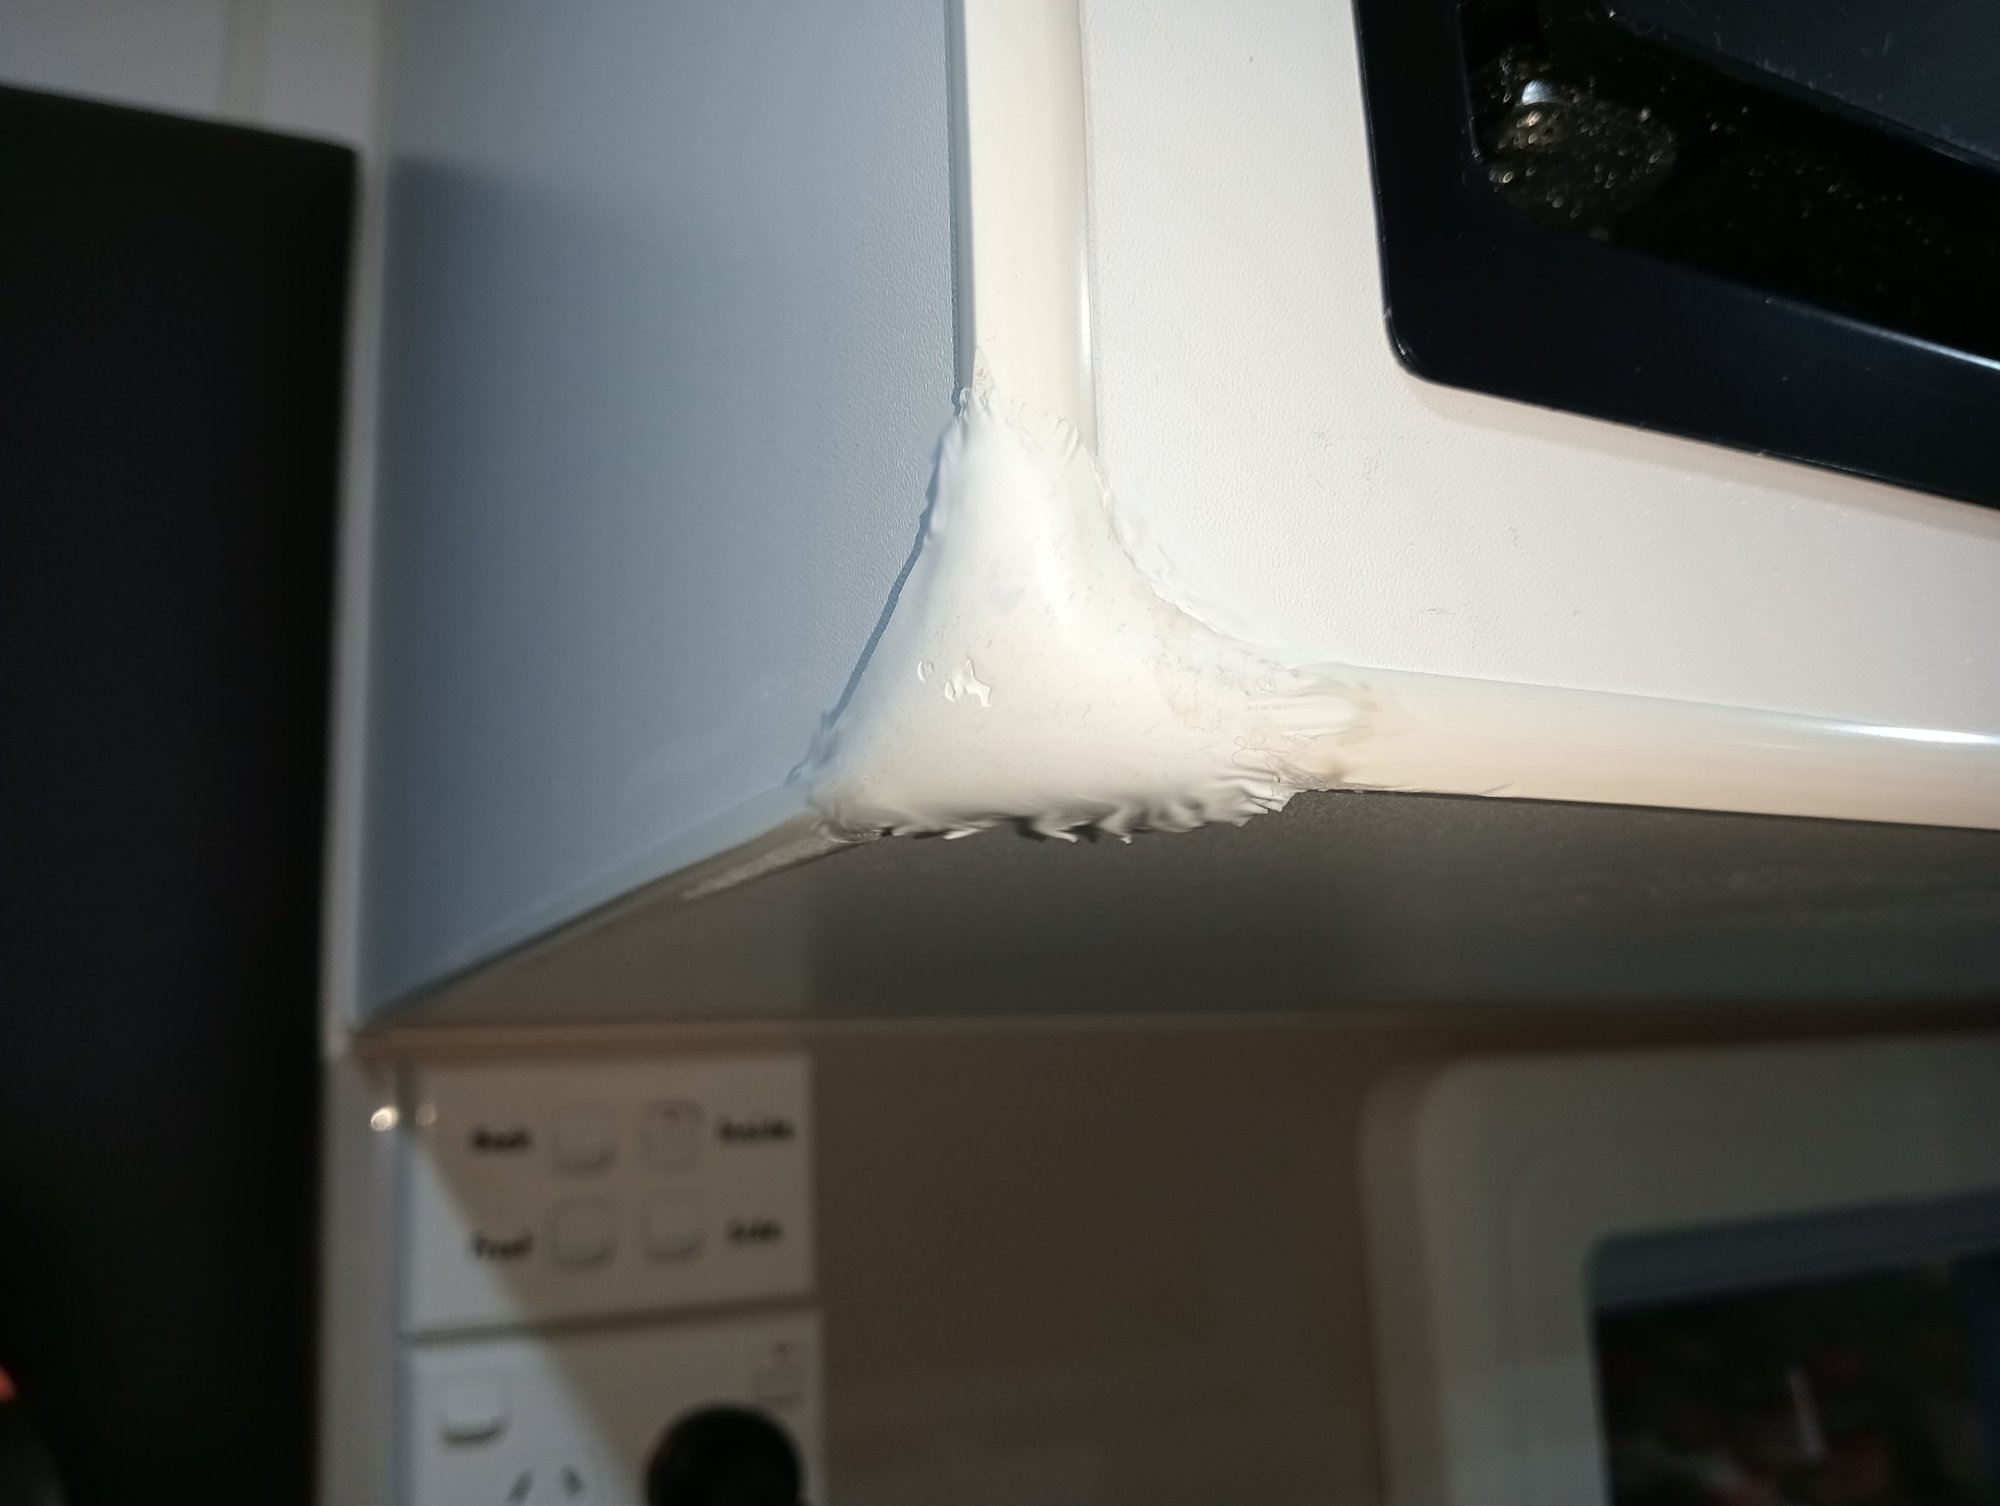
The Bad corner
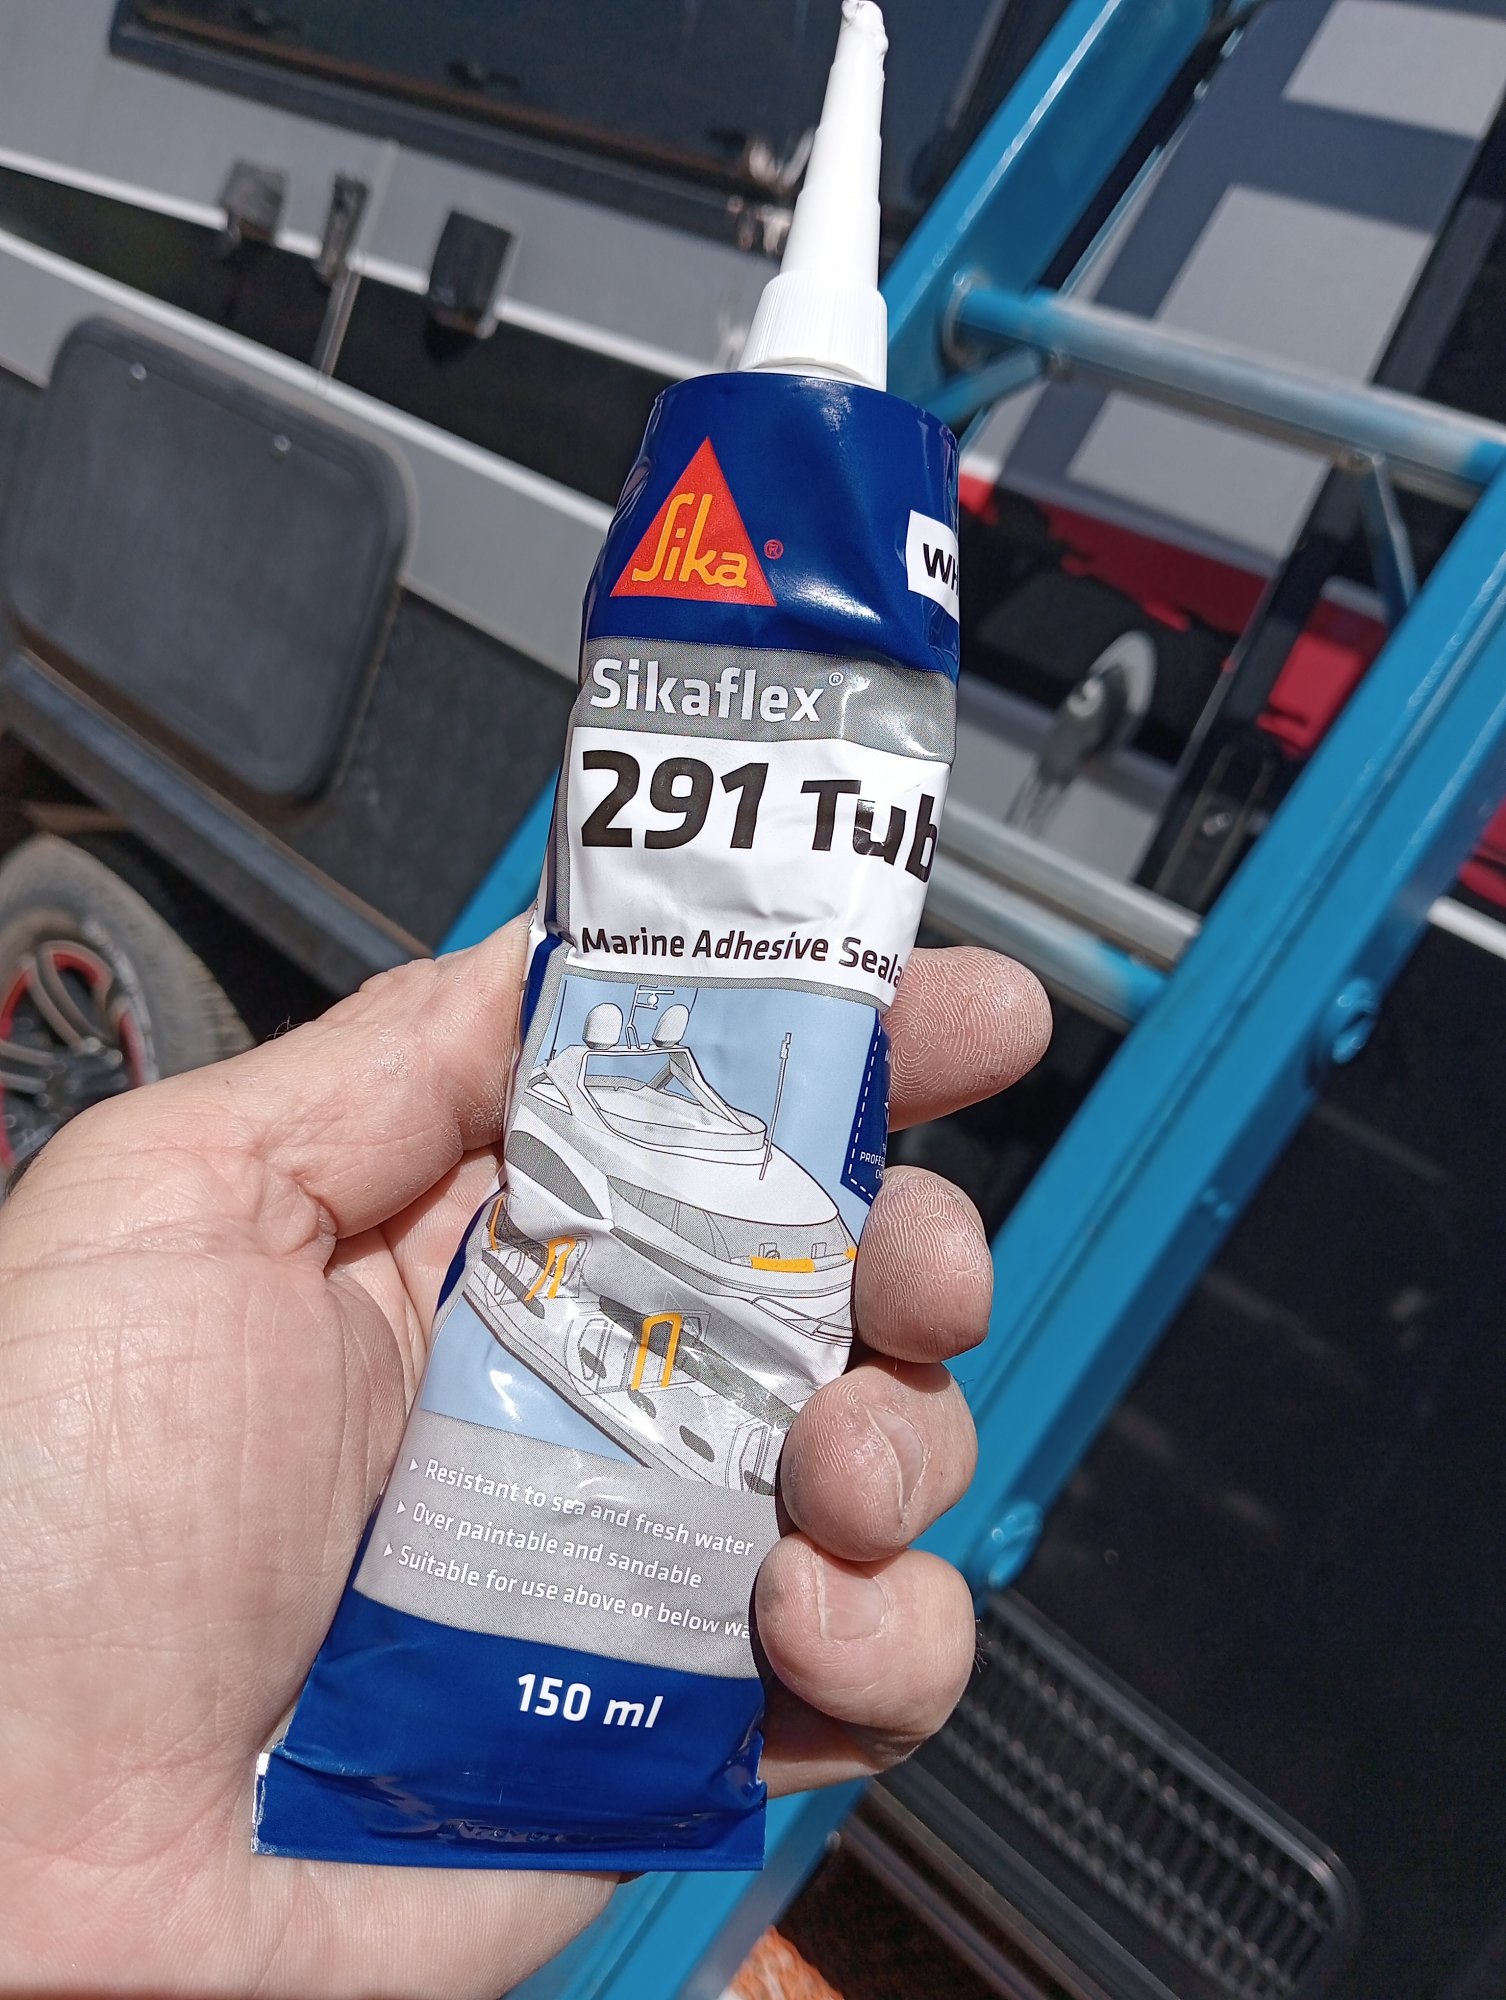
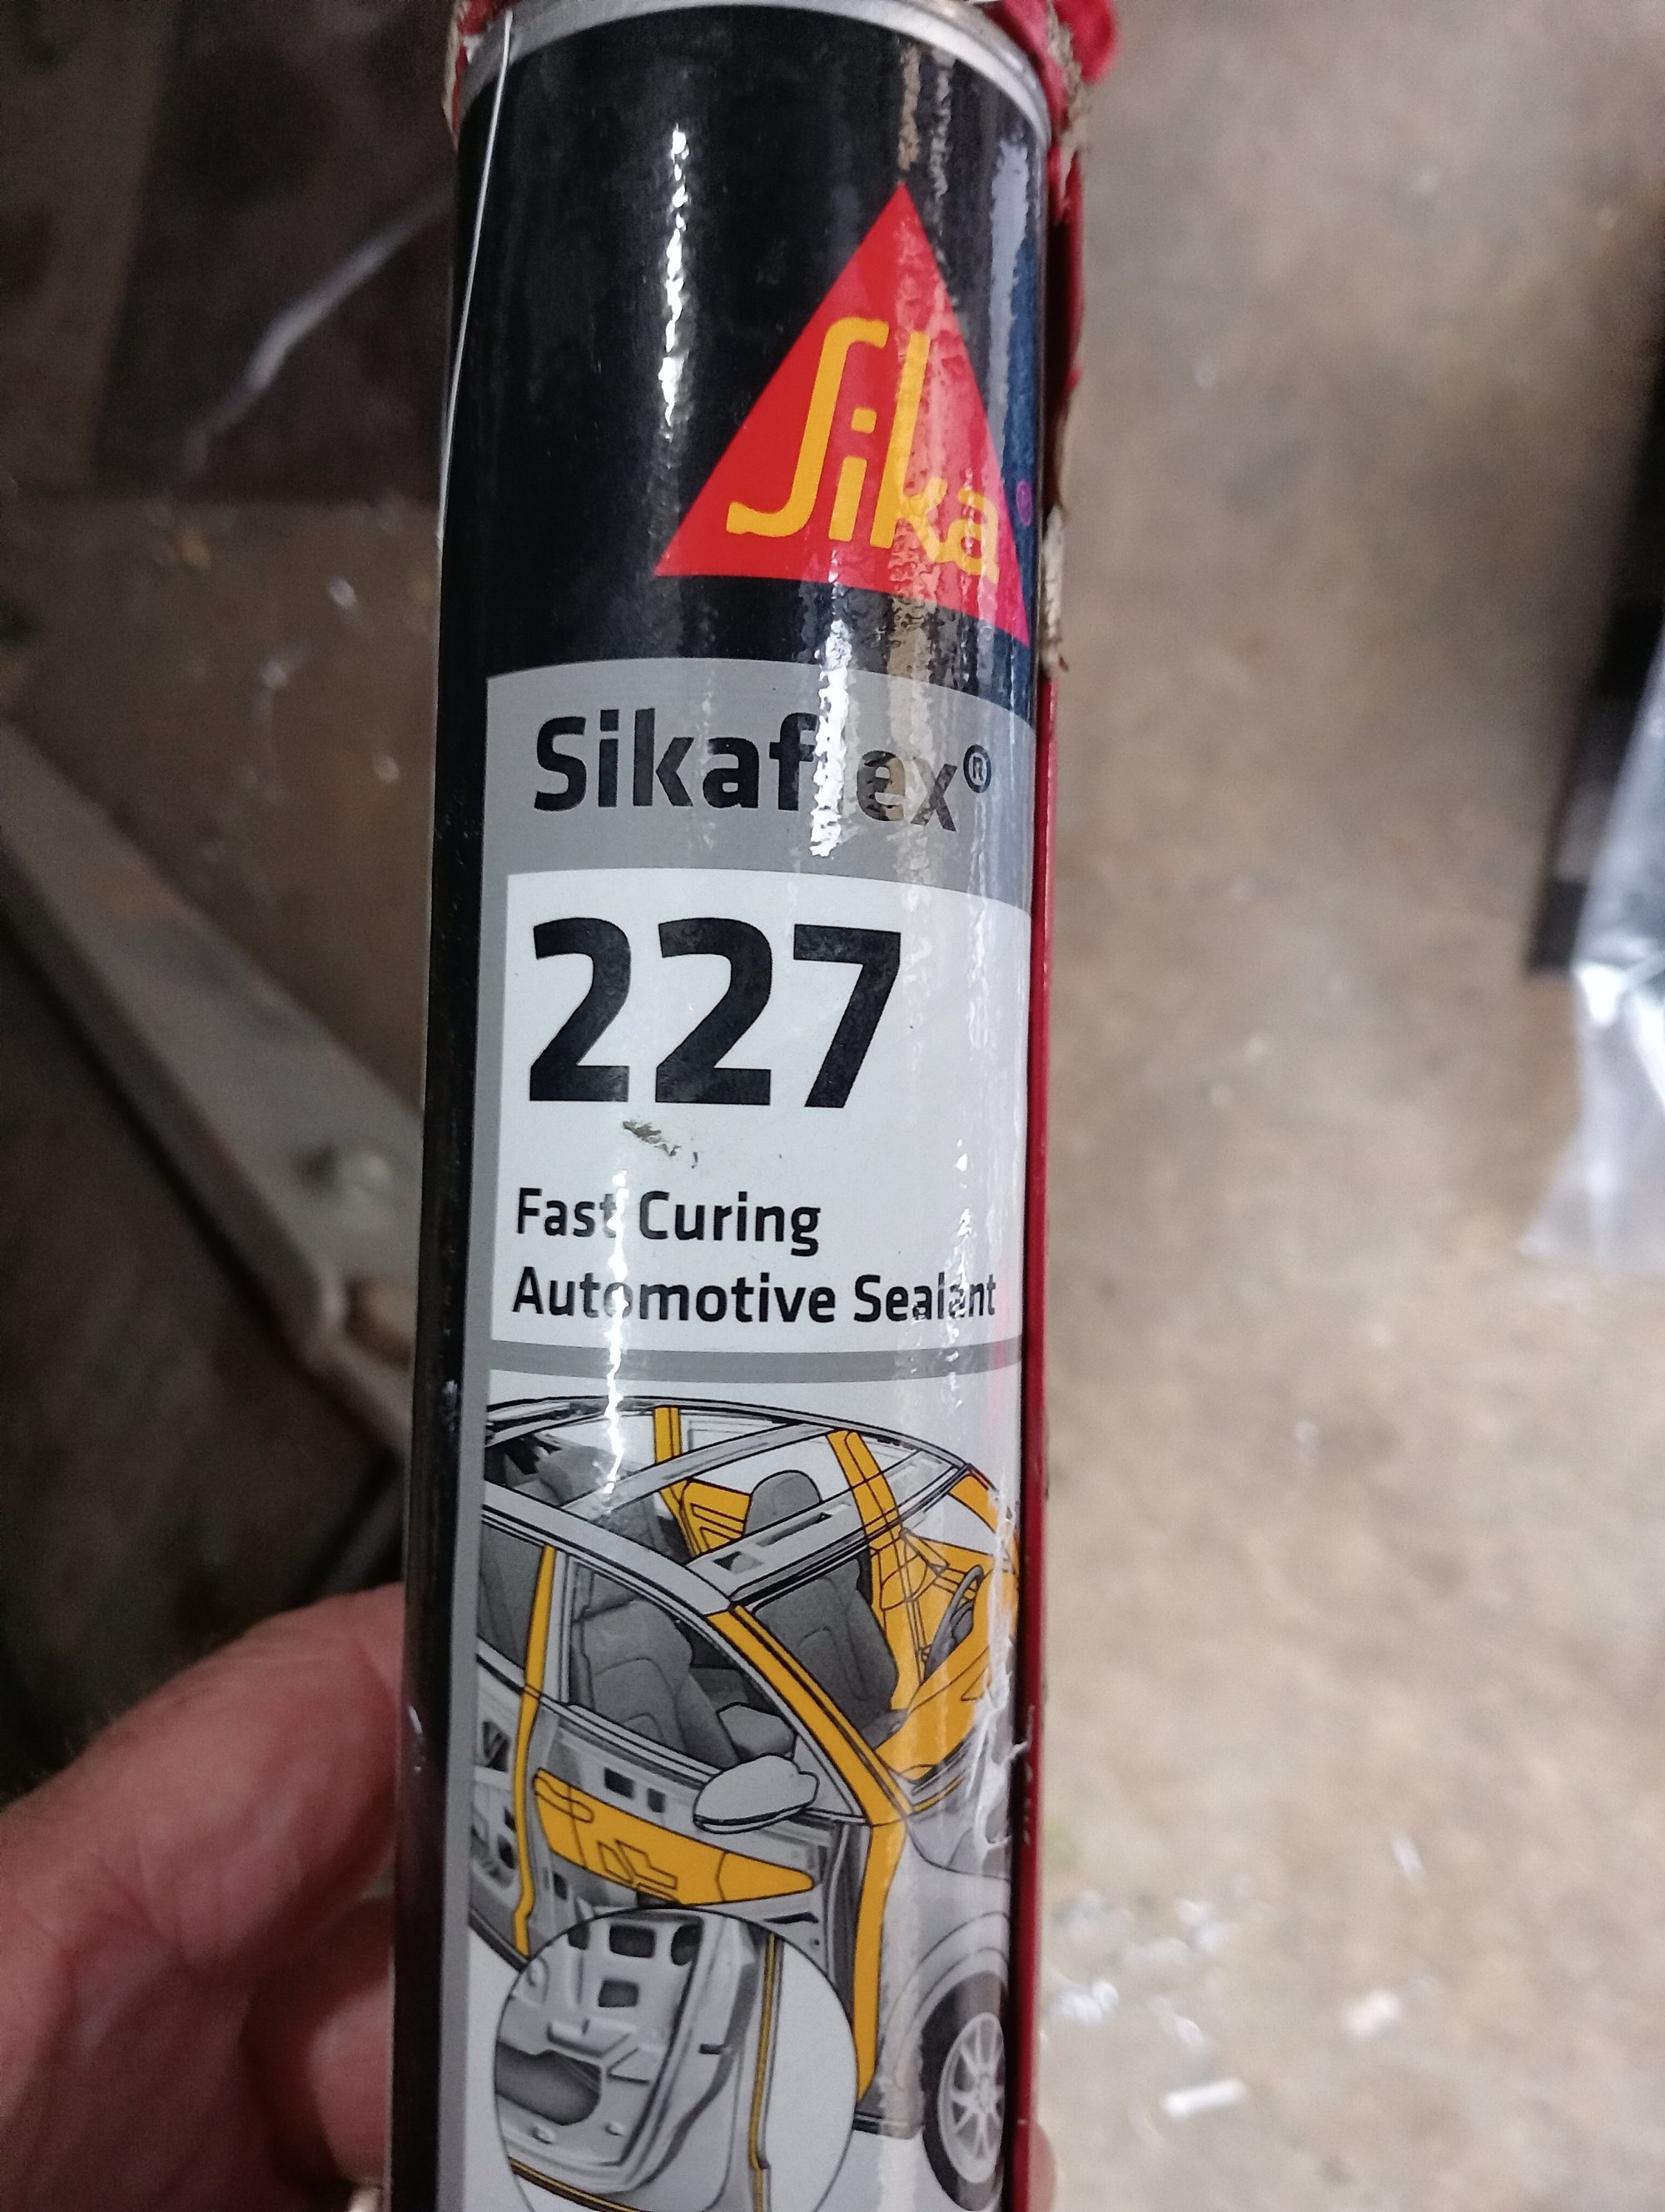
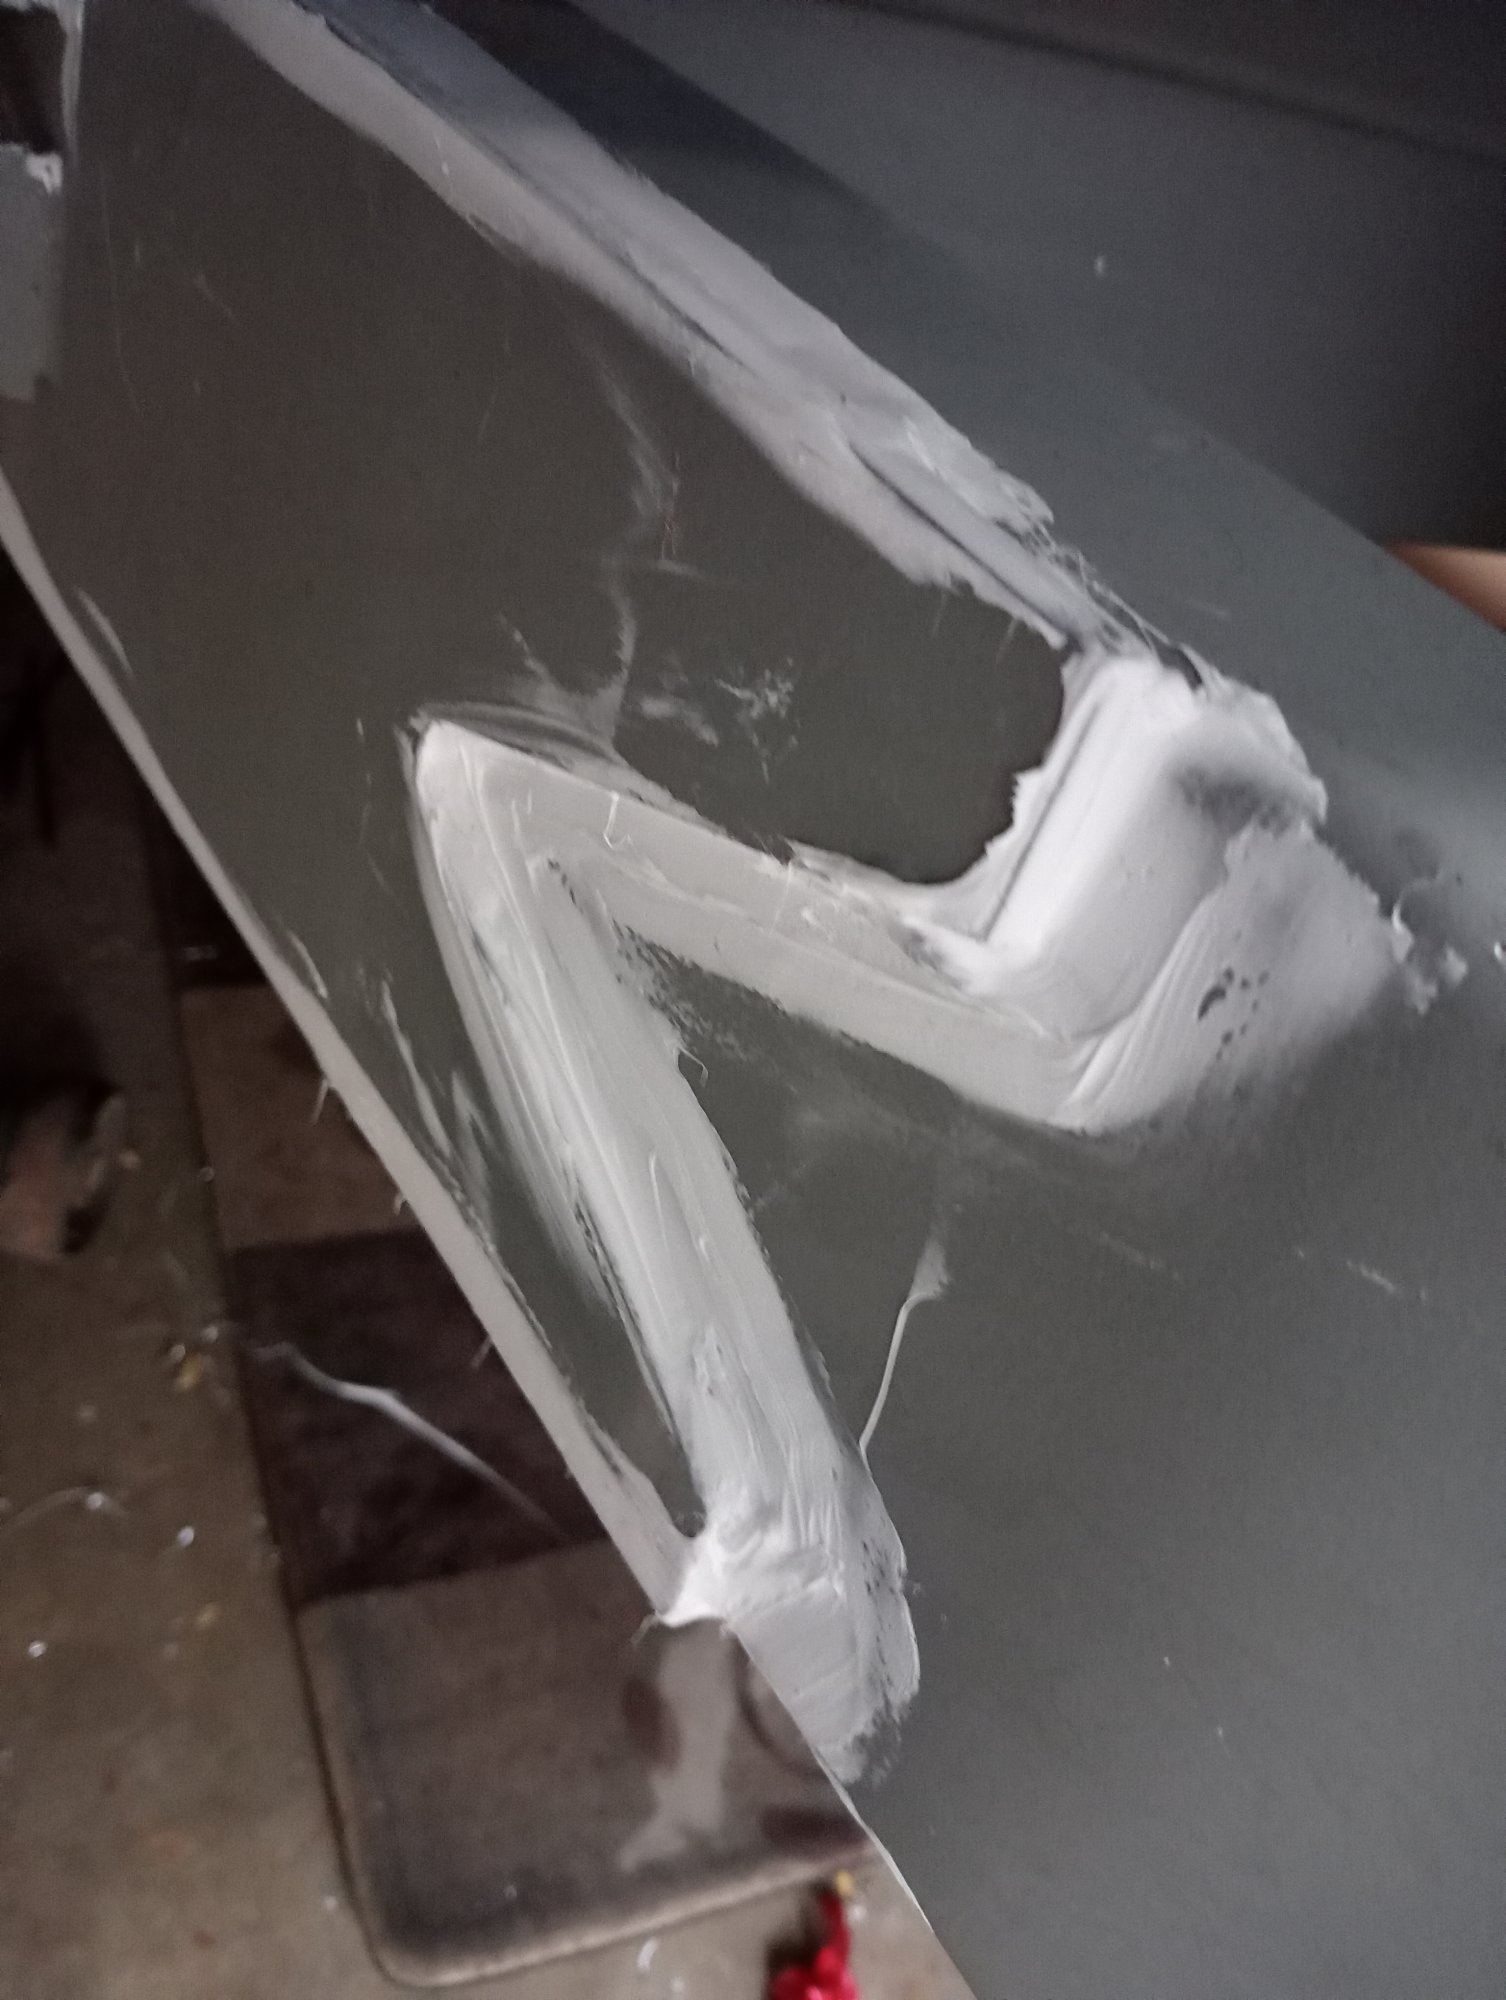
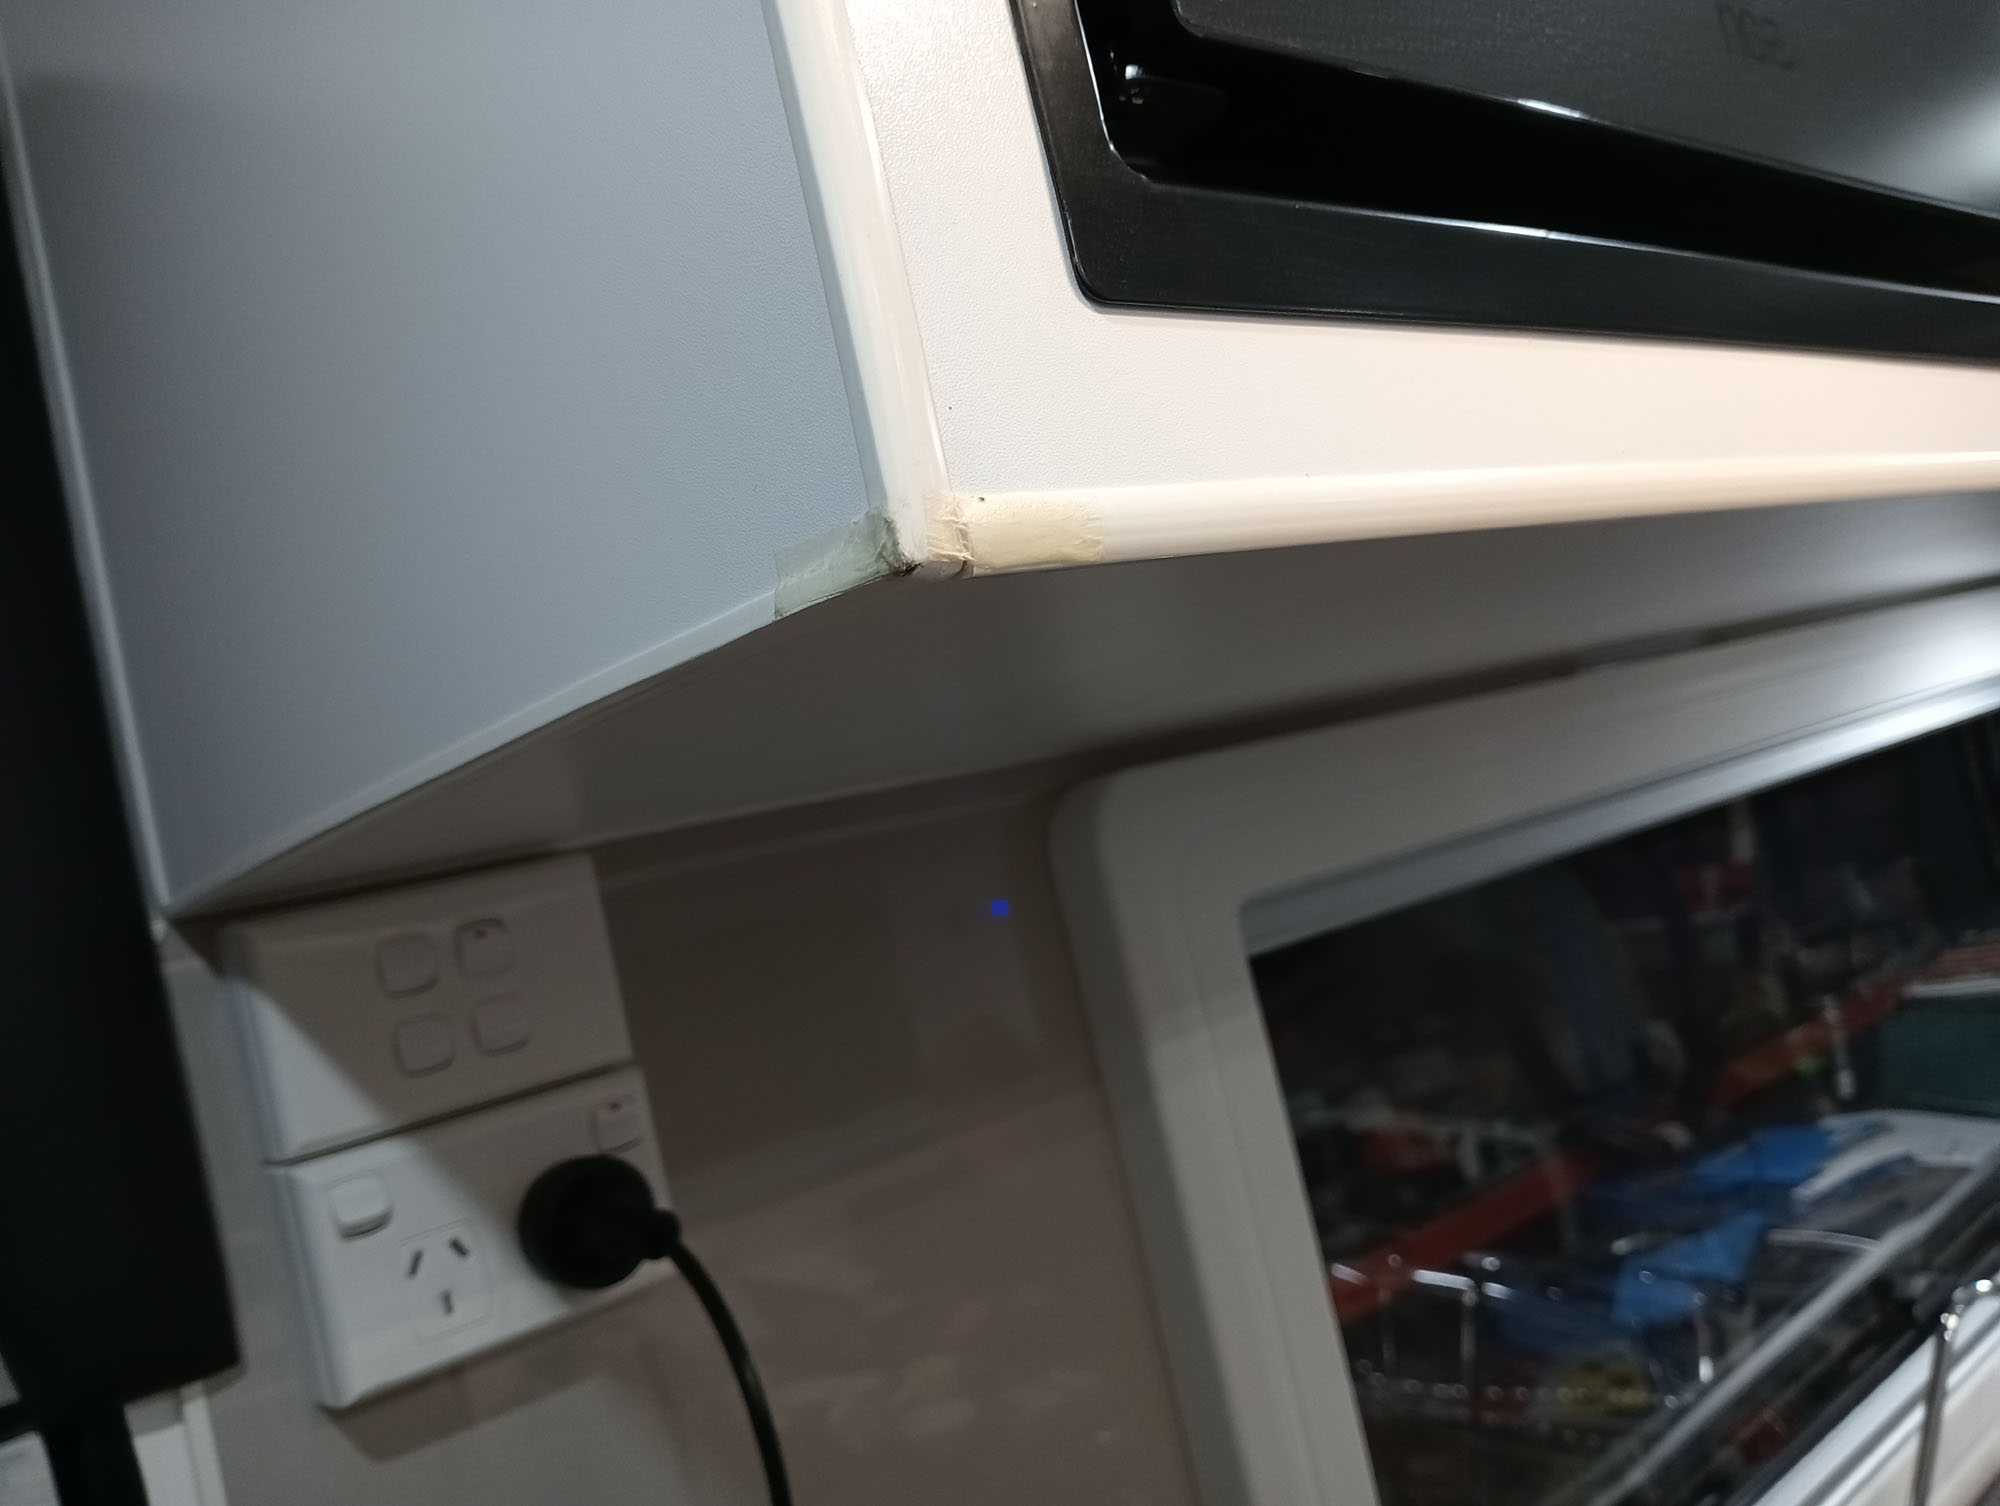
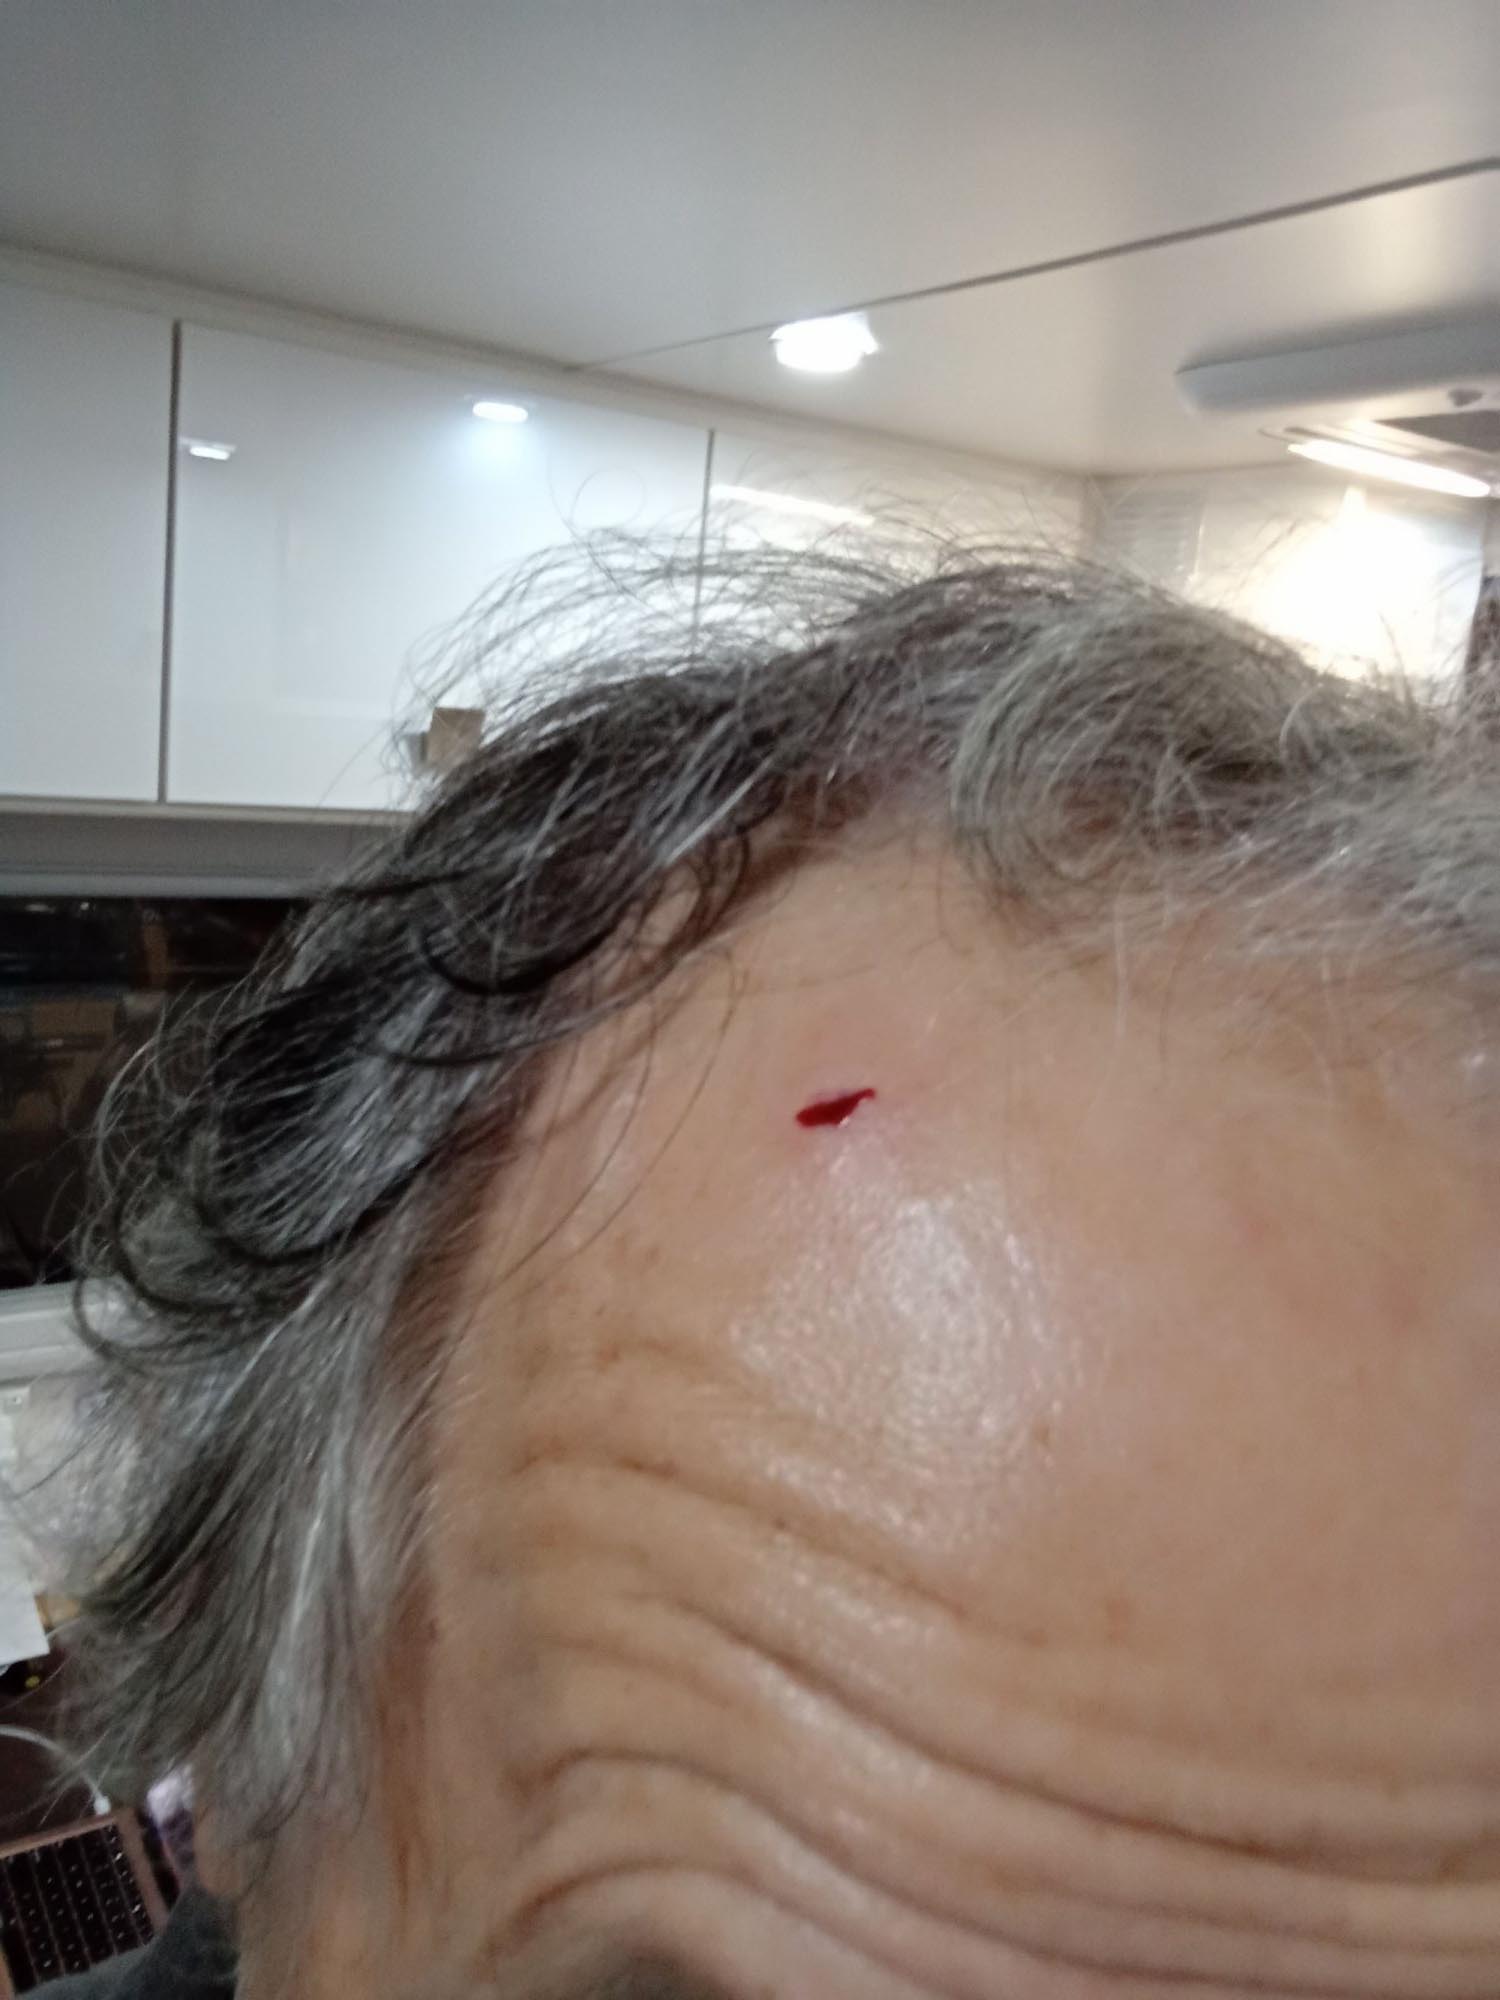
That sharp cabinet corner has bitten me one time too many. I know it is a hazard but sometimes knowing something isn't enough. I took a flapper disk to the pointy corner after it drew blood for the very last time & finished it off with some Sikaflex moulded under glad wrap. A bit rough around the edges but it actually looks better & more importantly it's safe now.
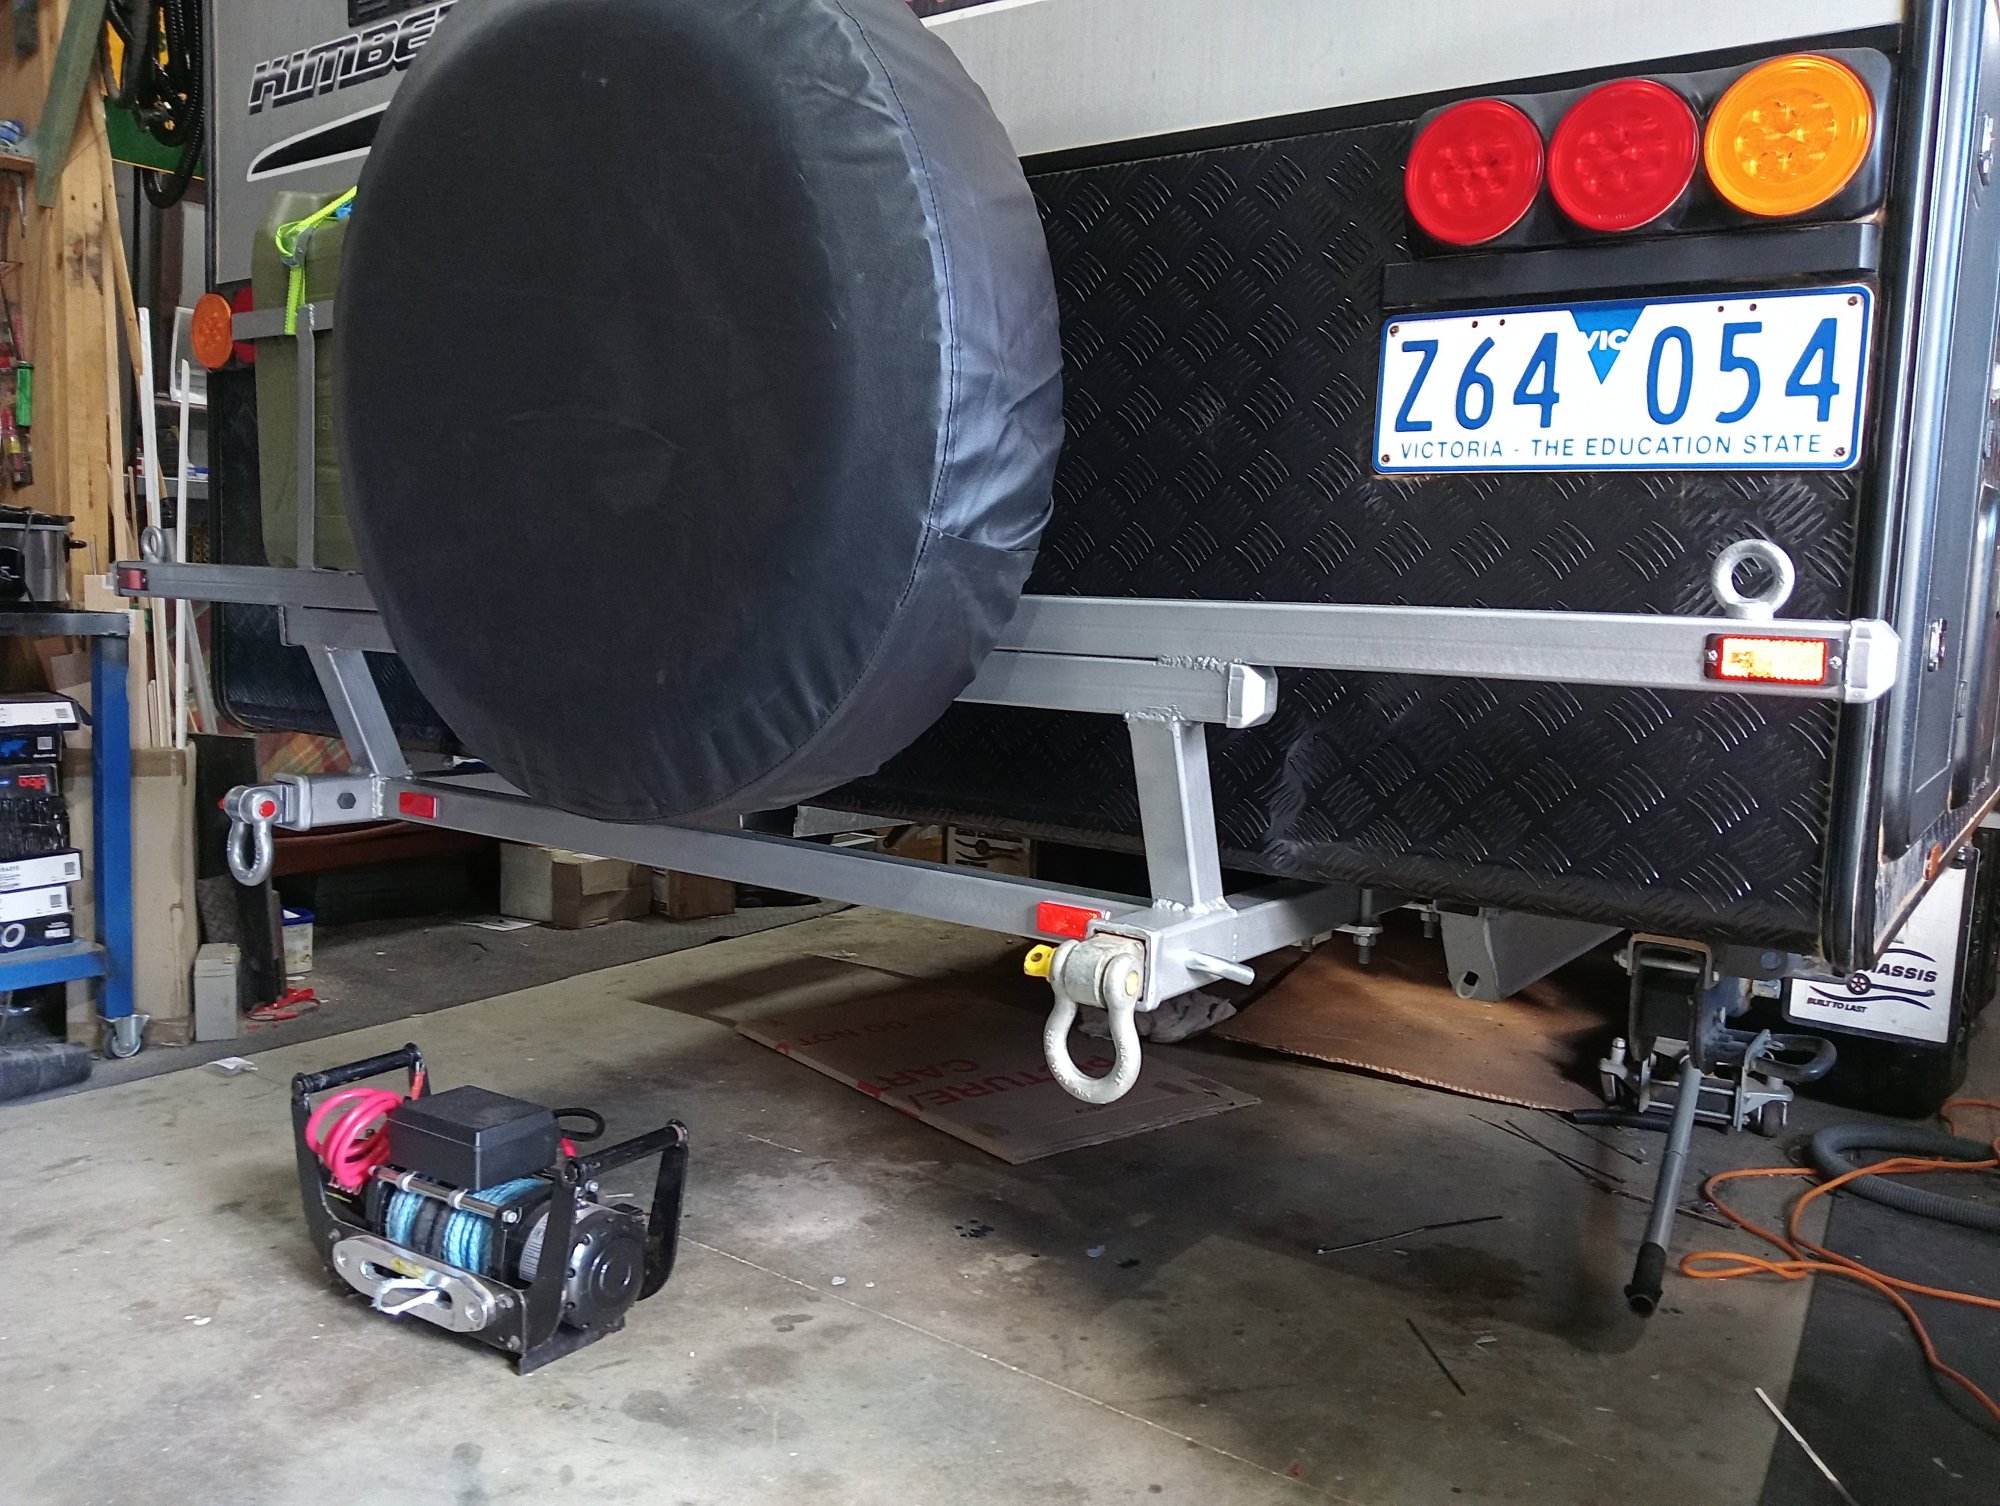
The Rear Bumper
Why is the rear bumper so far behind the Van?
Tail heavy trailers are inherently unstable. Not that the caravan in this case is remotely tail heavy- but excessive overhang is also a bad thing. The weight of the tyre is multiplied by the lever length, ie a mechanical advantage puts undue stress on the frame.
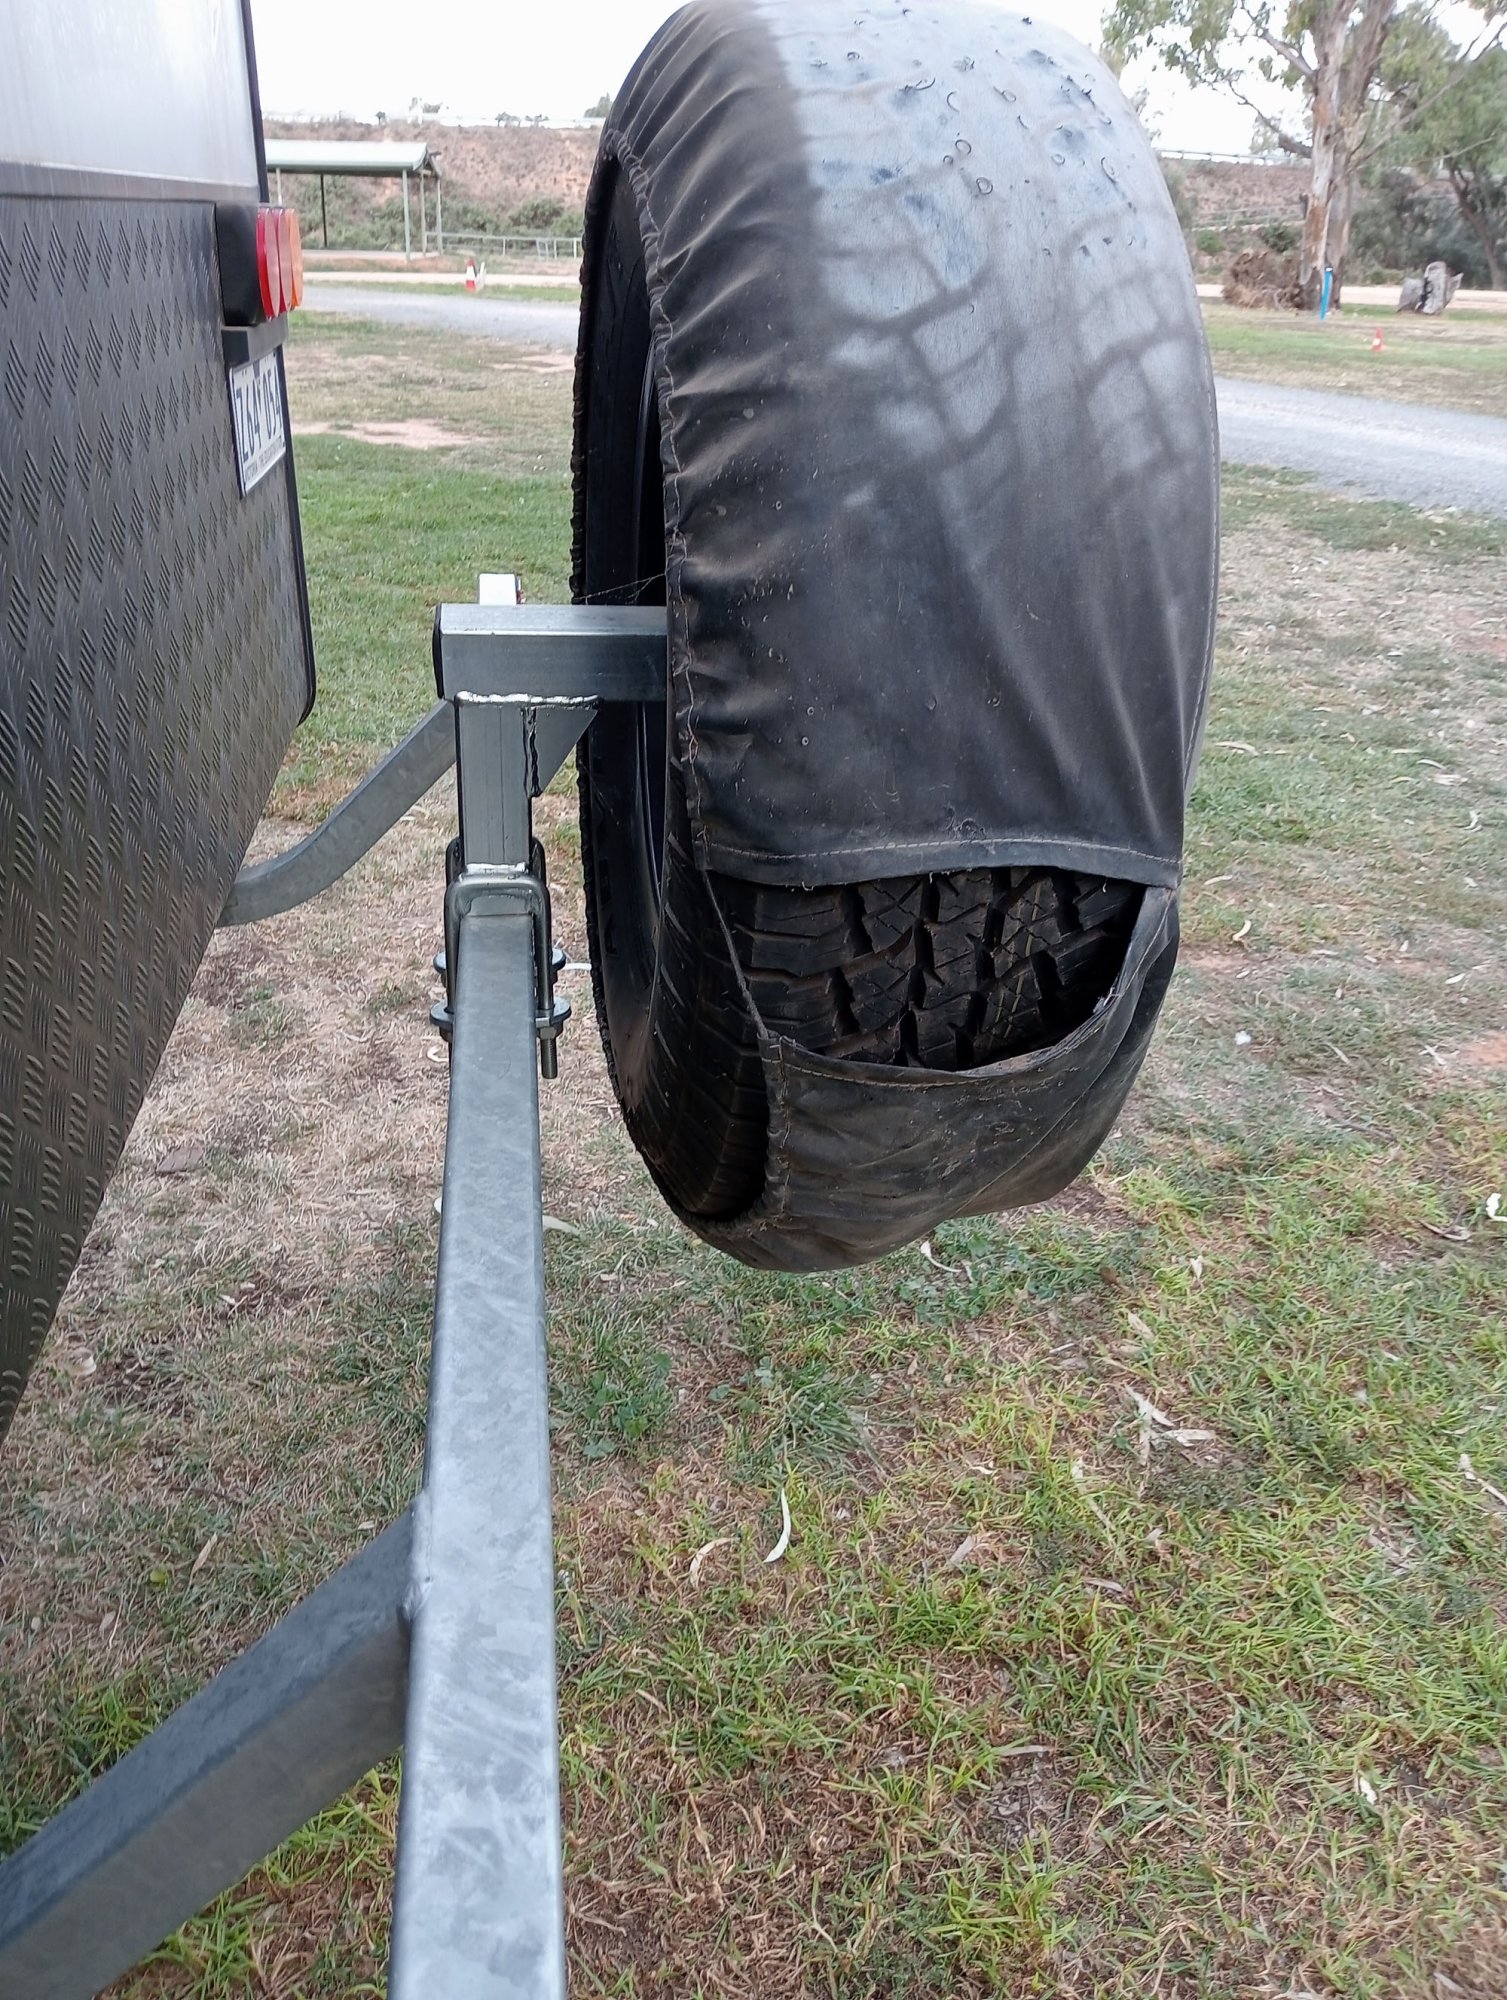
We all know trailer loading is important, keep the heavy stuff low & forward or over the axles. Pushing weight further back for no good reason is idiotic.
Not only is the bumper too far behind the van but the spare tyre is too far behind the bumper. The bumper is adjustable & can be moved forward & rearward but the 45 degree angle of the uprights prevent the bumper moving forward more than a few inches.
Soon I'll make a new bumper as the support bars on this only have 1.6mm wall thickness, 3mm is more appropriate. (the new bumper is made & detailed a little further on) but for now I have modified the factory fitted bumper, I cut the supports and welded them to the bottom instead of the front of bumper. This allows the bar to be pushed in all the way, so I have about 3" gap now instead of a 12" gap.
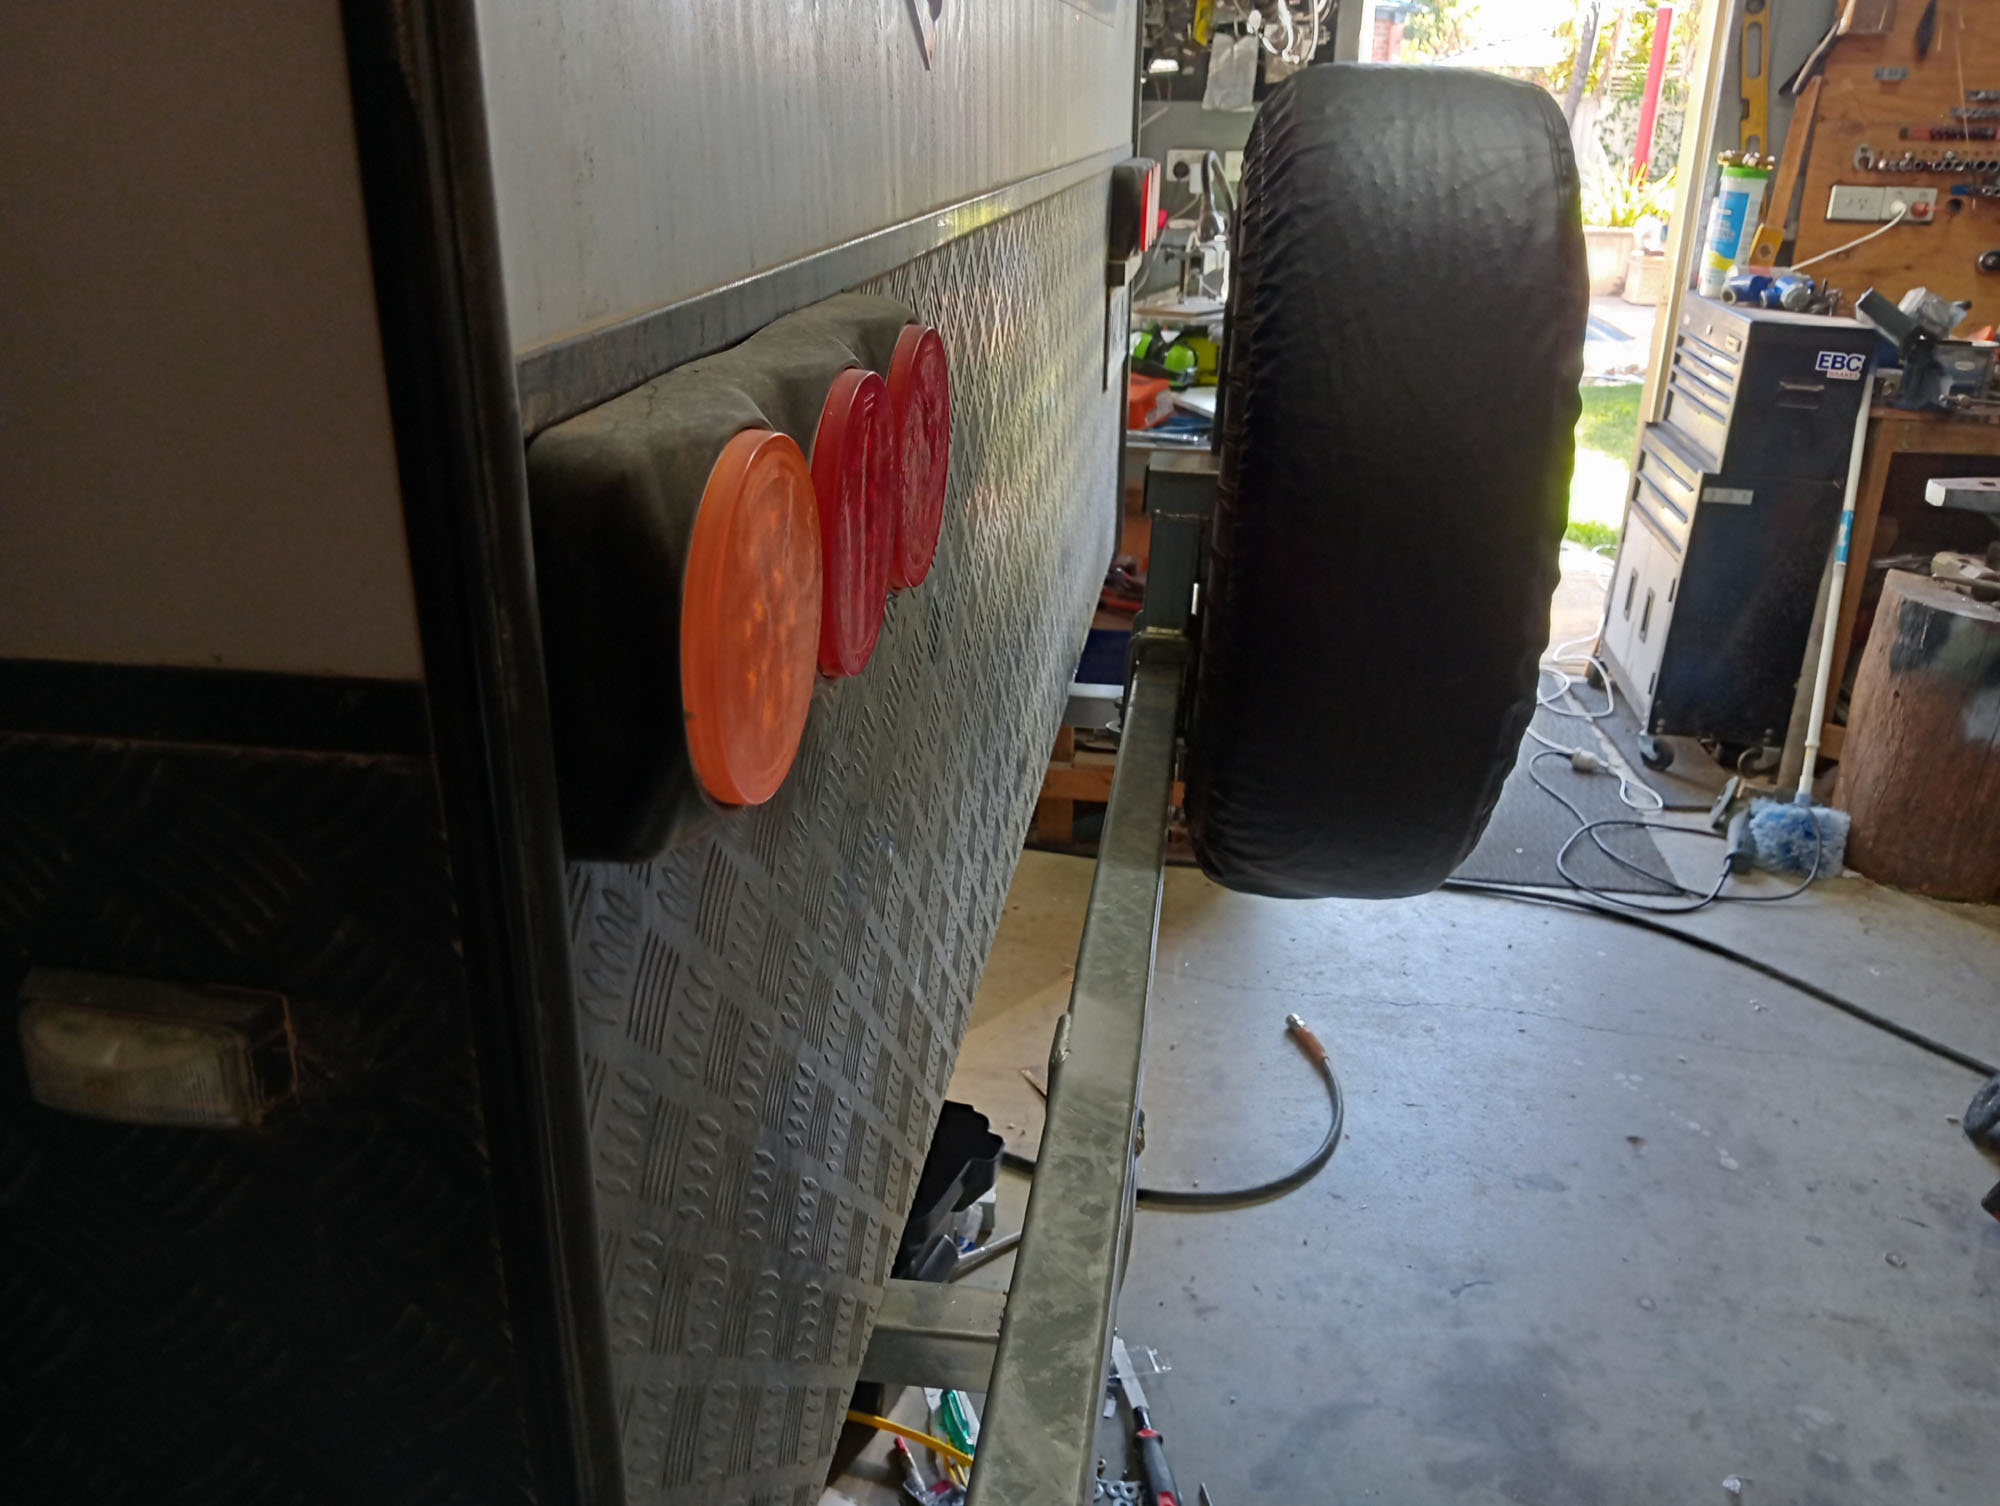
Next step is to remove the spare wheel carrier & shorten the horizontal section by 2" so that the back of the tyre fits up against the bumper, this again will reduce the stress on the bar and supports.
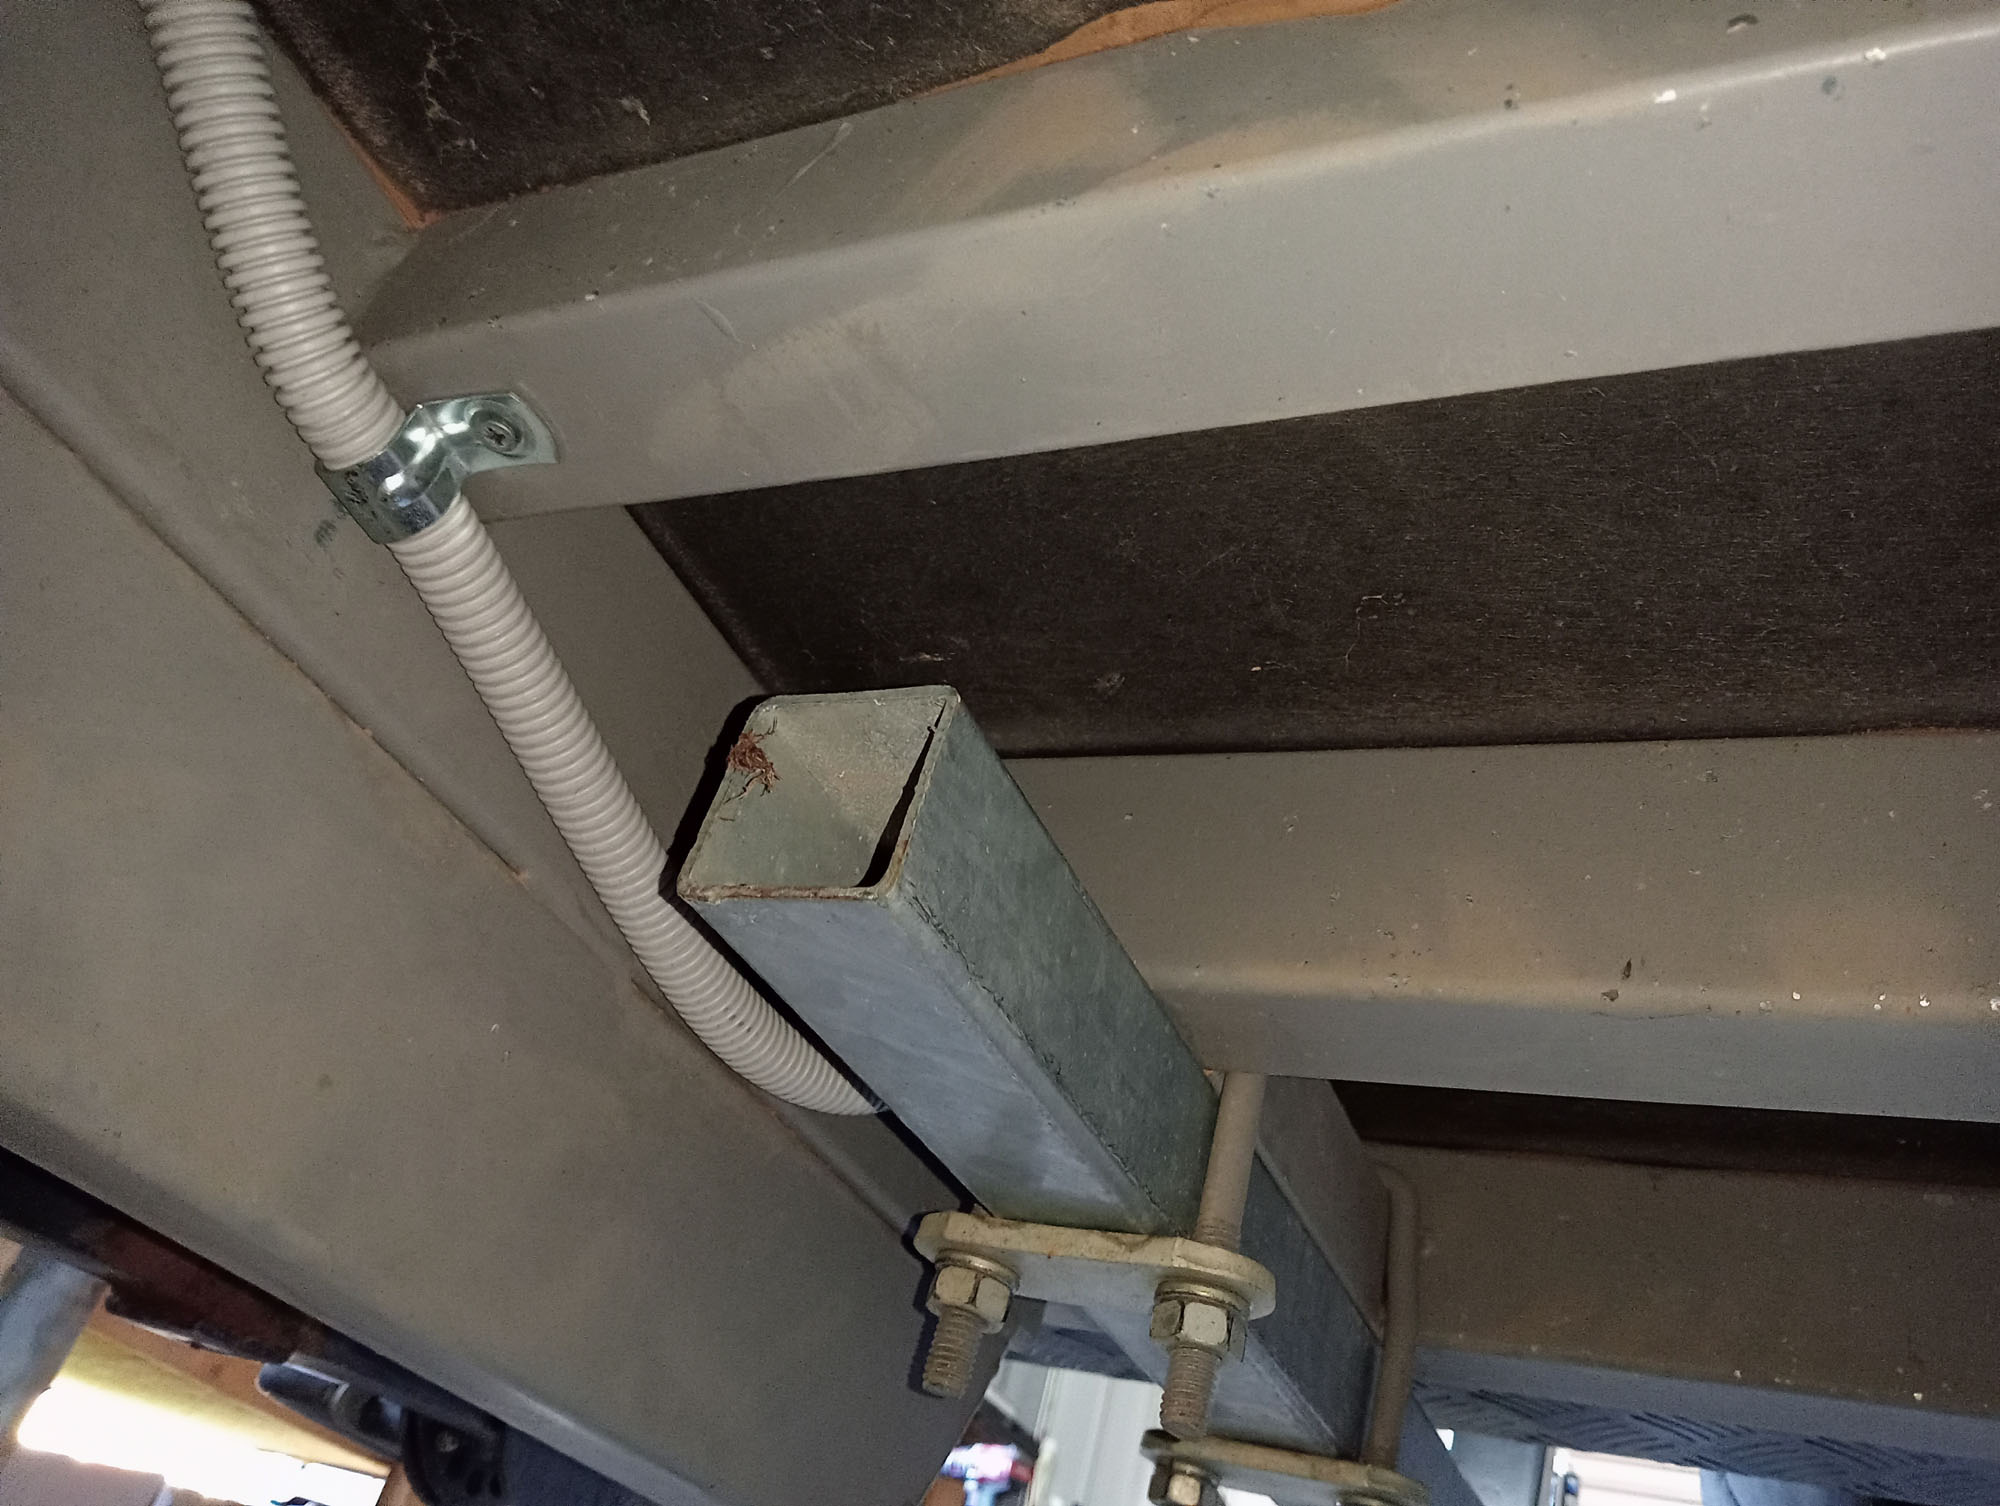
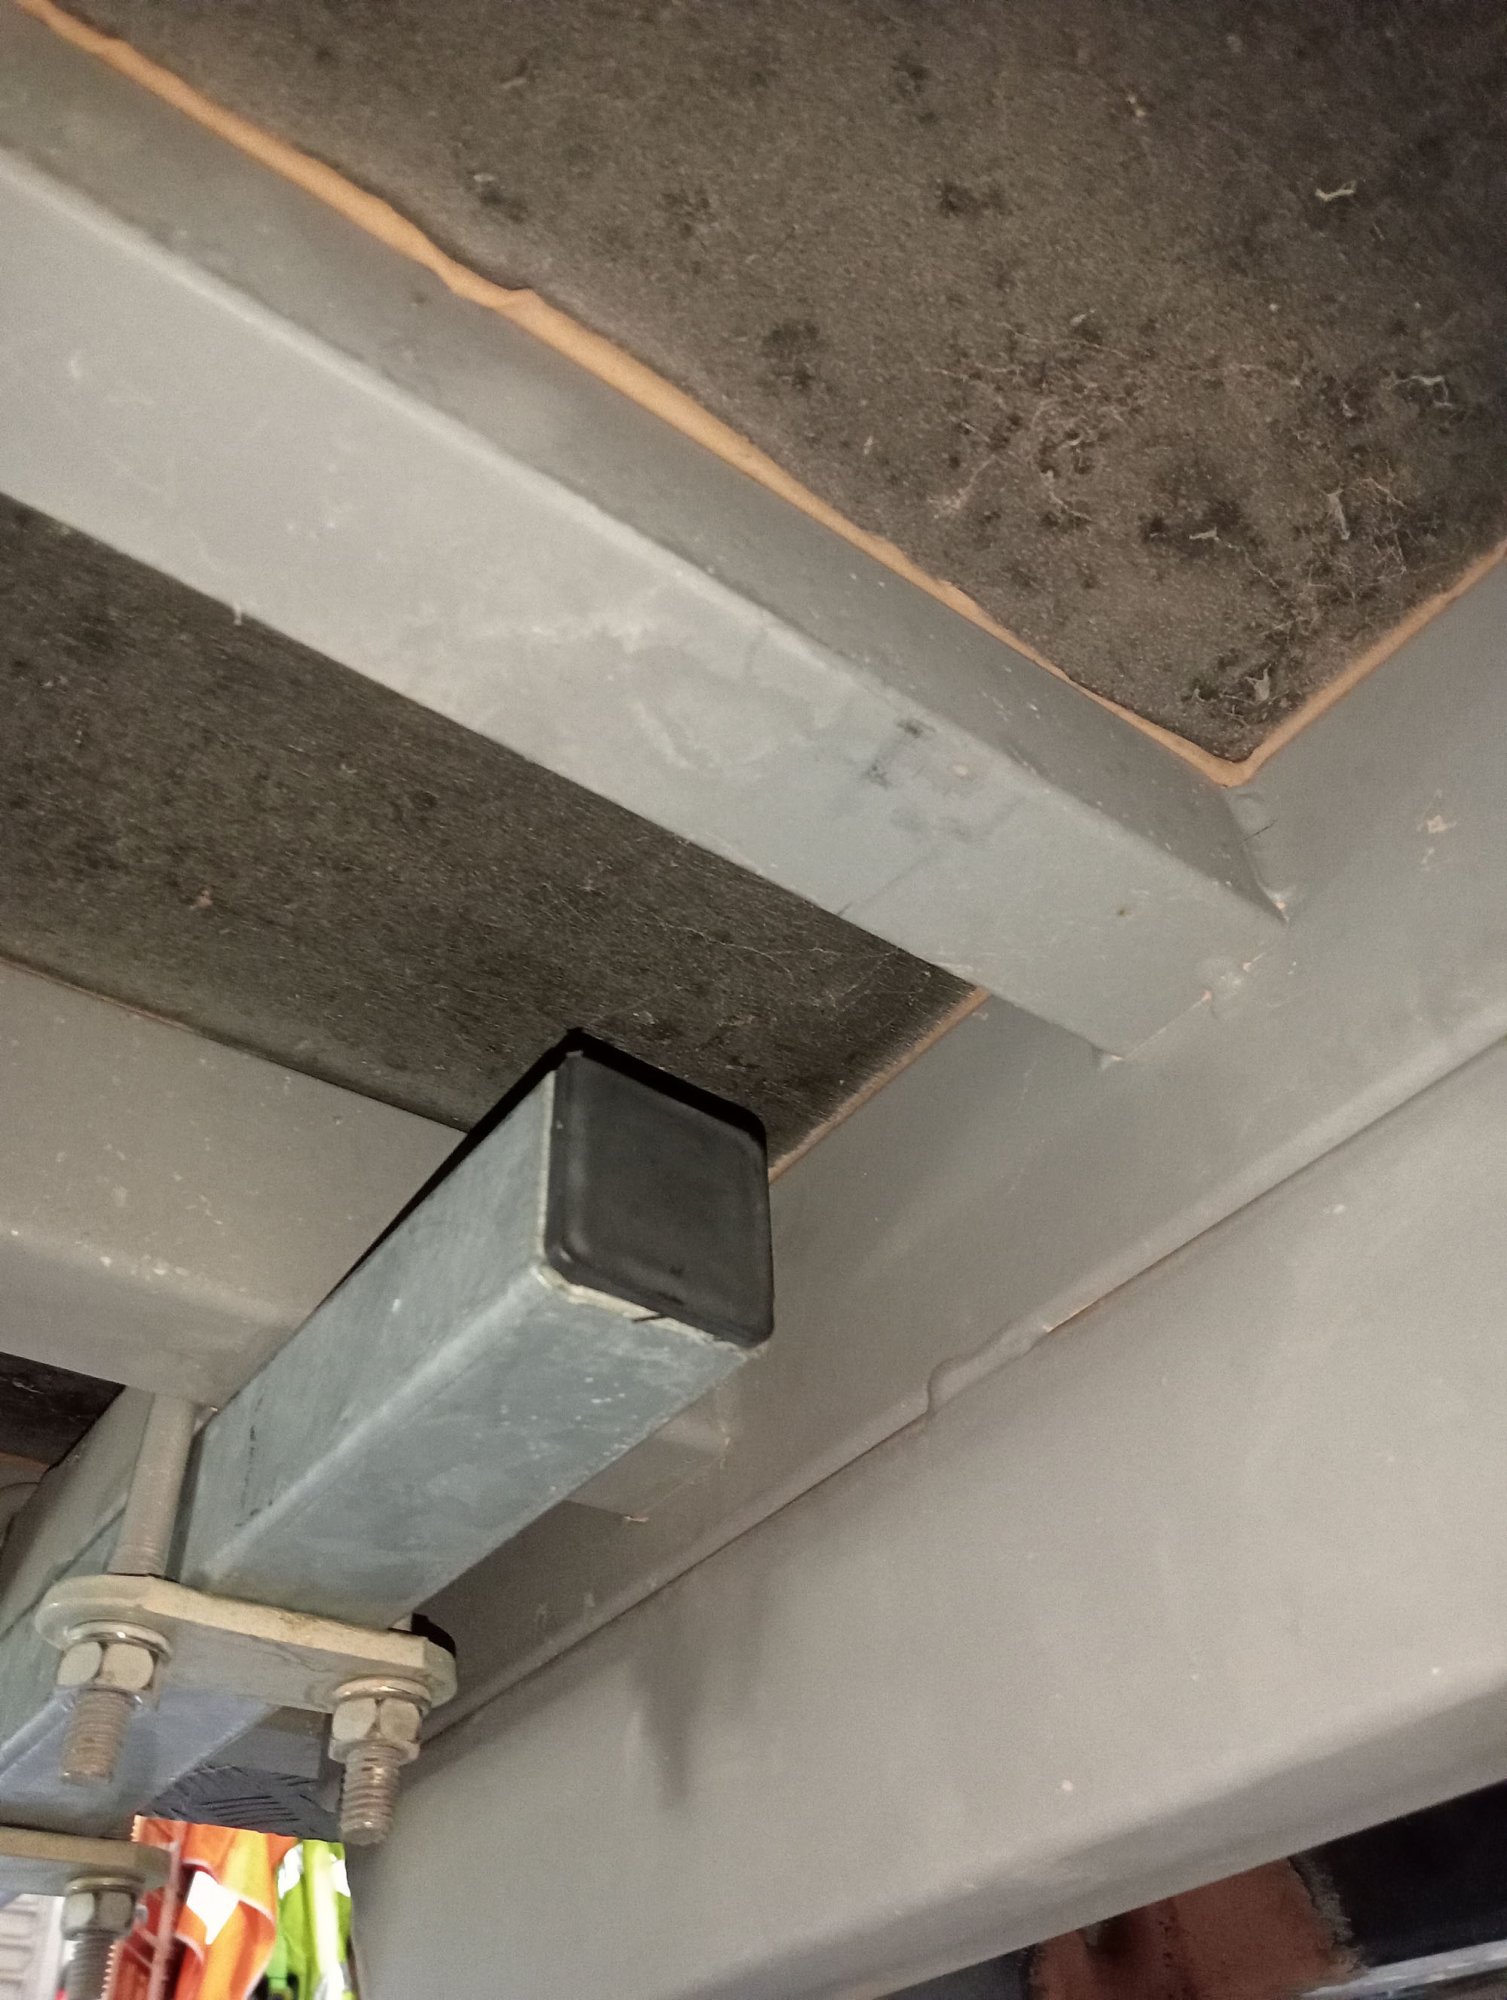
The factory bumper was fitted with open ends on the support bars, these already had a good cupful of outback dust in them, after shelling out close to $100k on a caravan you'd think they could have included some end caps, I salvaged a pair of 40mm square end caps from some fence posts but only a few dollars at Bunnings.
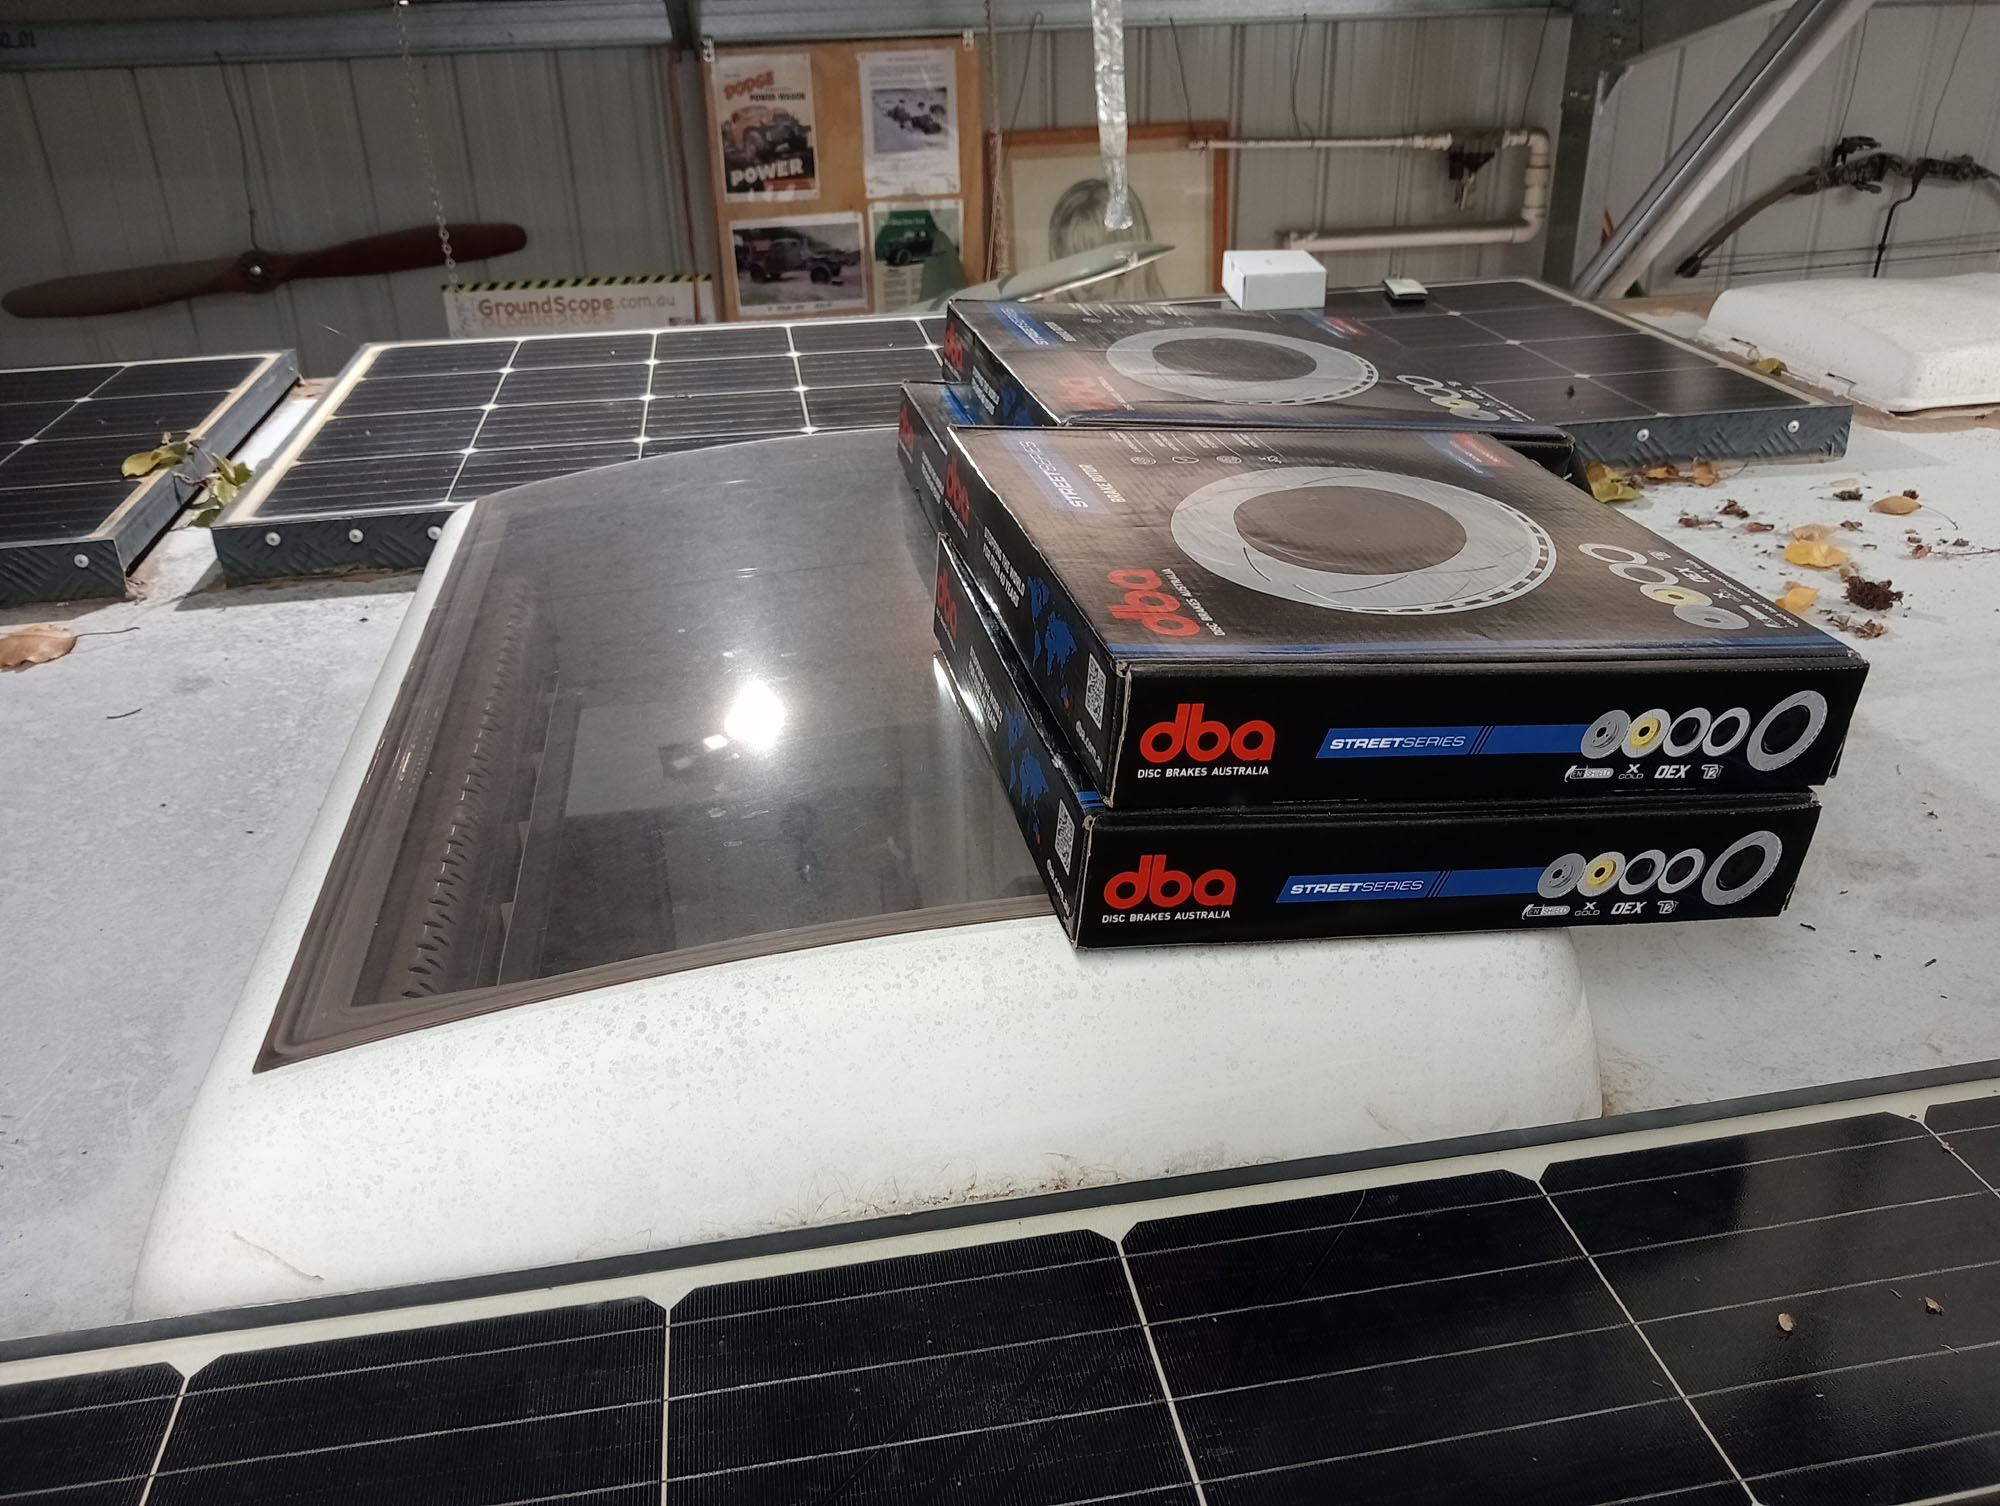
The Bad Tyres
I changed the tyres on the van for a few reasons.
The wide tyres on modern caravans are, in my opinion, a fashion tyre, not at all appropriate for a trailer. The simple fact is THE ONLY reason the Caravan industry fit wide tyres with raised white letters is for looks, looks generate sales. The tyres are crap.
The Load Rating on the supplied MPC LT265/75R16 10ply tyres is 123/120S @ 80psi = 1400kg.
Legally no problems. The combined load rating of the tyres 1400kg x 4 = 5600kg must exceed the total load rating of the Caravan, 3500kg it even says that on the compliance plate.
No legal problems, but Yes big problems, The recommended caravan tyre pressure is 40-50psi for highway. The wide tyres sidewall is already proud of the rim at road pressure, When you deflate the tyres to 30psi for gravel roads or lower for corrugations the heavy tyre rating struggles with a flexing sidewall & can lead to a blowout. The bulging sidewalls are vulnerable to damage, the option of keeping the tyres inflated to highway pressure on rough roads and risk damage to the caravan with screws coming loose, fridges and microwaves falling out and en-suite doors falling off, etcetera.
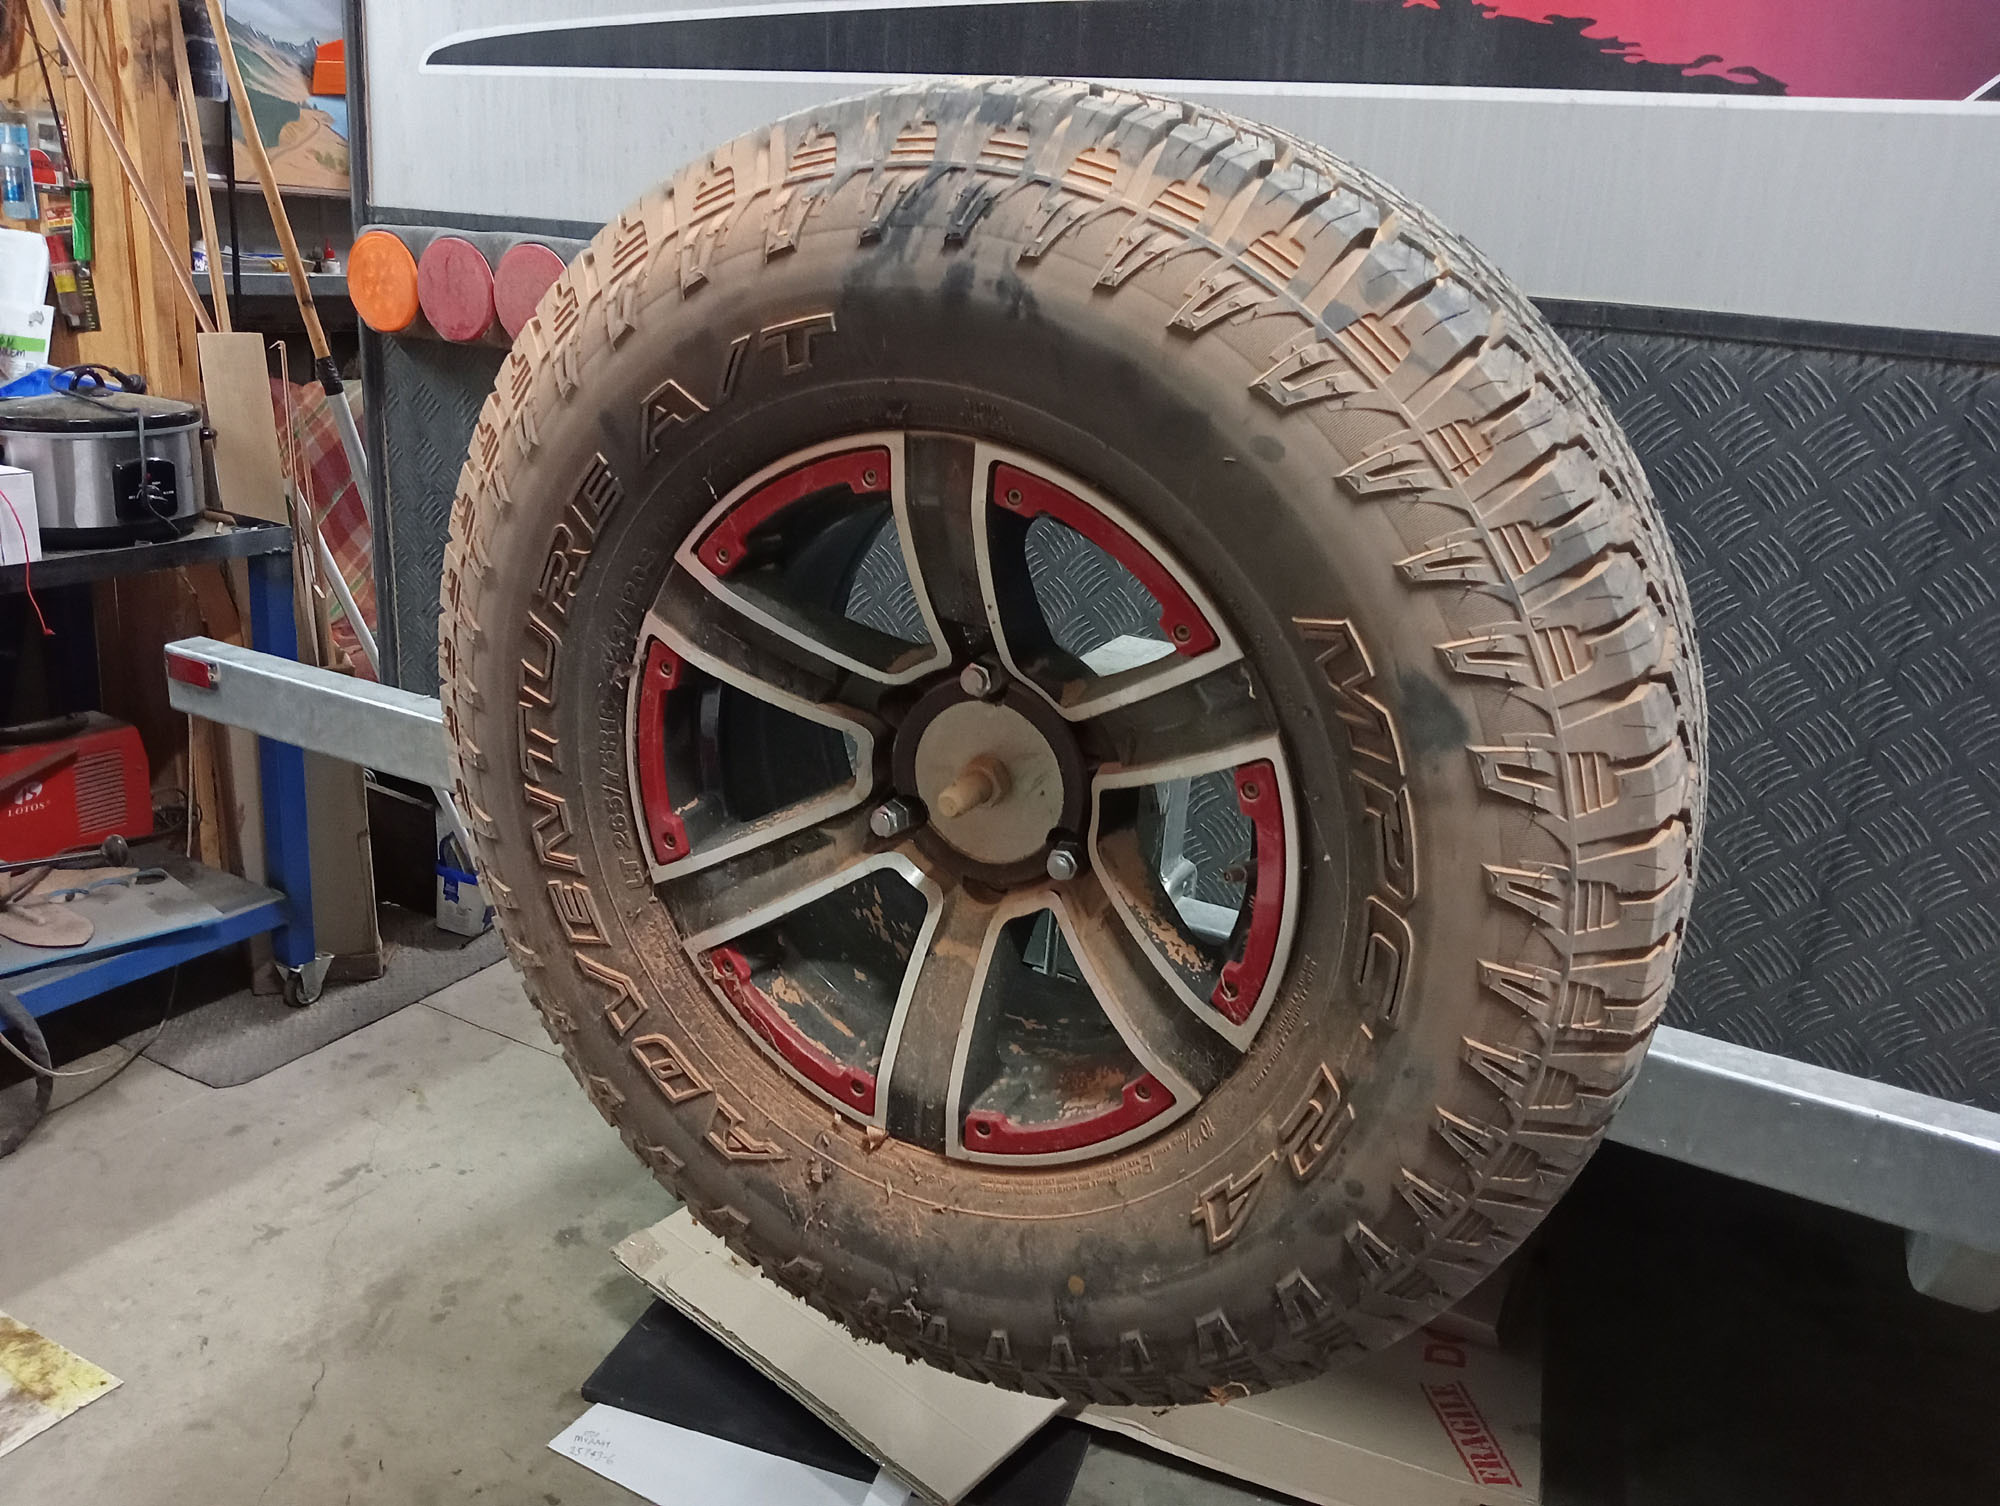
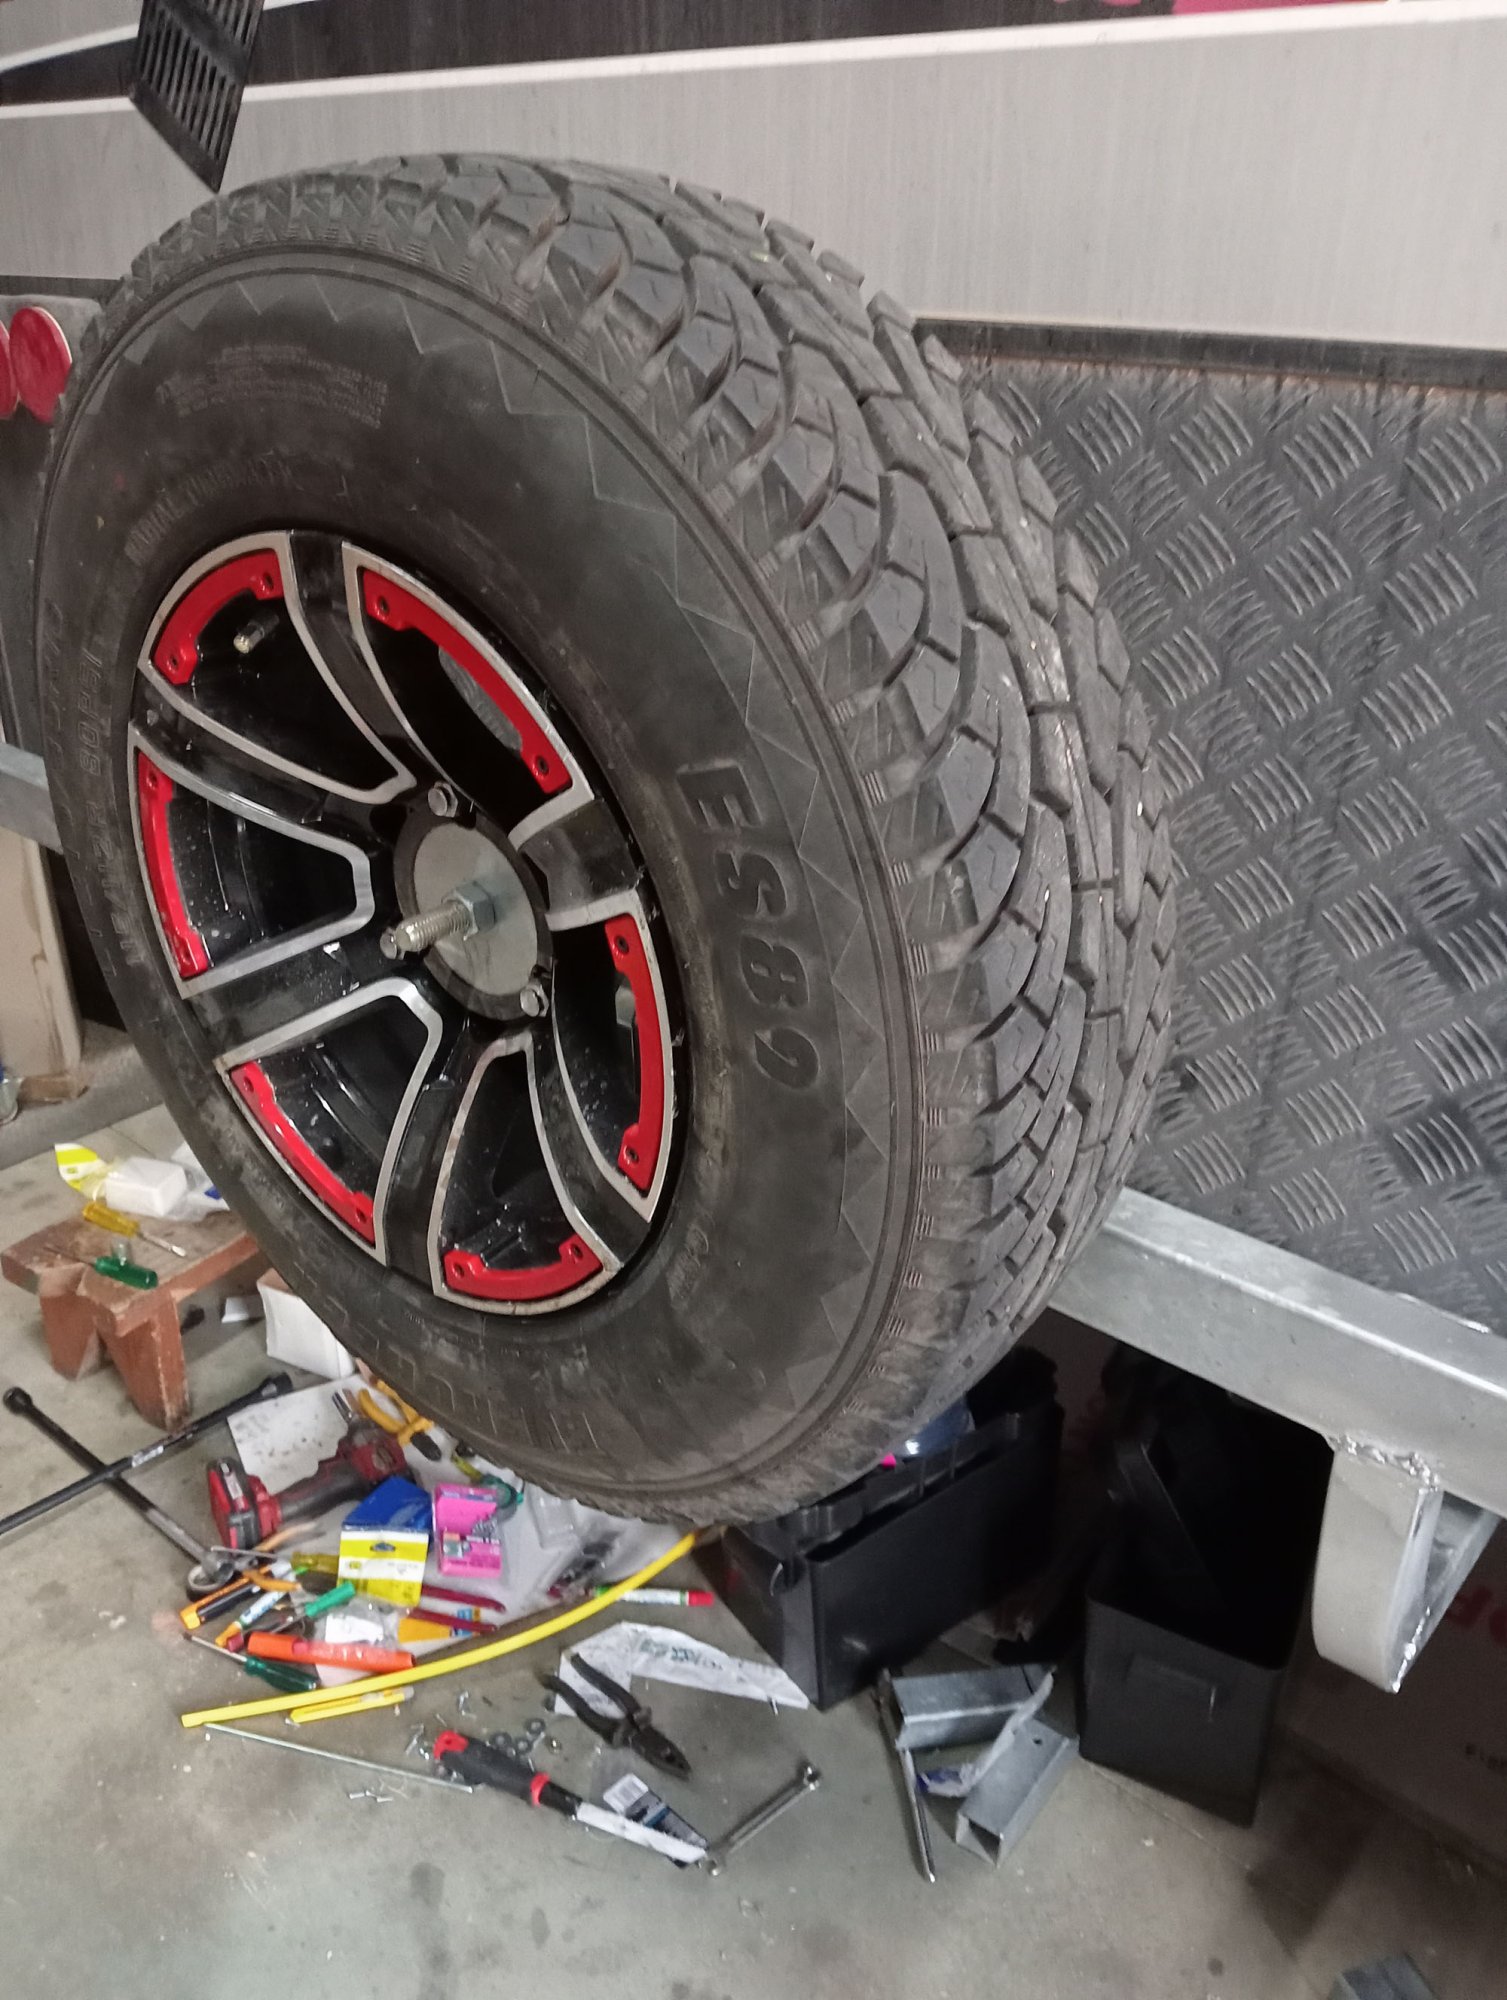
Also the MPC LT265/75R16 are drive tyres. You do NOT need drive tyres, AT's or MT's on a Trailer. If you run the same tyres and wheels as the Tow vehicle, then yes the idea has merit as you can share spare wheels. Light Truck or Van tyres with an appropriate Load Rating is what you need.
I fitted LT 215/85R16 10 ply 115/112R tyres, Same height, about 2" inches narrower & no sidewall bulge . Load rating 1120kg per tyre x 4 = 4480kg, Still on the high side but much more appropriate for the Caravan. Also with the tyres being narrower I can carry an extra spare carcass behind the gas bottles where the original tyre width will not fit.
I change all my 4x4 and van tyres at home, keeps me in practice in case I need to do it in the bush.
Update ---- Custom Rear Bumper & recovery points
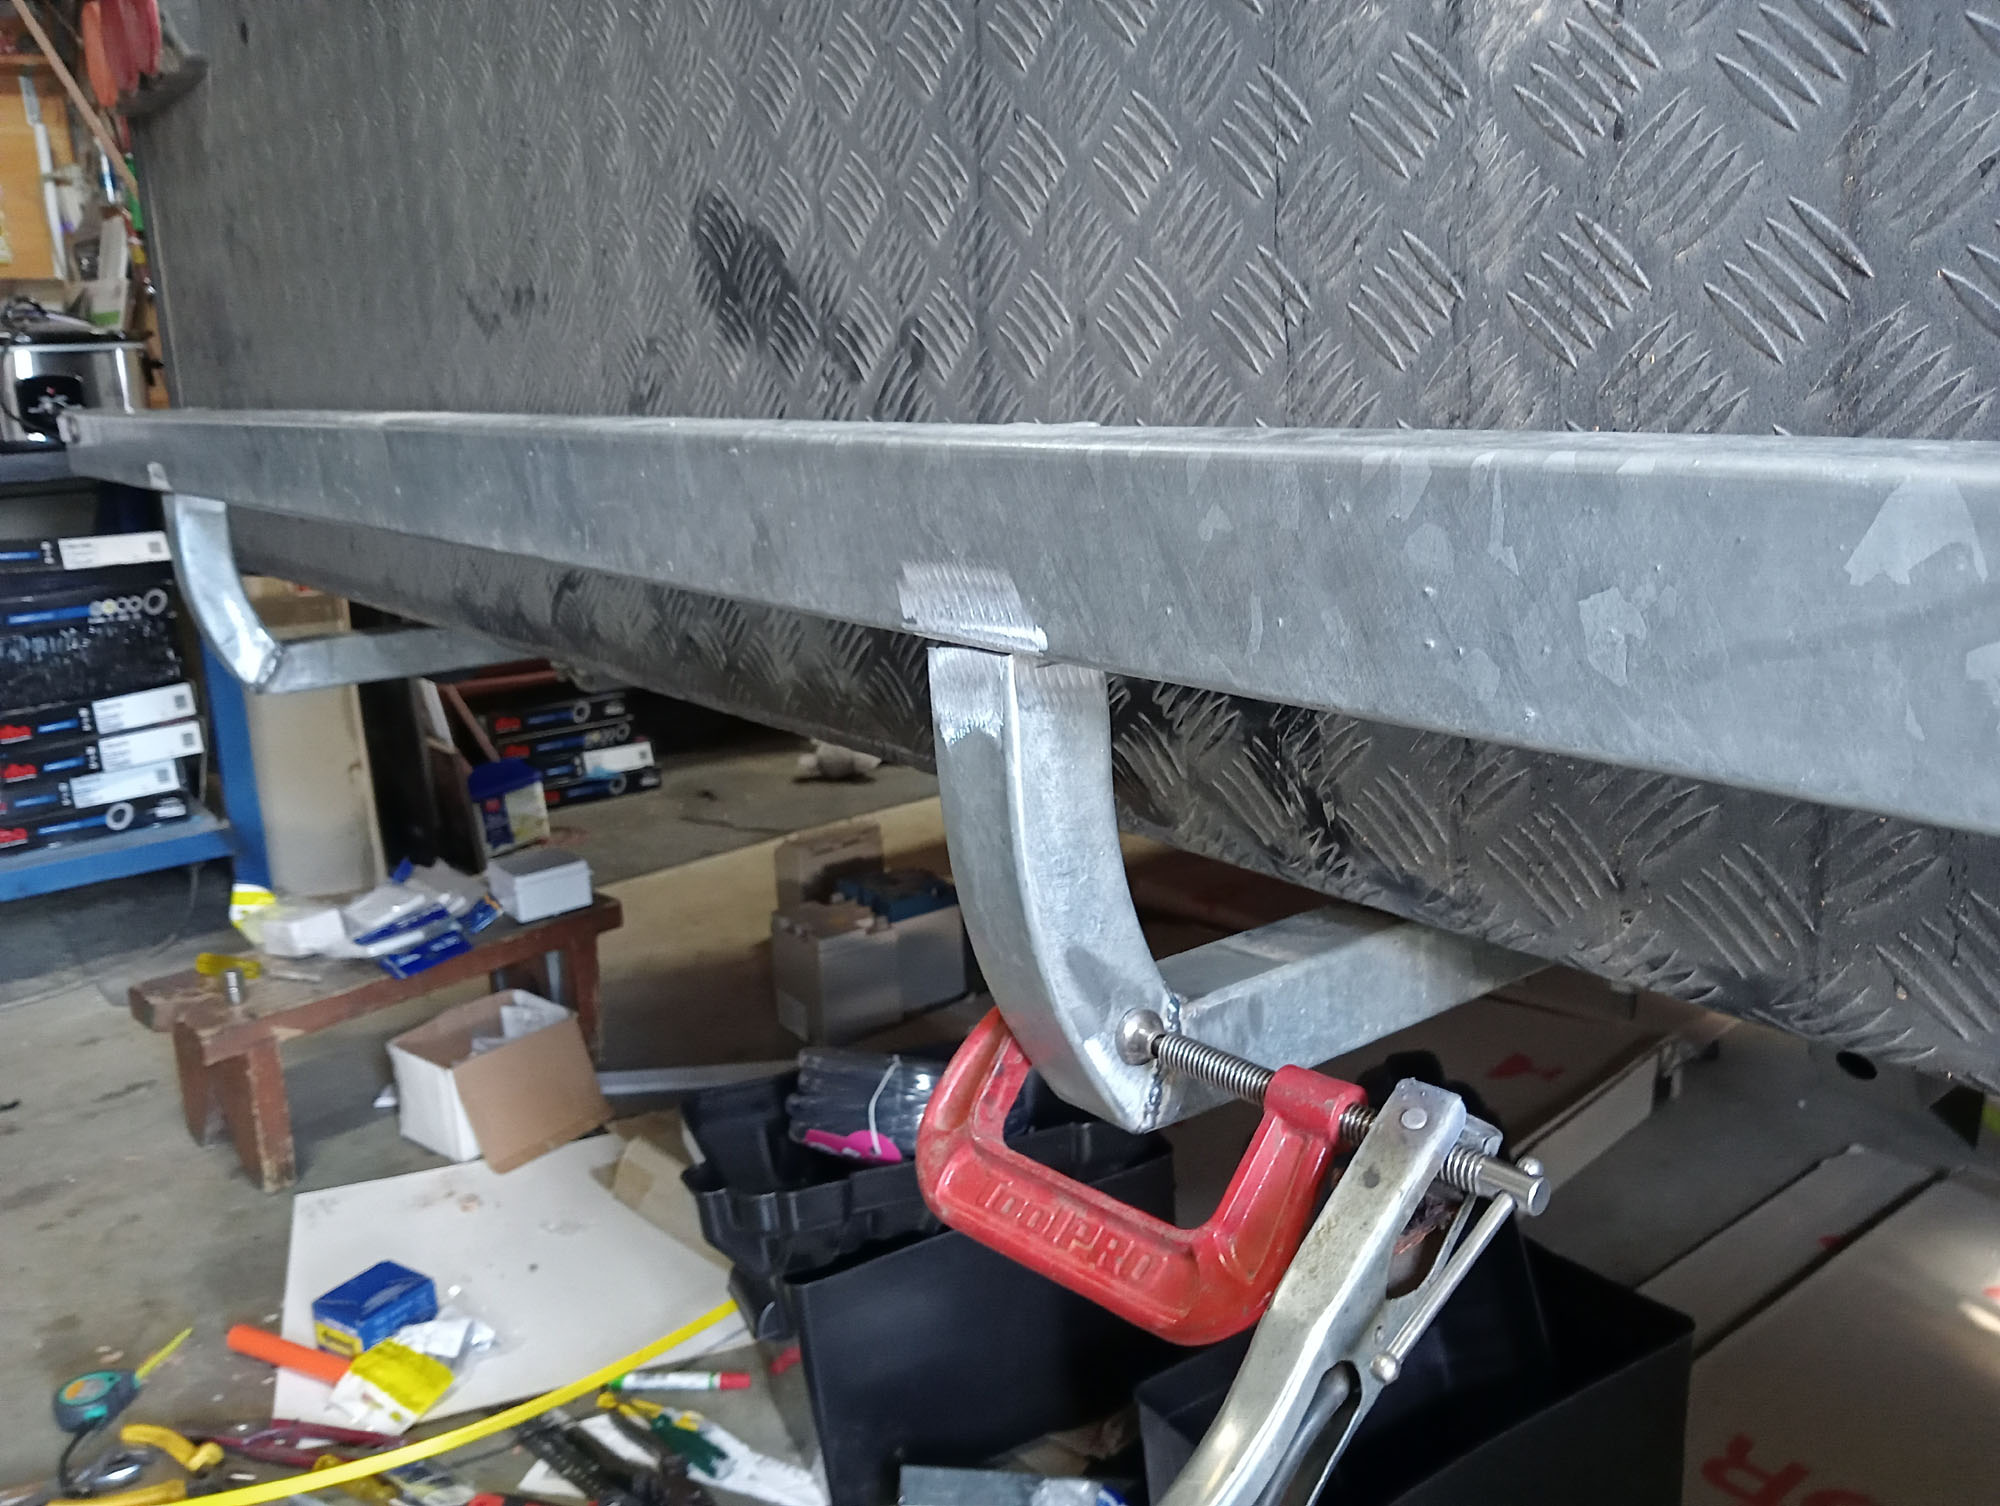
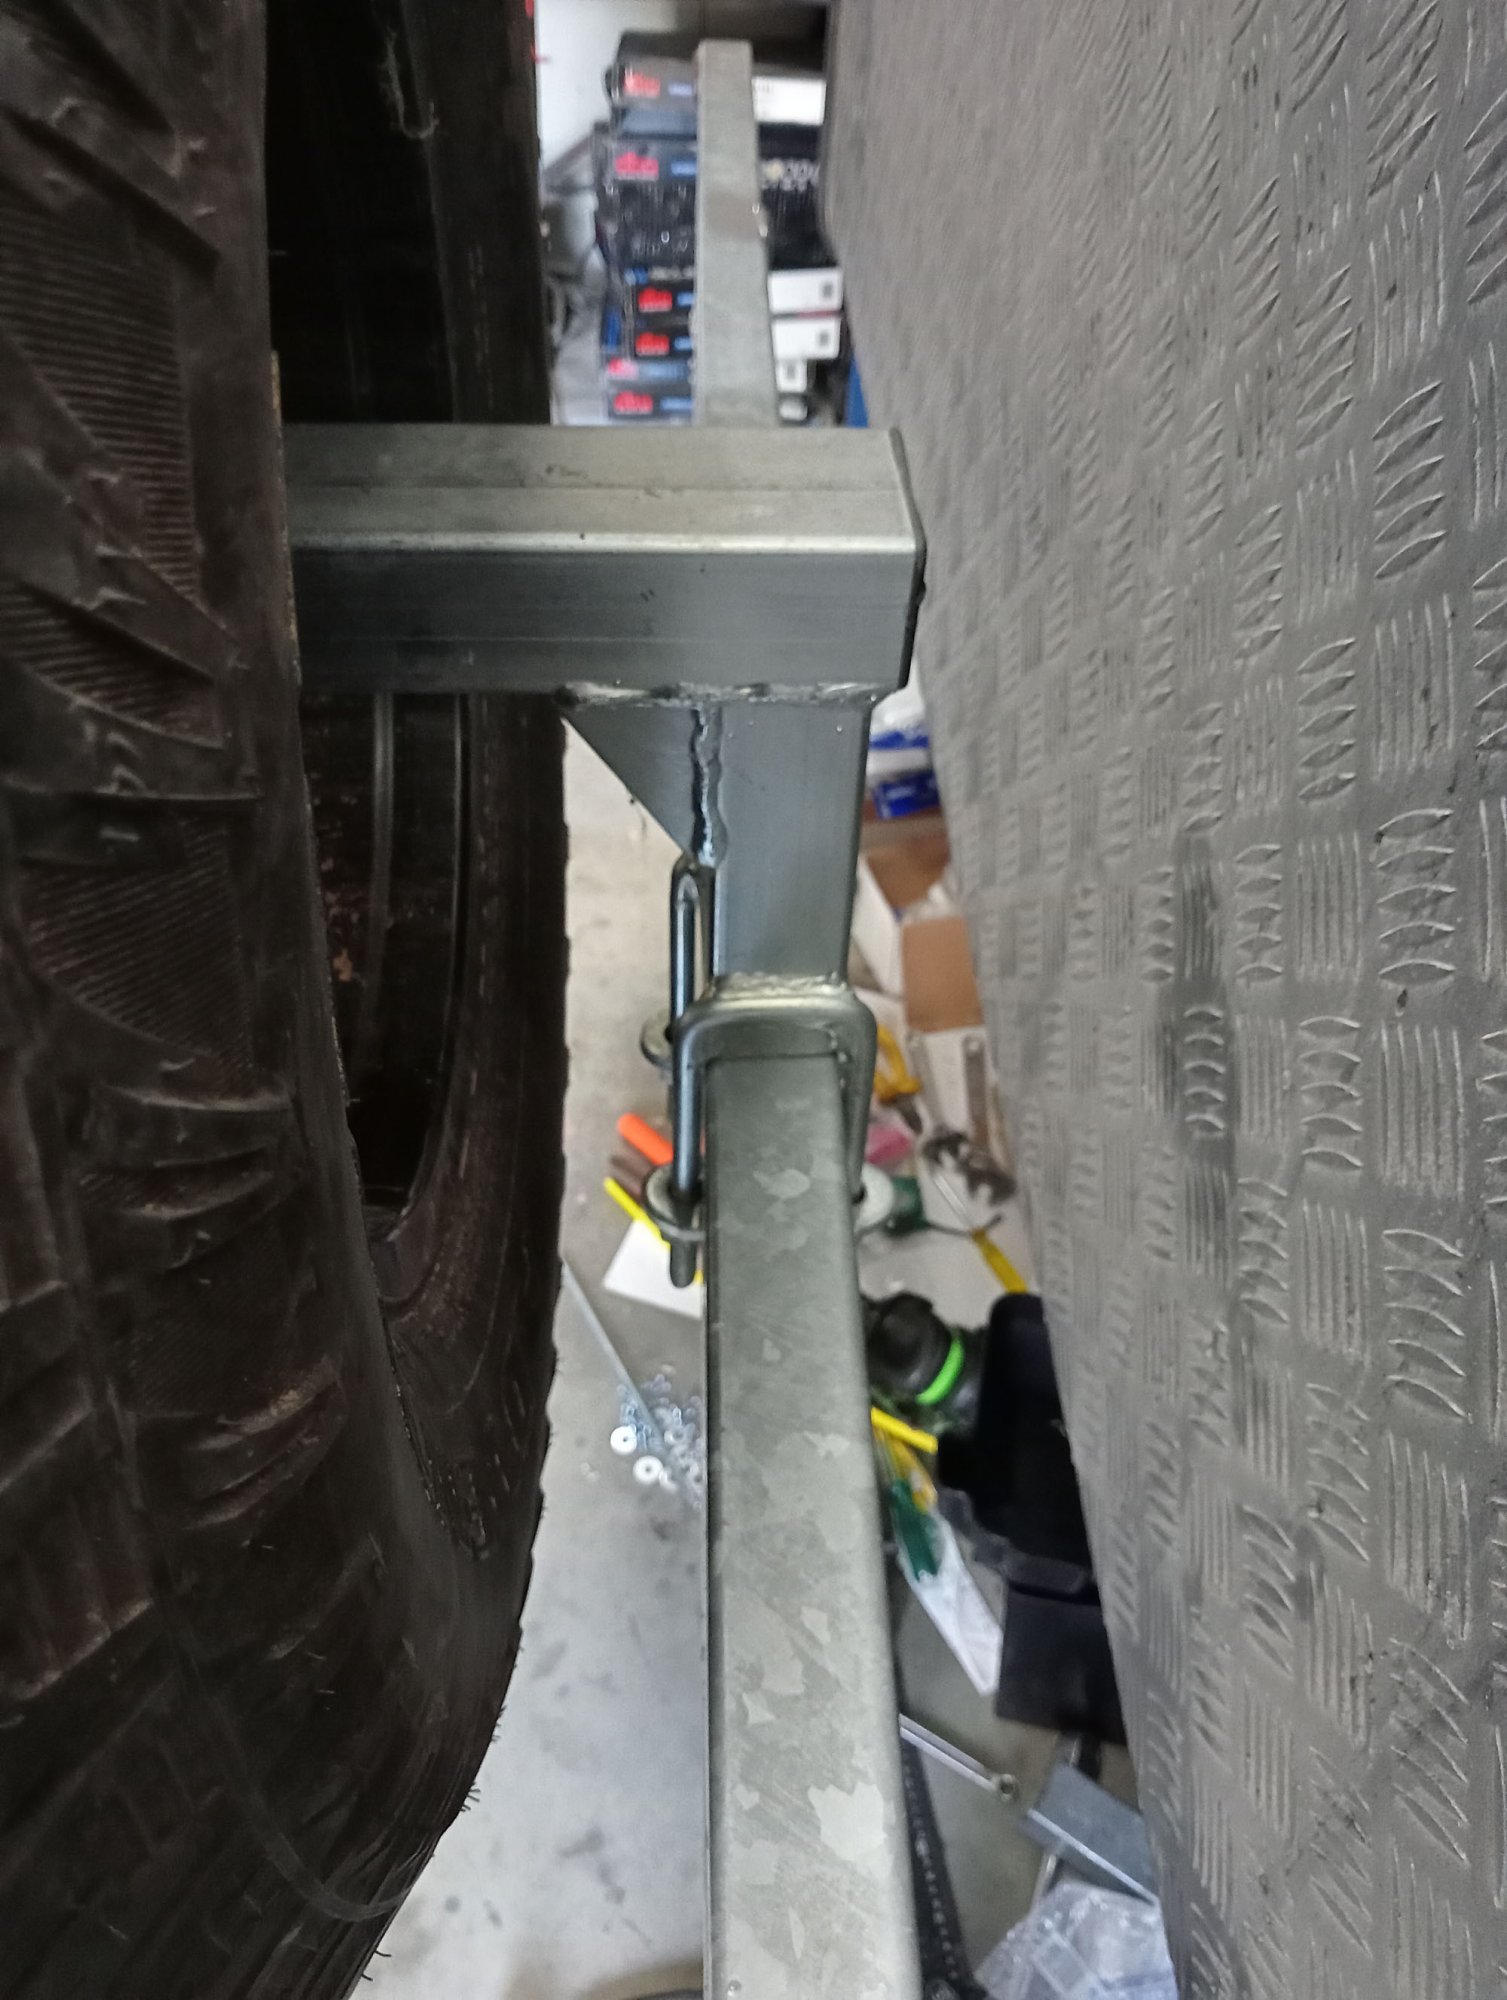
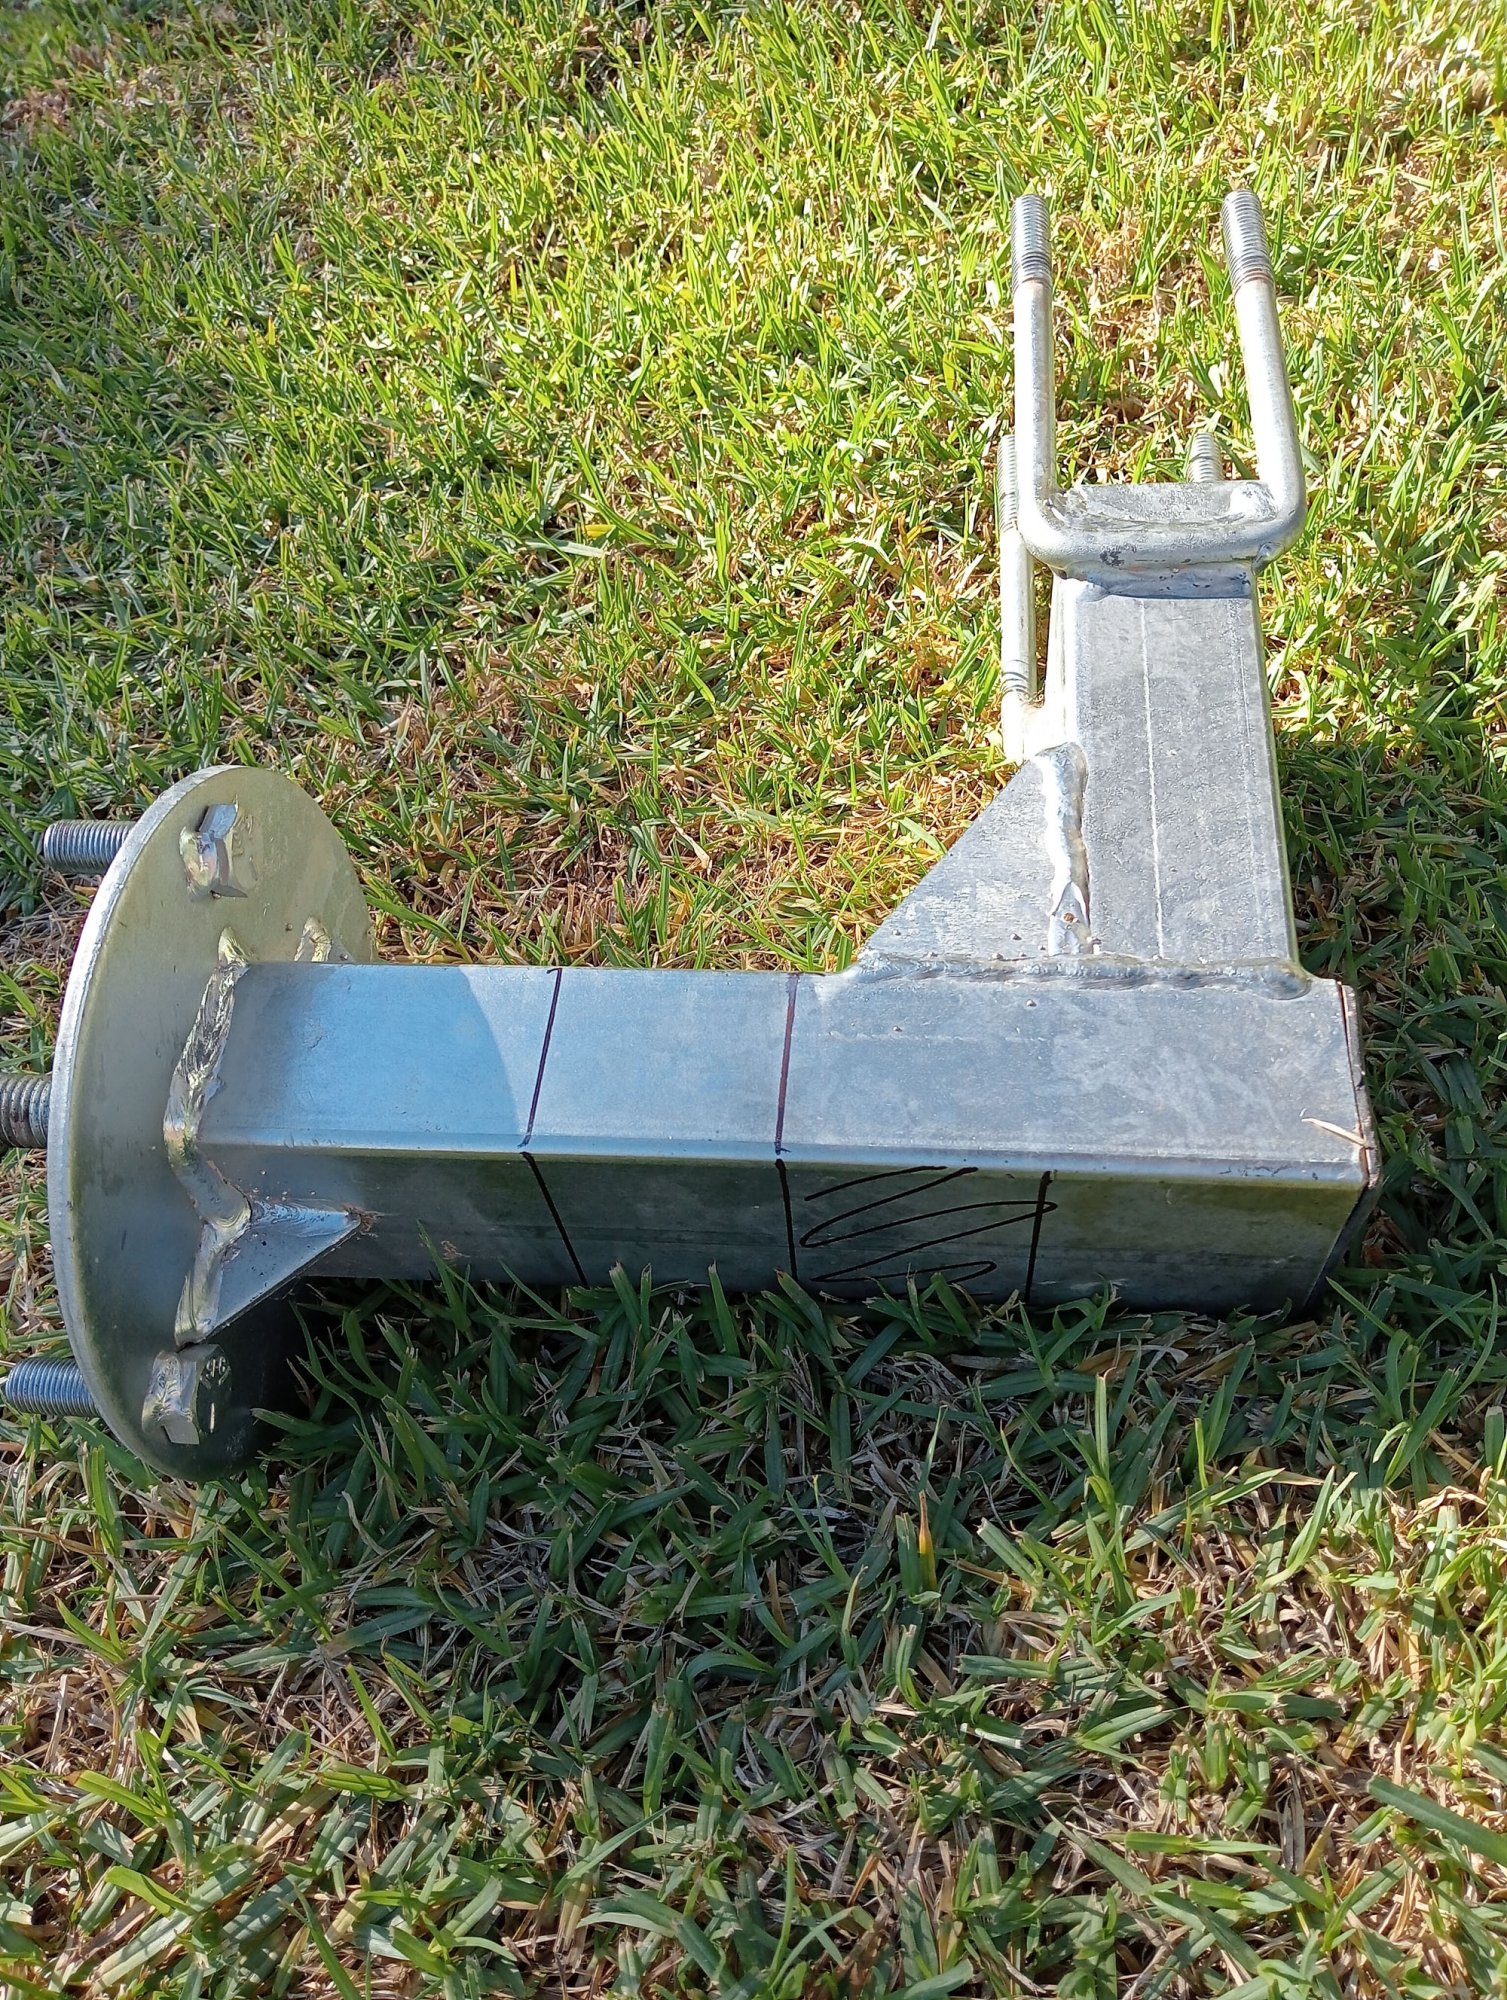
Thinking about a rear recovery point. On our previous caravan, a Trakmaster I made an attachment for a rear recovery so I could winch the van out from behind if it and the tow vehicle were stuck & could no longer proceed forwards. With that in mind and the fact I am still not happy with the modified factory rear bumper I set about making a new bumper from 50x50x 3mm (wall thickness).
If one was to pull on the existing rear bumper it would fold , (I'm talking gentle controlled pull, not a snatch) The other concern about pulling on the factory rear bumper , it will just pull right out through the mounting clamps.
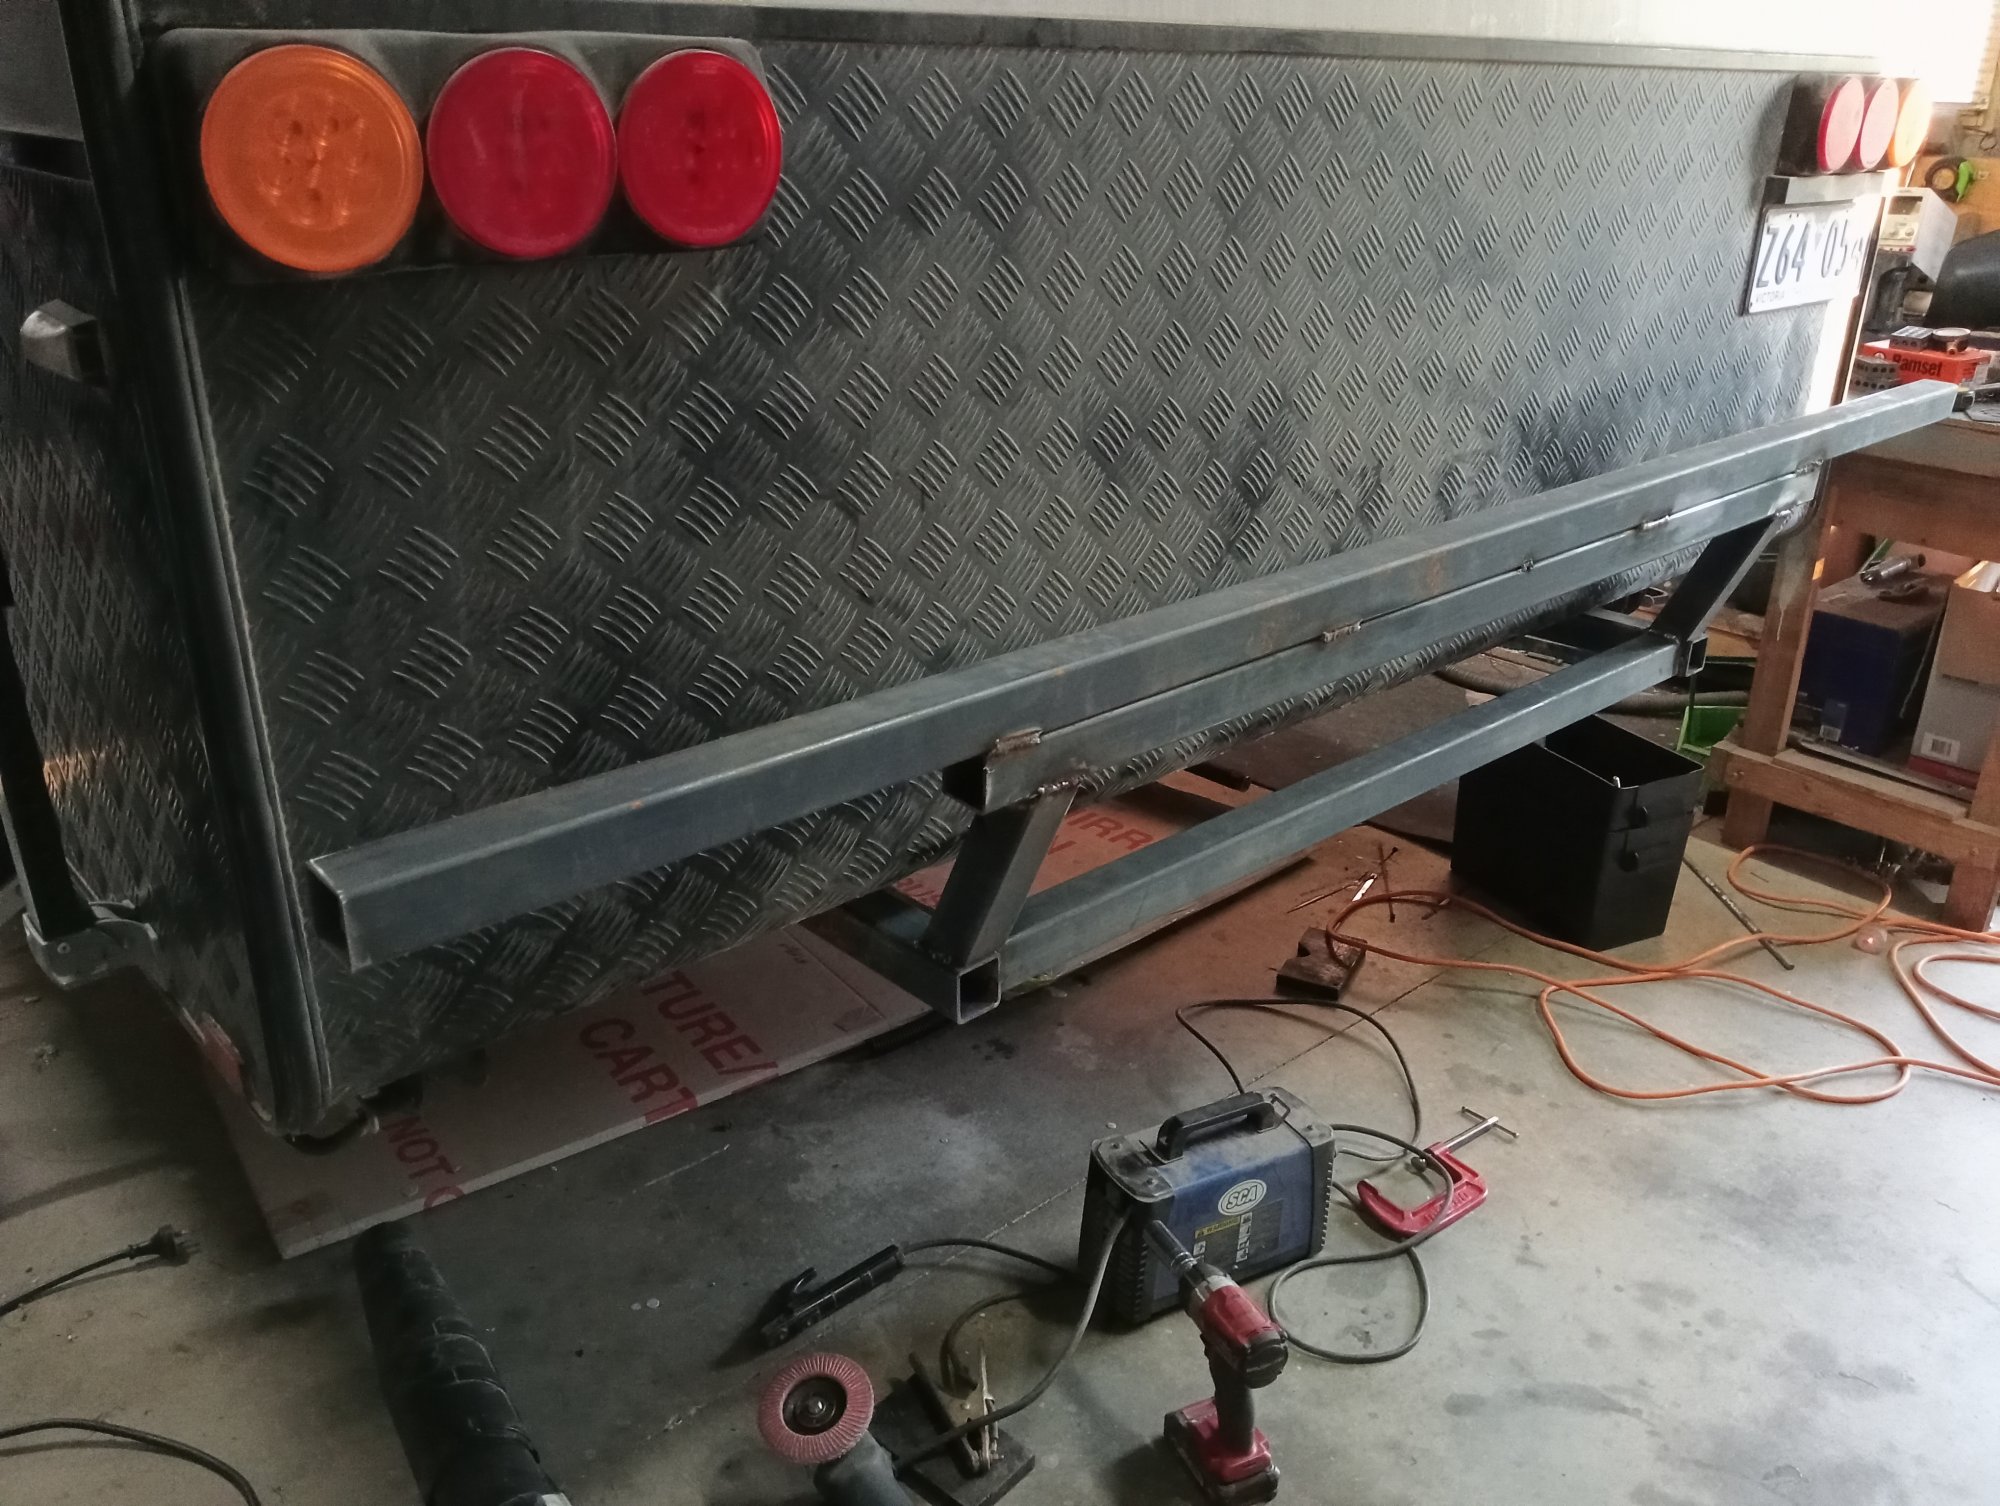
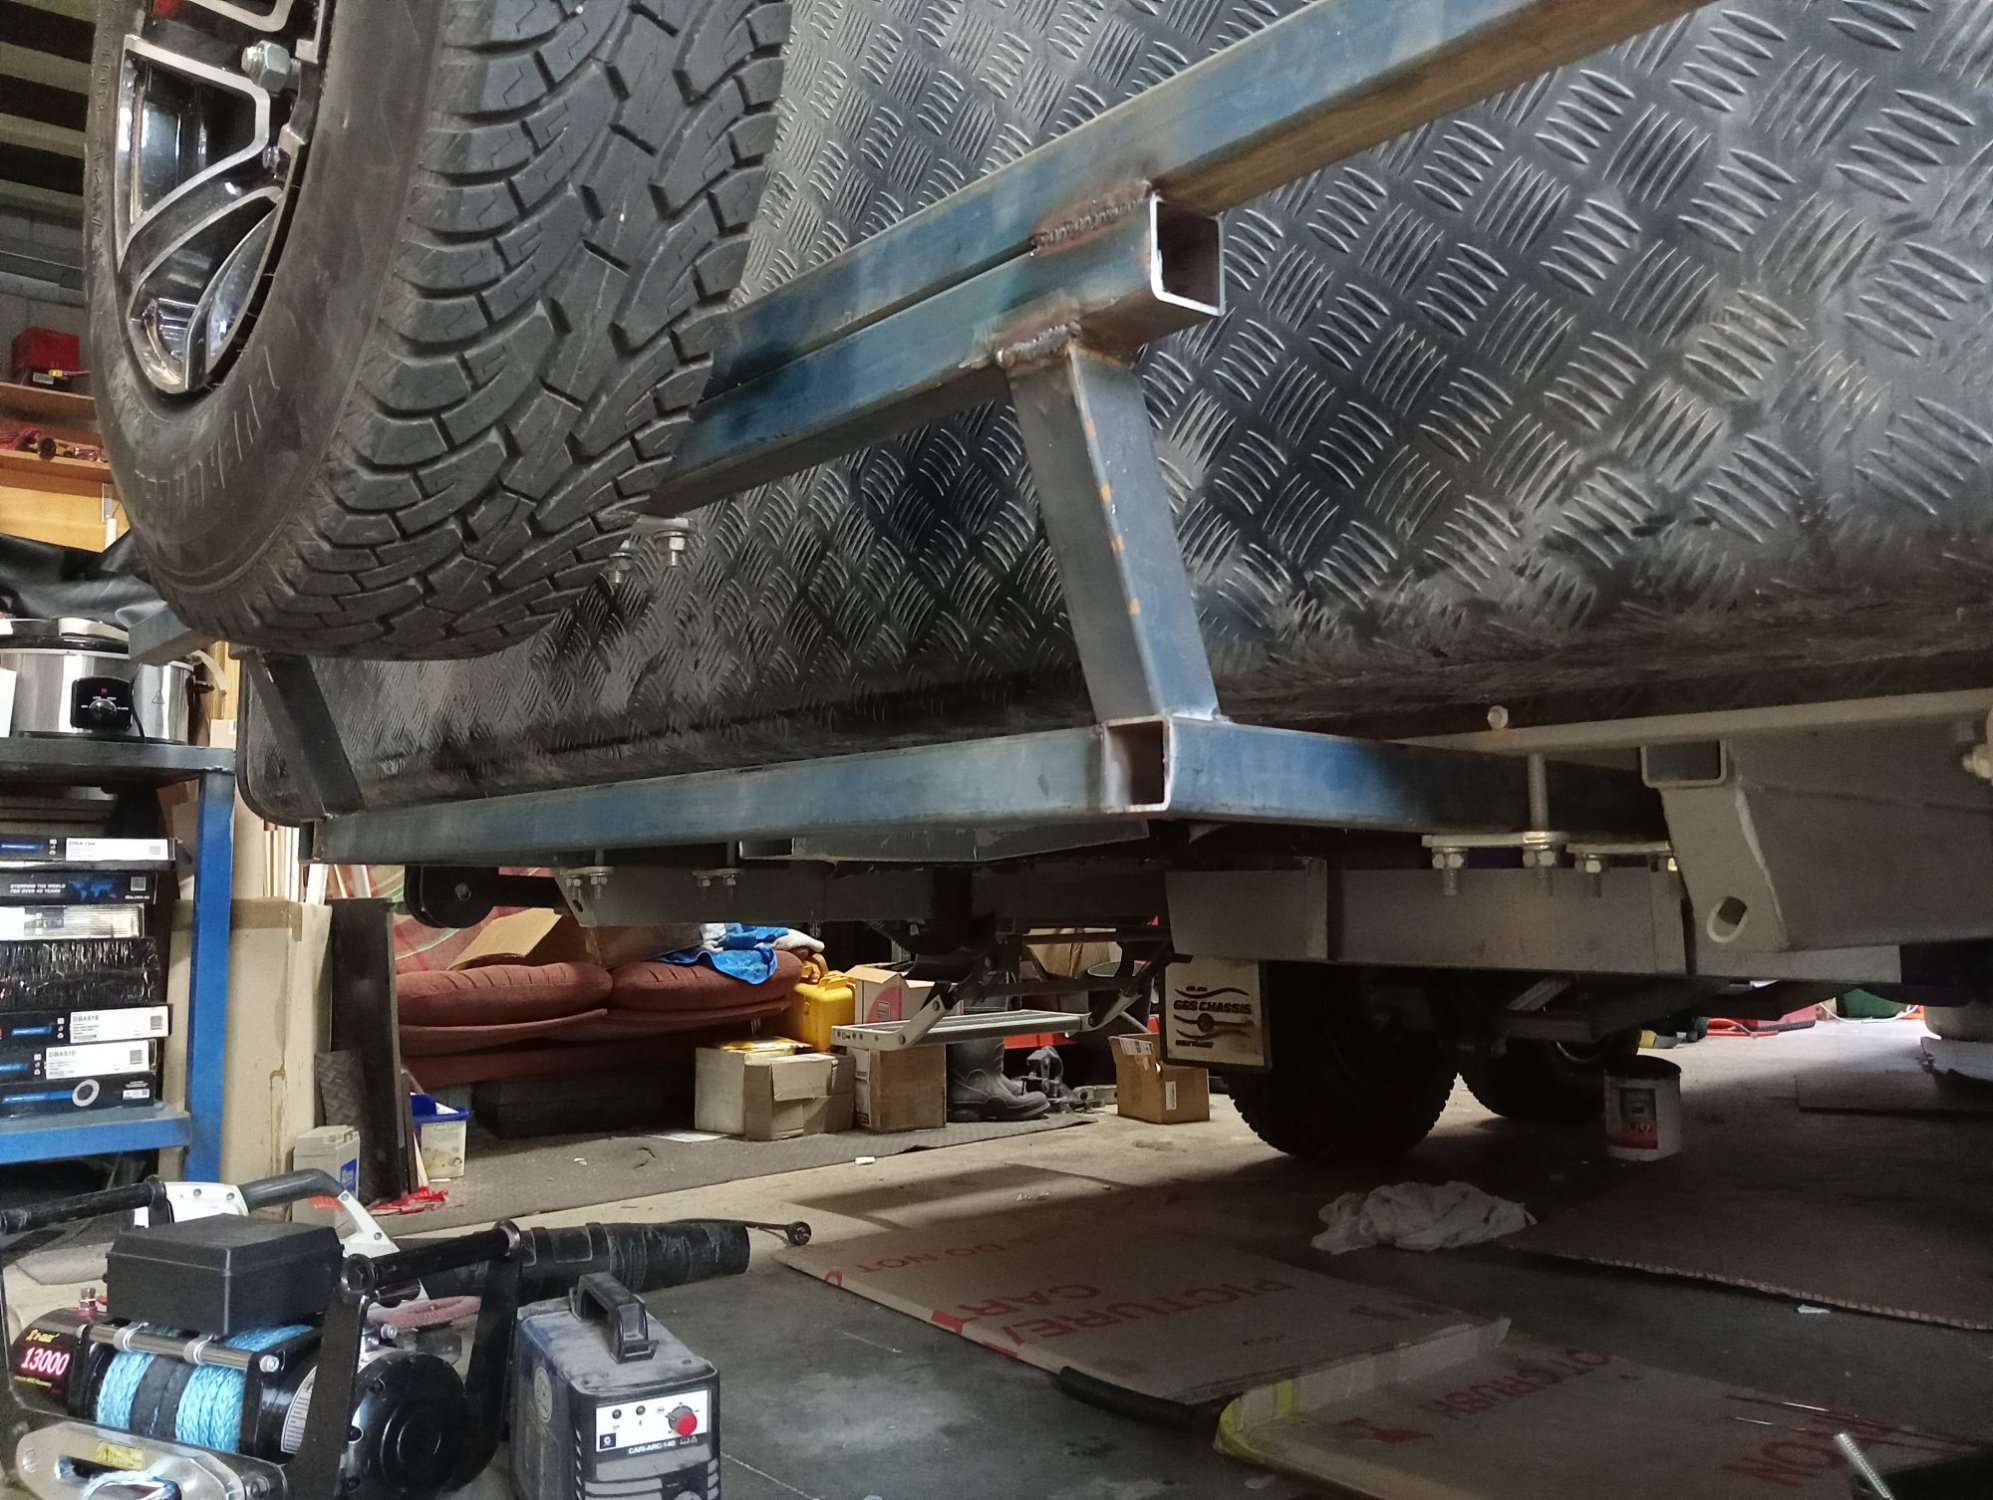
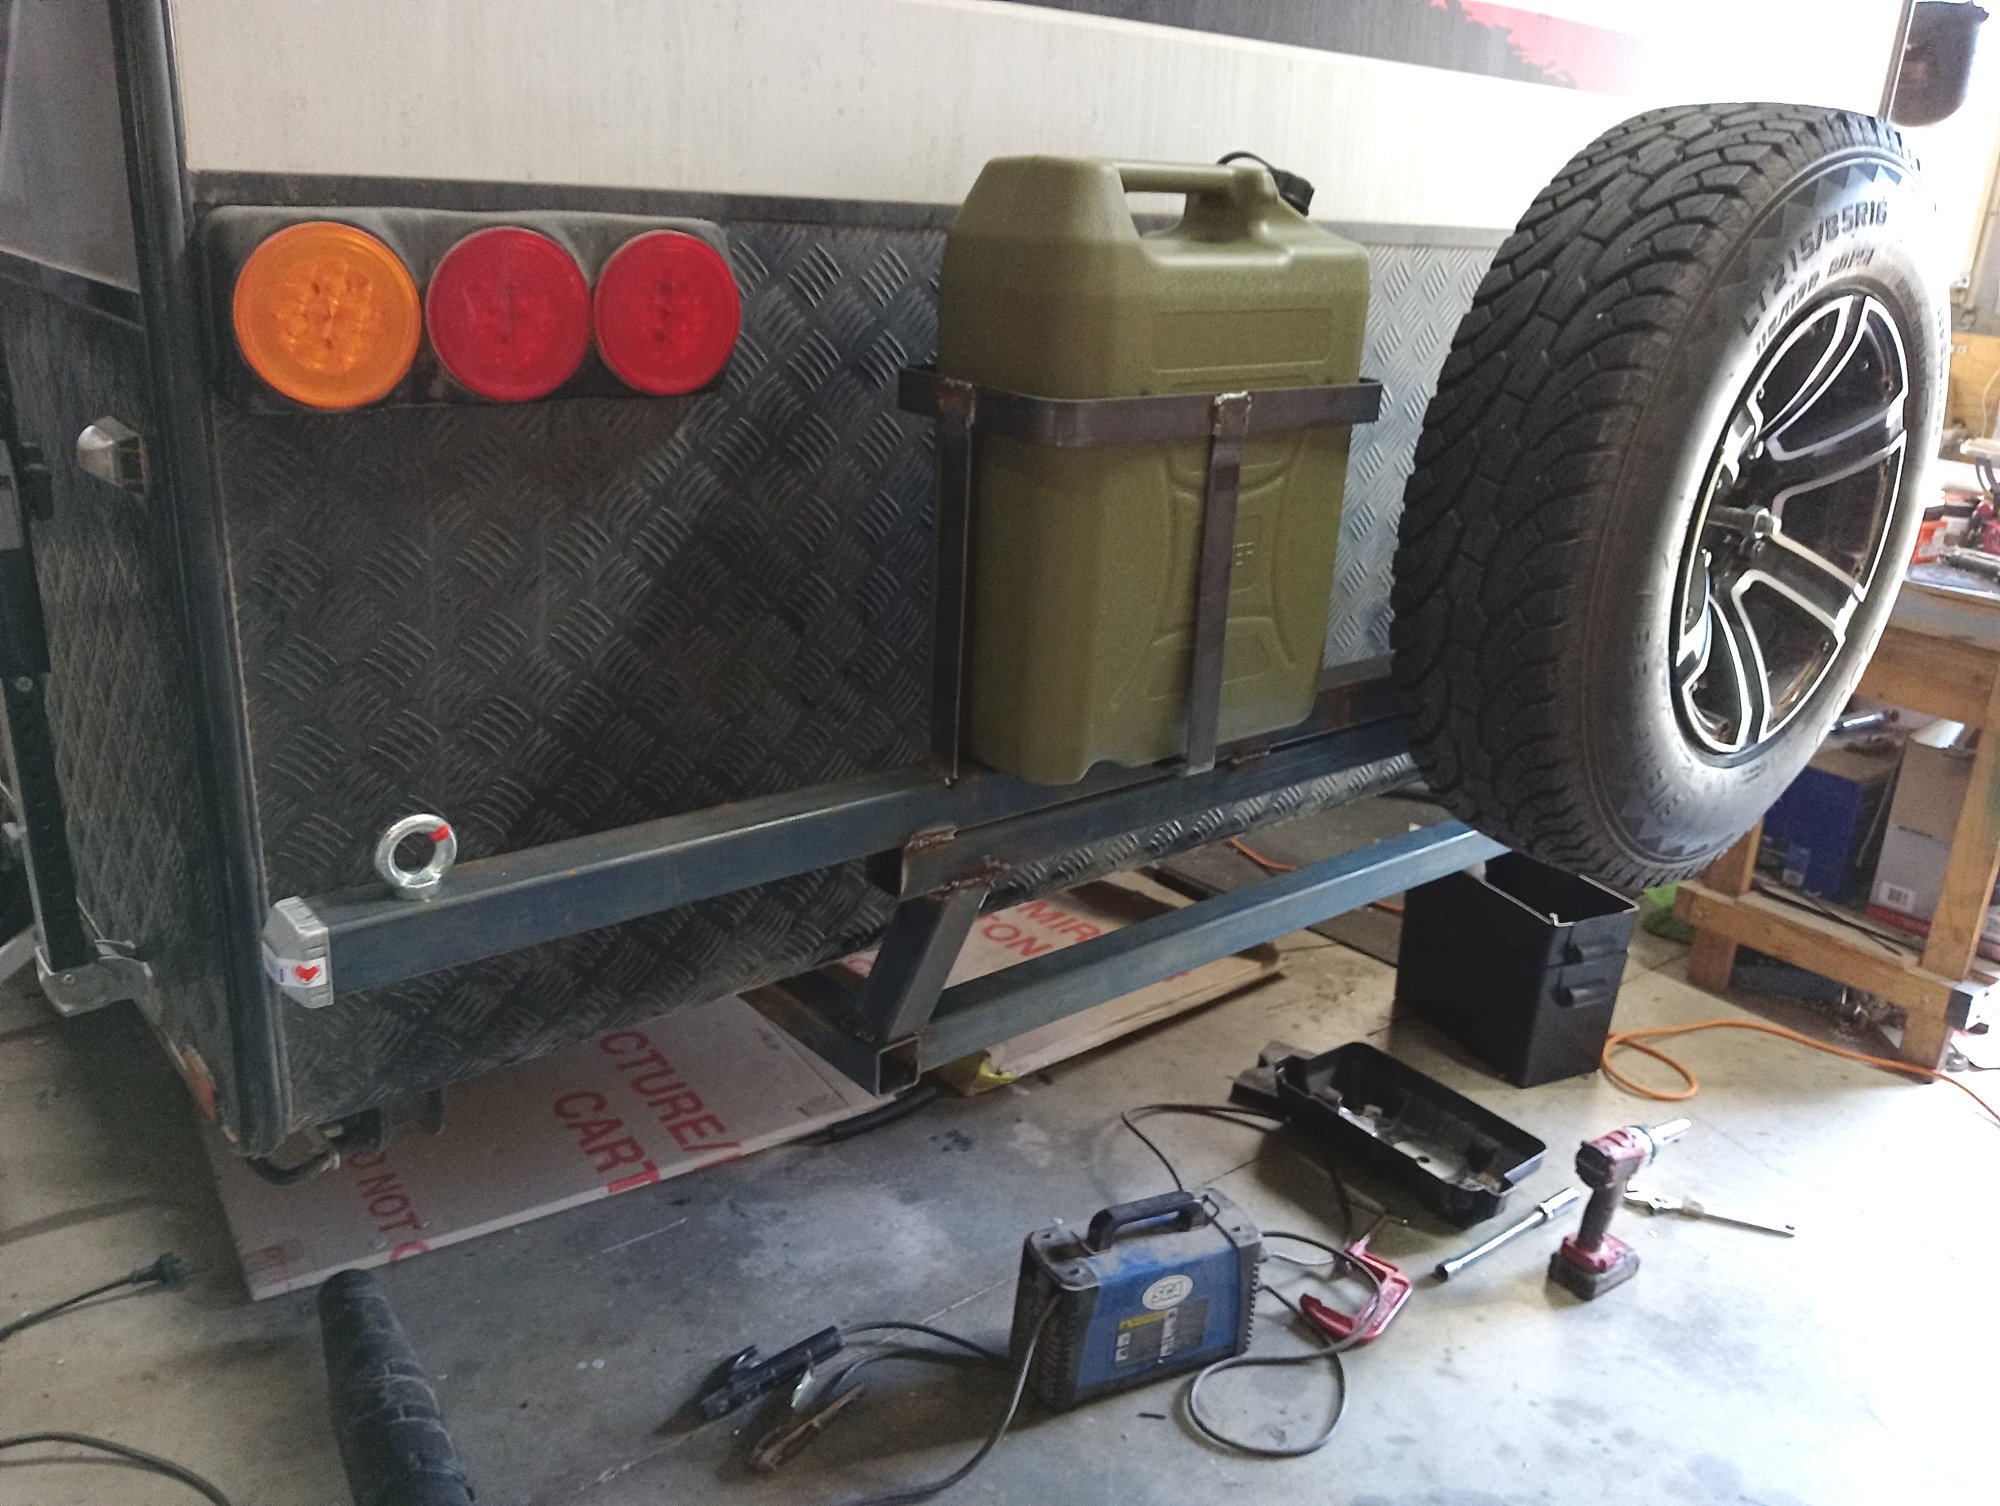
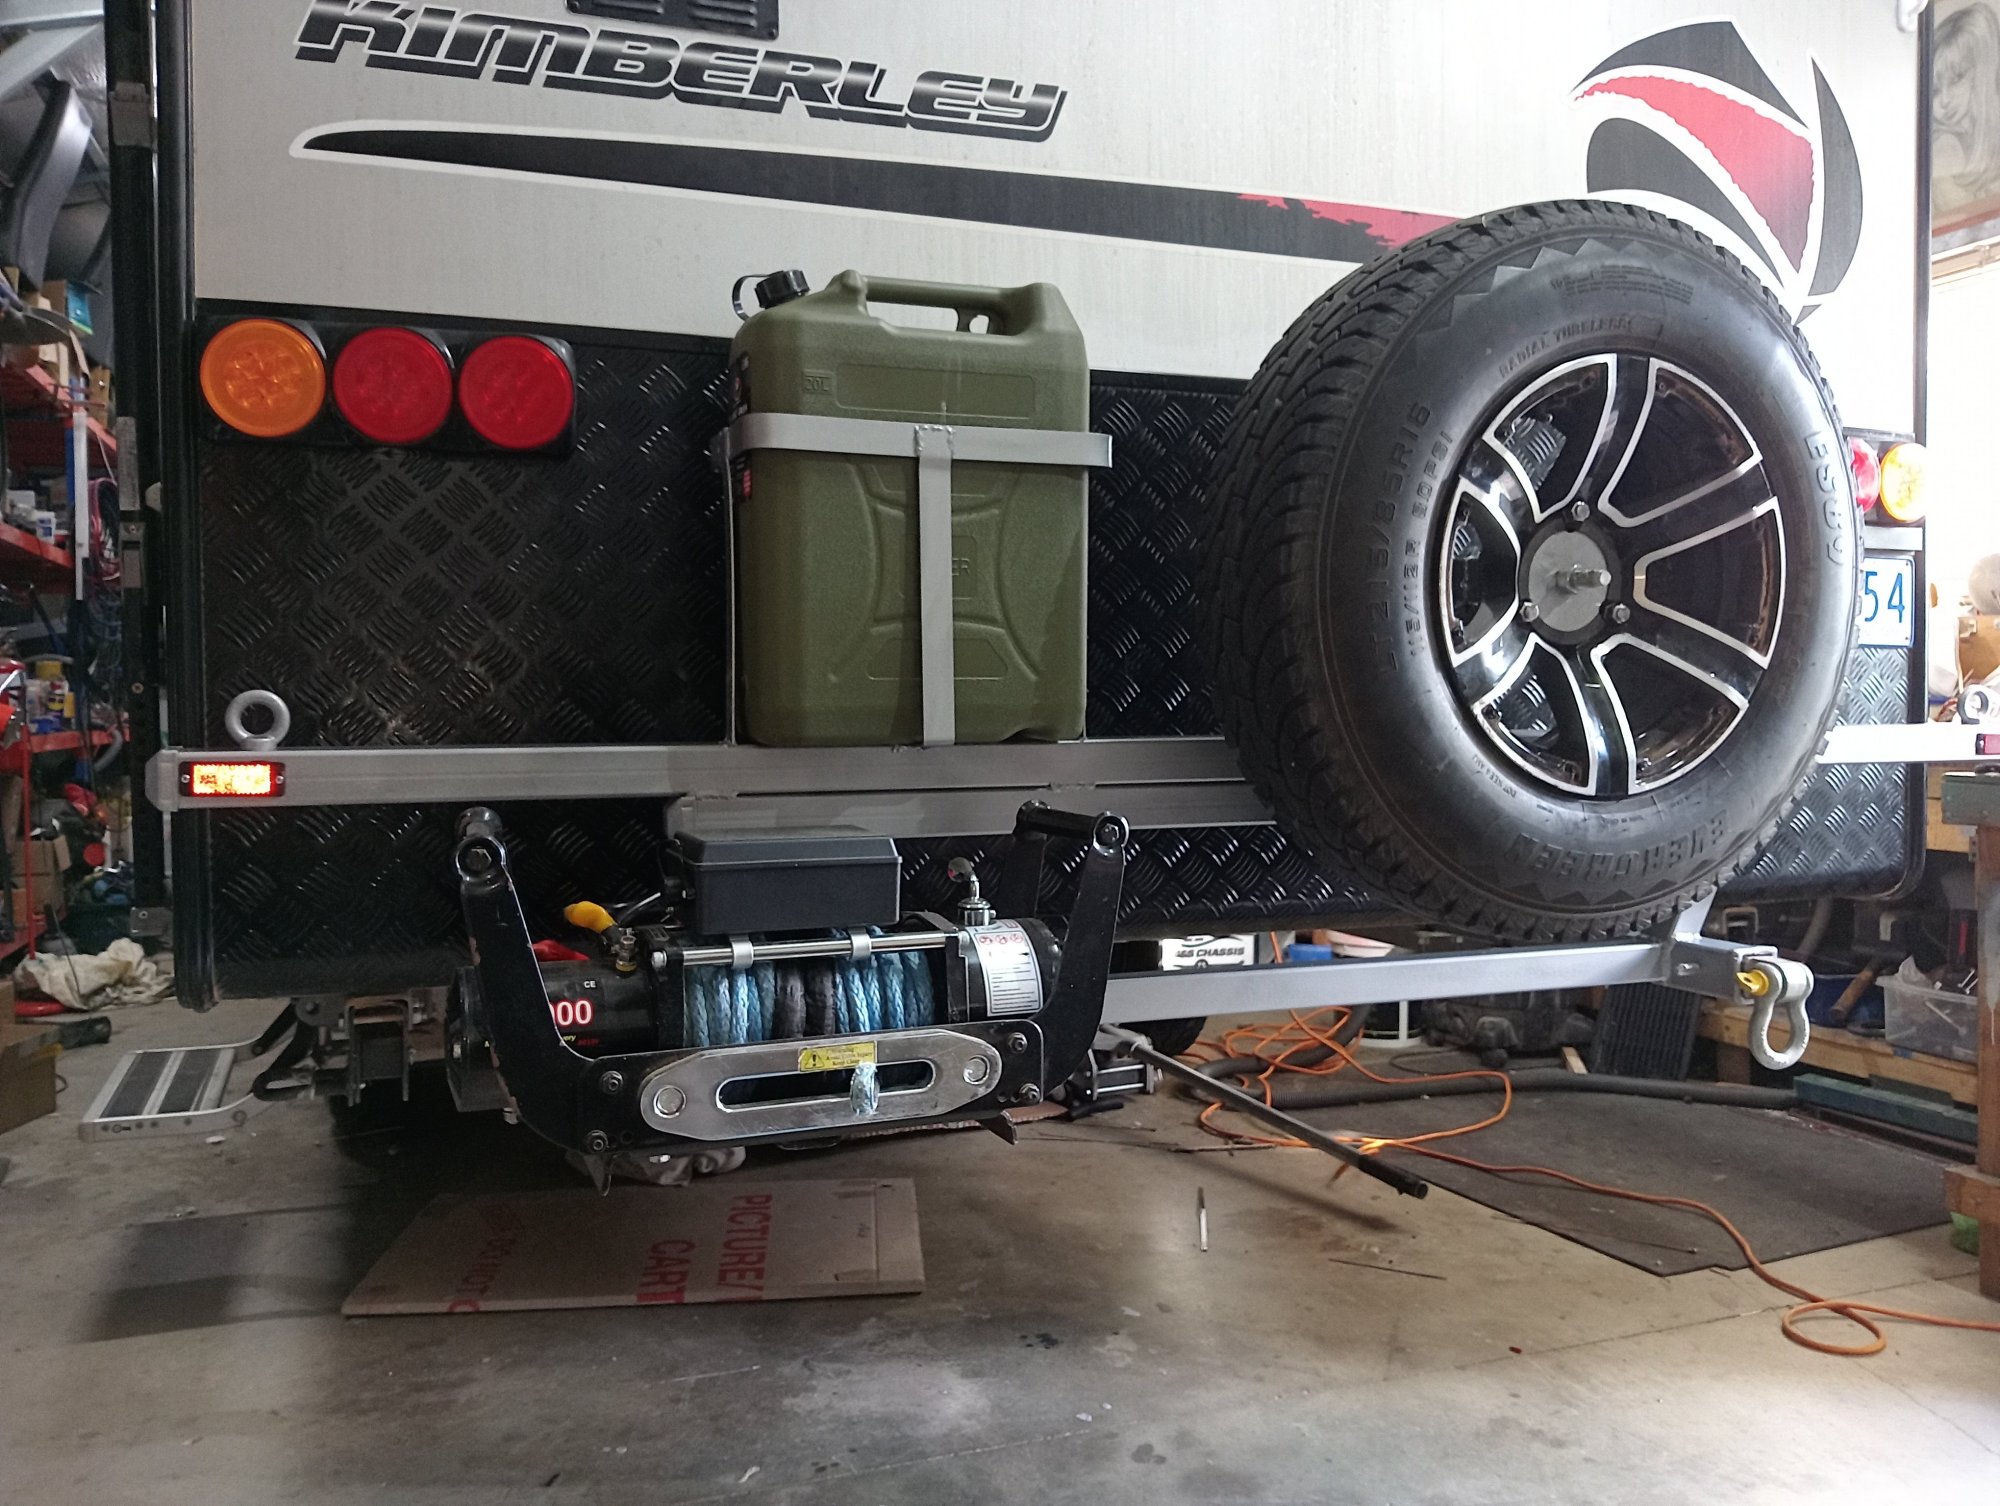
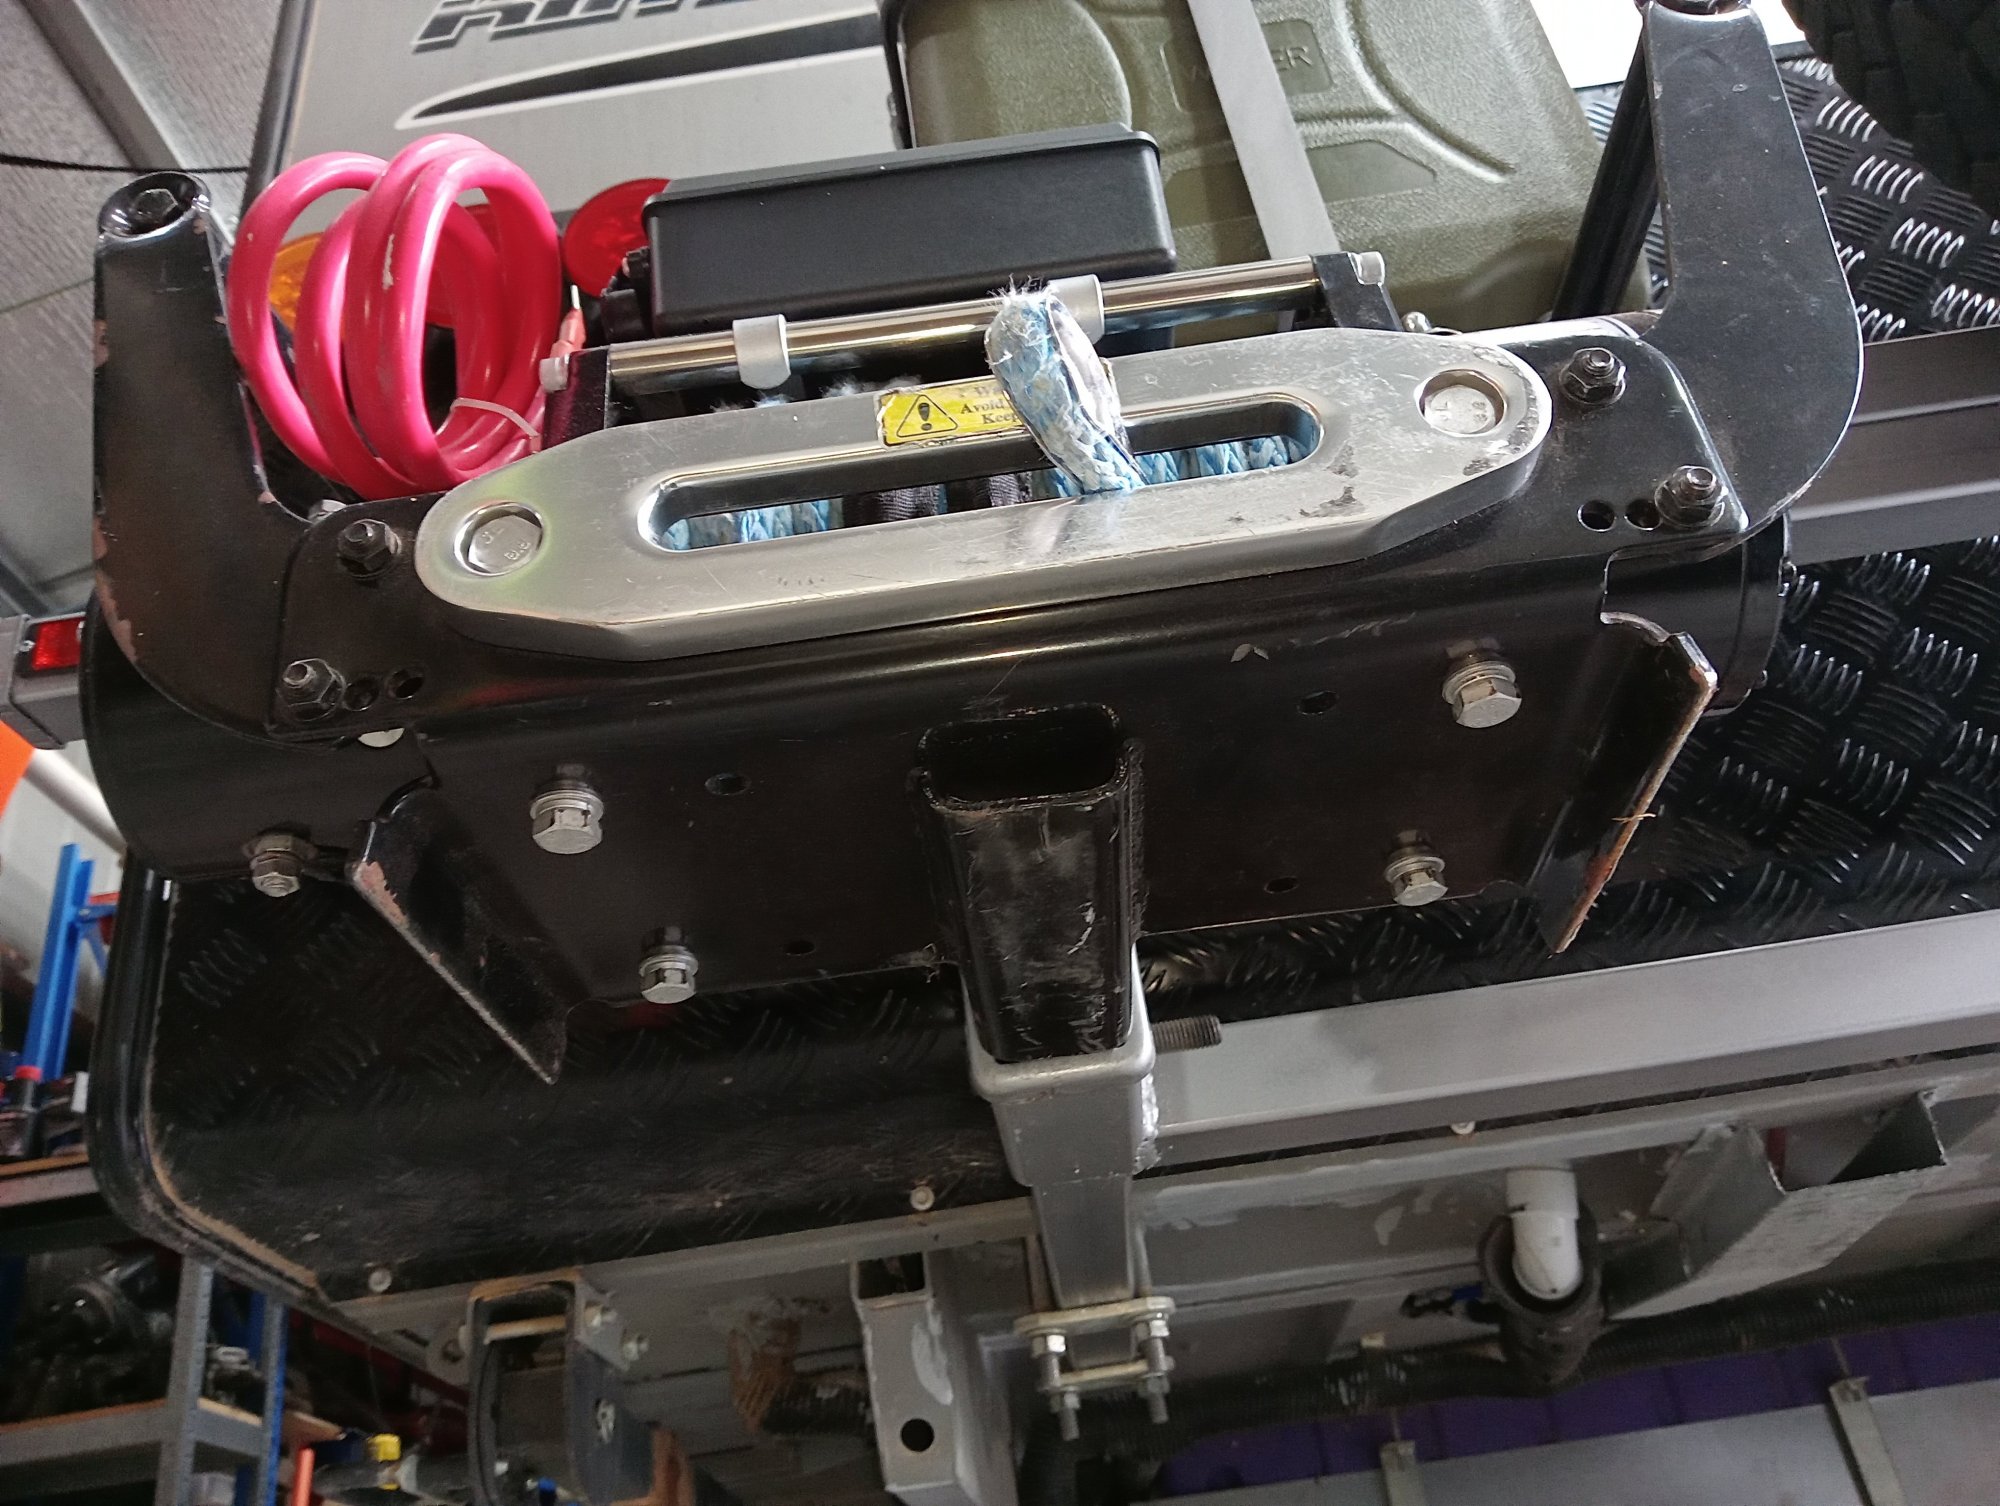
The new bar has a 2" hitch receiver on the end of each mounting rail, The winch is a 13,000lb electric winch in a portable 'front to back' cradle that mounts on the front or rear of my truck and will attach to either side receiver on the back of the van , The winch rope will feed out to a snatch block at an anchor point & return to the other shackle. The strut between the mounts will stop the mount rail from buckling. The Mointing rails have a setp welded on them so that the can't pull out of the U-Bolt mounts . Its only for gentle pulls, definetly no snatch or kinetic recoveries.
The Electricals
If this caravan is anything to go by, you would expect that Australian Electrical safety standards do not apply to caravans. I have worked in the electrical trades for over 30 years and the electrical wiring in this caravan is as bad as anything I've ever seen.
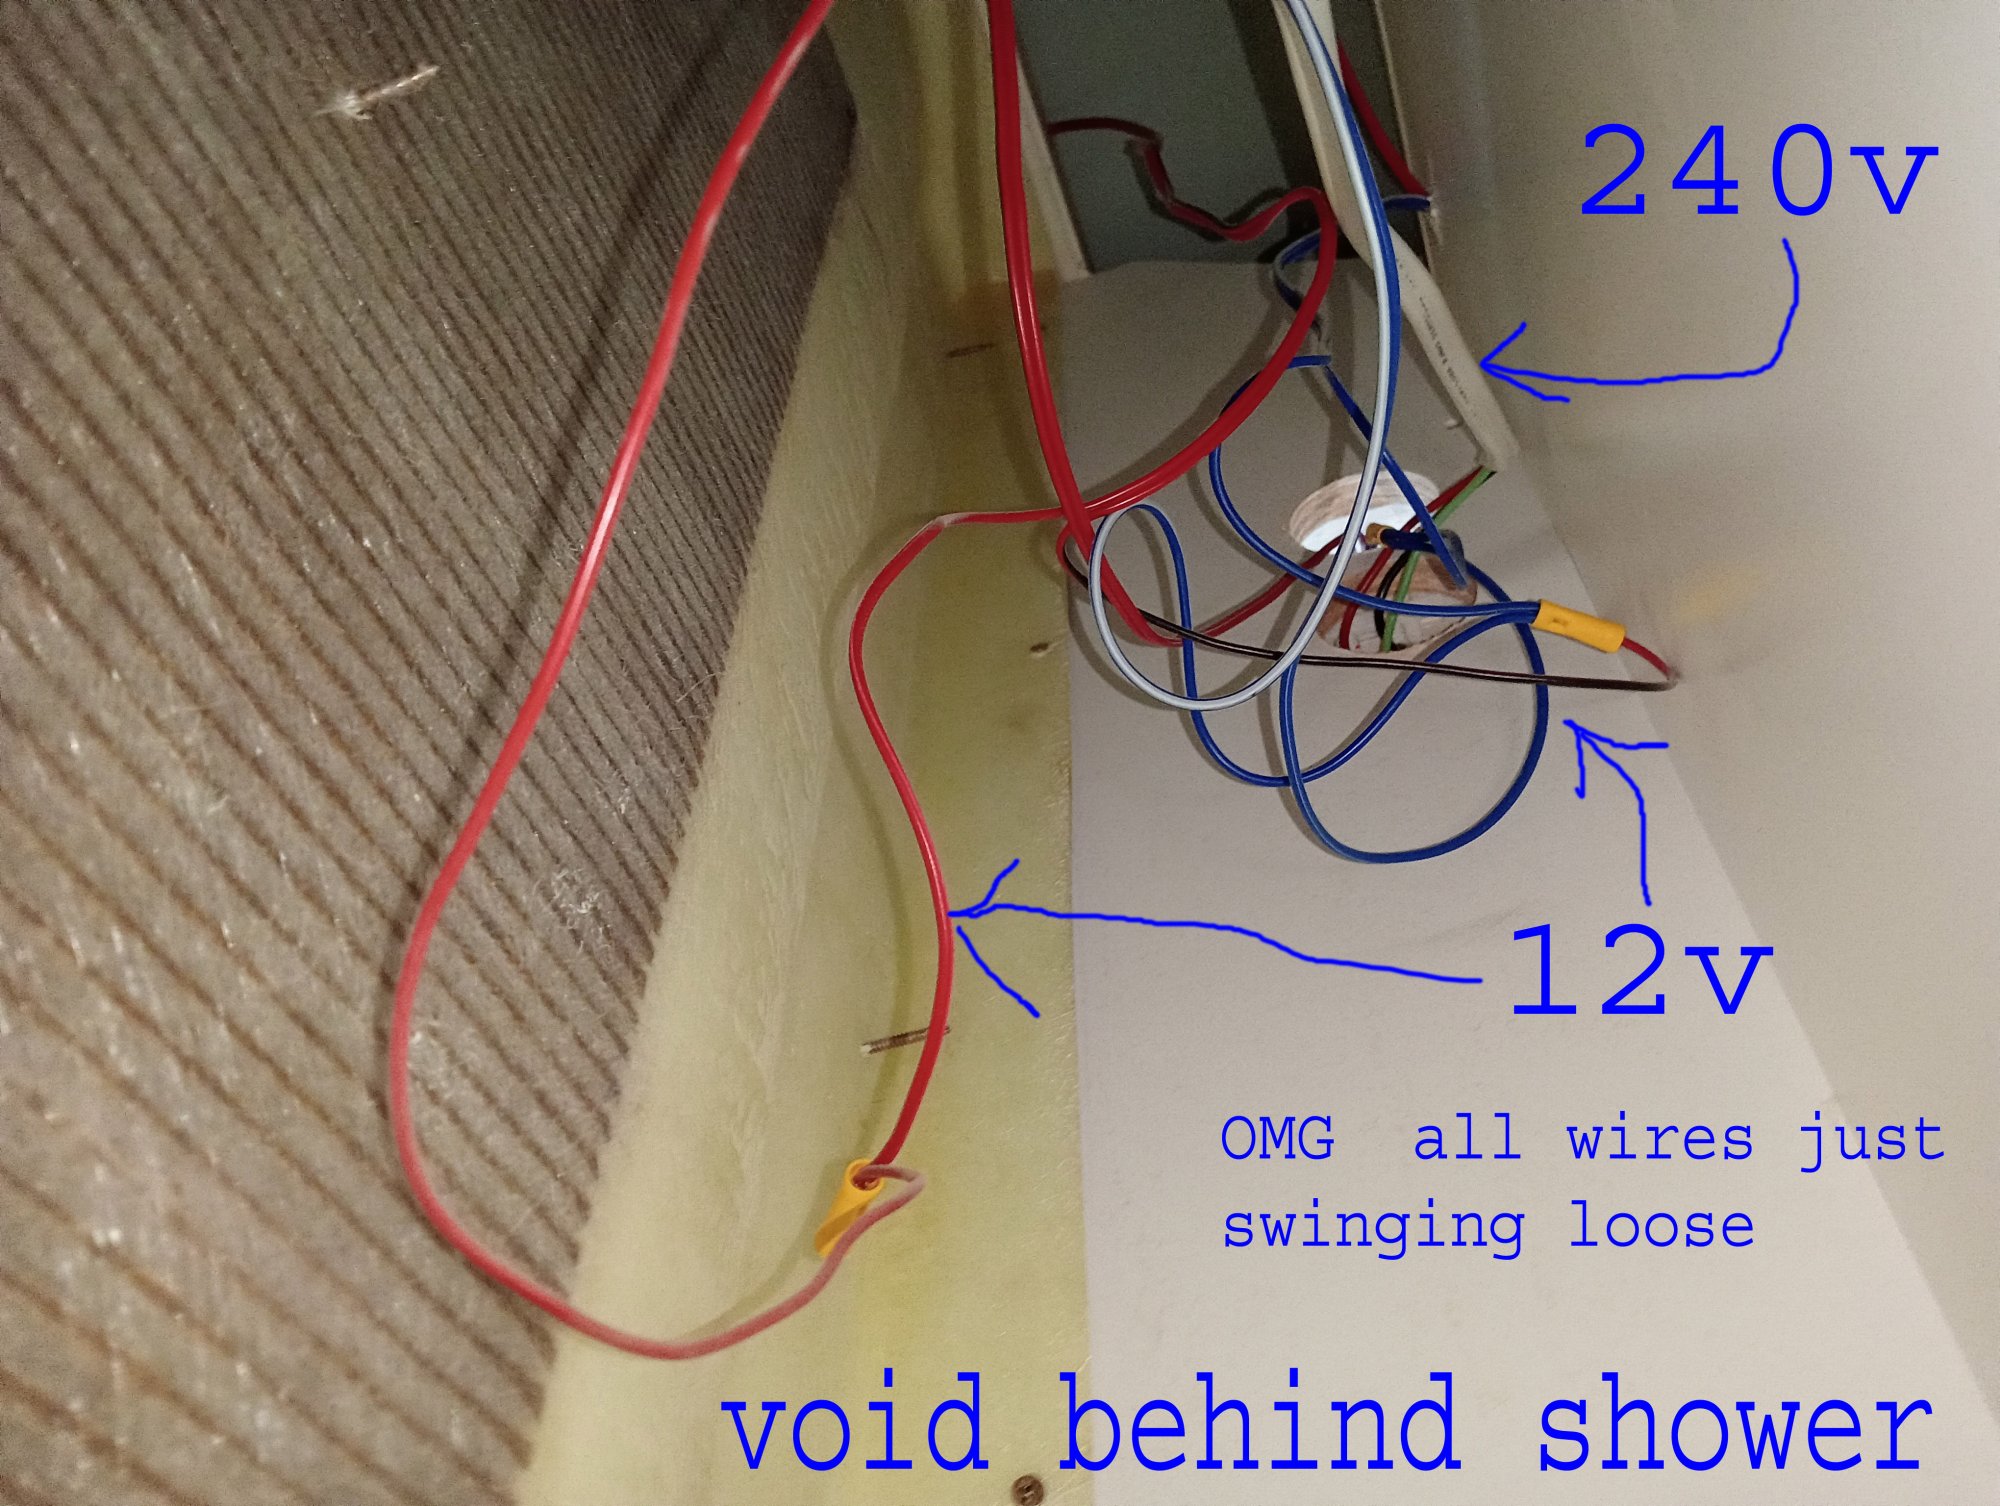
AS/NZS 3000 Wiring Rules state that there must be a 50mm seperation between LV (240V) & ELV cables (12V) and require seperate conduits or a unbroken separation barrier if they are closer.
The 240V cables & 12V wires are definetly bundled together in this van. No seperation, no cable ties, just swinging in the breeze.
The new standard AS/NZS3001.2:2022 relating to Lithium Batteries in habitable areas is enforceable from 18 November 2023. This caravan does not need to comply to the new standard .
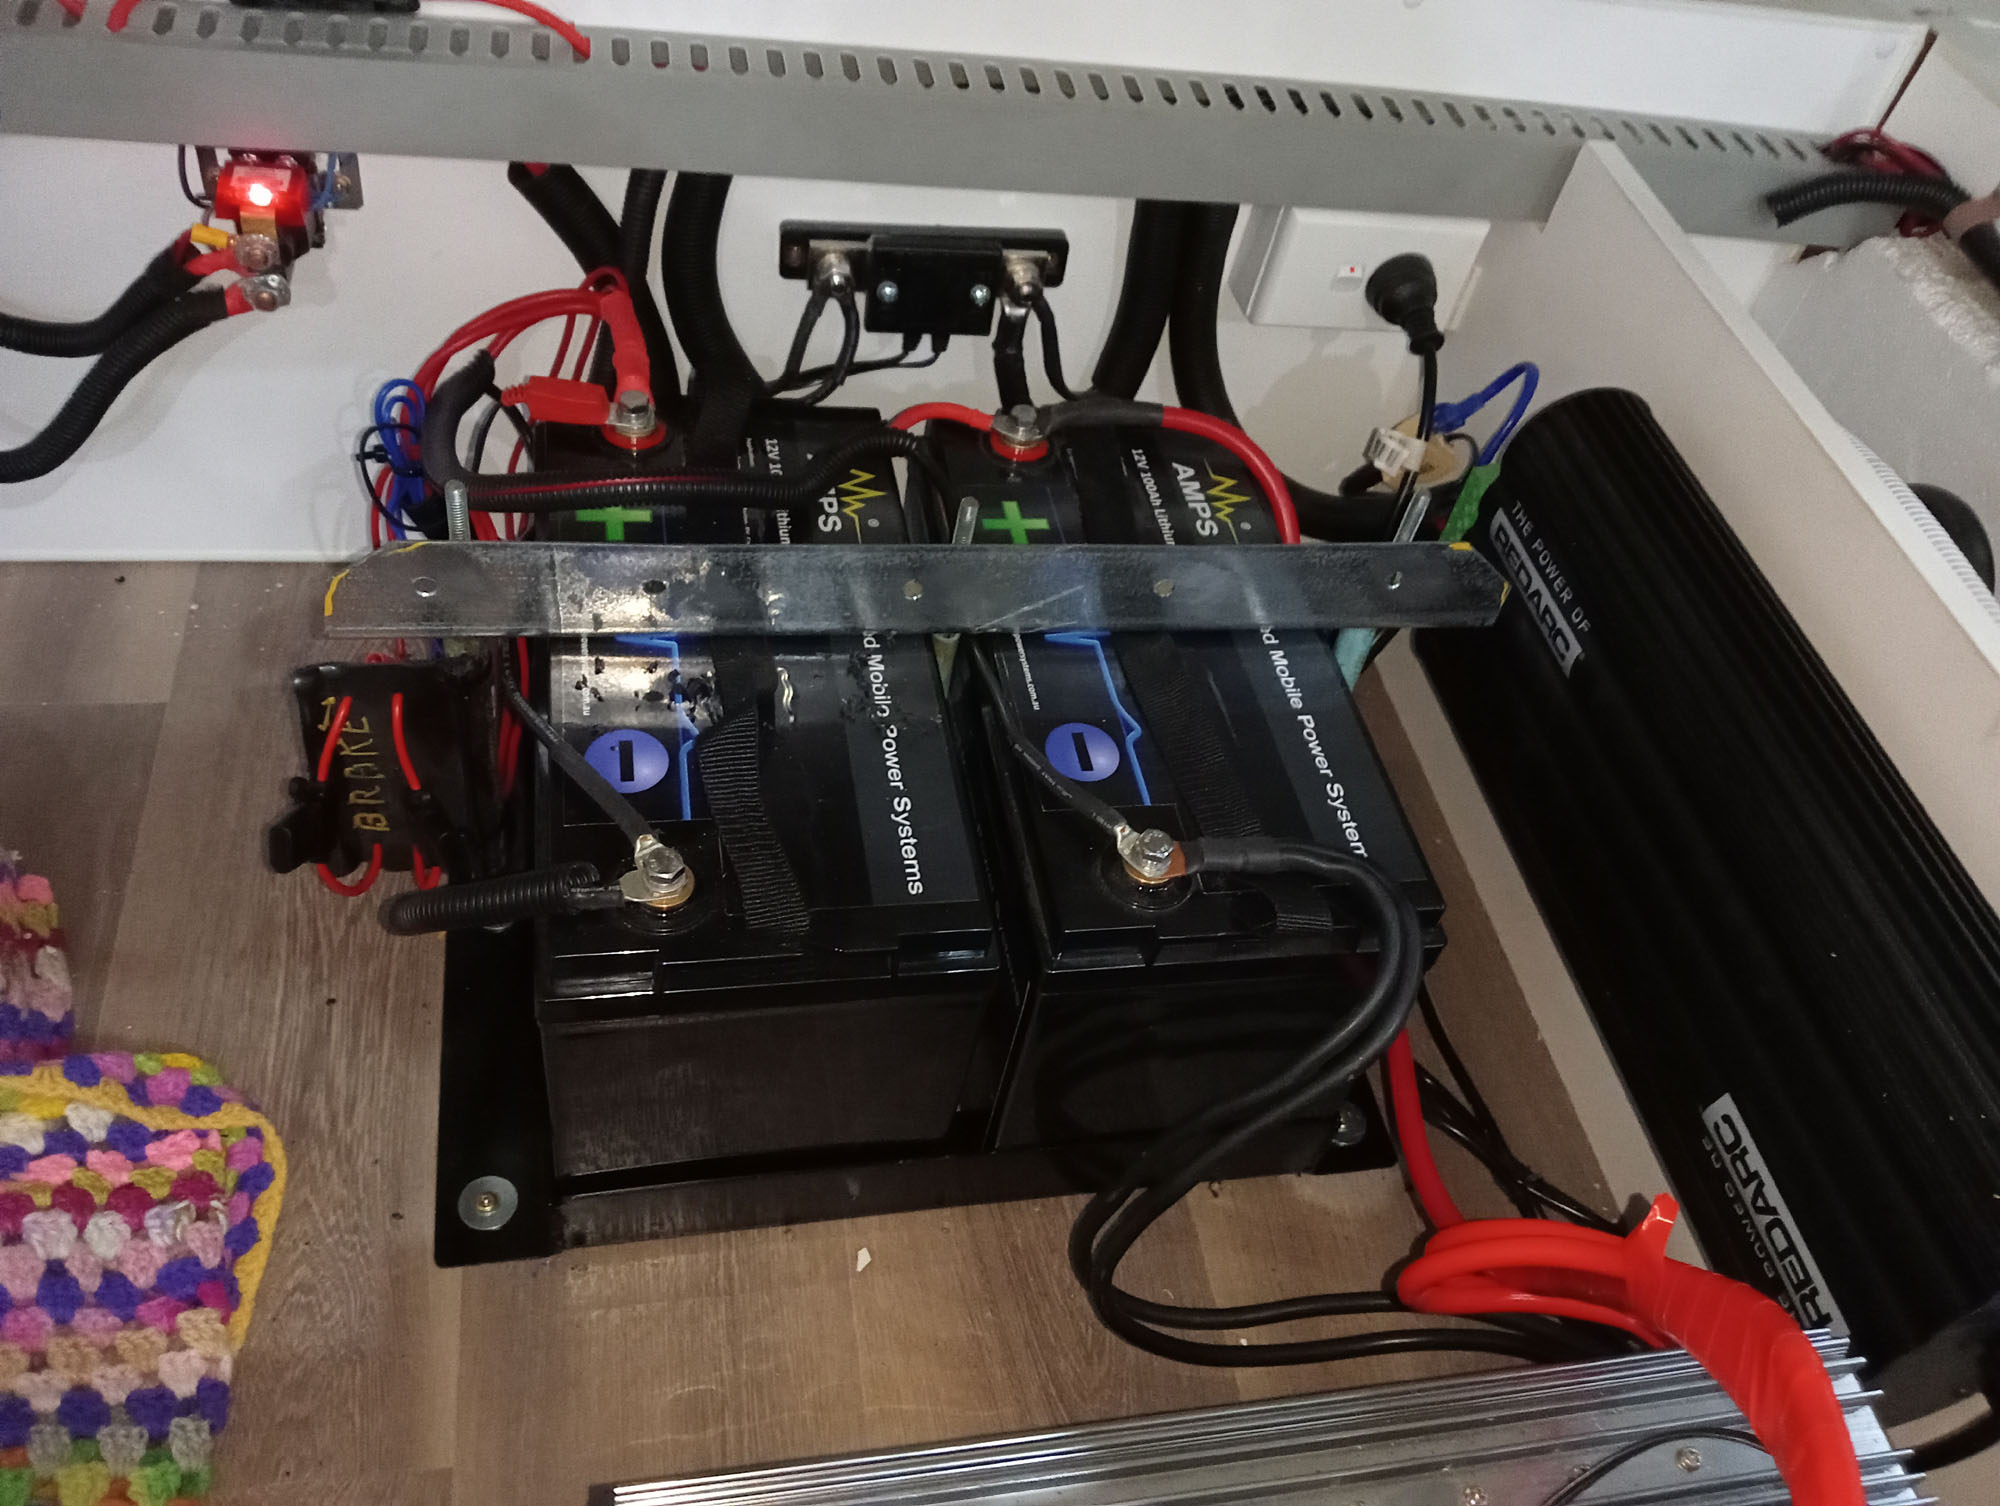
The Van was delivered with a pair of lithium batteries in cheap
plastic battery boxes under the bed. The Batteries were loose in the
boxes and free to bounce around, The boxes were screwed to the floor
with 4 chipboard screws and one simple nylon belt passed under the
boxes to hold the lids on.
I made a new battery cradle with three 8mm
tie down bolts that go through the floor with a large washer & nut
underneath. These batteries are not going to move.
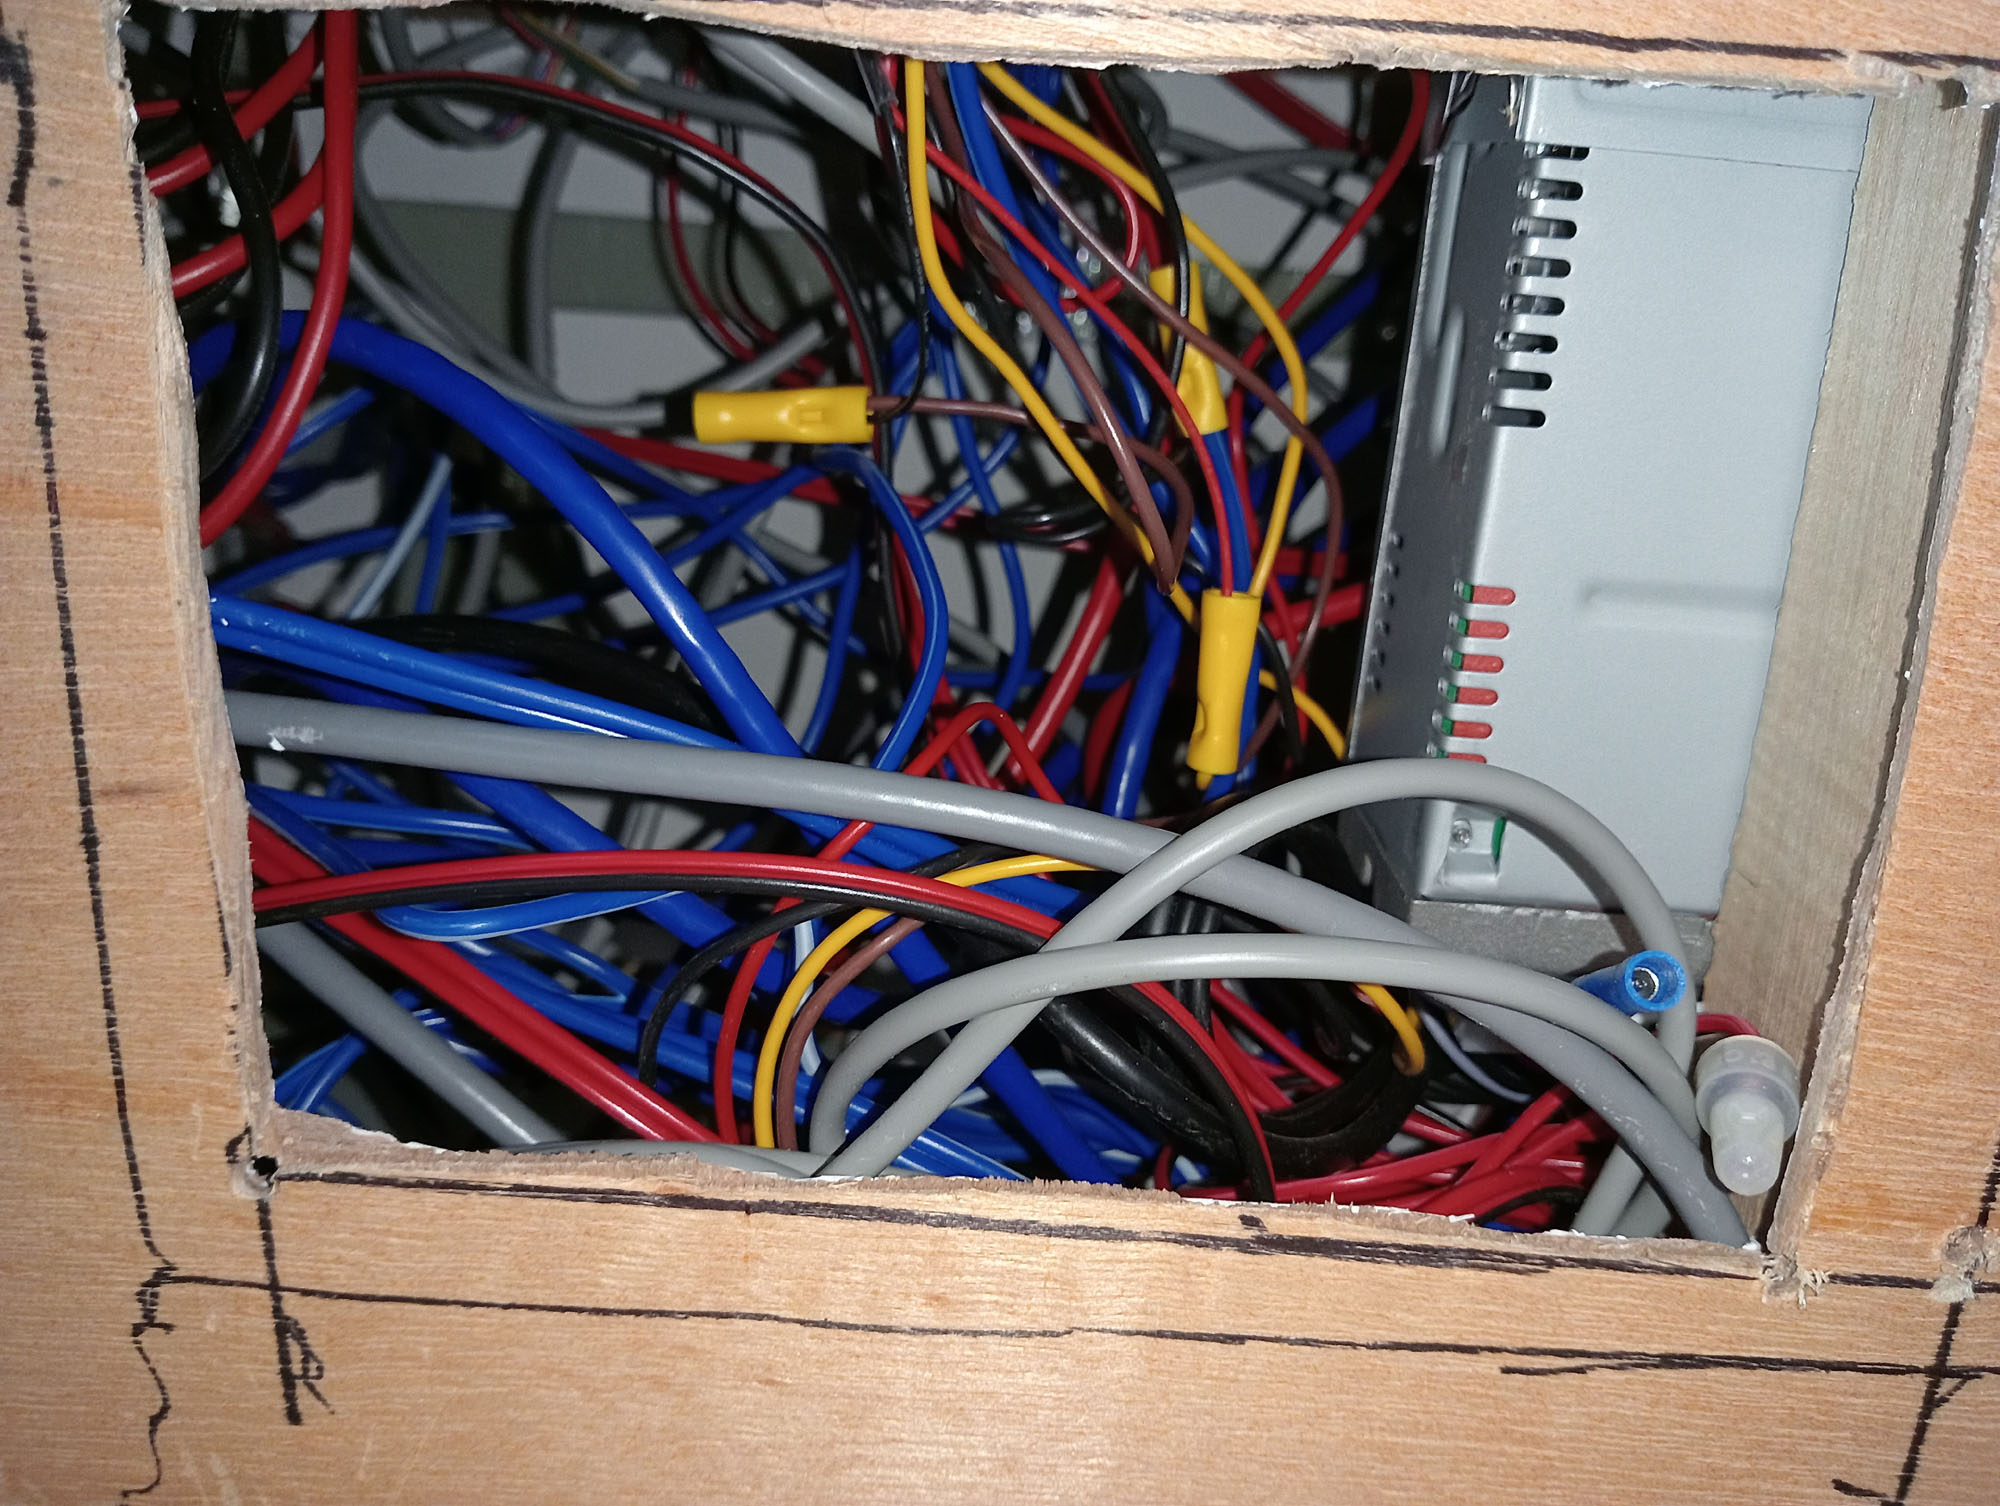
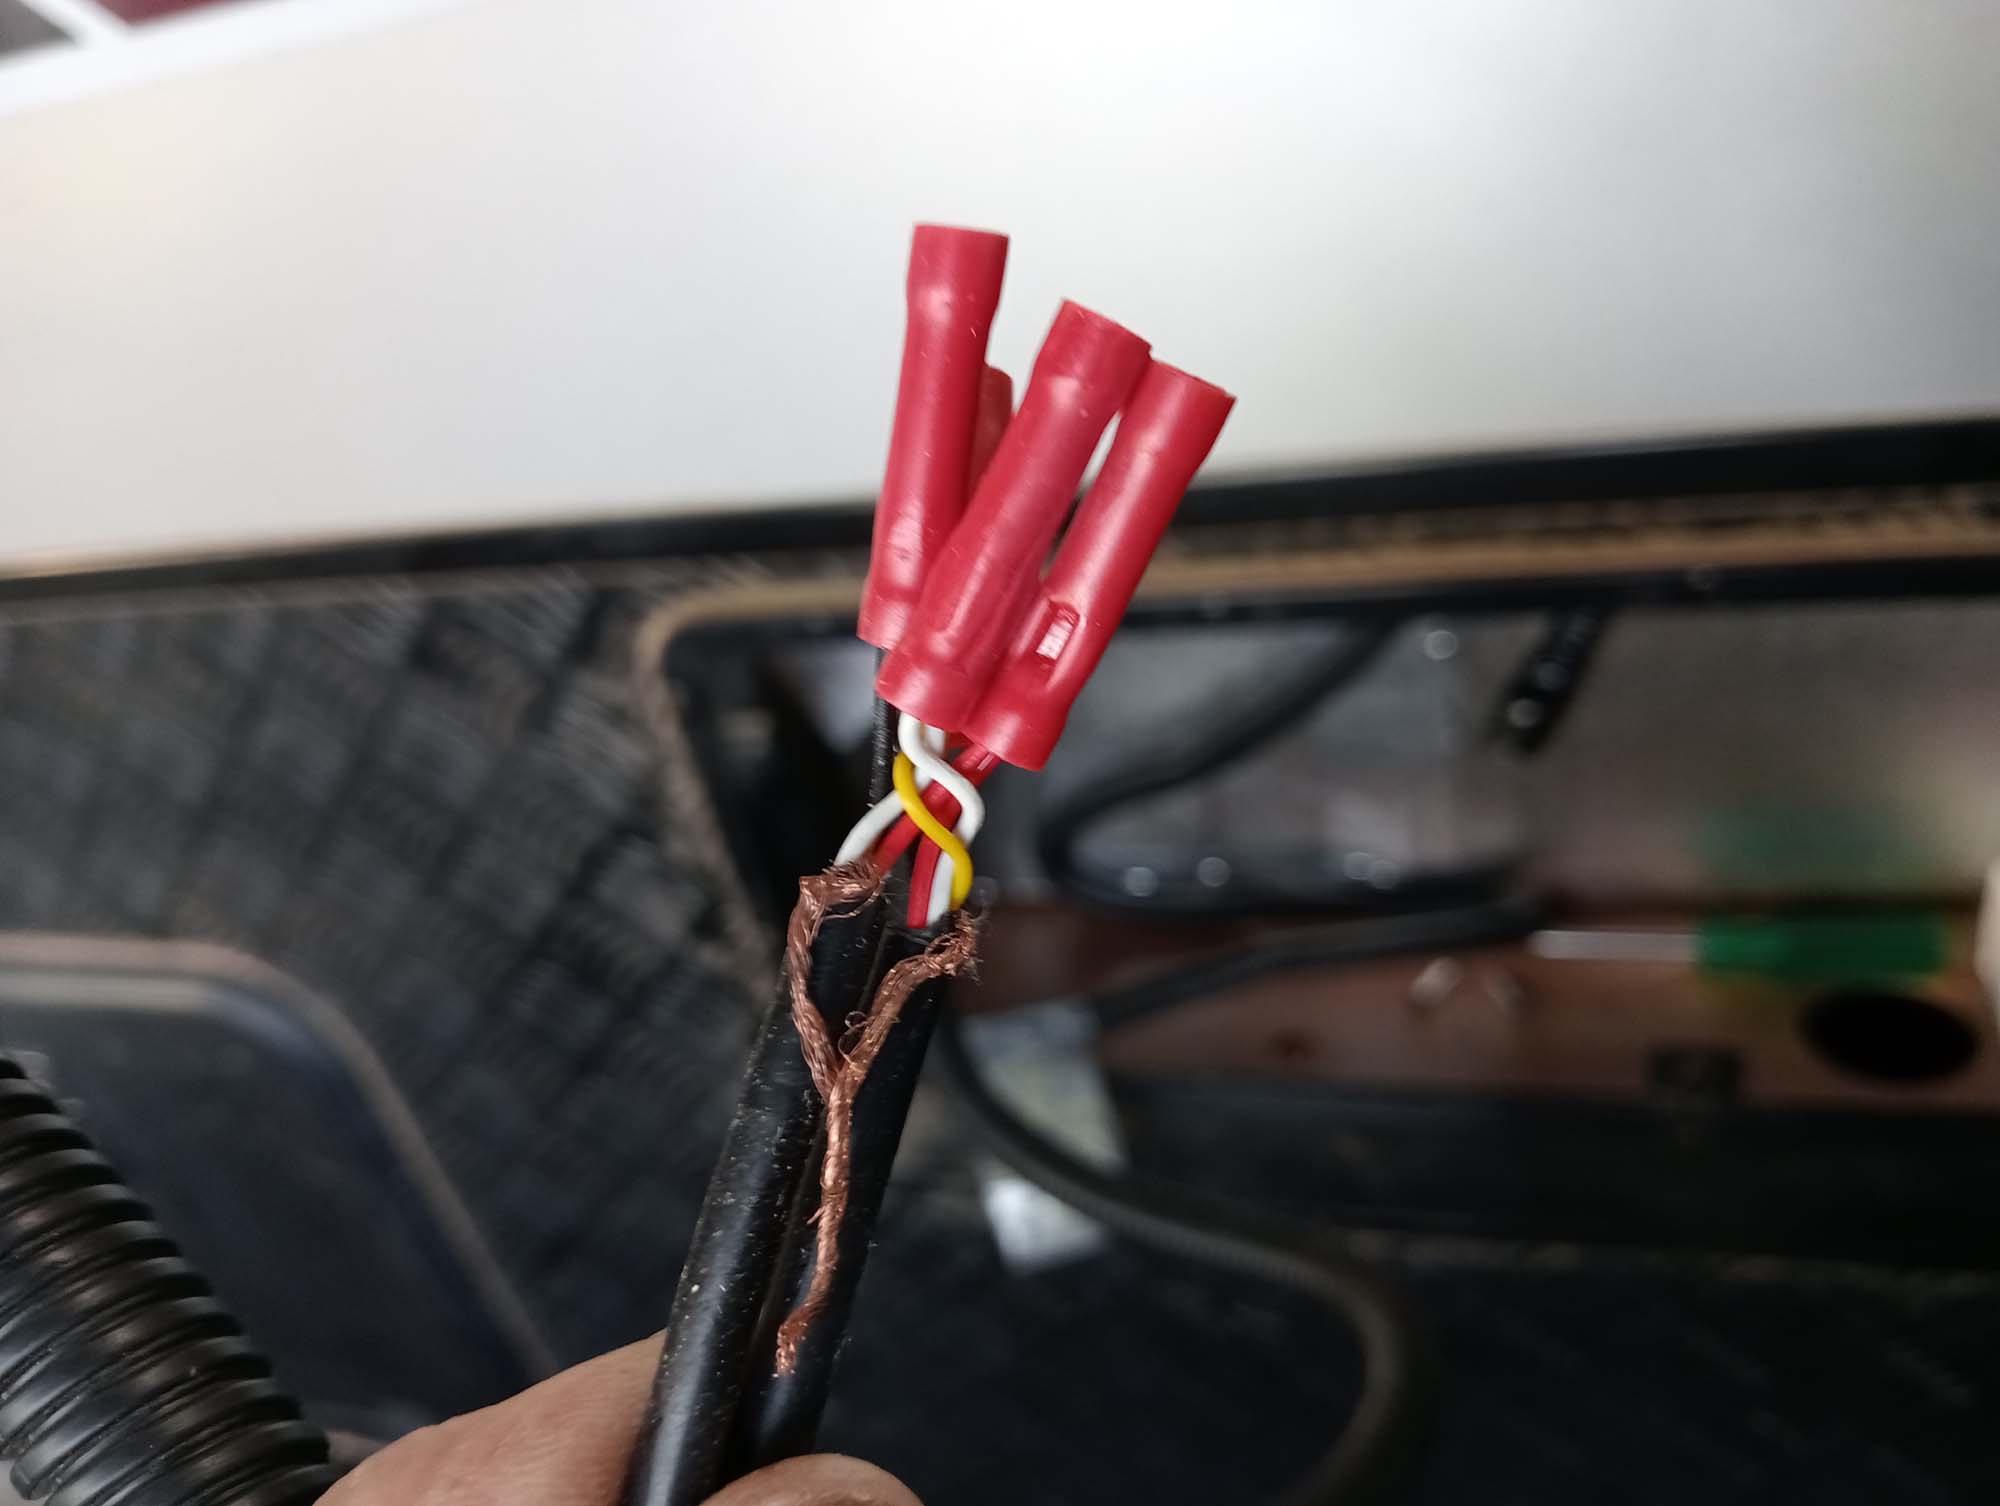
Asides from questionable compliance there is no access into the main electrical cabinet, I removed the range hood & cut an access hole into the plywood base of electrical 'cabinet'. Once access is gained there is a rats nest of wires that no owner is supposed to see. What disgraceful workmanship. This is what happens in an unregulated caravan industry where the people that assemble these vans need absolutely zero qualifications. 12V & 240V passing over each other, crimp joins without stress relief, its just scary in there.
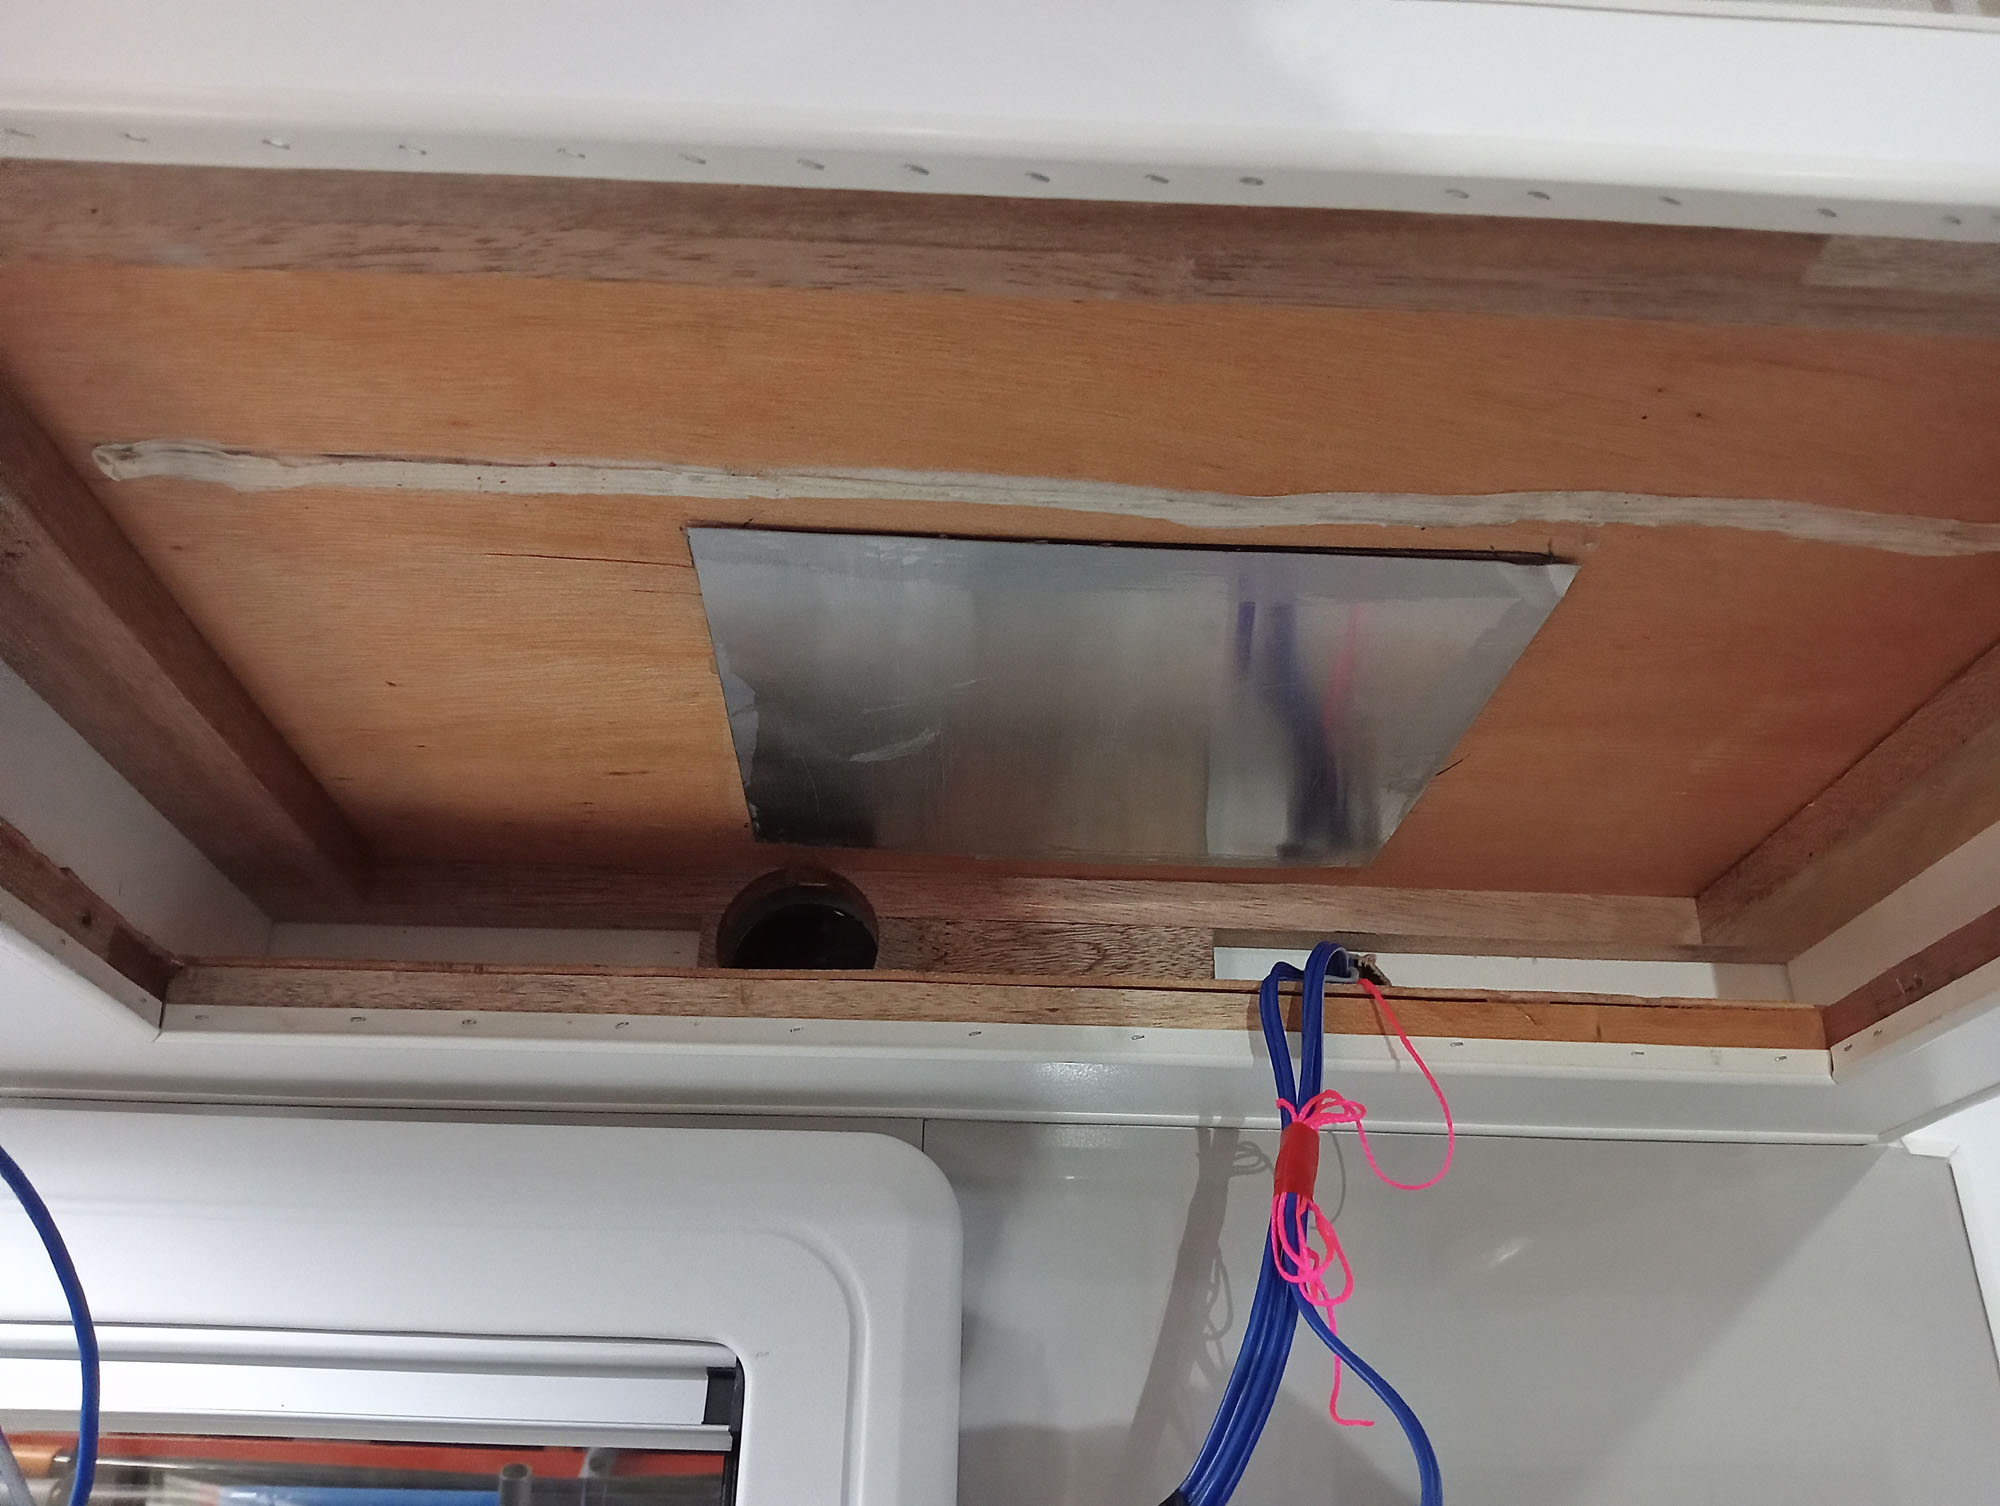
and sealed with an aluminium cover plate
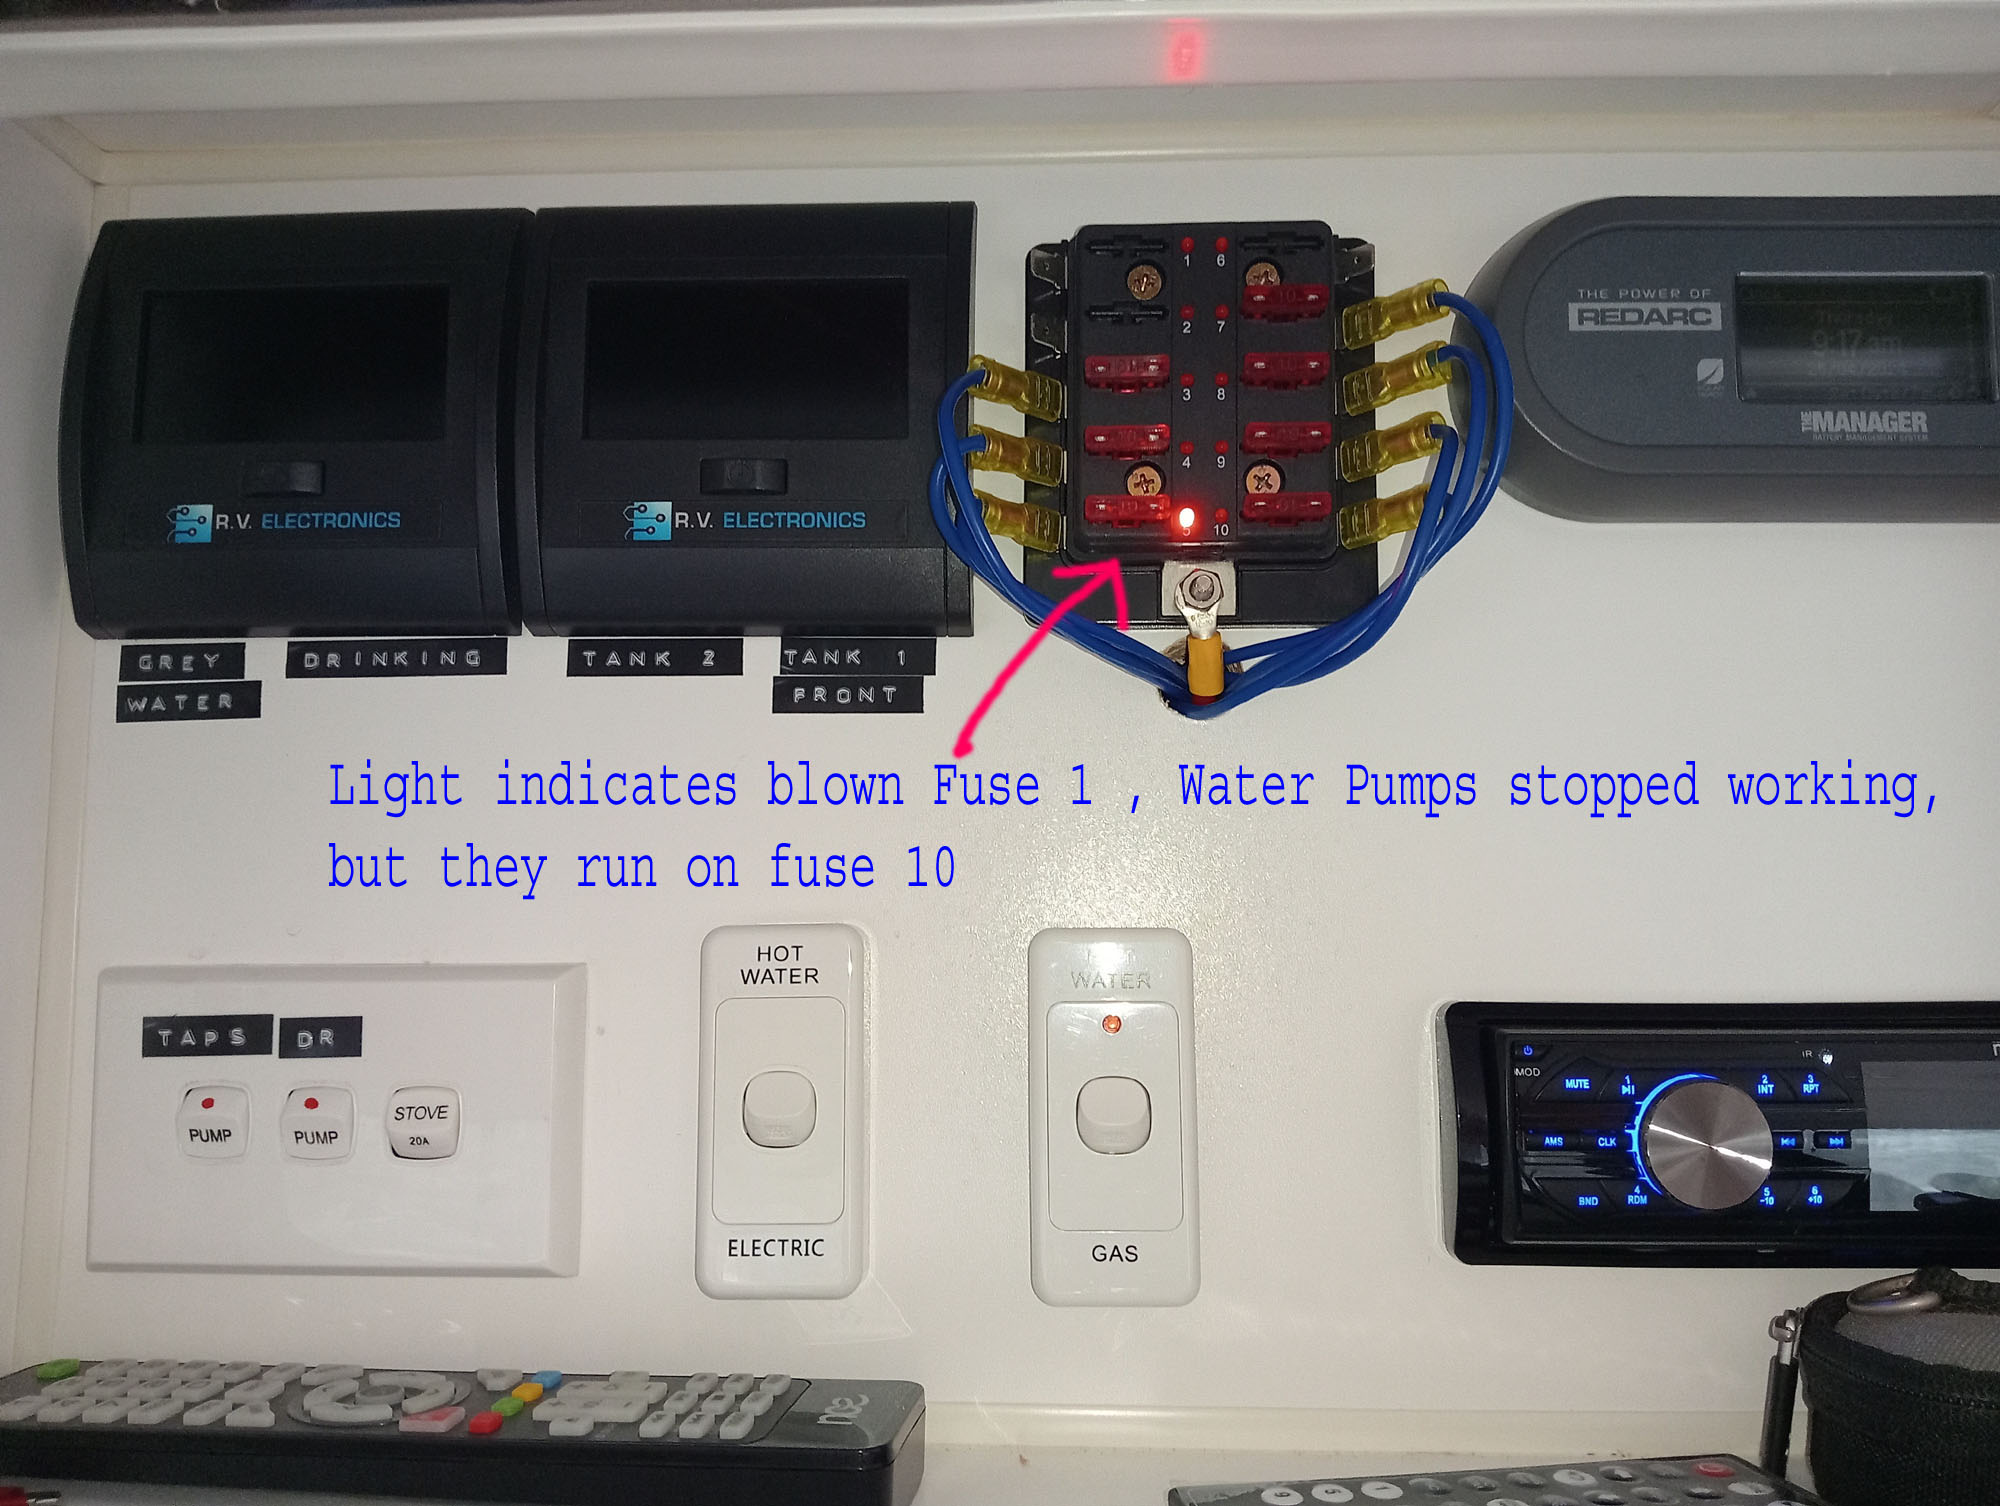
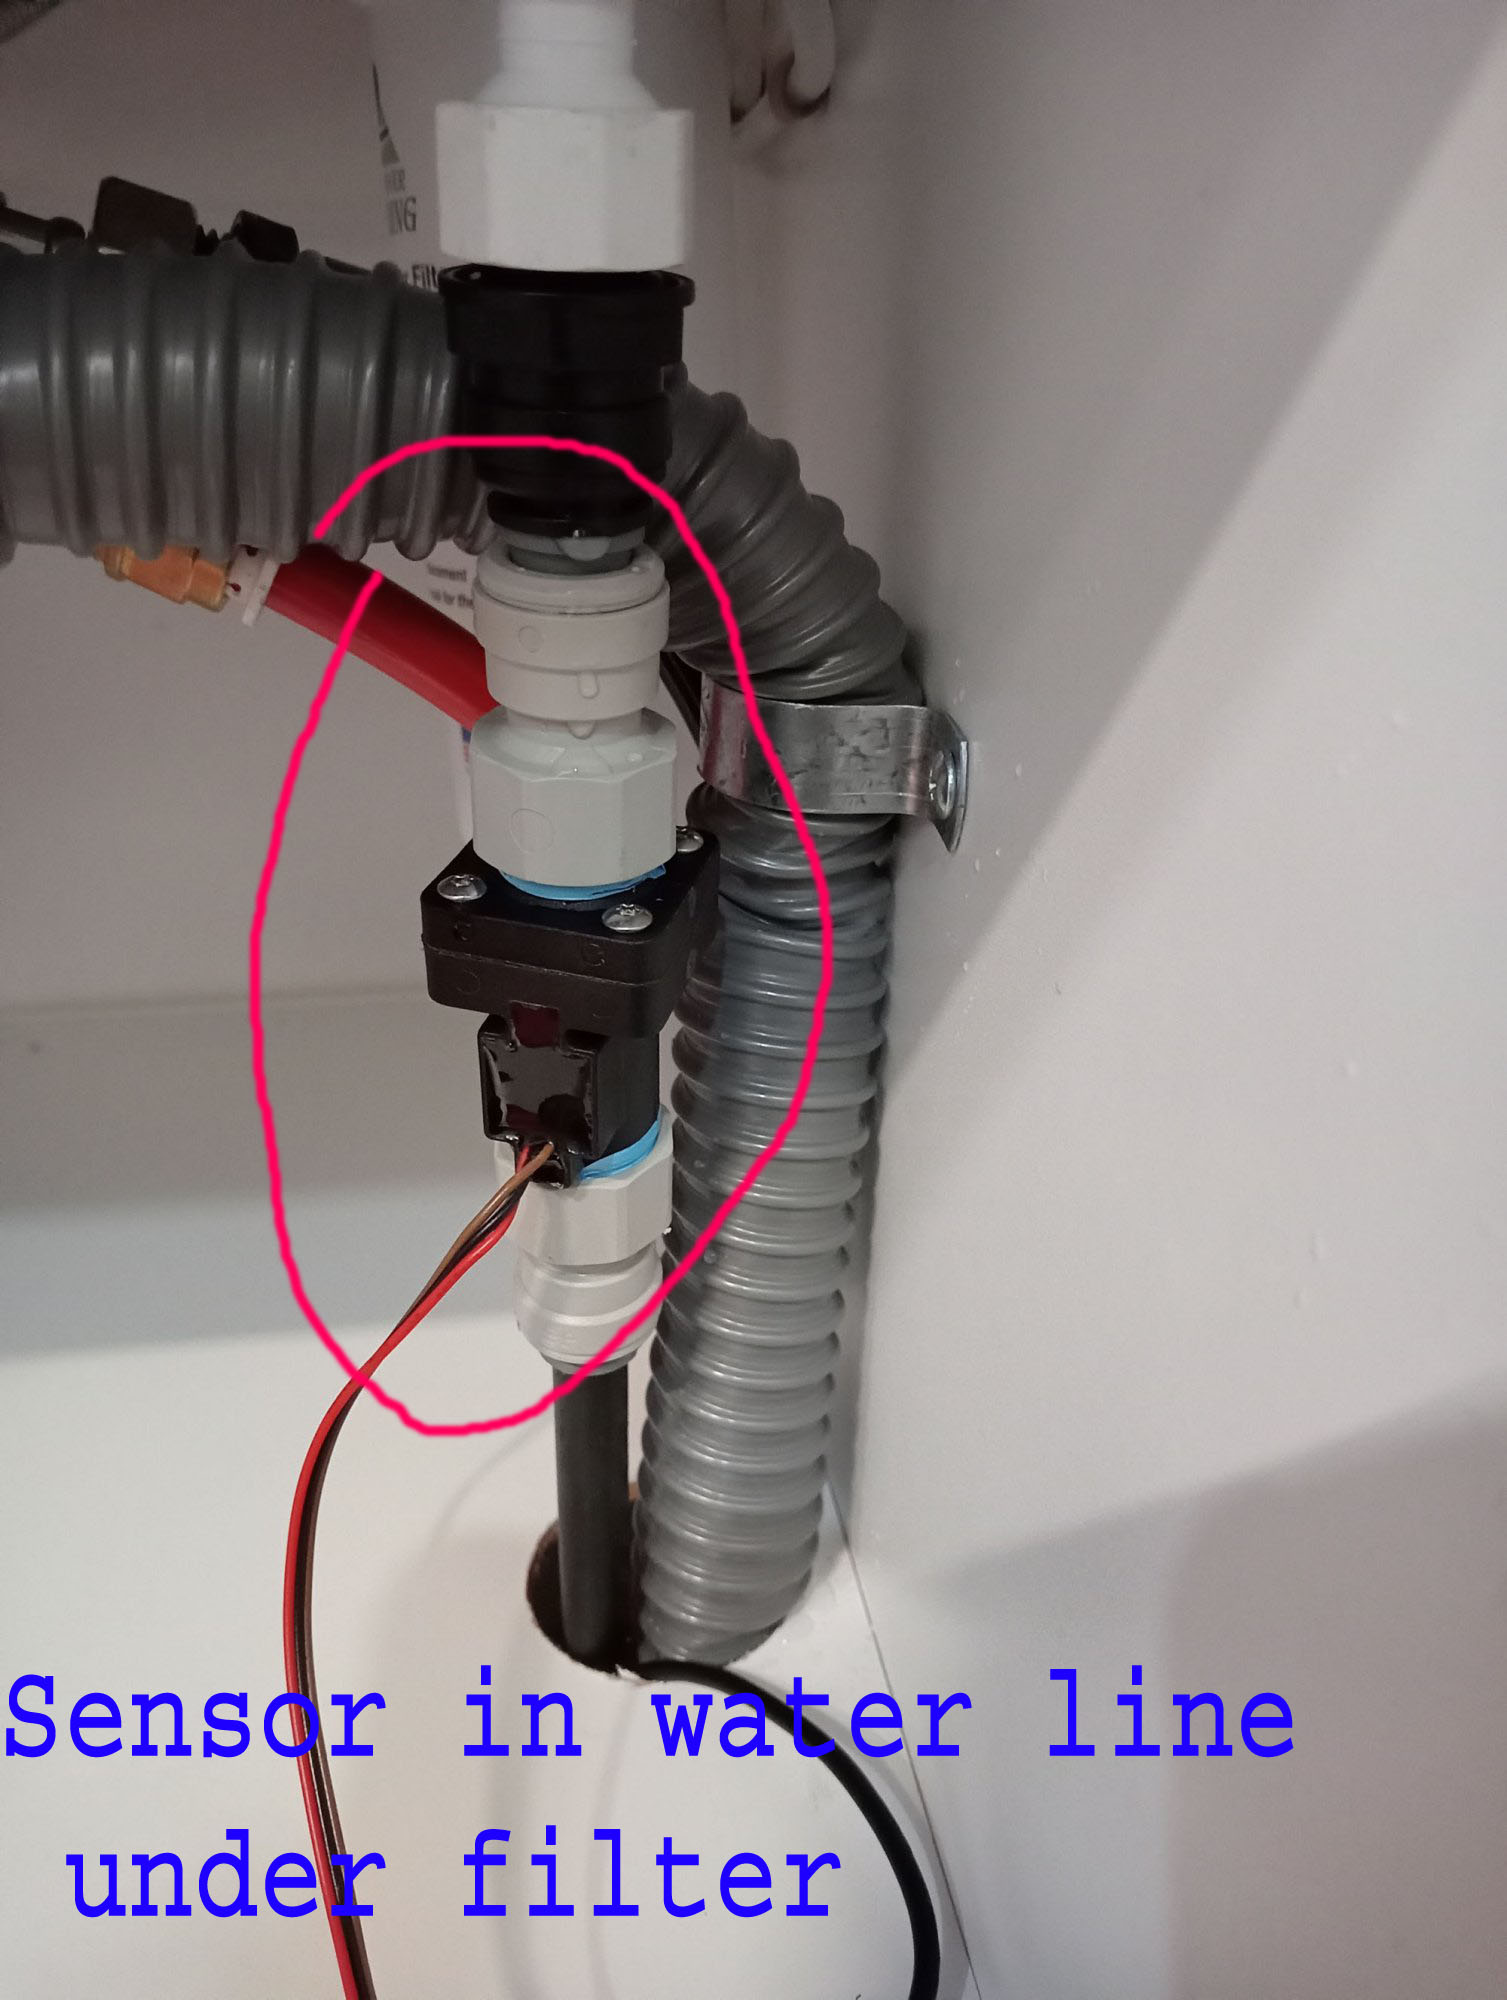
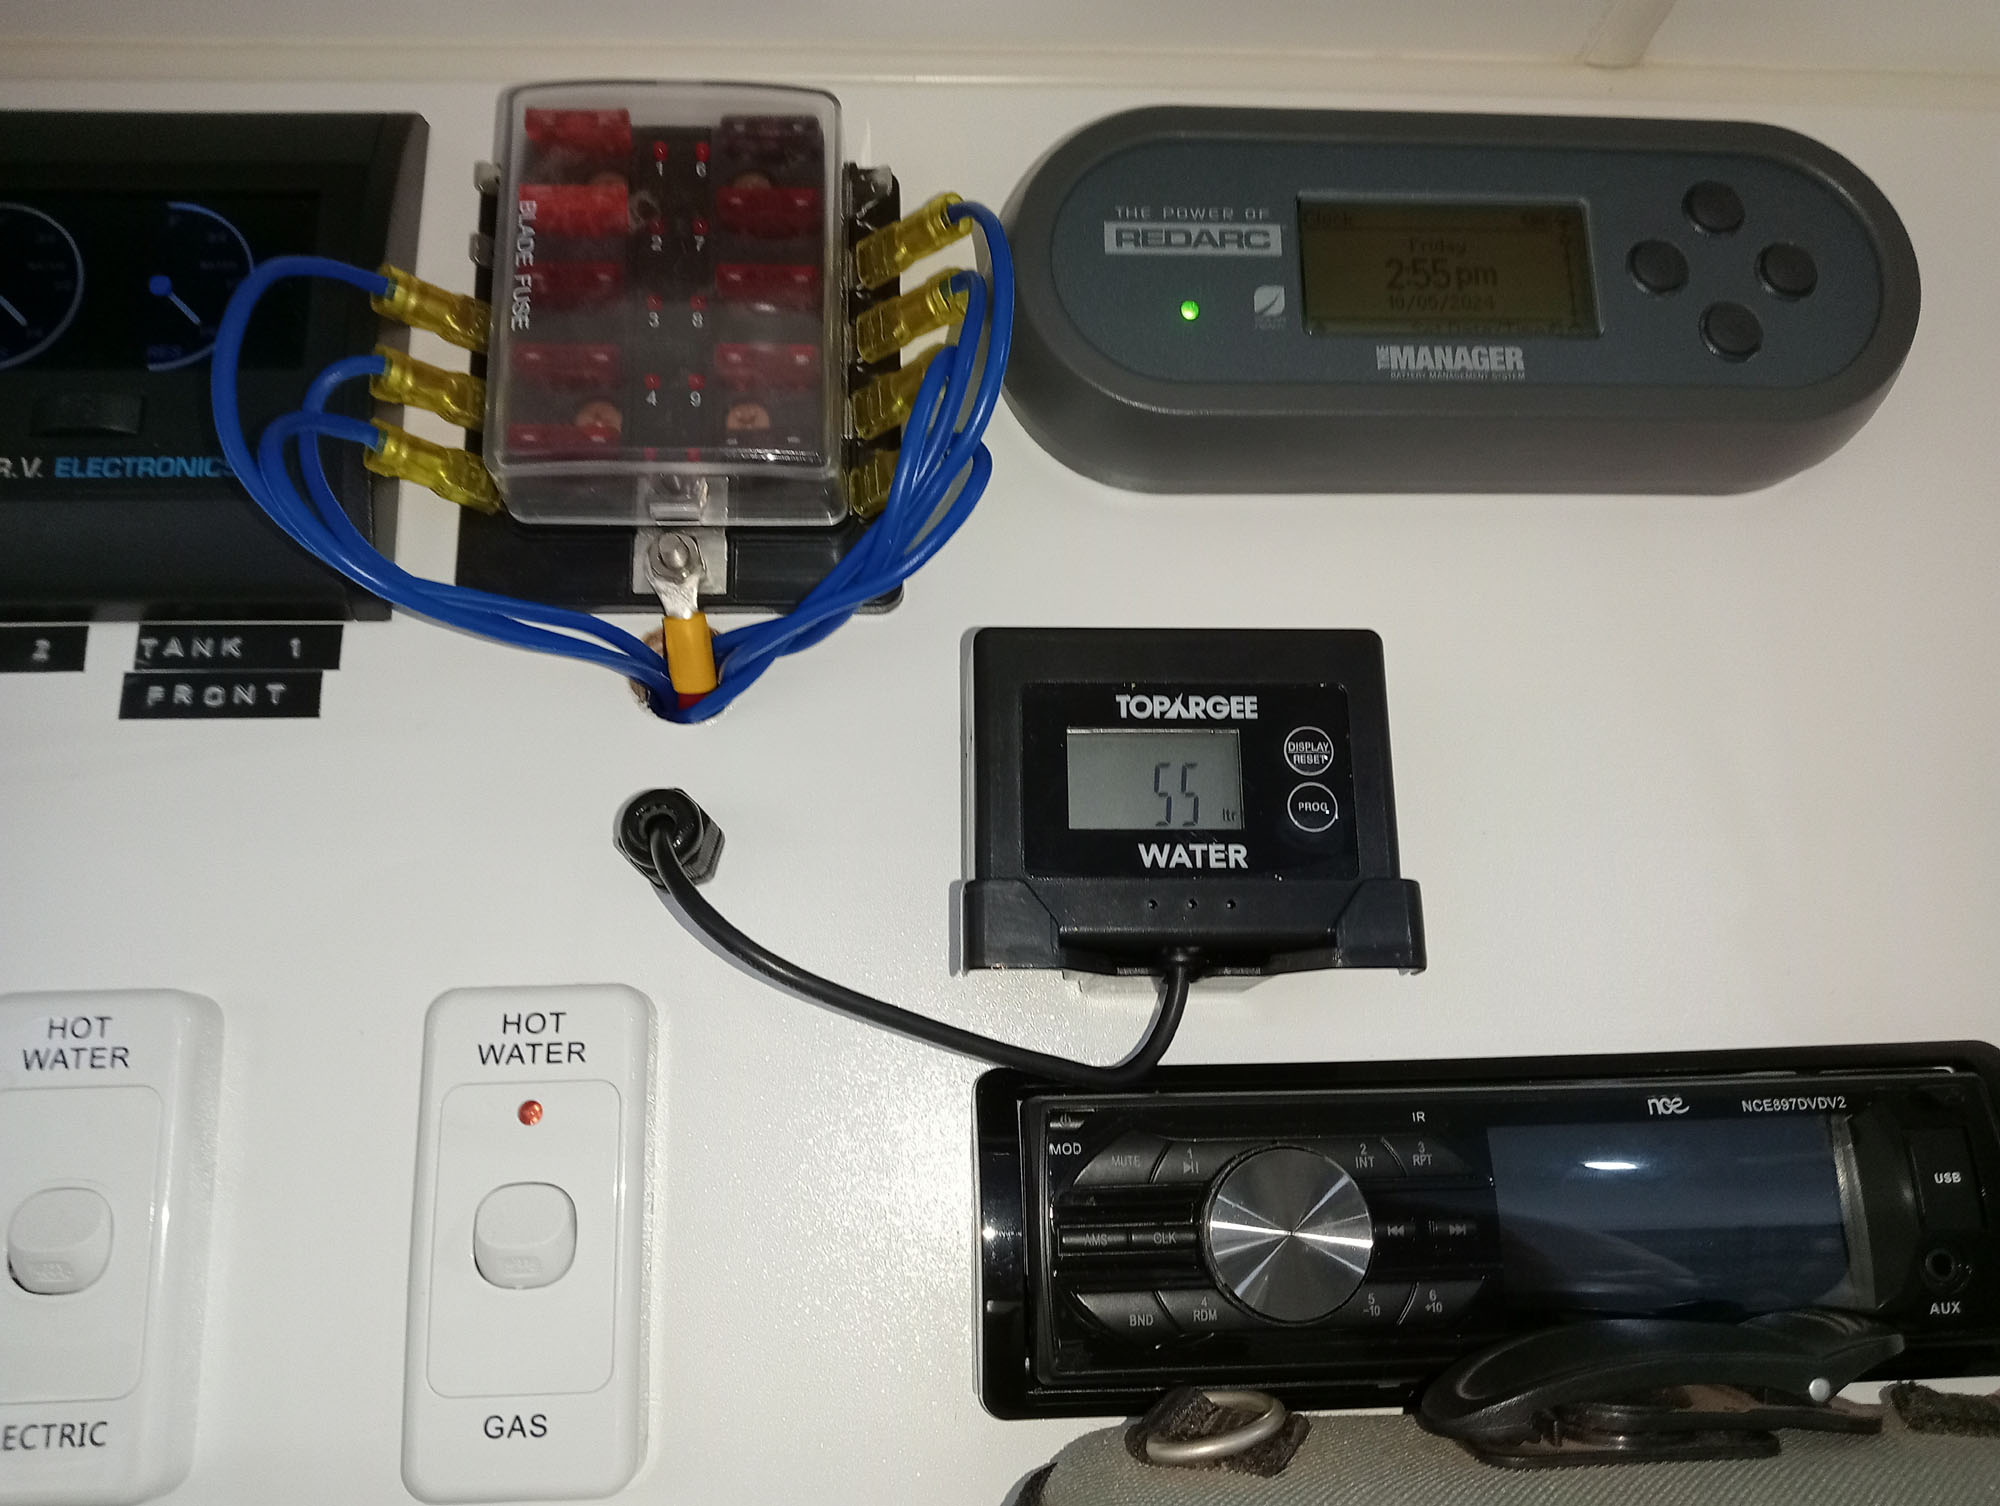
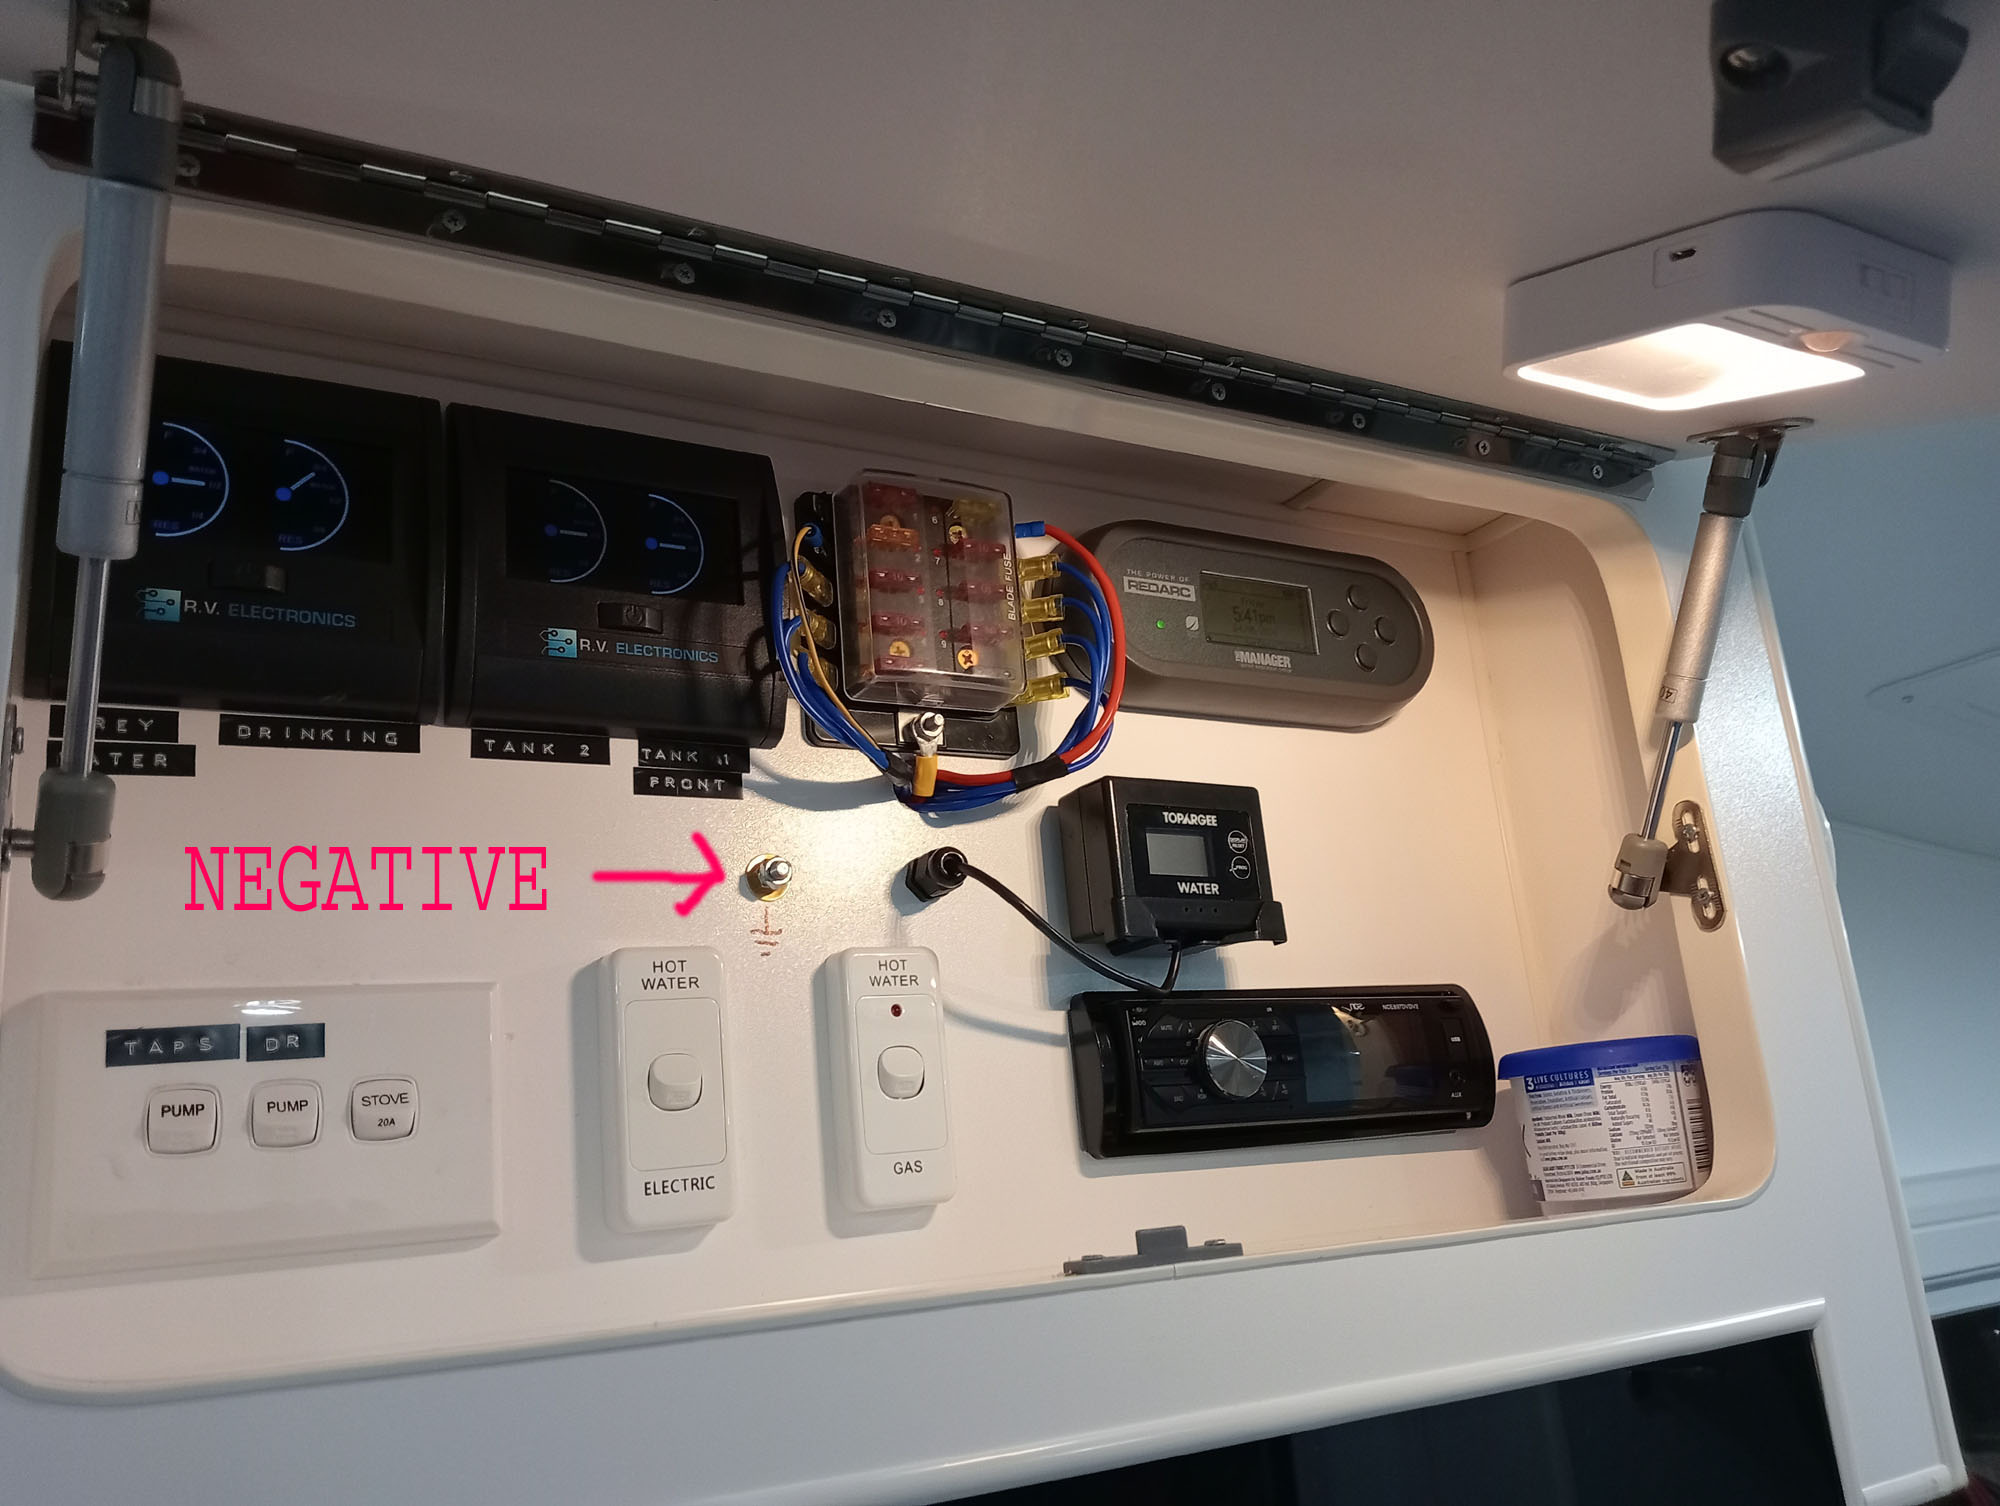
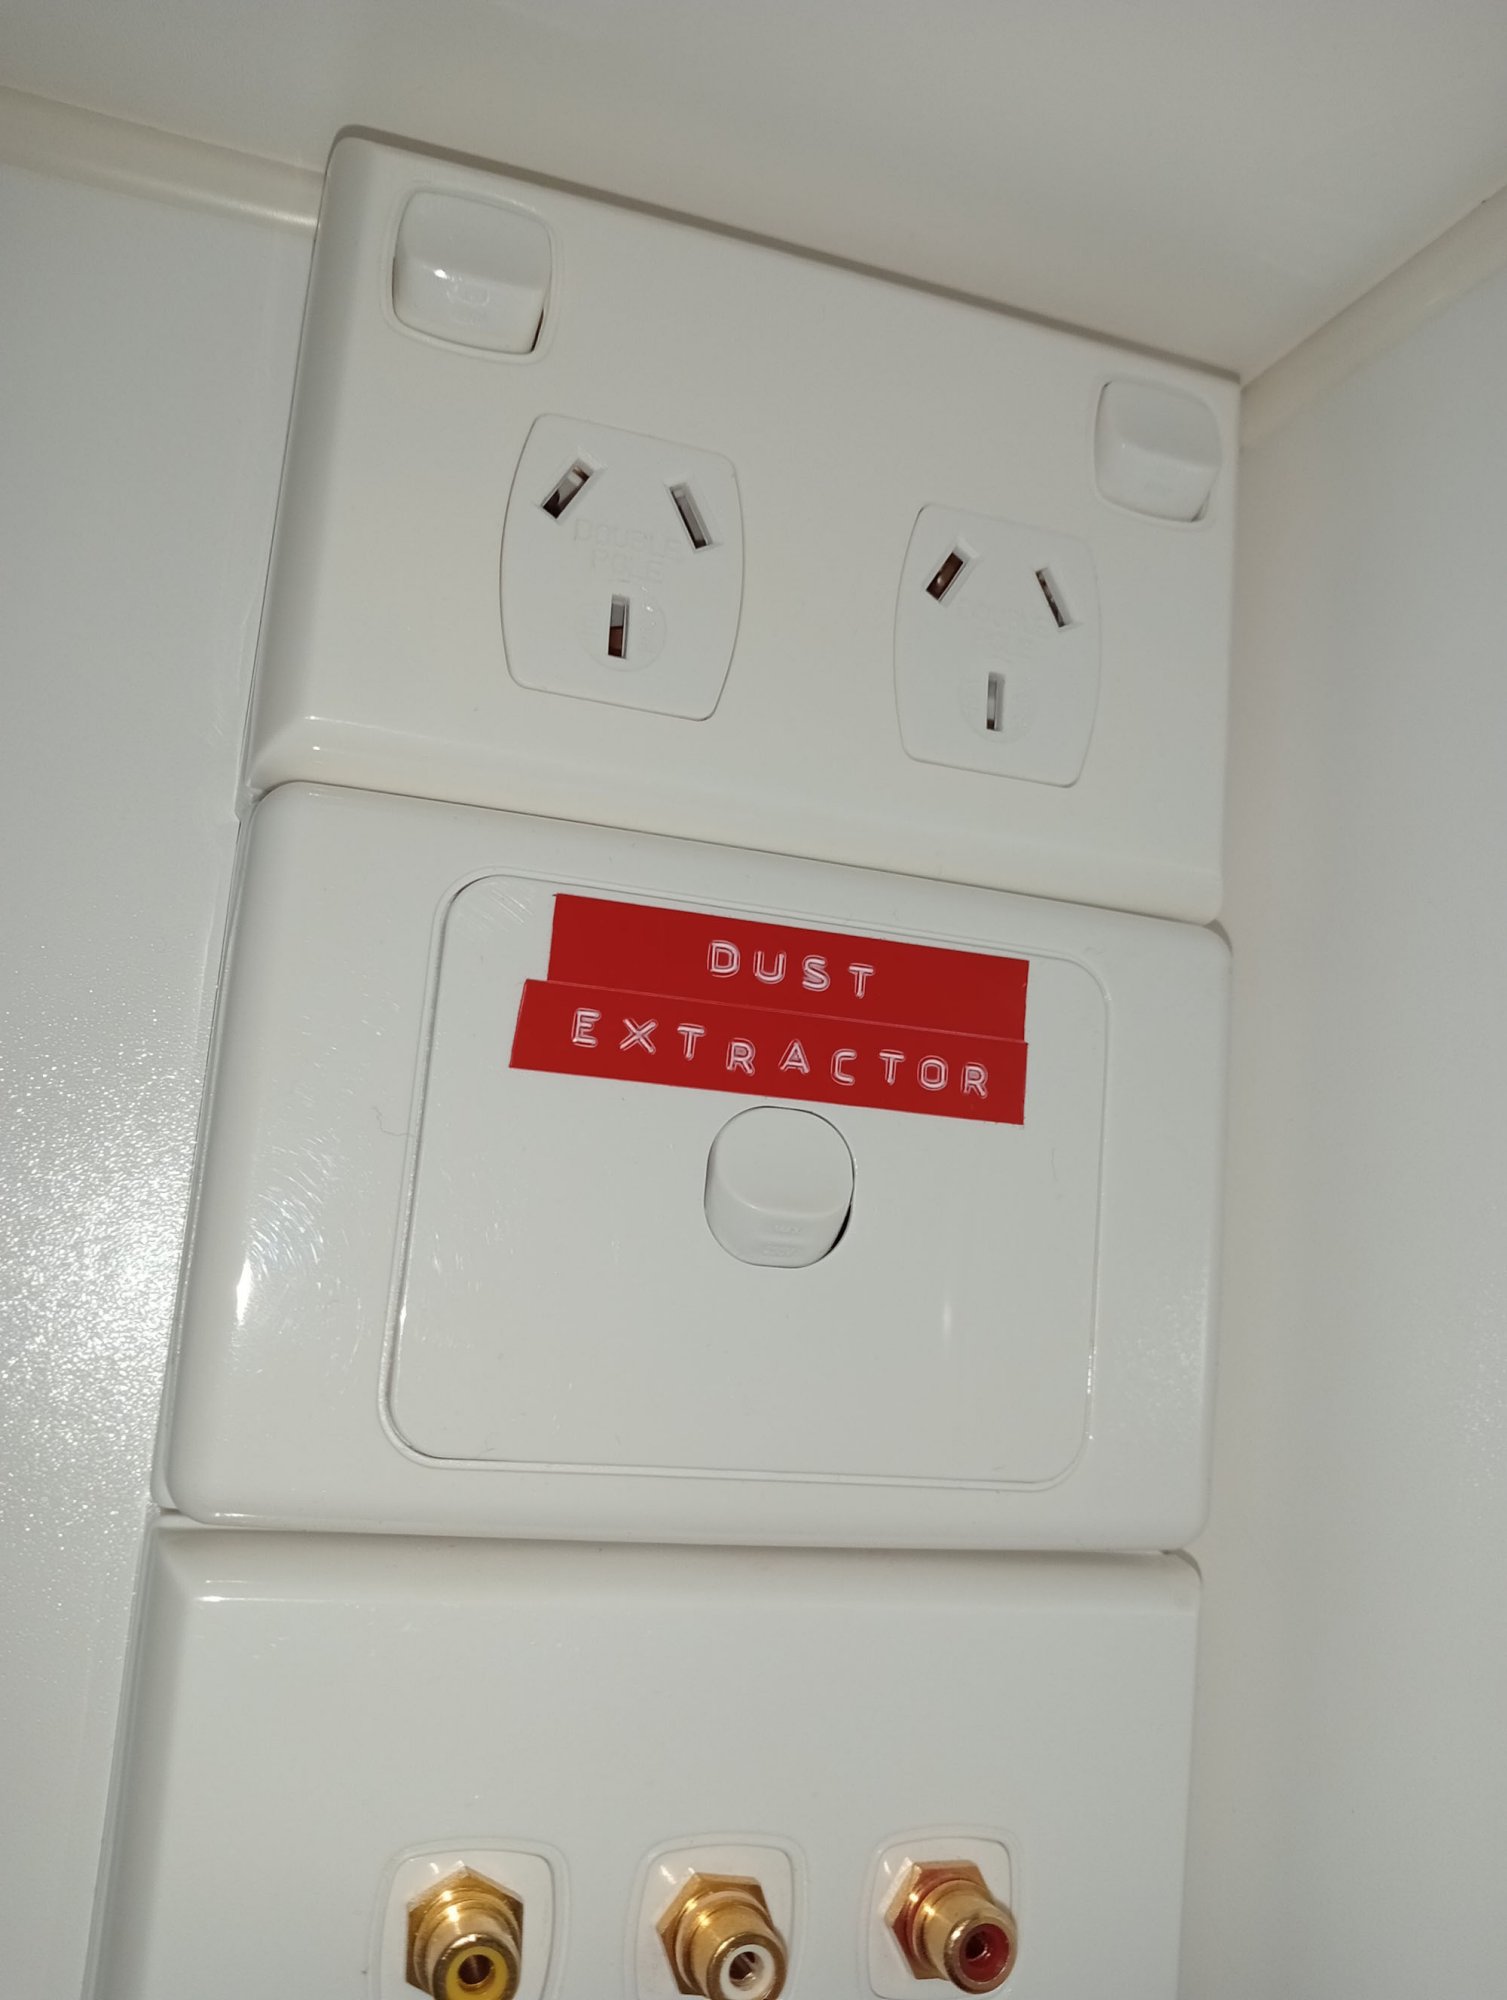
I fitted the Topargee water meter in the drinking line because the standard water guages only show increments of 1/4 , You usually don't drop from 1/4 to zero until the tank is empty, The Topargee guage shows the exact amount of litres left. Its so good I'll be fitting one in the main water line too. This will give us a much better idea of how long we can stay camped remote.
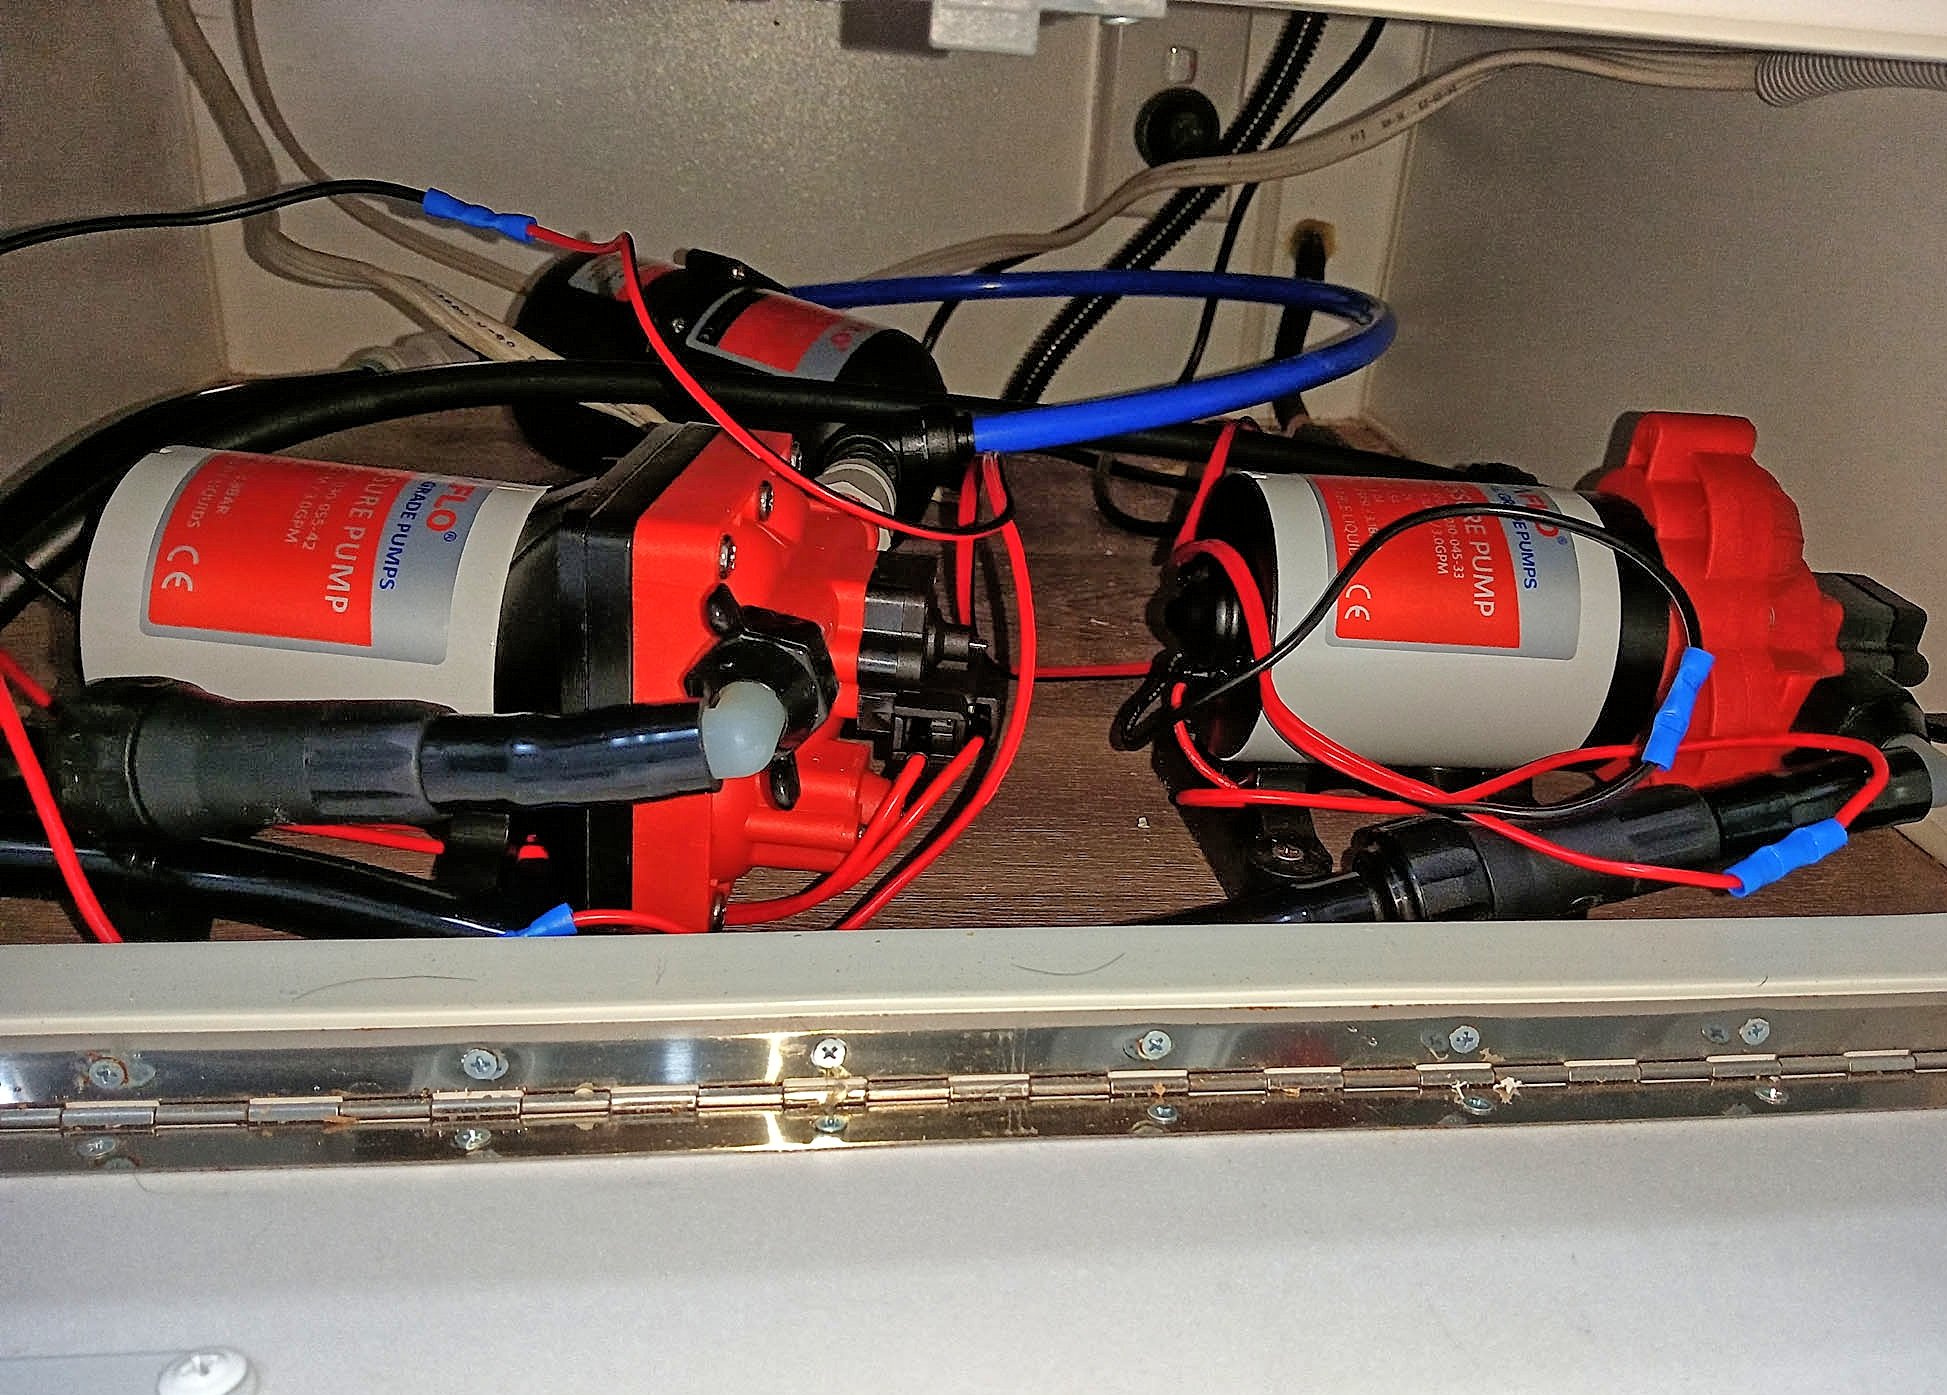
While on water we also changed out the very noisy FloJet water pumps (located under the fridge) for SeaFlo pumps. These things are super quiet, You have to cock an ear to even hear them running. No worries about waking up the entire caravan park at night if you use some water. Be aware you need a good selection of "John Guest' plumbing fittings & 12mm pipe to do any plumbing alterations.
Why do the manufactures use the cheapest possible shit in these vans ?? So they can make more profit & then burn through it on warranty repairs - makes no sense.
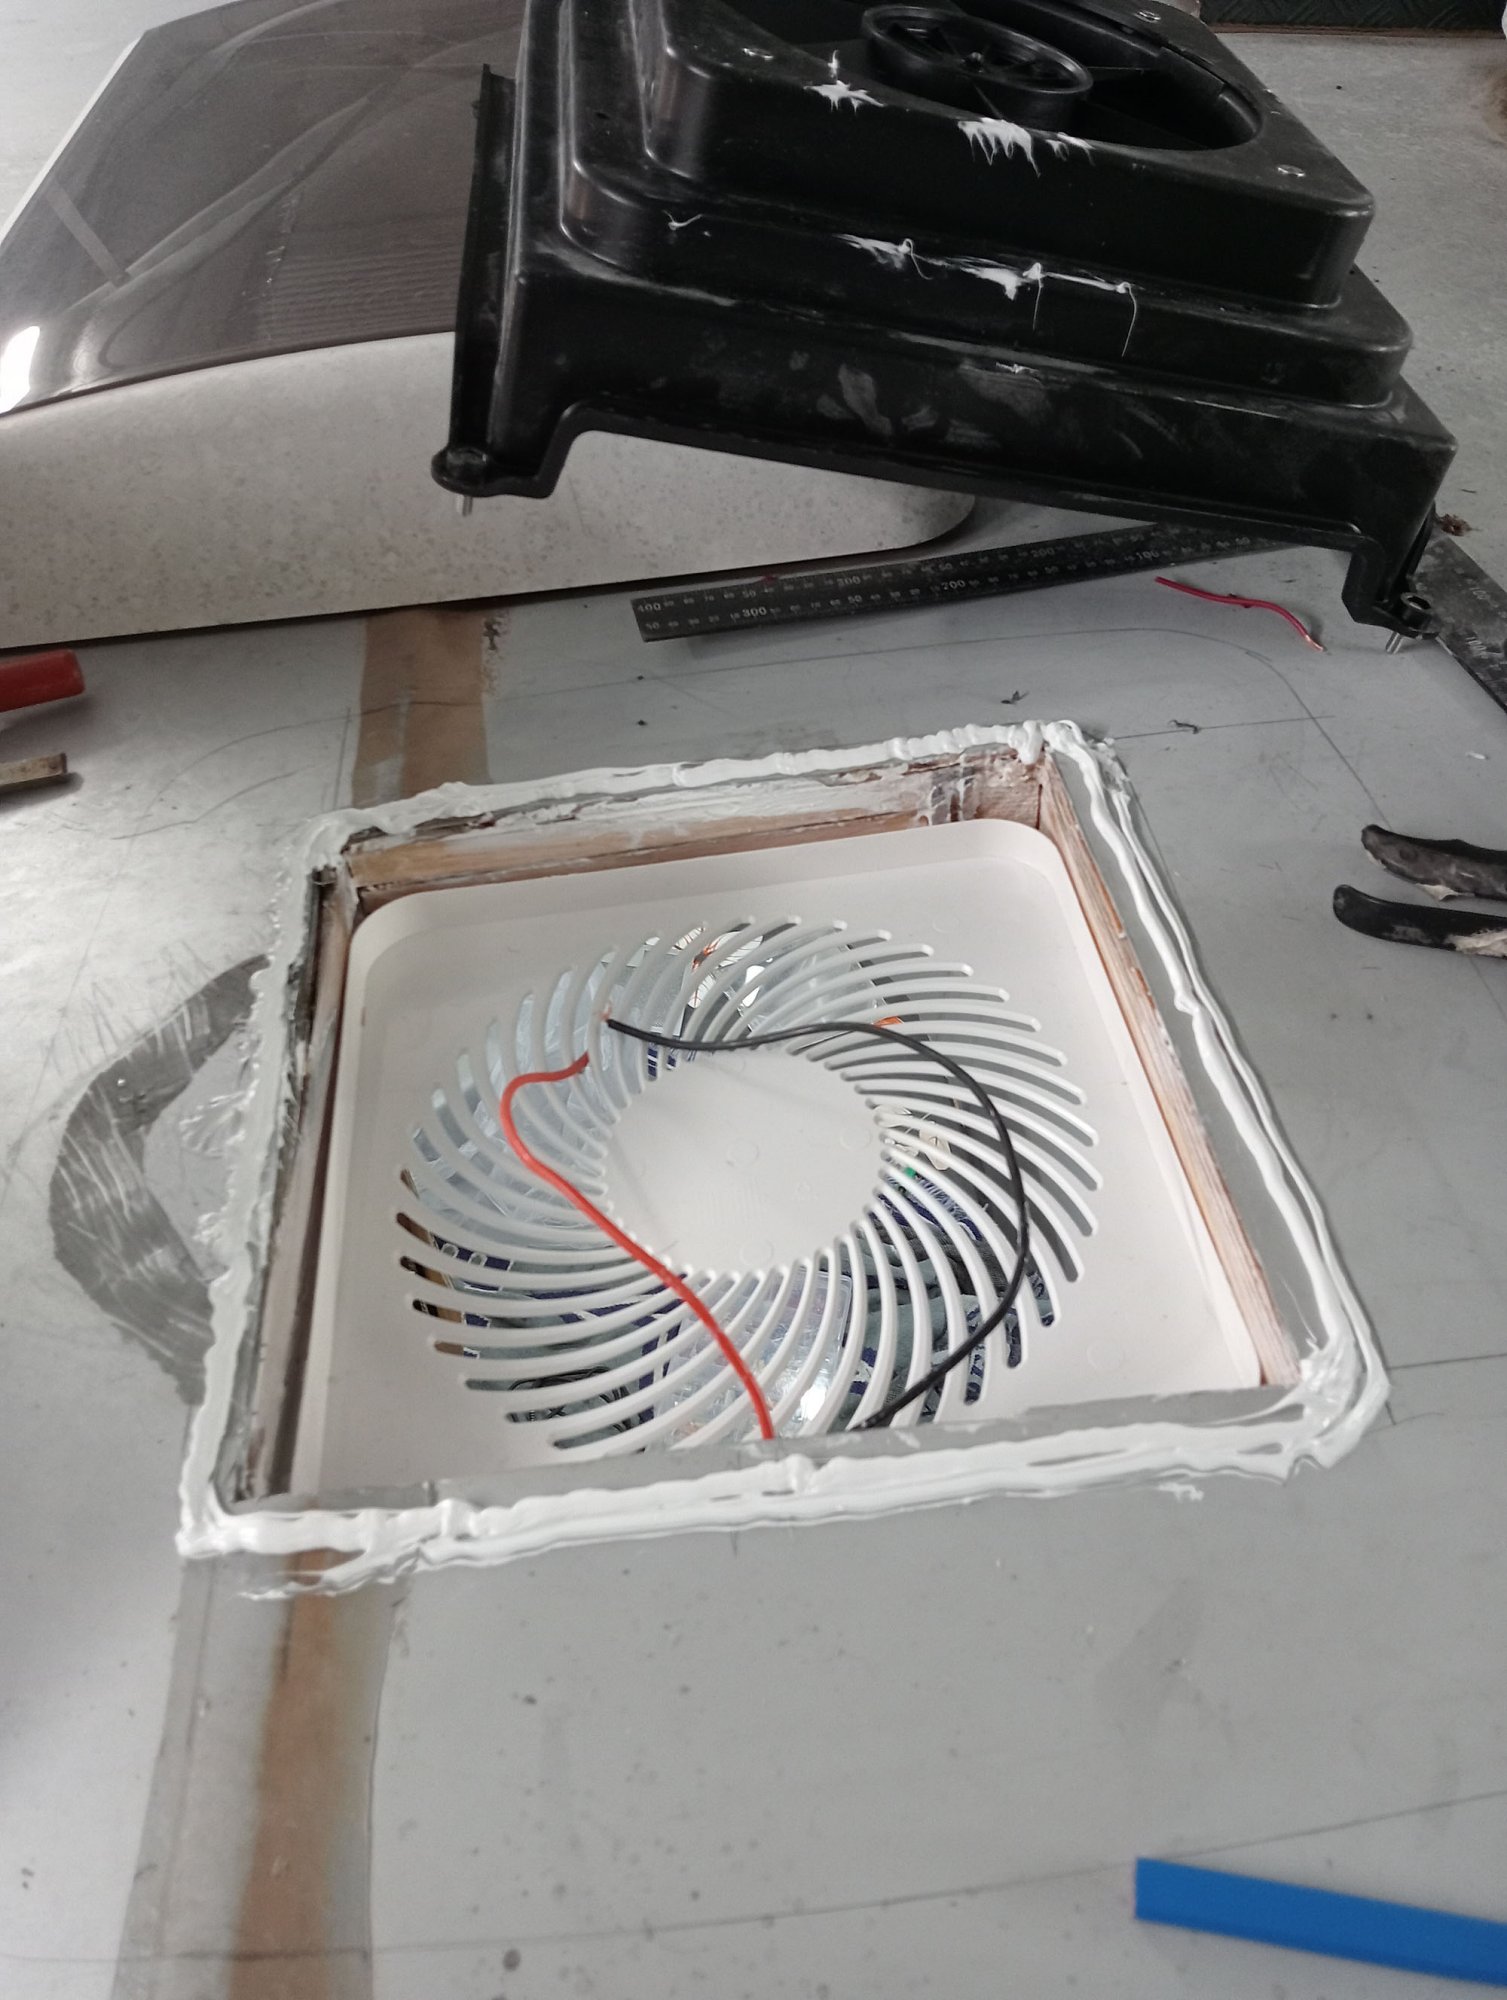
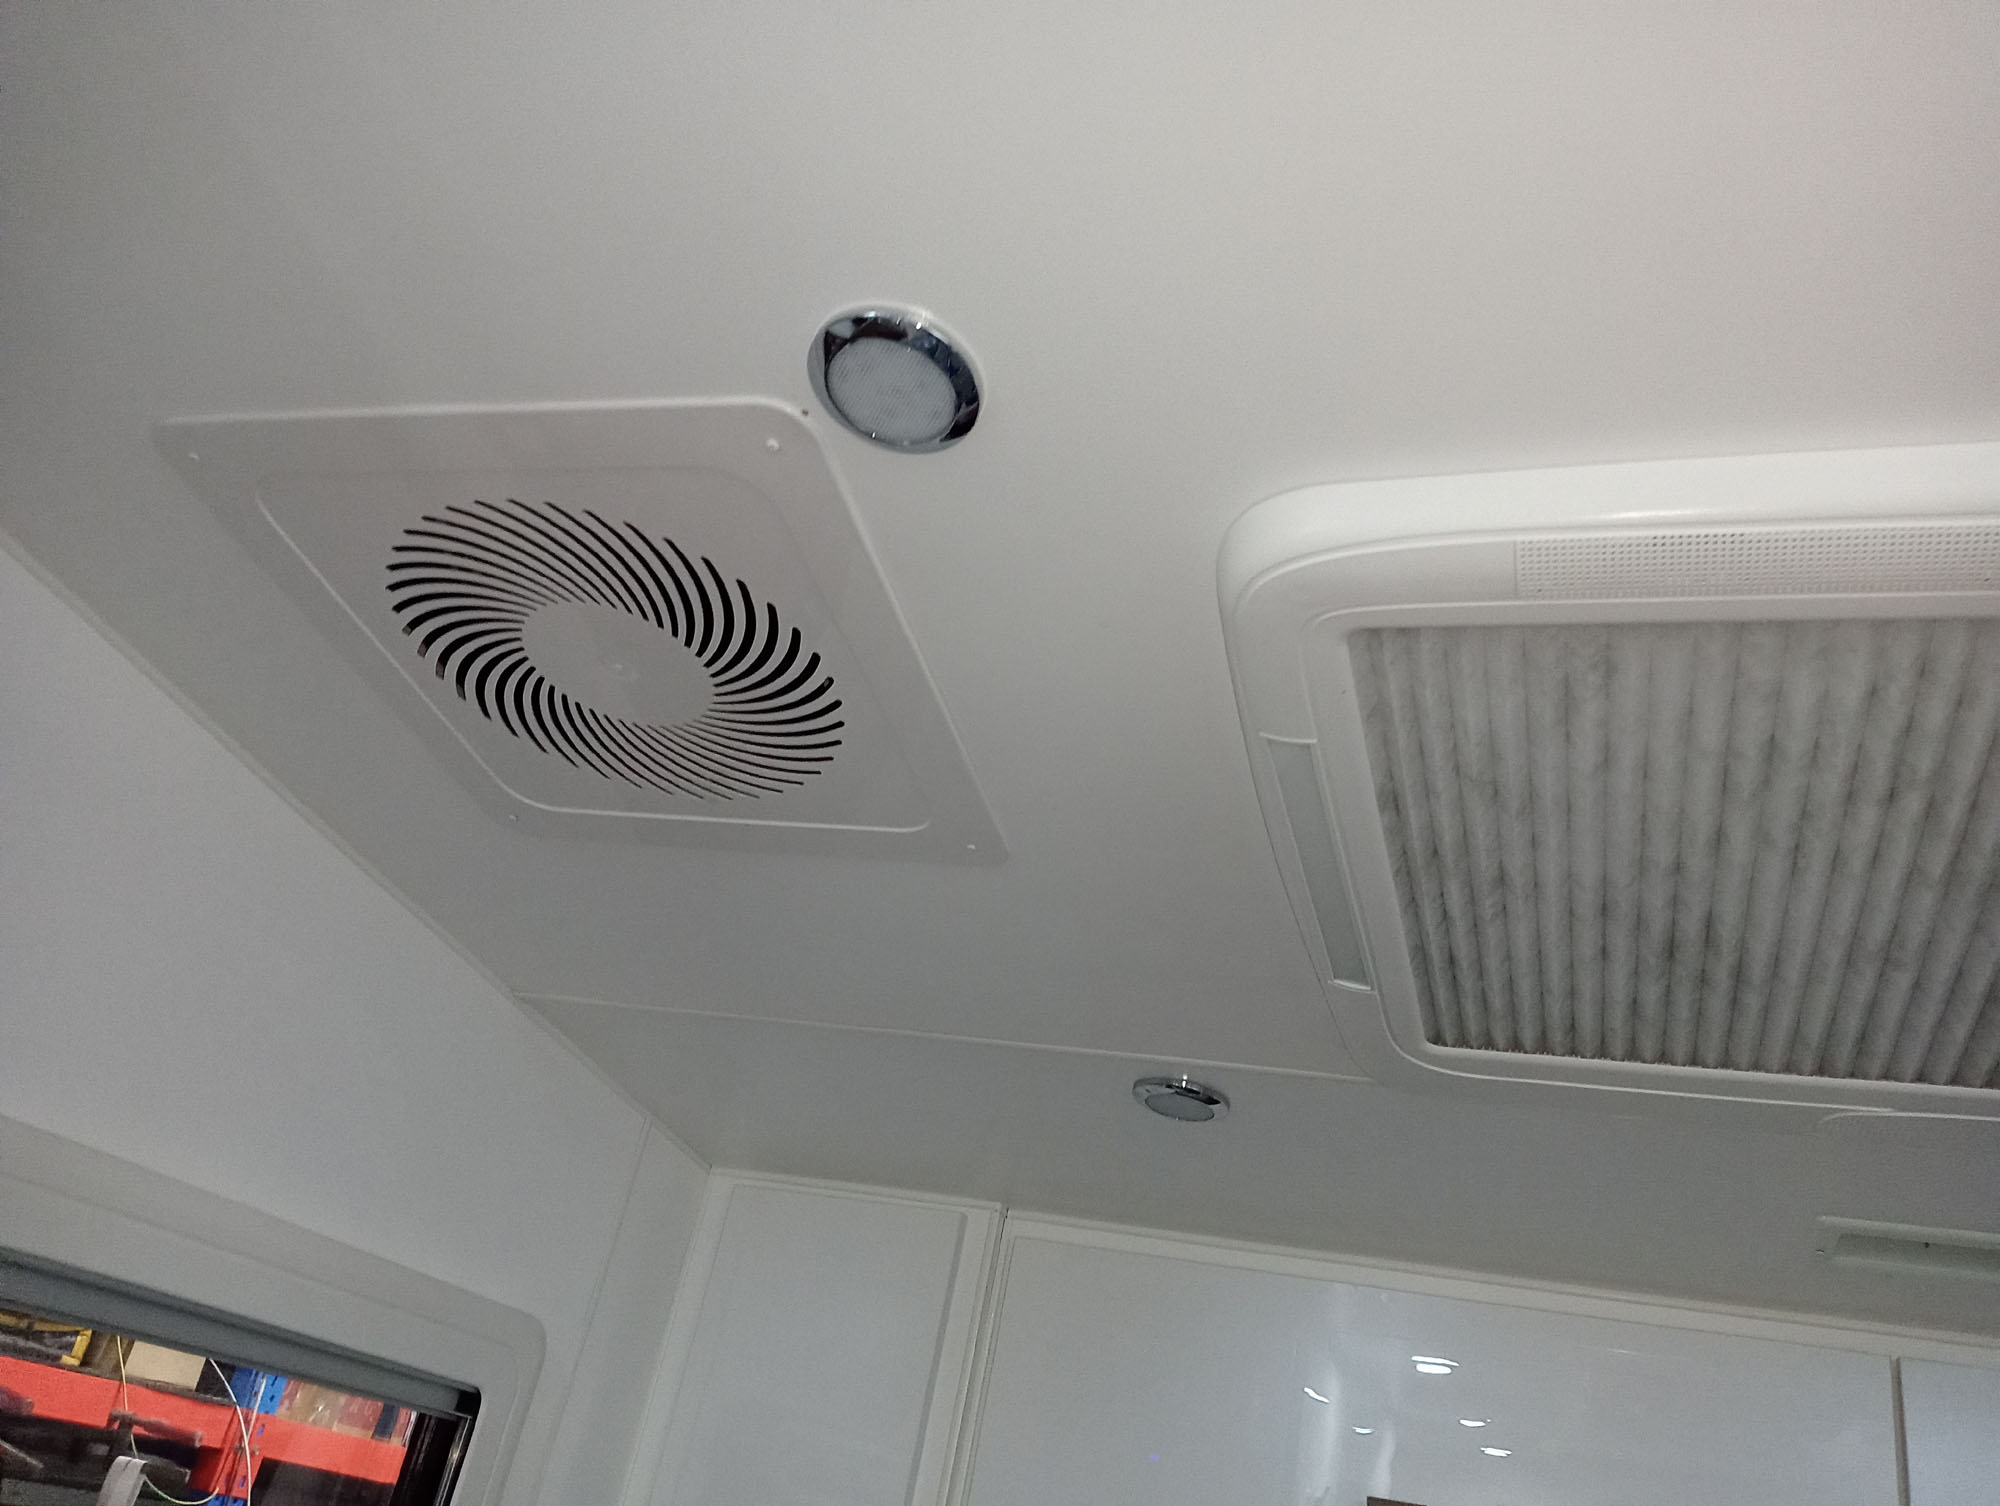
Sirocco 12V Fan
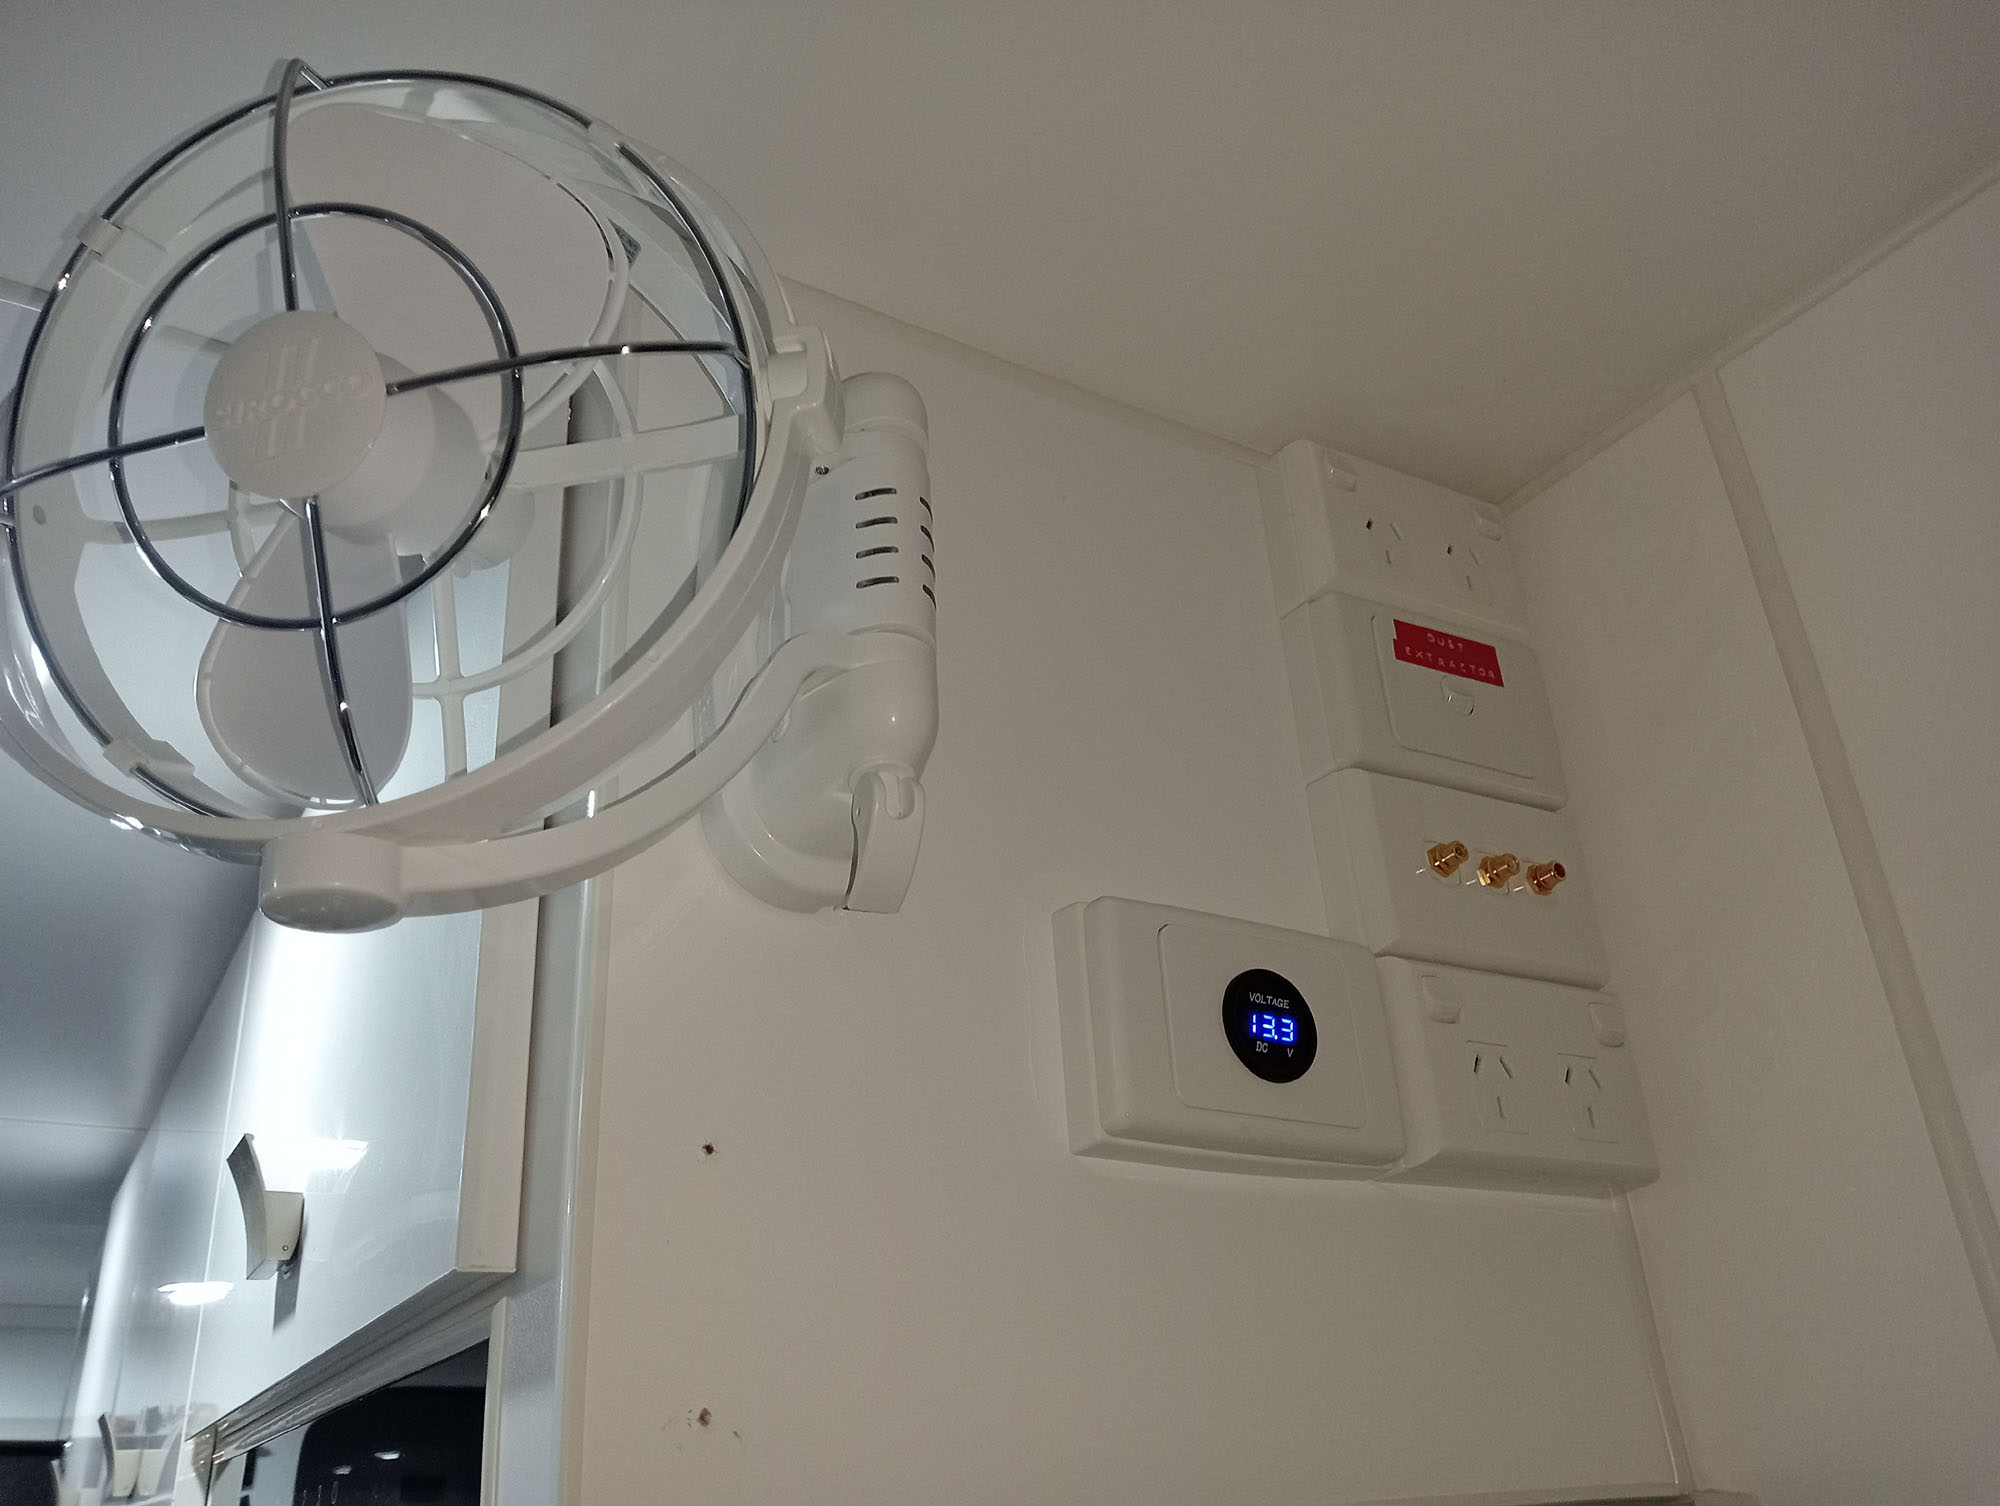
While I had access to the Electrical we decided to fit a Sirocco 360° Fan. This was optional in the van build but we declined it, This Van gets a lot hotter inside than our previous vans. It probably cost me less to buy & install it so probably worked in my favour.
You might notice in the fan photo that there is no TV bracket or TV plug. We never watch TV & we only included it in the build because it would be a feature if we ever sold the Van, But the way technology is now its actually easier & better to watch anything on your laptop. No ads either. I never wanted that silly Winegard TV antenna on the roof & got rid of that too.
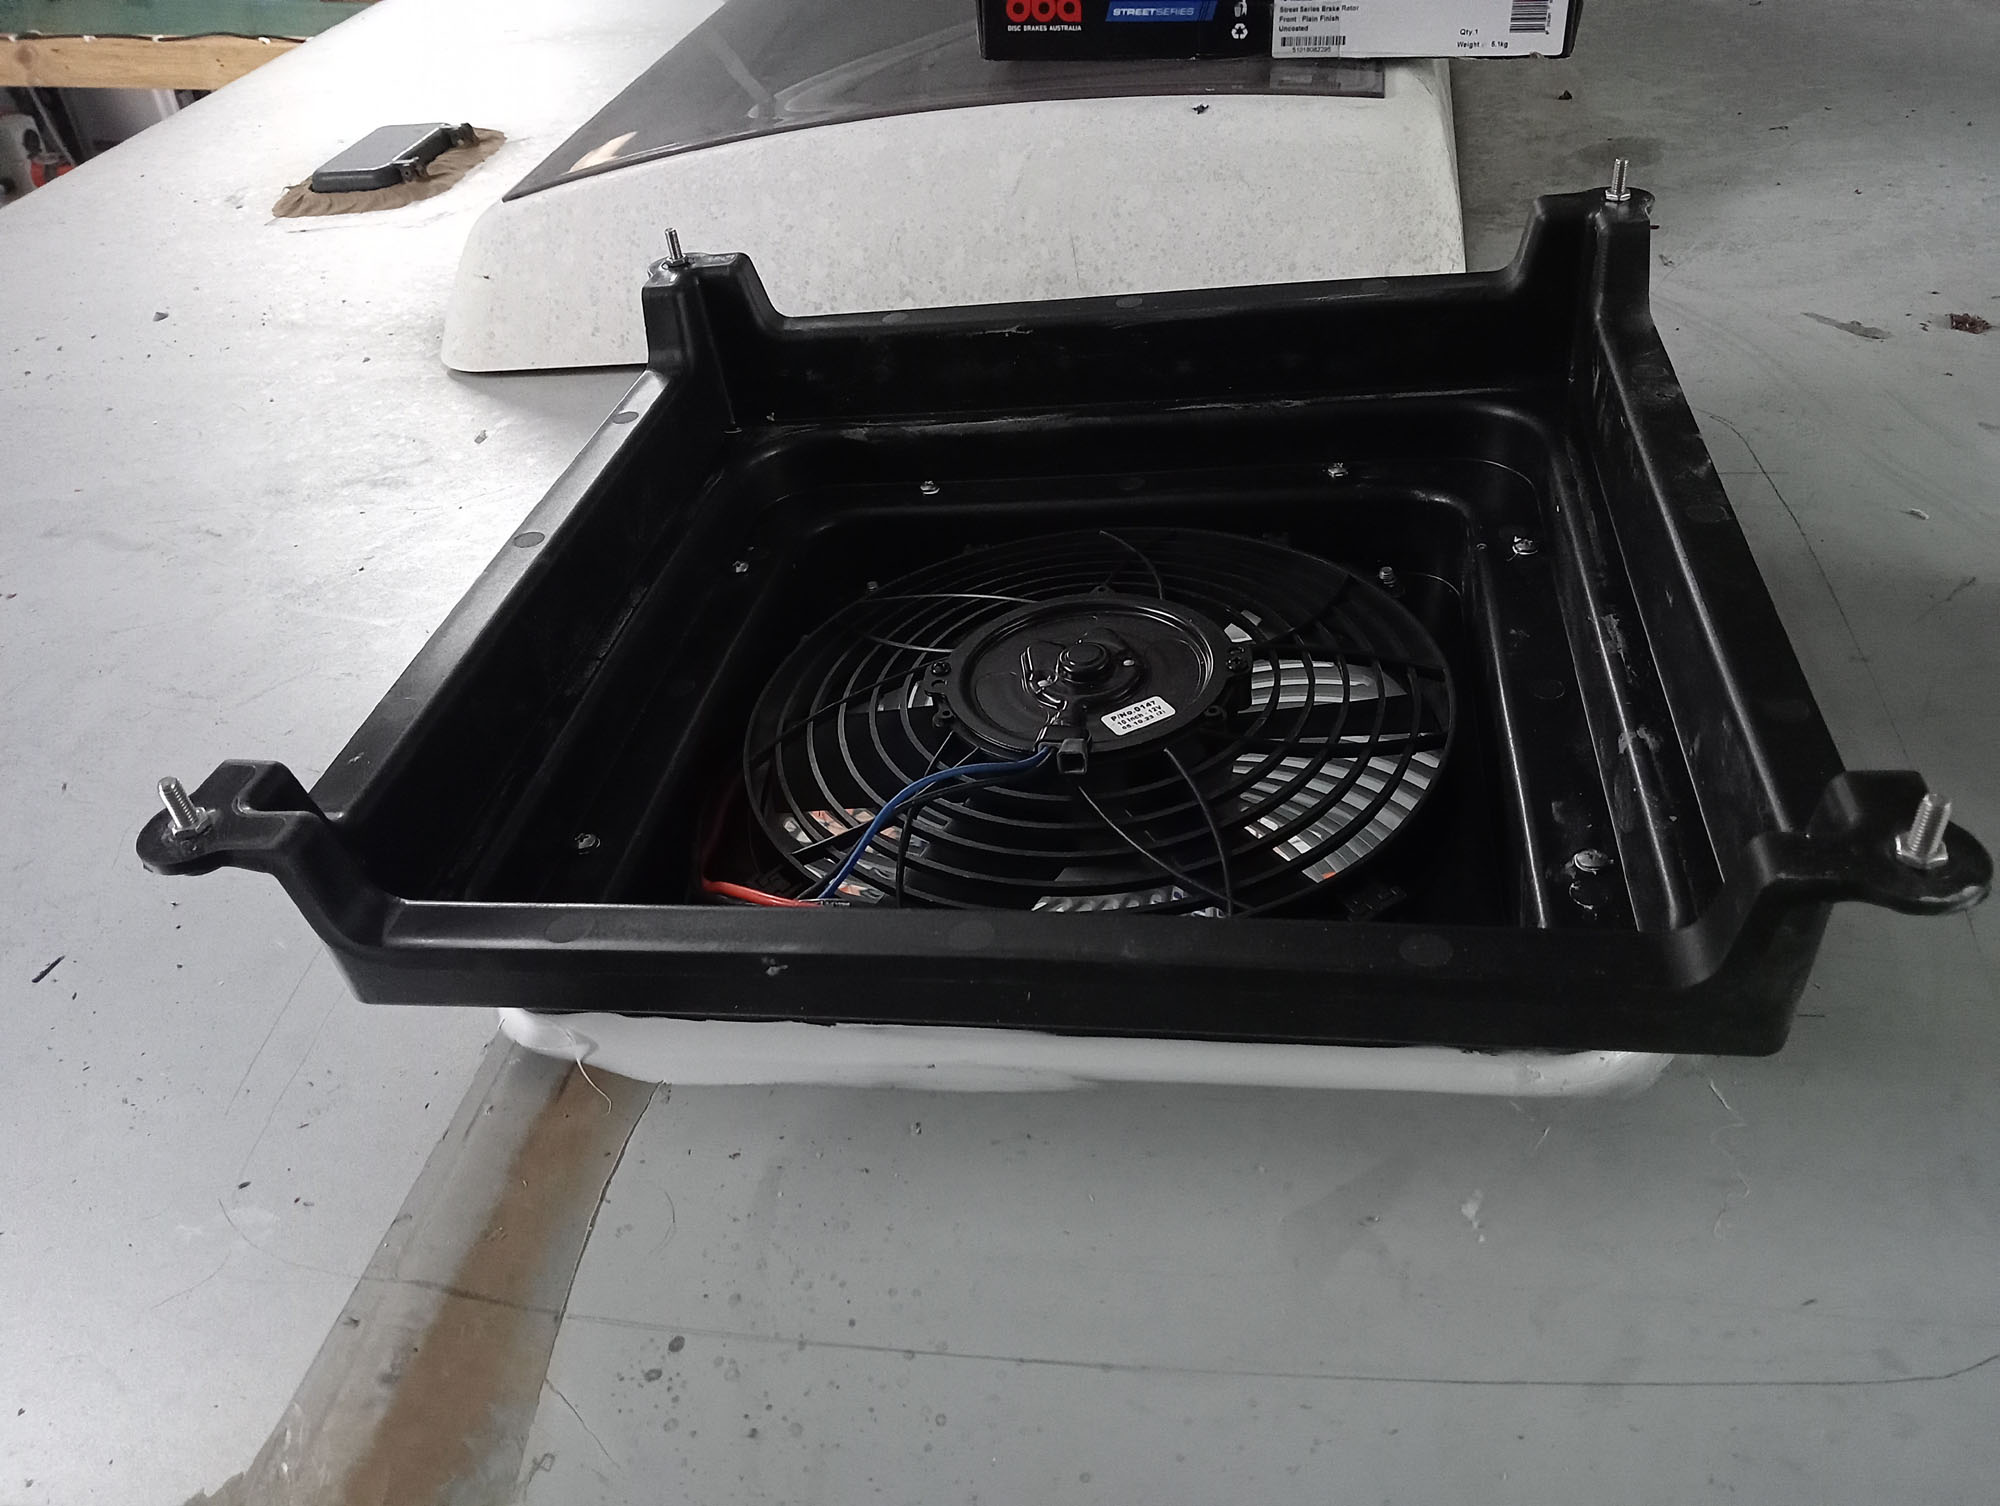
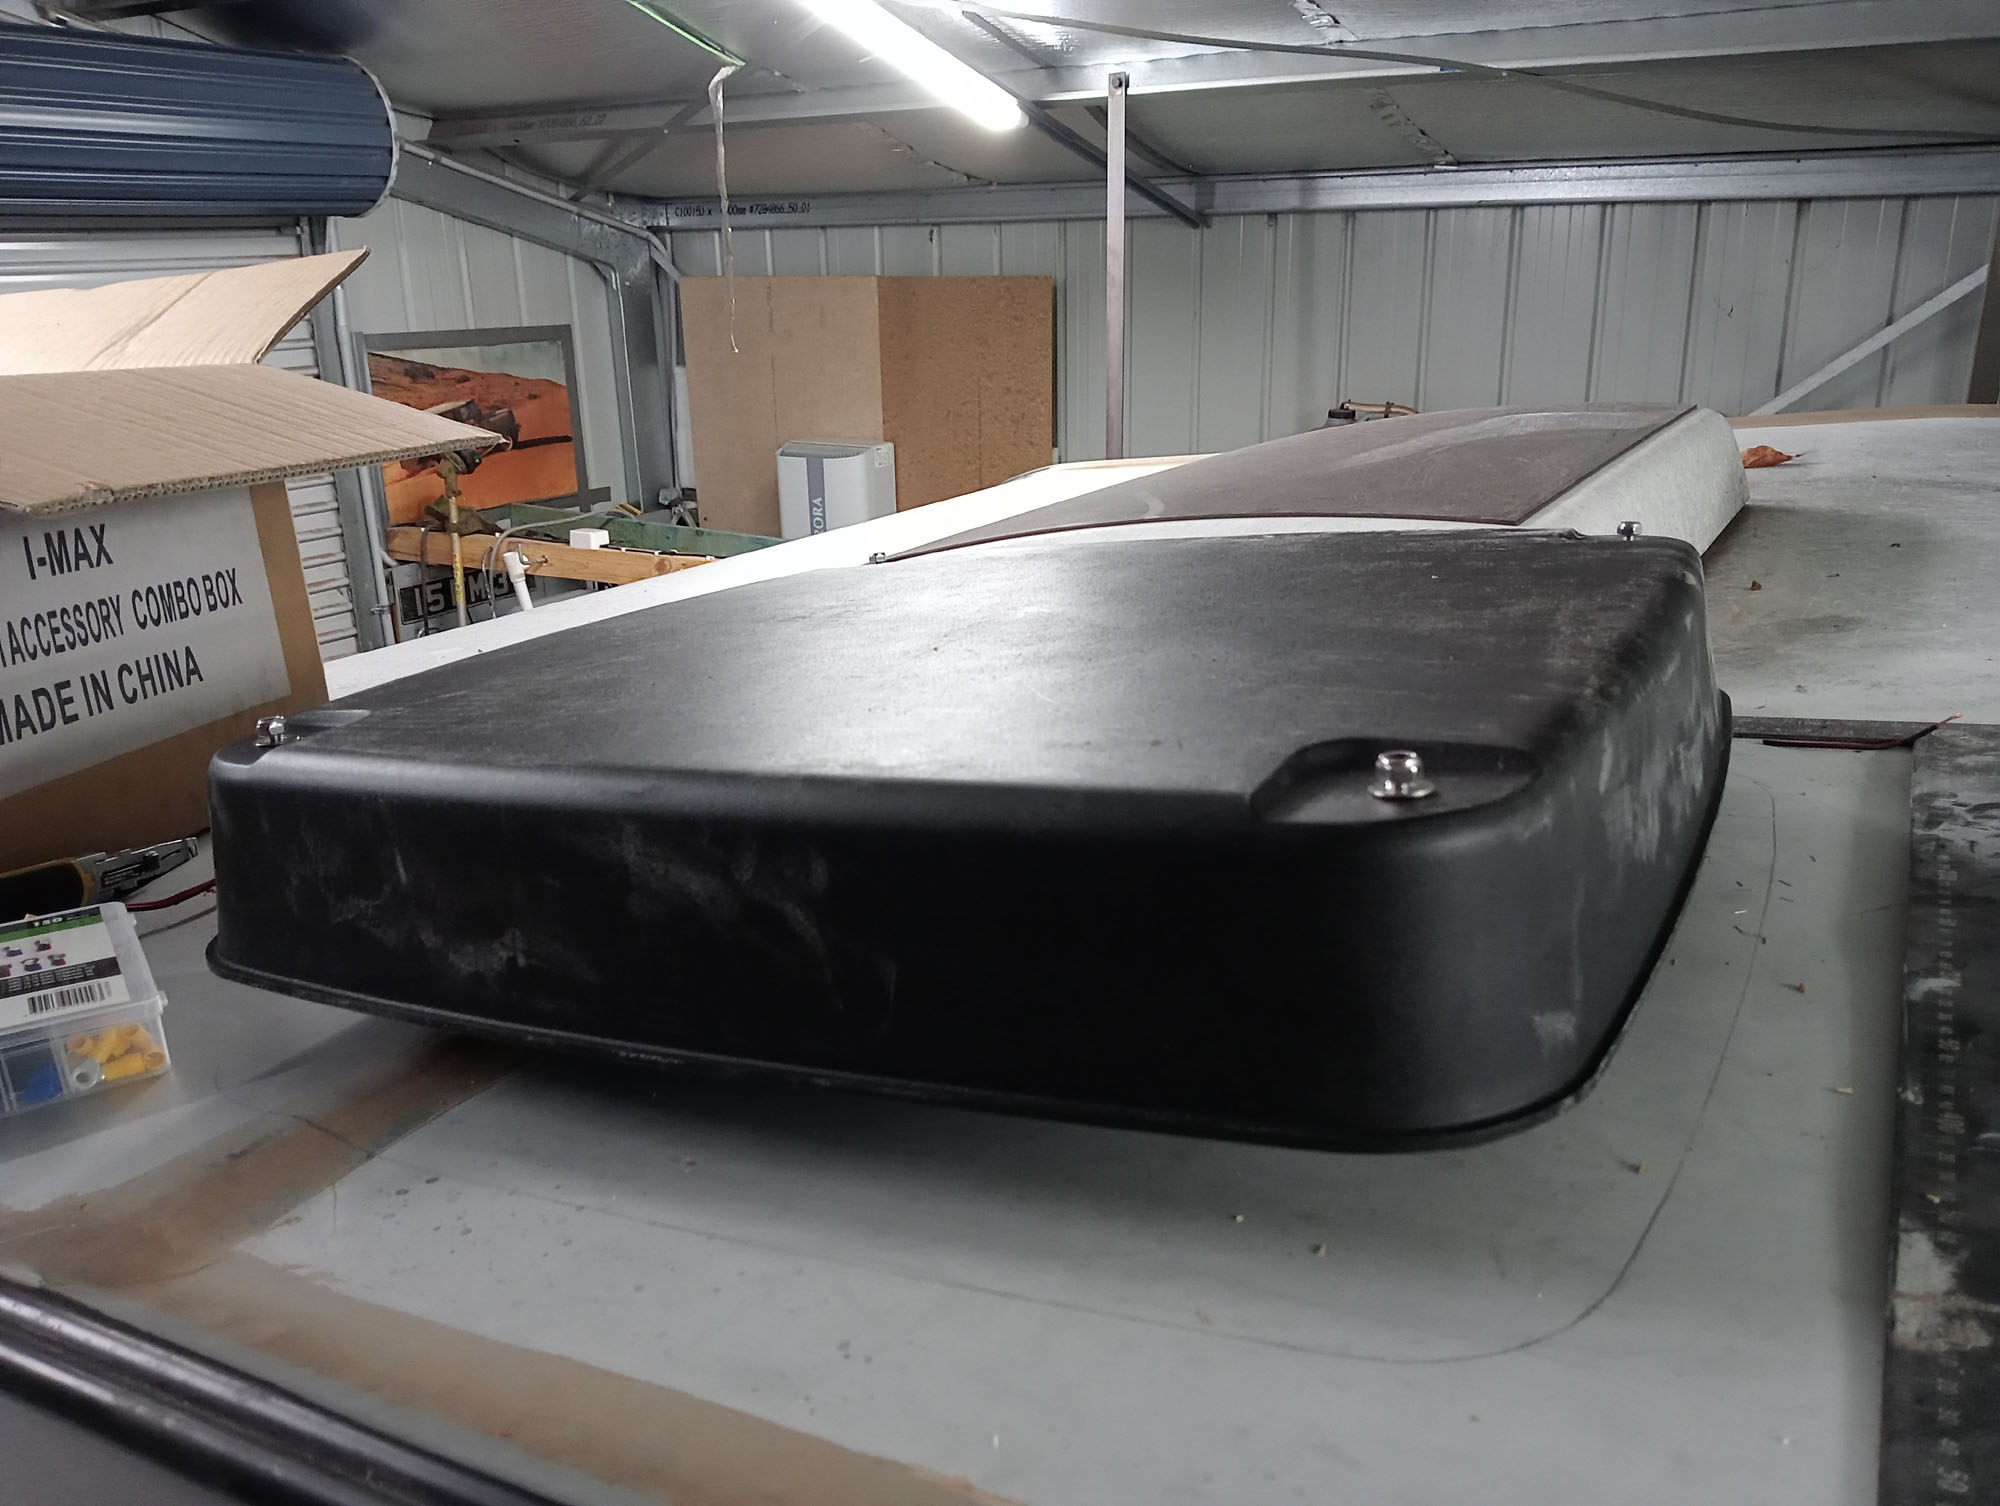
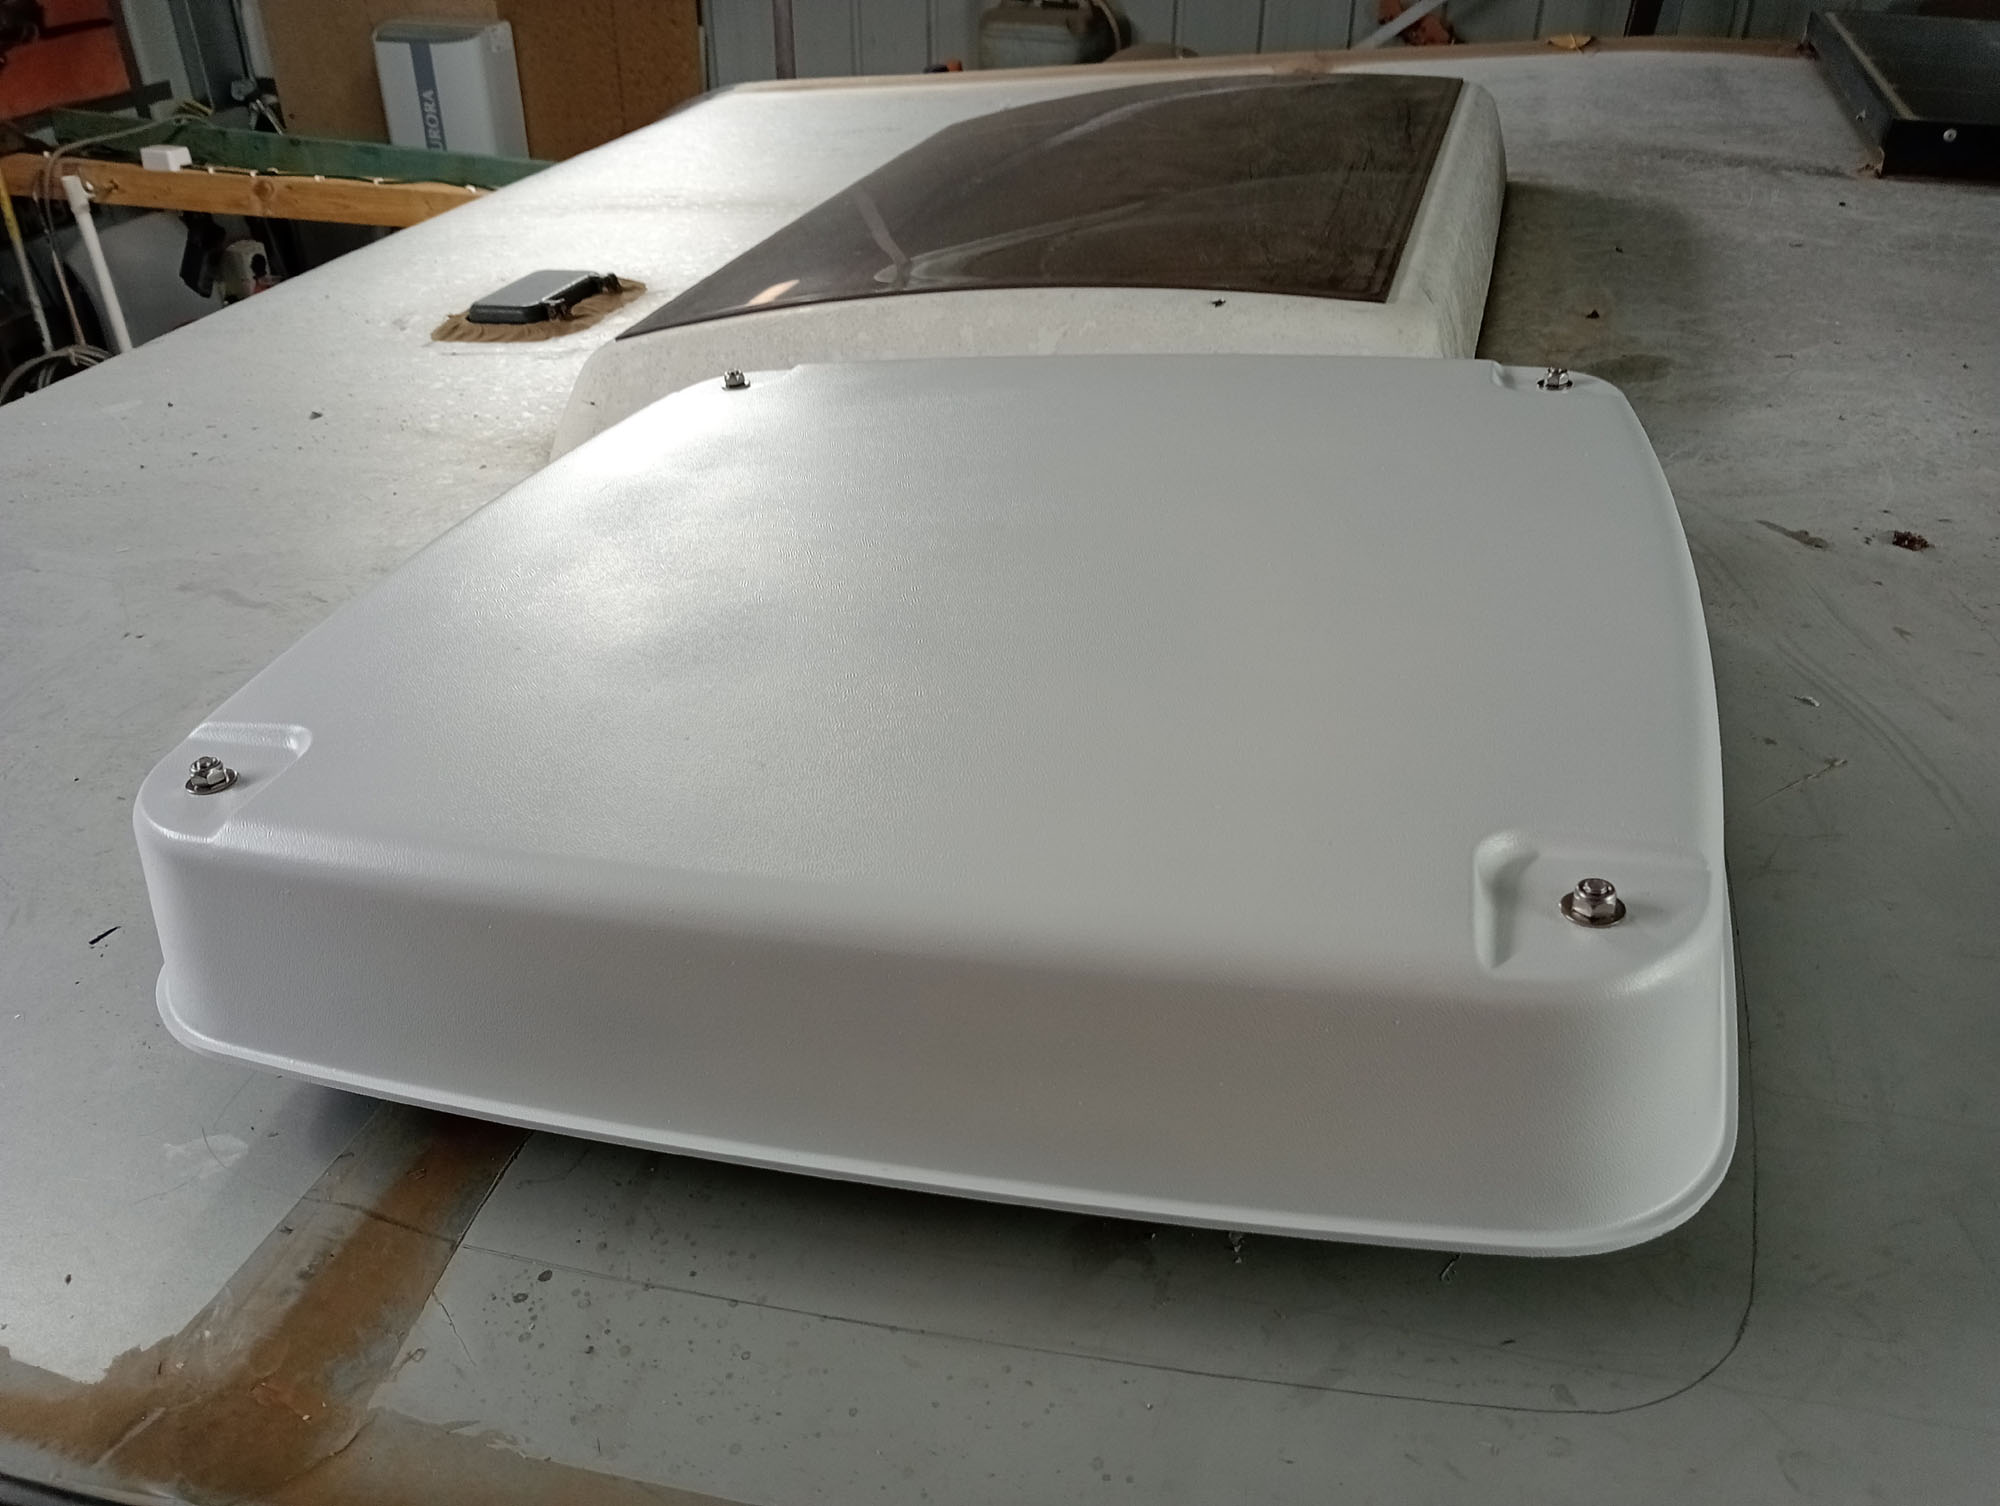
Install HTP Cabin Pressure System
It wasn't an option when we ordered our van, but they now
option in a 'Carafan' with their builds. It's a 12V fan that draws in
clean filtered air to pressurise the van & reduce the entry of
dust. (Good luck as the filtered air will go straight out the skylights
as described above)
In my last 2 caravans I made my own
caravan pressure systems using Donaldson air cleaners & marine bilge
Fans, I considered it for this caravan but they do look a bit like an after thought.
I chose the HTP Cabin Pressure System over the more expensive alternatives because it uses a easily replaceable HVAC filter & Davies Craig automotive motor /fan and its construction is more in keeping with the other equipment on the van roof.

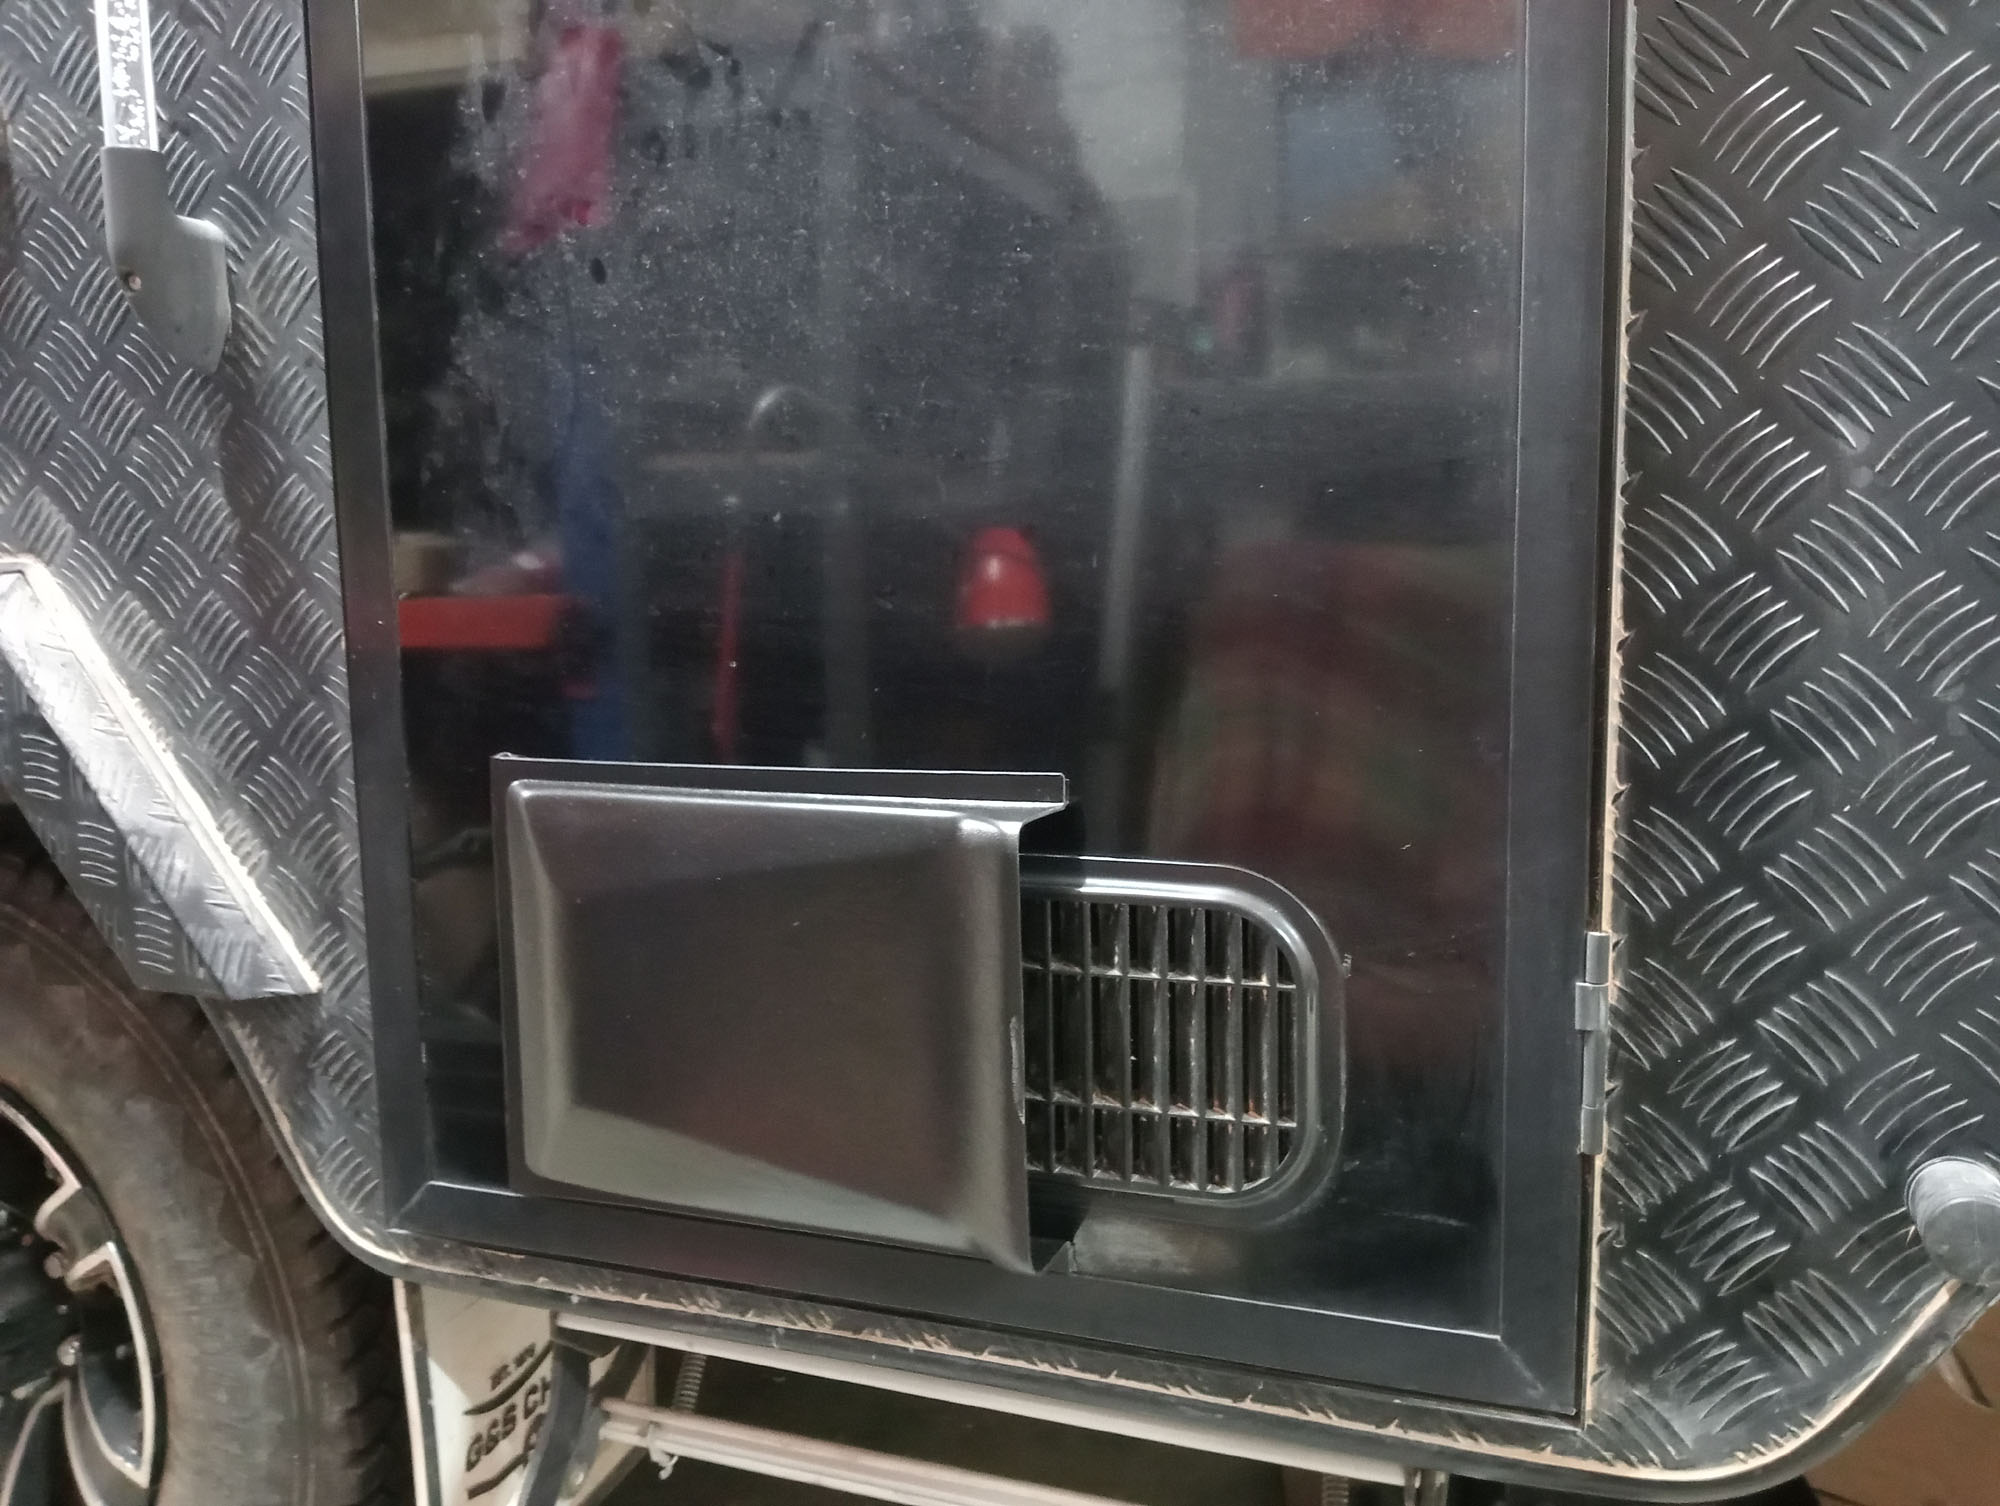
HTP also have this groovy air deflector to go over the door vent. It is supplied with rivets but I used 'stretchy' double sided automotive mounting tape so it can be removed for cleaning out spiders when required. This will prevent dust entering the door when on roads not bad enough to require the pressuriser fan to be switched on.
The Shower void
It was not until we had the van for a few years that I actually had my first shower in it, the shower seemed rather squishy. Our last van did not have an en-suite & the big shower in the demo model was quite the draw card.
To satisfy my curiosity I retrieved the caravan plan that we signed off on. And there it is, 1100mm long en-suite. The shower we got measures 700mm wide x 850mm long, at least 150mm shorter than we paid for. Furthermore I removed the 'vent' panel on the rear of the van, lo & behold the void is 220mm deep.
A new shower module can not be easily retrofitted because they are installed first, then the caravan built around them.
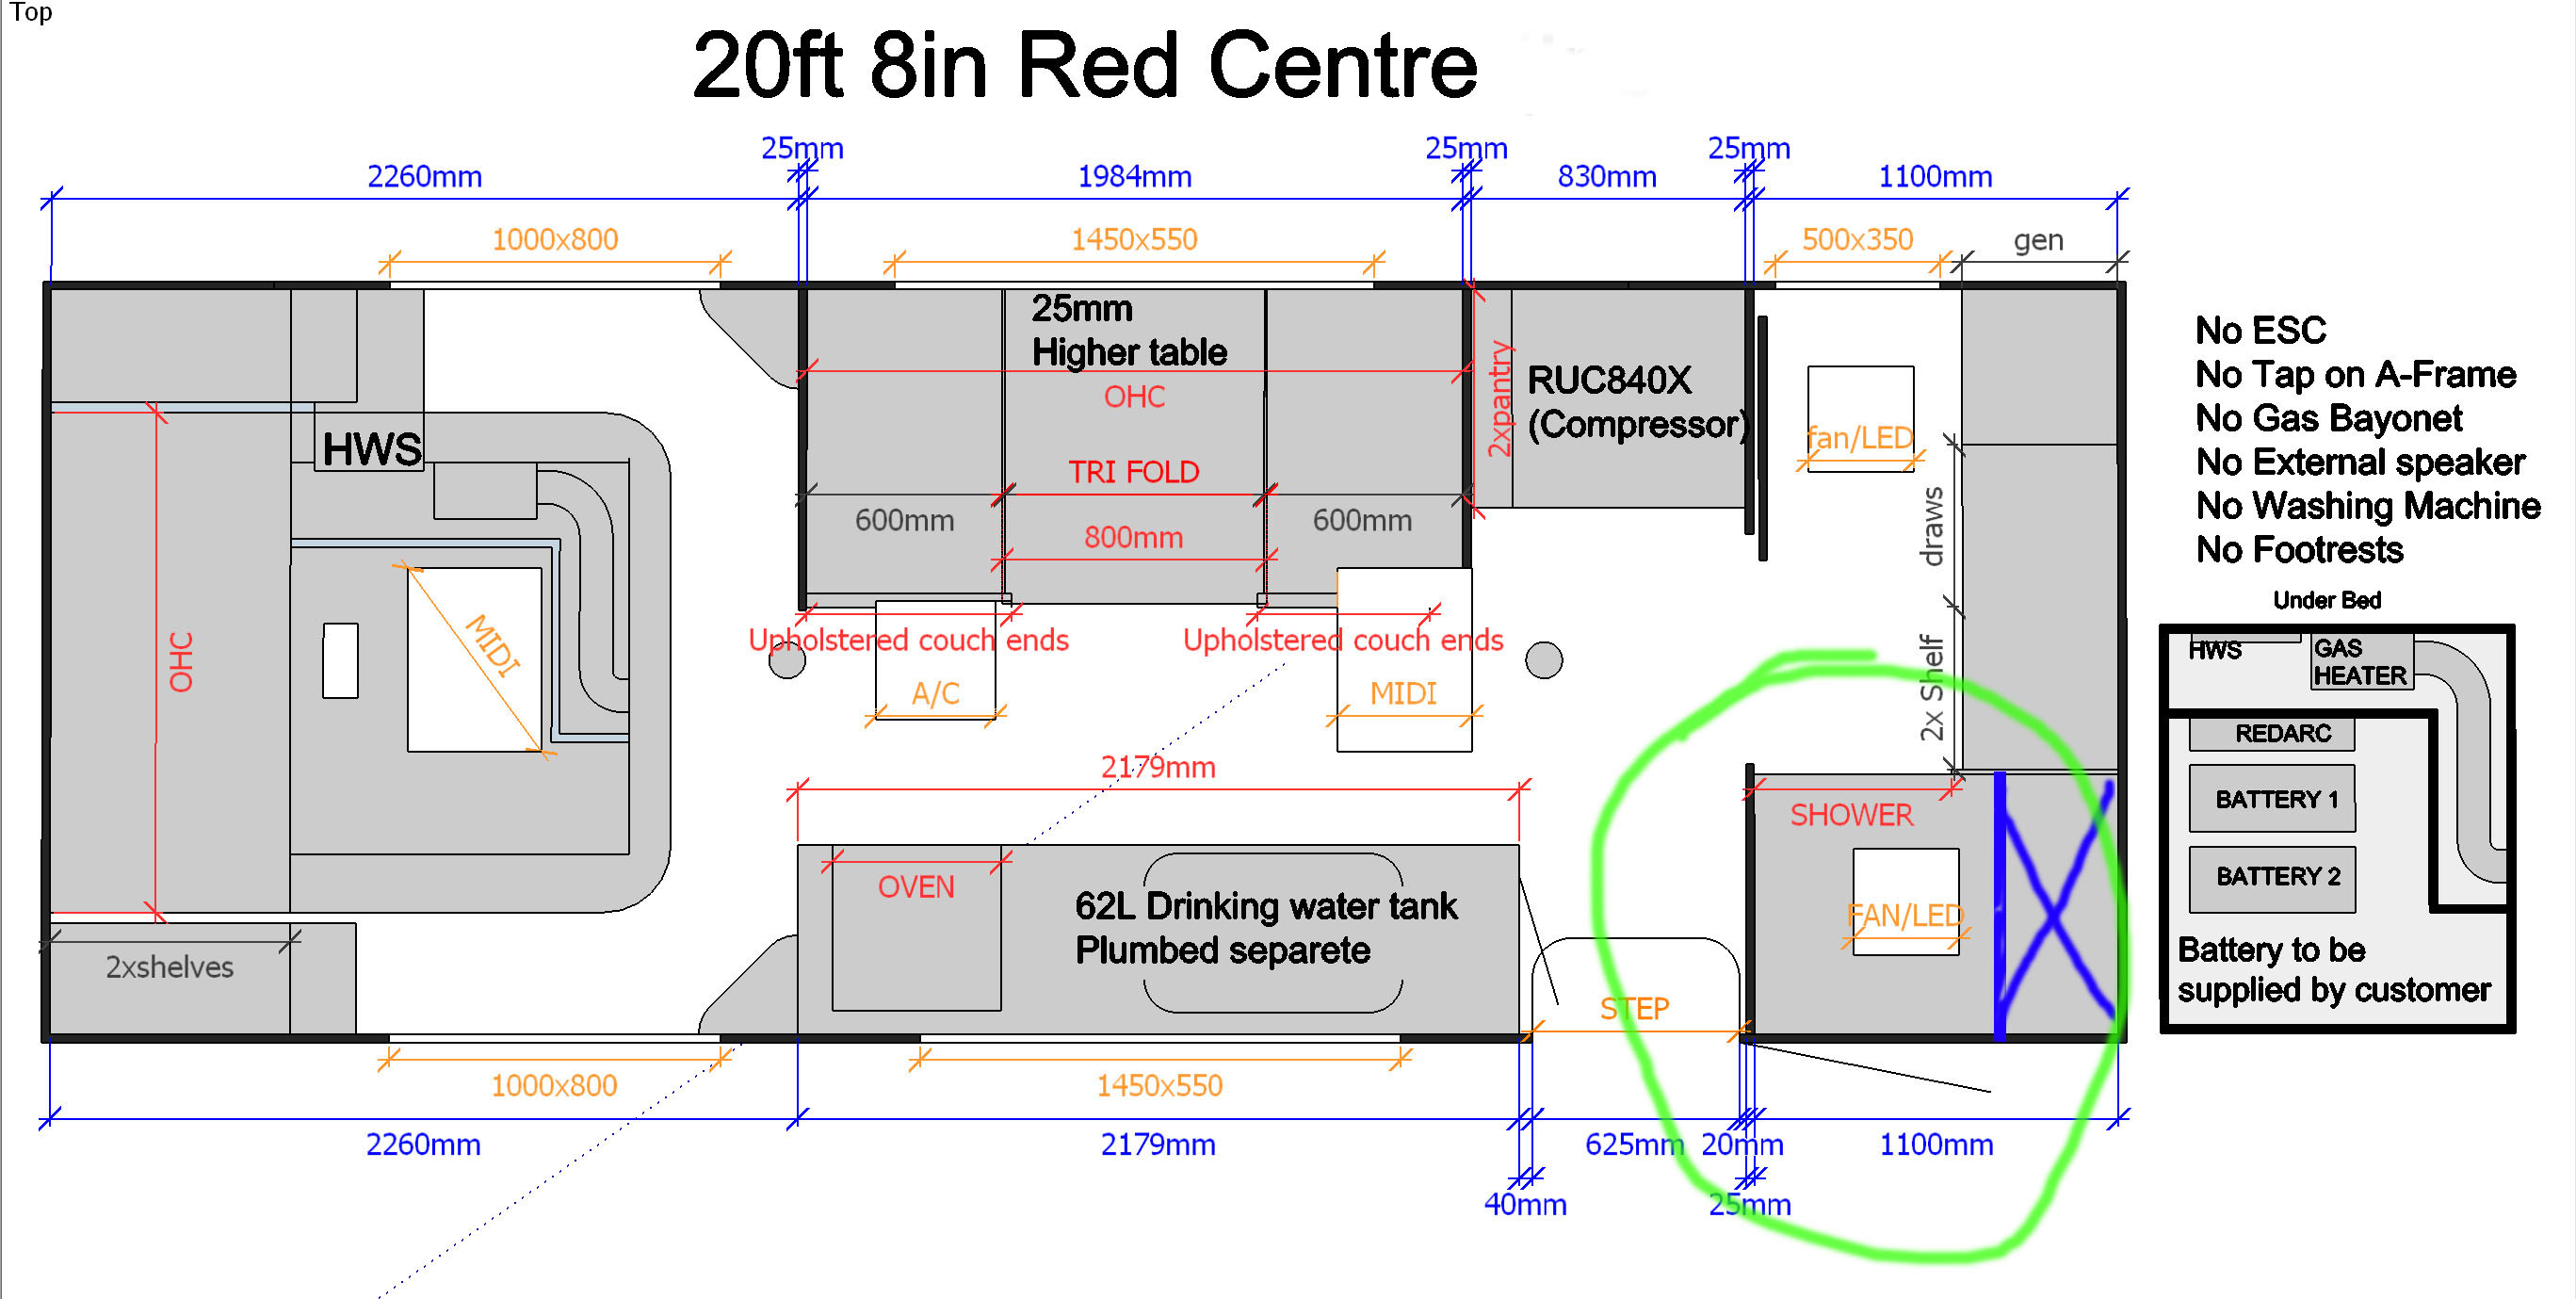
Here it is, first look into the shower void. With that 'vent' undone. That shiny part is the shower tap fitting. Frankly there's no reason for a vent as there is nothing in there to vent, unless the manufacturer is expecting a water leak (on the cards). Lets face it, its not a vent, its an access panel, so why pretend its a vent.
When the HTP fan is on no air moves out there either. There is a negative pressure zone behind a Caravan, & any rear openings will draw in dust. Which is why rear windows are no longer fitted to caravans. So putting a Vent there is not a well thought out idea. I'll put a sheet of Aluminium under that vent panel to close it off from dust, wasps & spiders. A lockable access hatch would be a better idea.
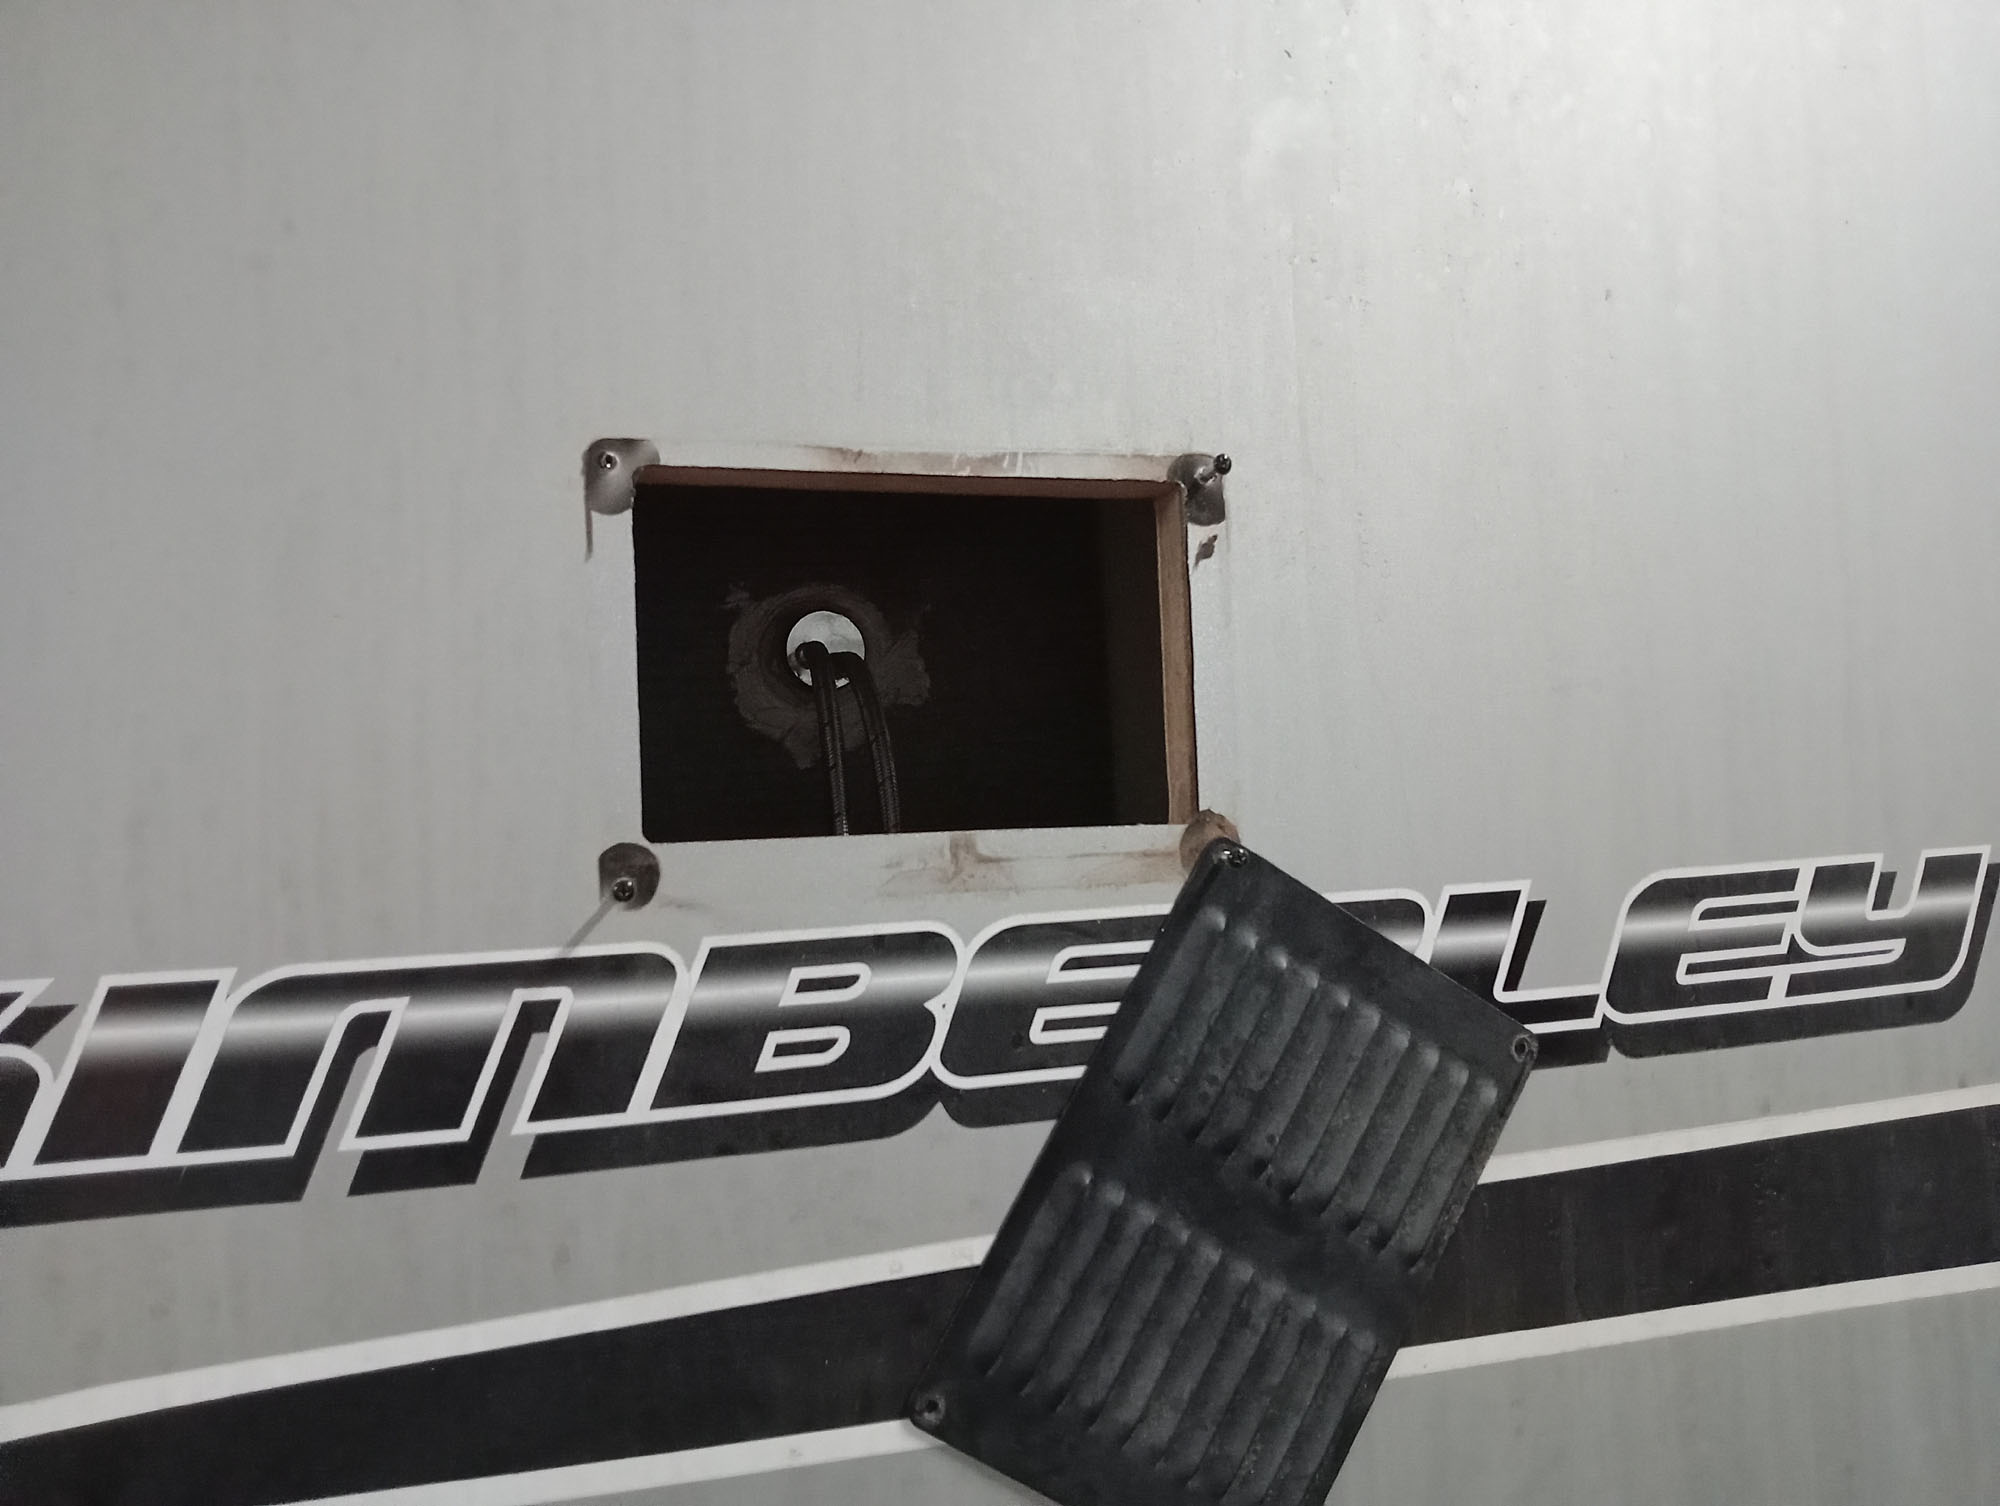
Another look into the void, I have my camera in the opening looking down to the floor, You can see the fibreglass wall of the shower module and the hot & cold water hoses coming in from below.
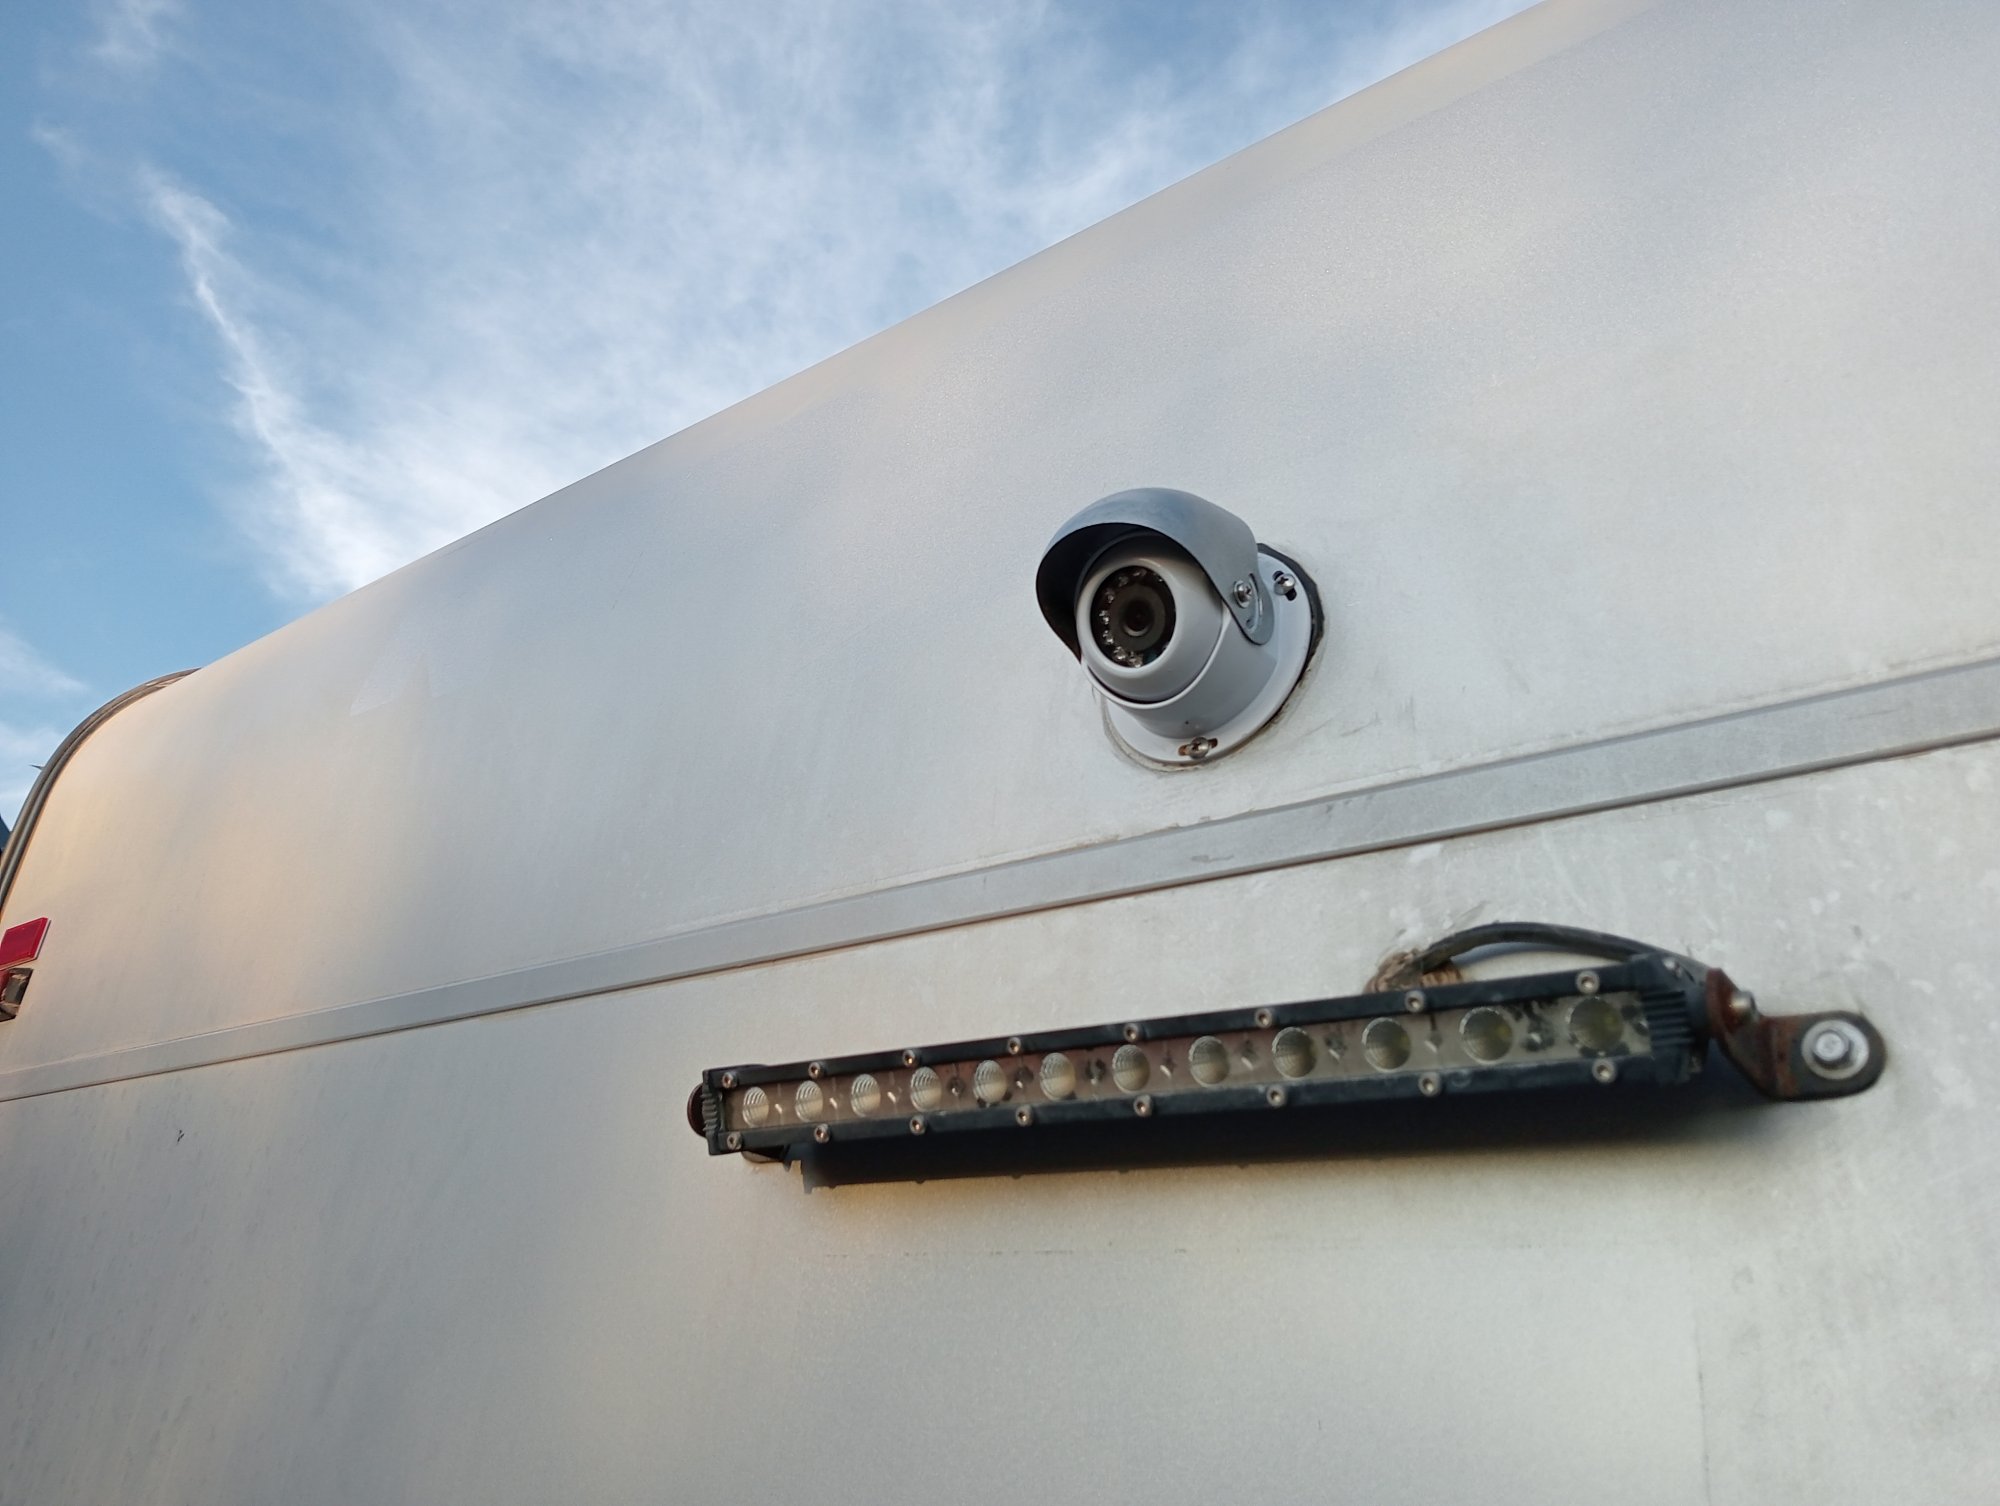
The Reversing Camera
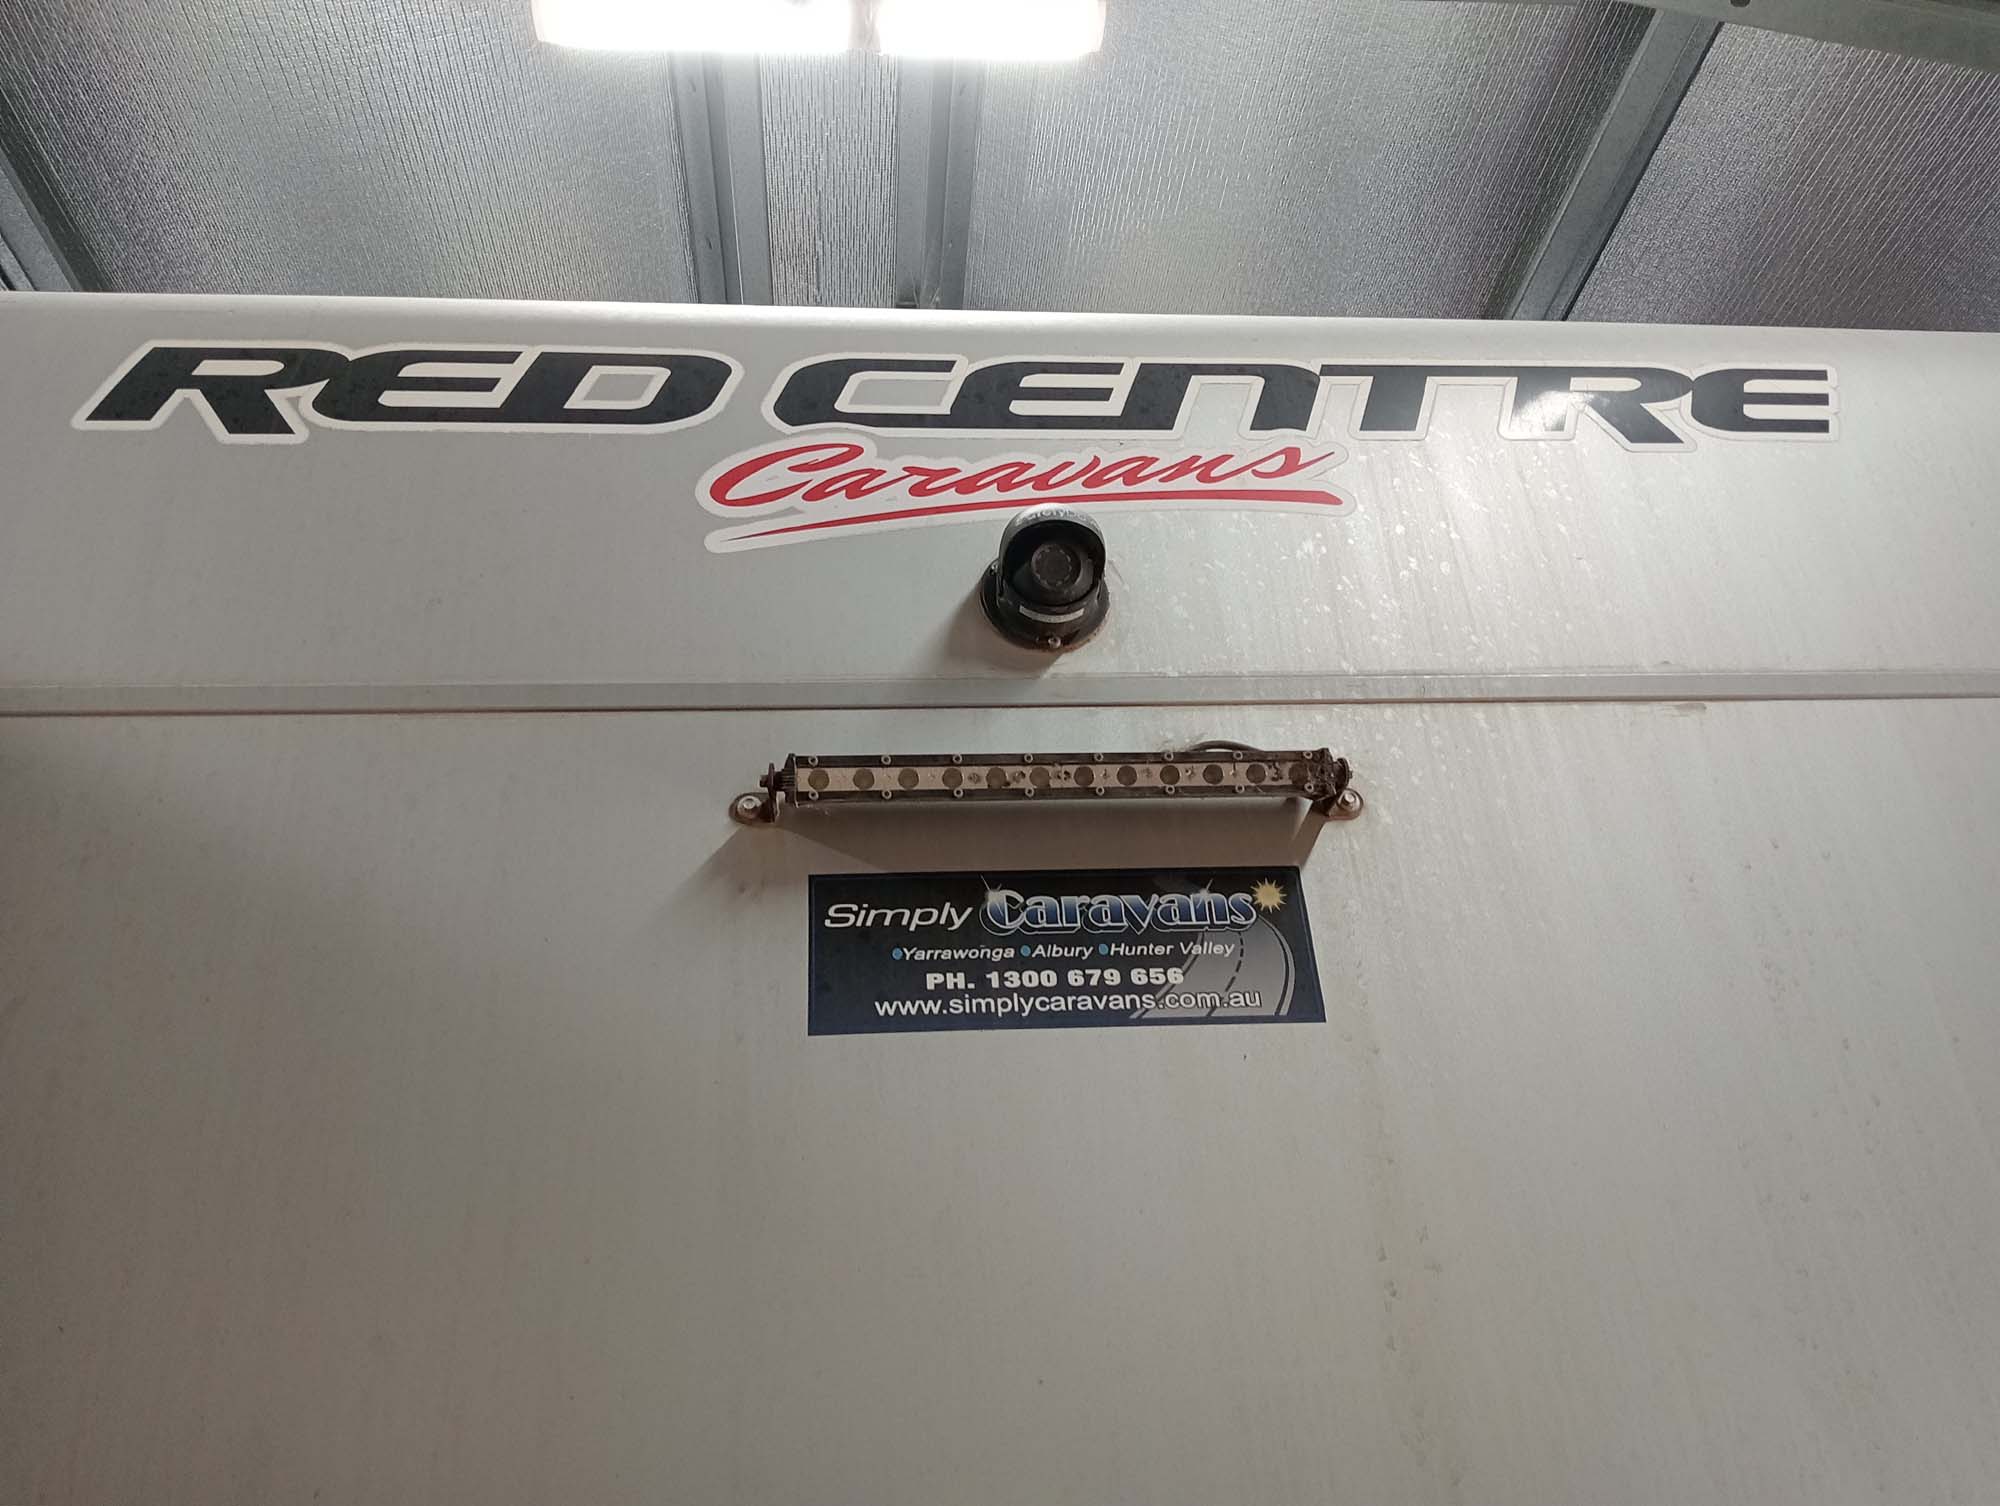
The factory fitted reversing camera is a kit from "Safety Dave", As a 'rear view camera' it might be fine as you can easily see a truck 1km behind you, but as a reversing camera its totally useless. When reversing you need a good wide view of obstacles & the area immediately behind you so that you can safely reverse into a caravan site without knocking over the power box etc. As for looking down the road behind you, you legally need towing mirrors capable of seeing following vehicles, a camera is not a legal alternative to mirrors. (My observation is only 1/3 of tow vehicles seem to have legal mirrors now days)
To replace the useless camera I ordered a 120° dome camera in white from Elinz . It has the same form factor as the Safety Dave camera, which was black.
Black is the wrong colour for Electronics, Electronics don't like heat.
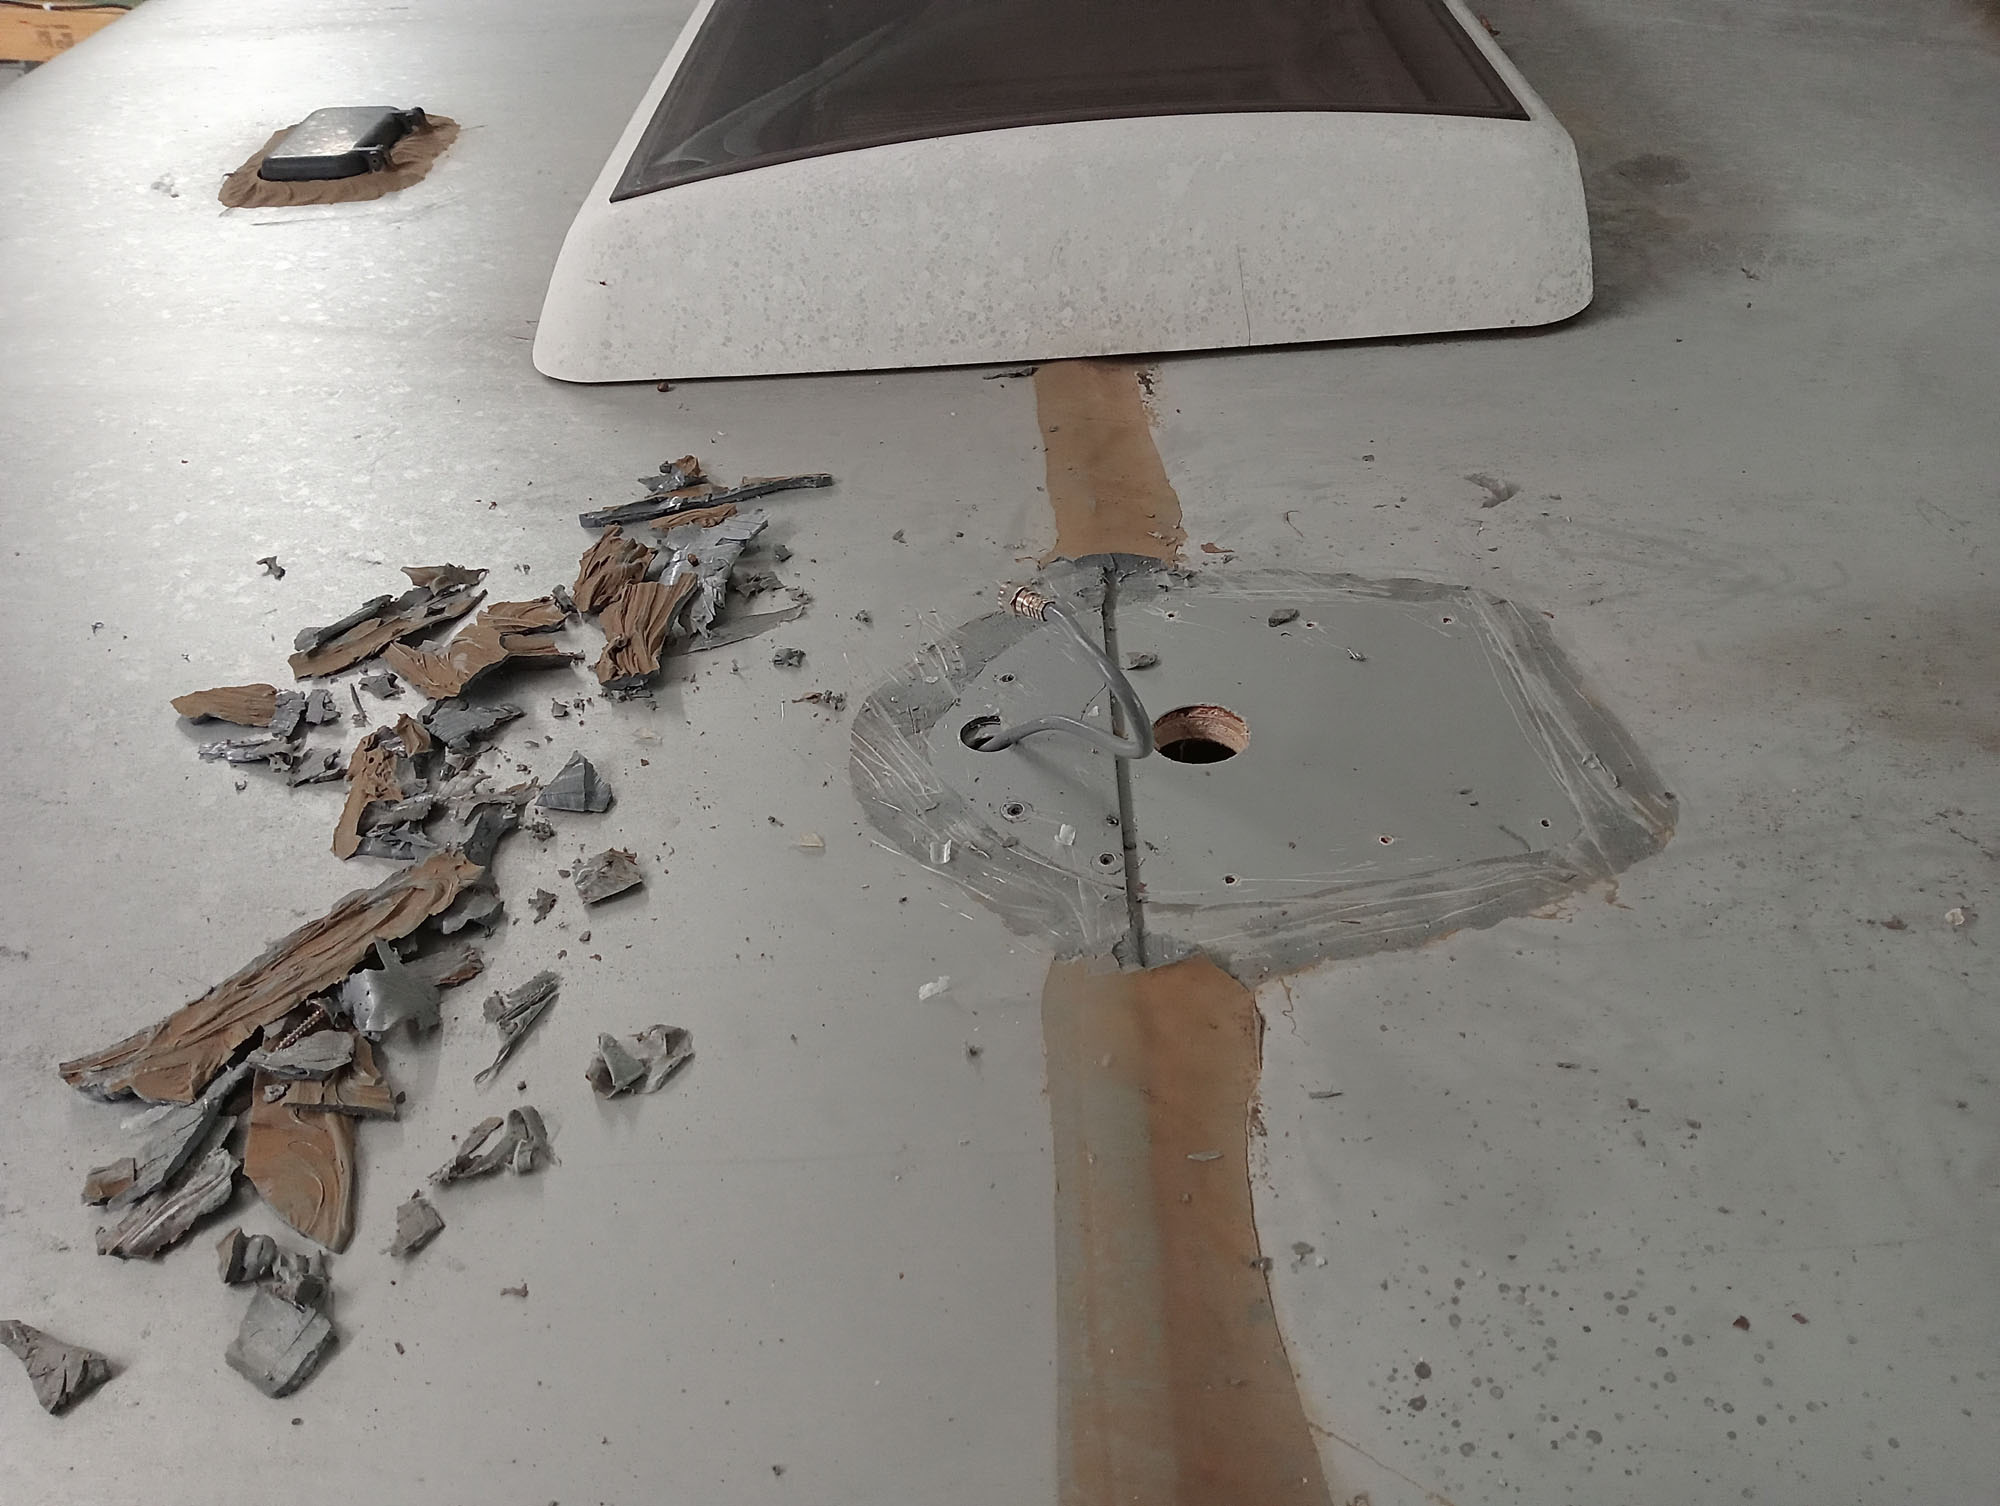
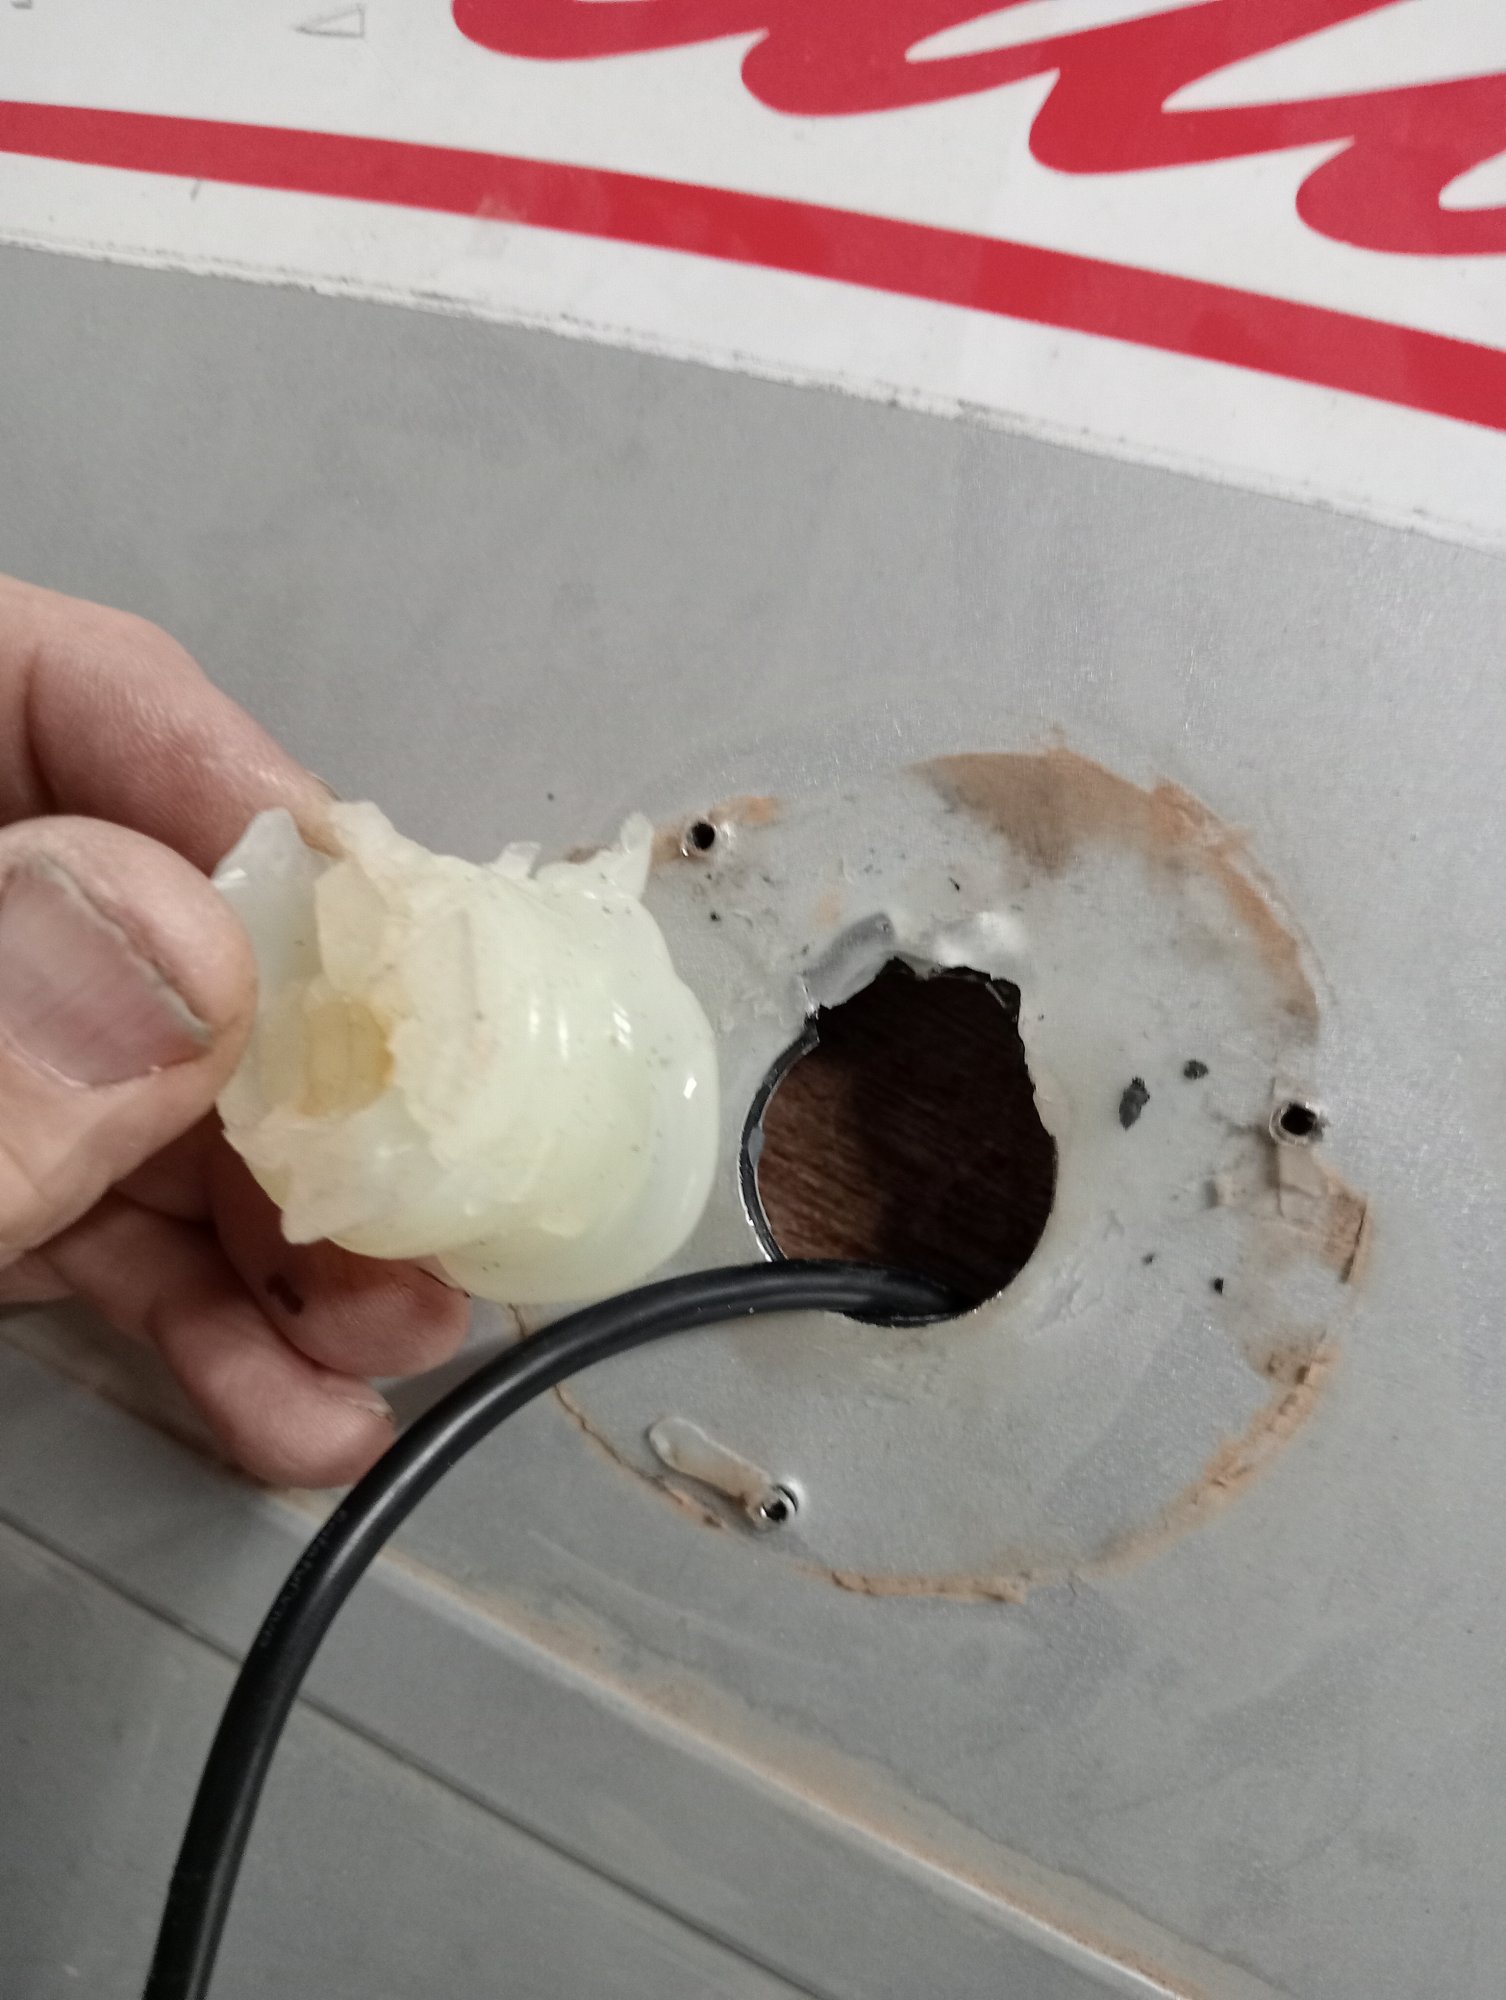
I was agog when I attempted to remove the original camera. With the screws undone, it would not budge, It was firmly glued on with silicone, I needed a long length of razor blade to 'saw through' the silicone & then a chisel to pry it off.
Going by the excessive & un-necessary use of silicone elsewhere on the caravan I should not have been surprised.
There was half a caulking gun in the hole. Without exaggeration they must use a few cartons of the stuff on each van.
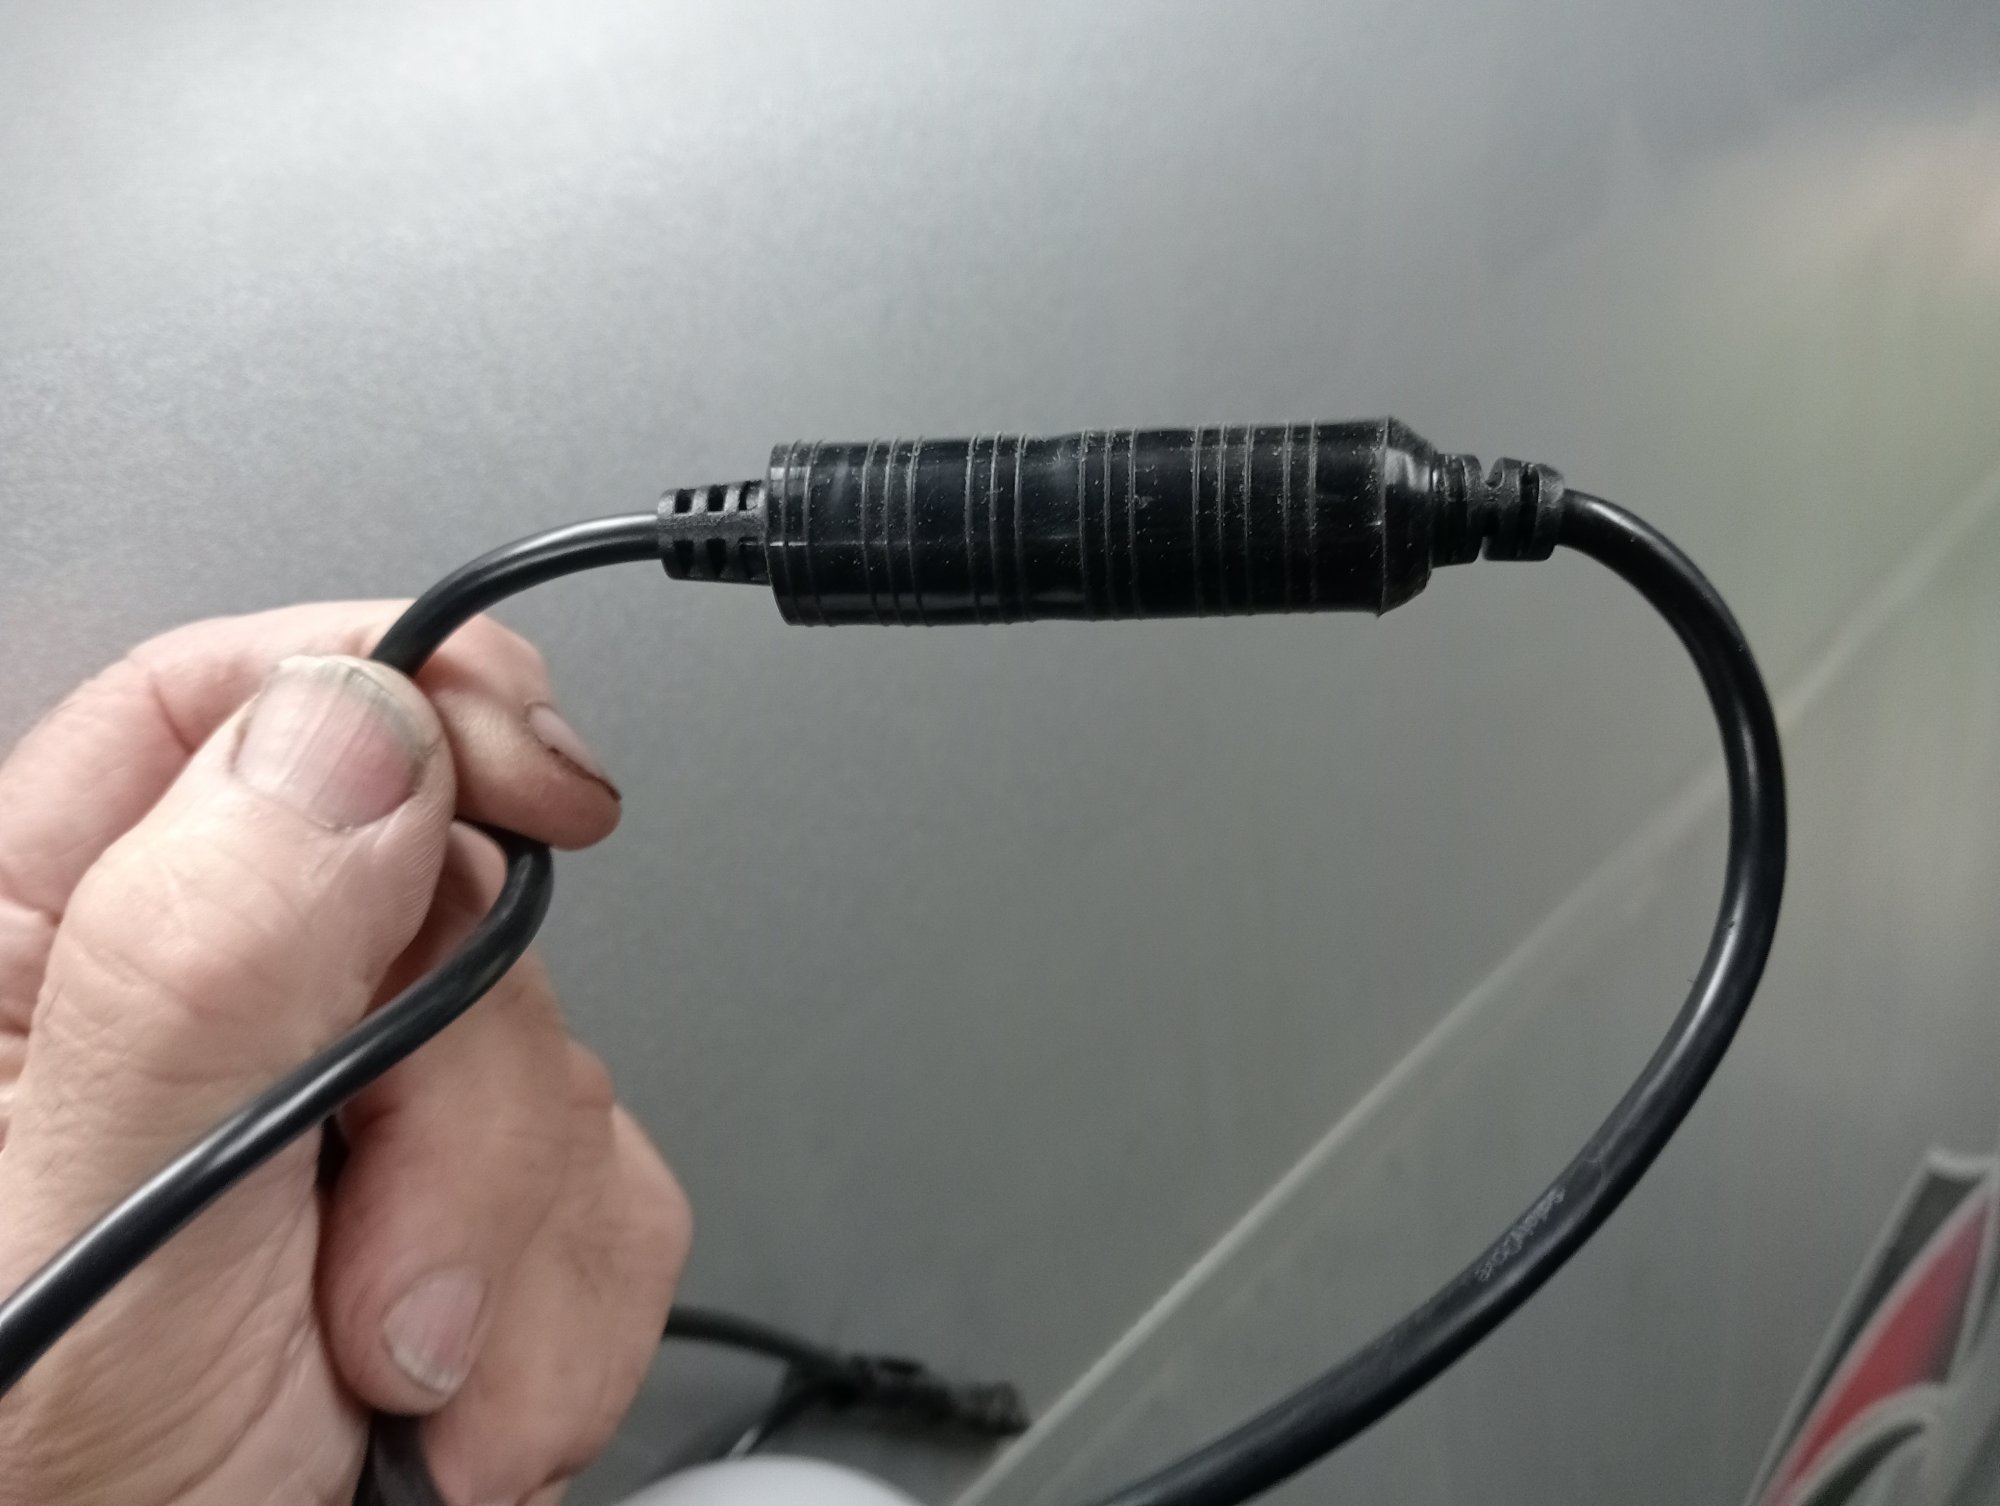
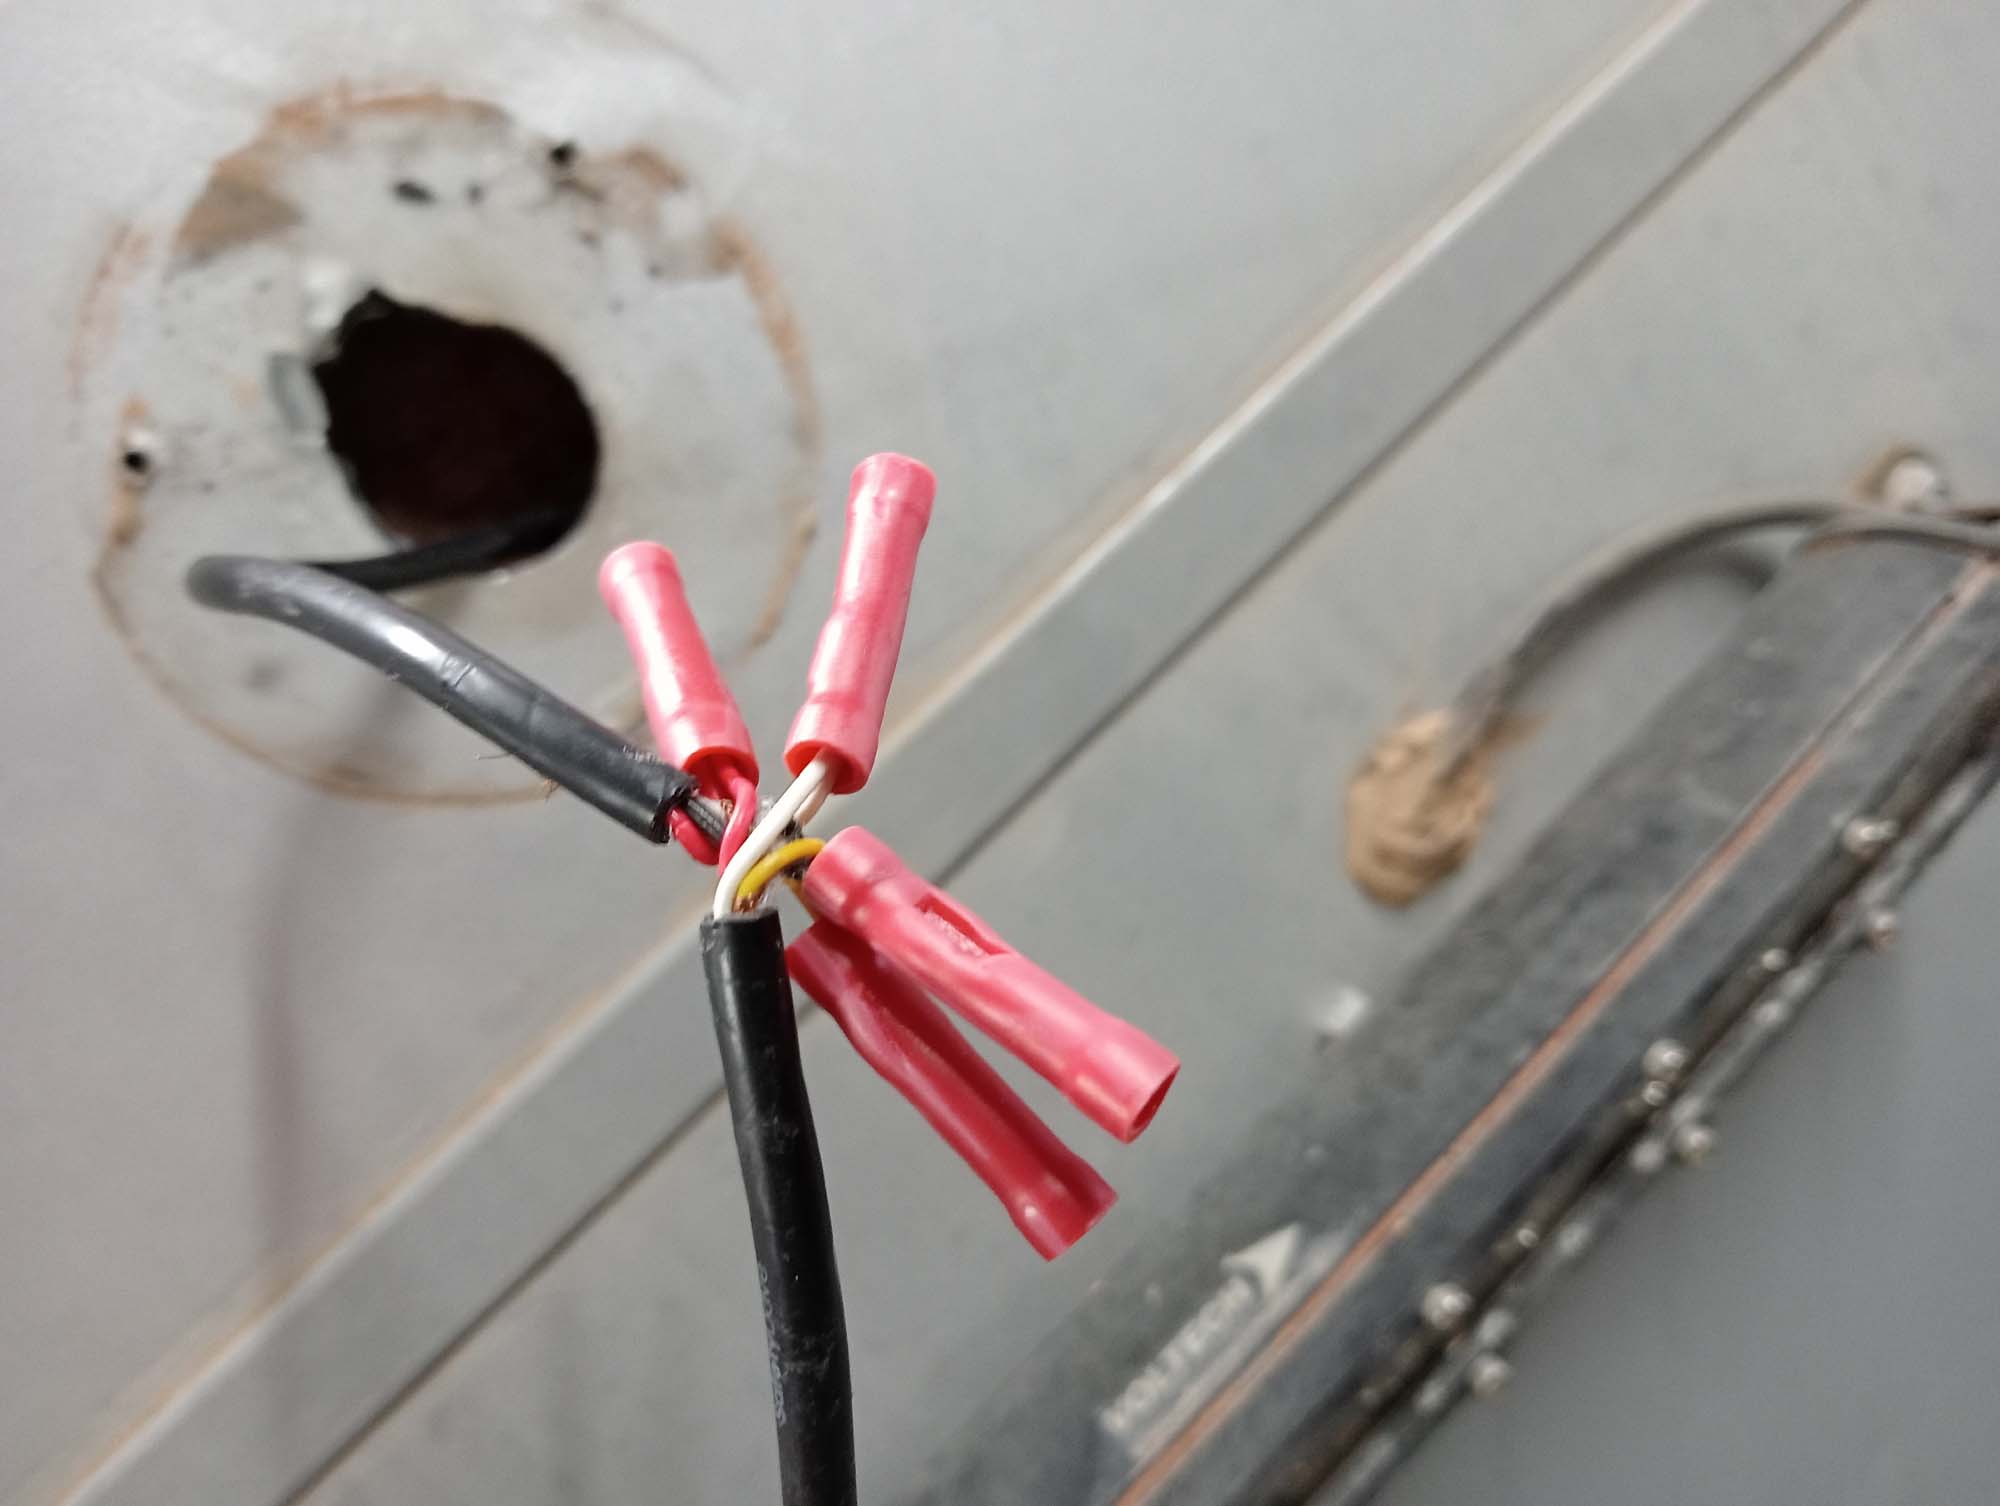
Upon releasing the camera from the silicone's grasp I began to slowly withdraw the camera cable and had to jiggle a lump in the cable through the hole and was impressed to see a nice condom style waterproof sleeve over the cable connector. This can be rolled back to reveal a nice quality 4 pin coax connector
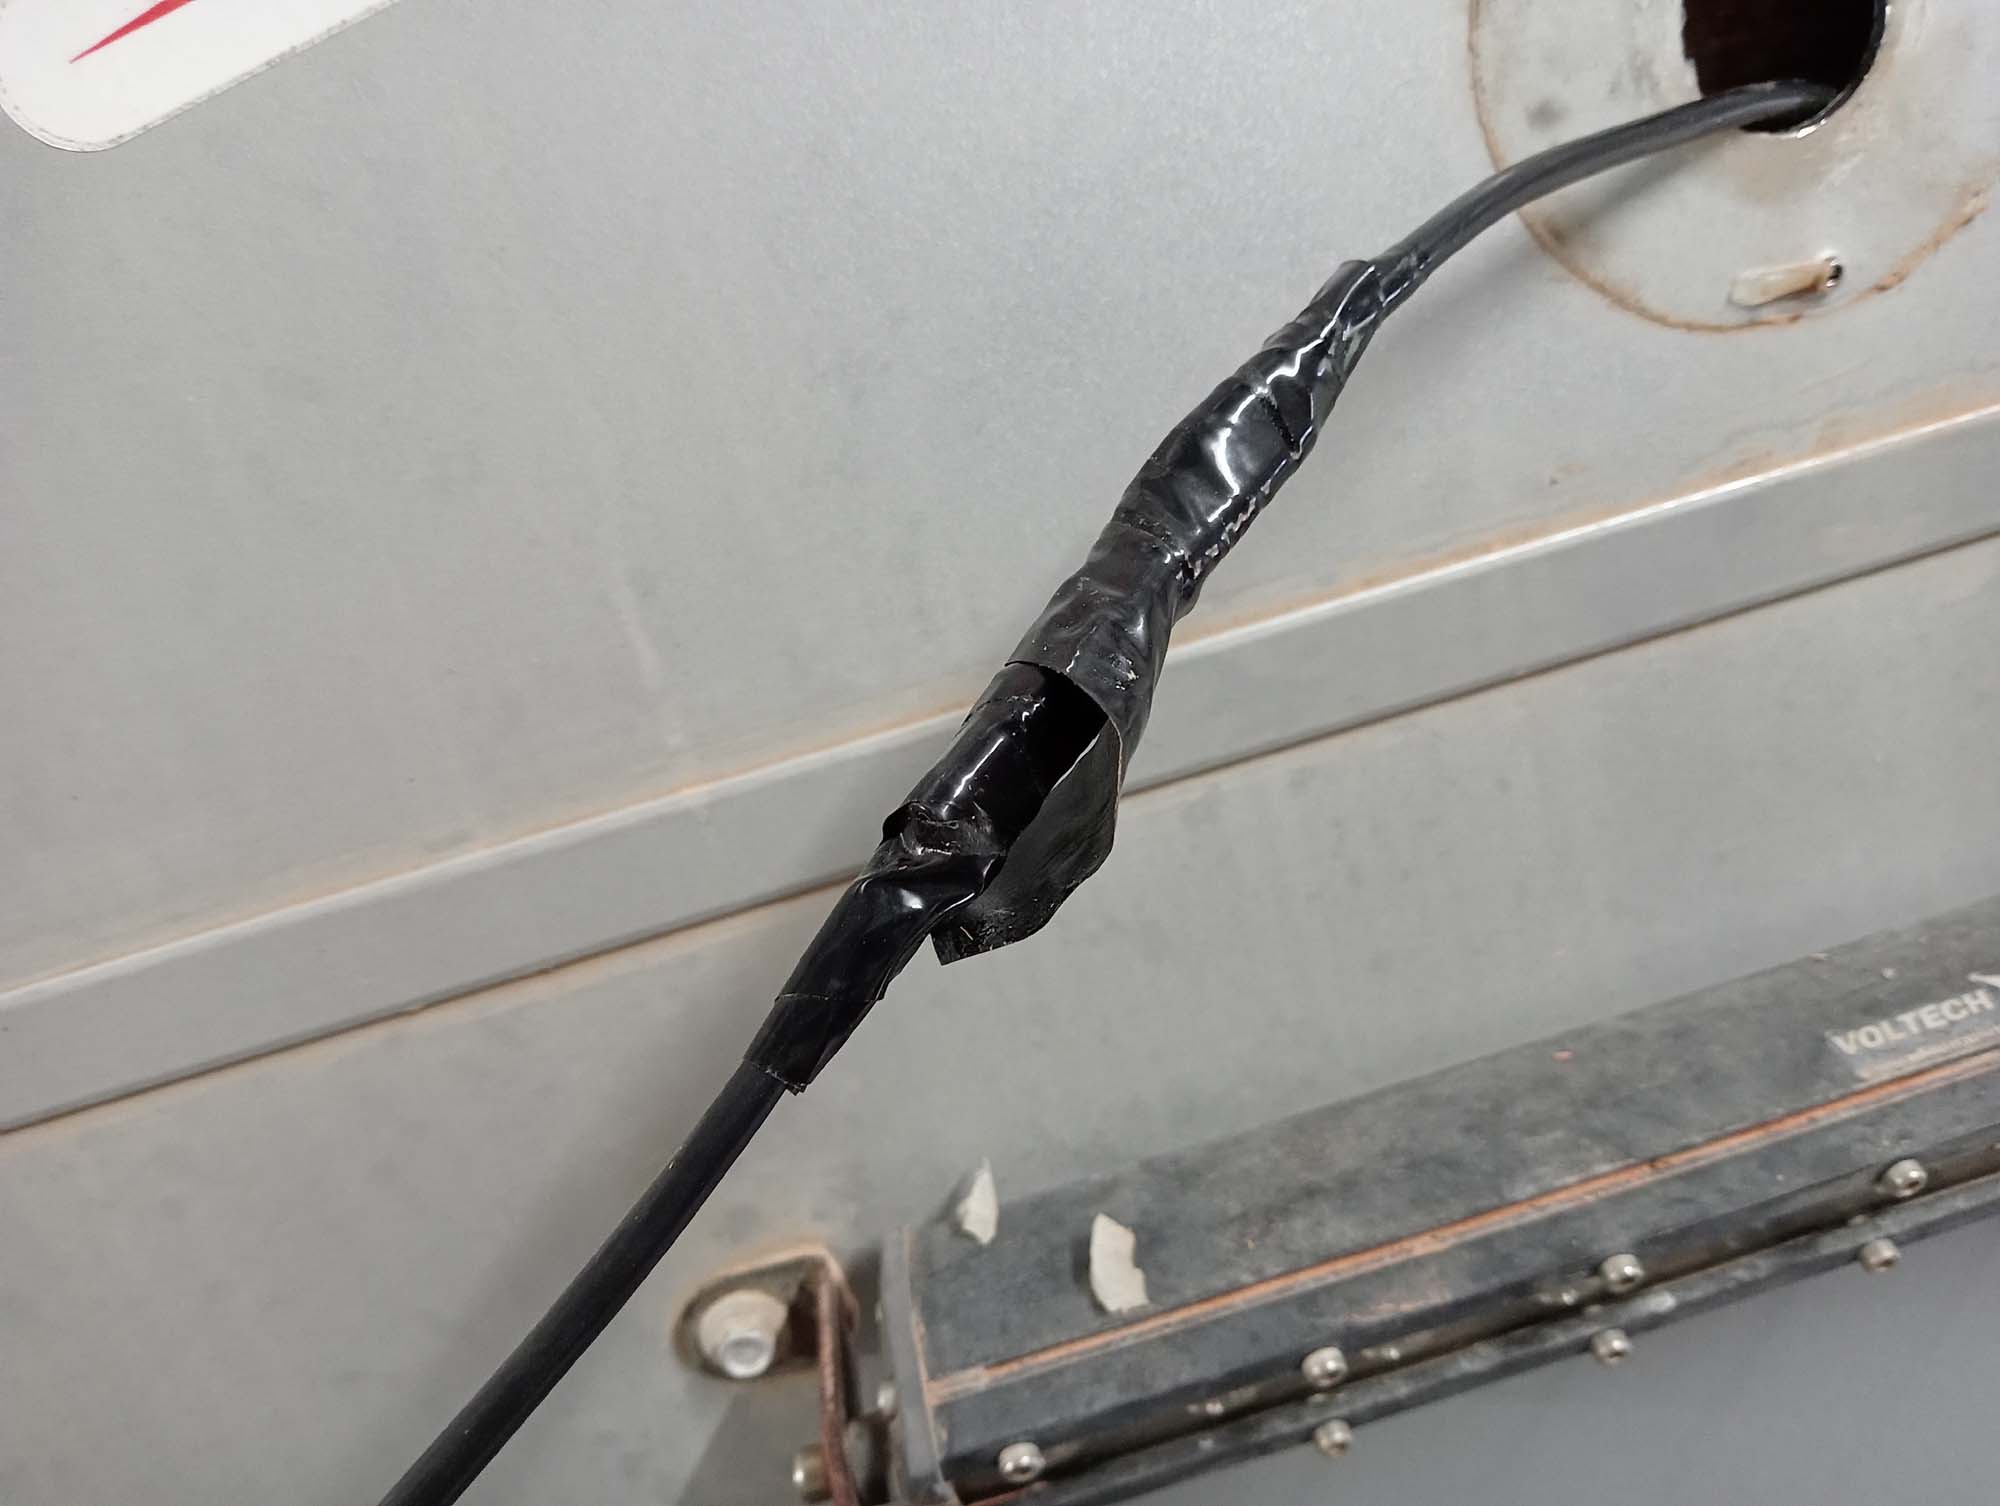
A little more cable followed through & revealed an ugly wad of insulation tape wrapped around a very unprofessional join with crimp connectors. We now know no one that puts these caravans together could possibly have a trade certificate. Coming from an electronics & communications background a join like this in a coax introduces losses, echos & reflections in the signal & will help explain why your camera monitor has static & corrupted images, Whats worse there is another crimped & taped join in the same cable behind the fridge. .
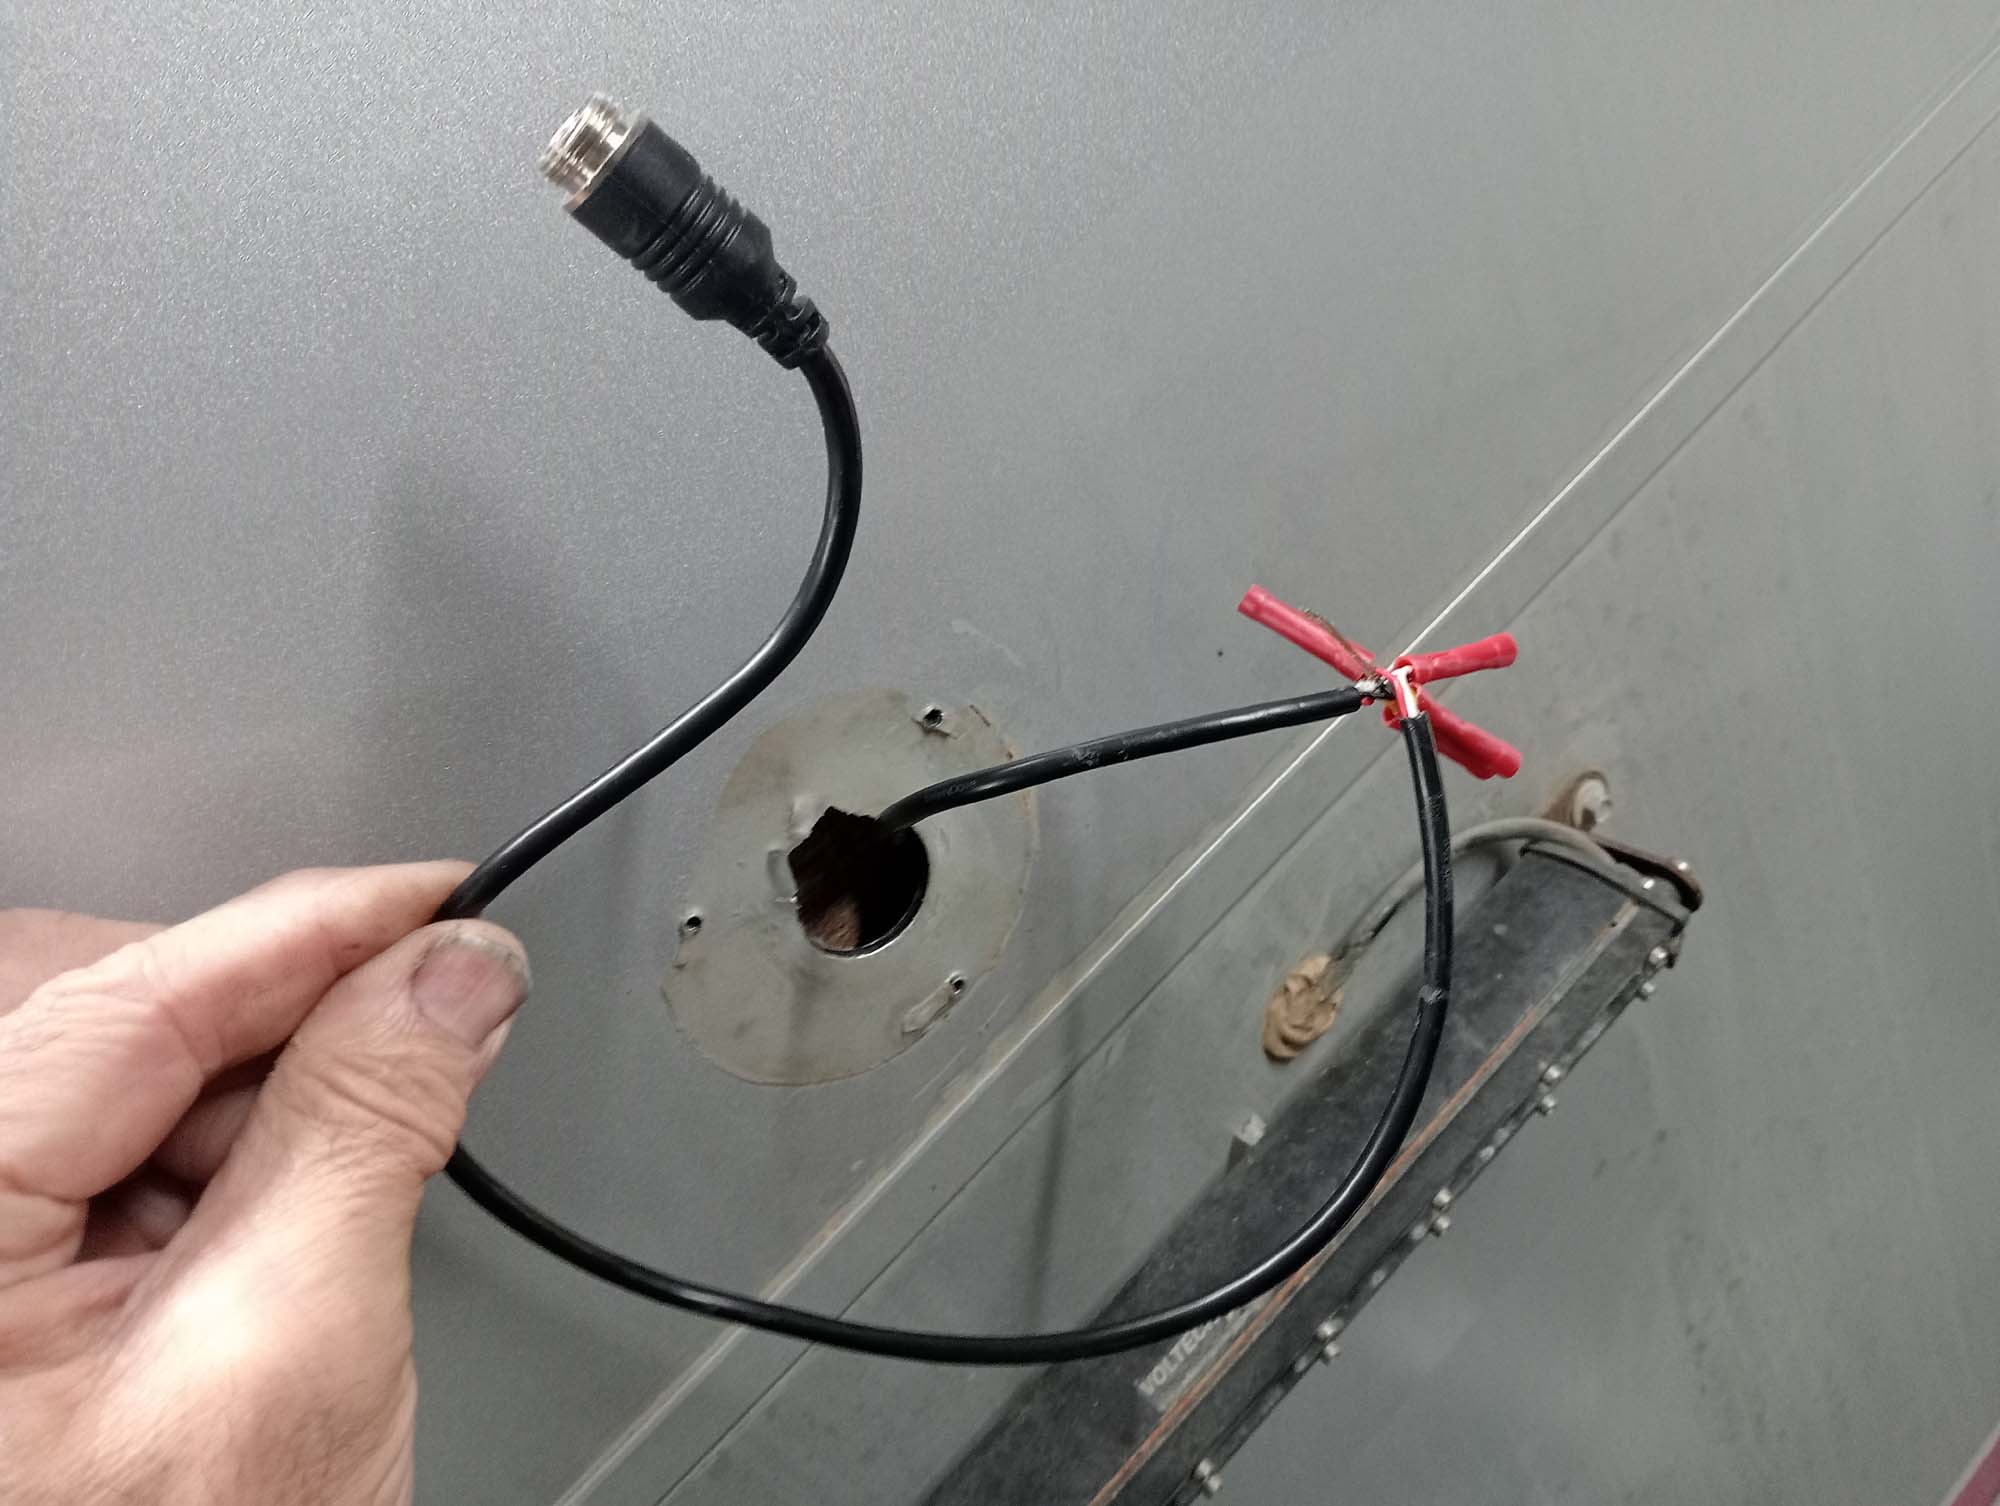
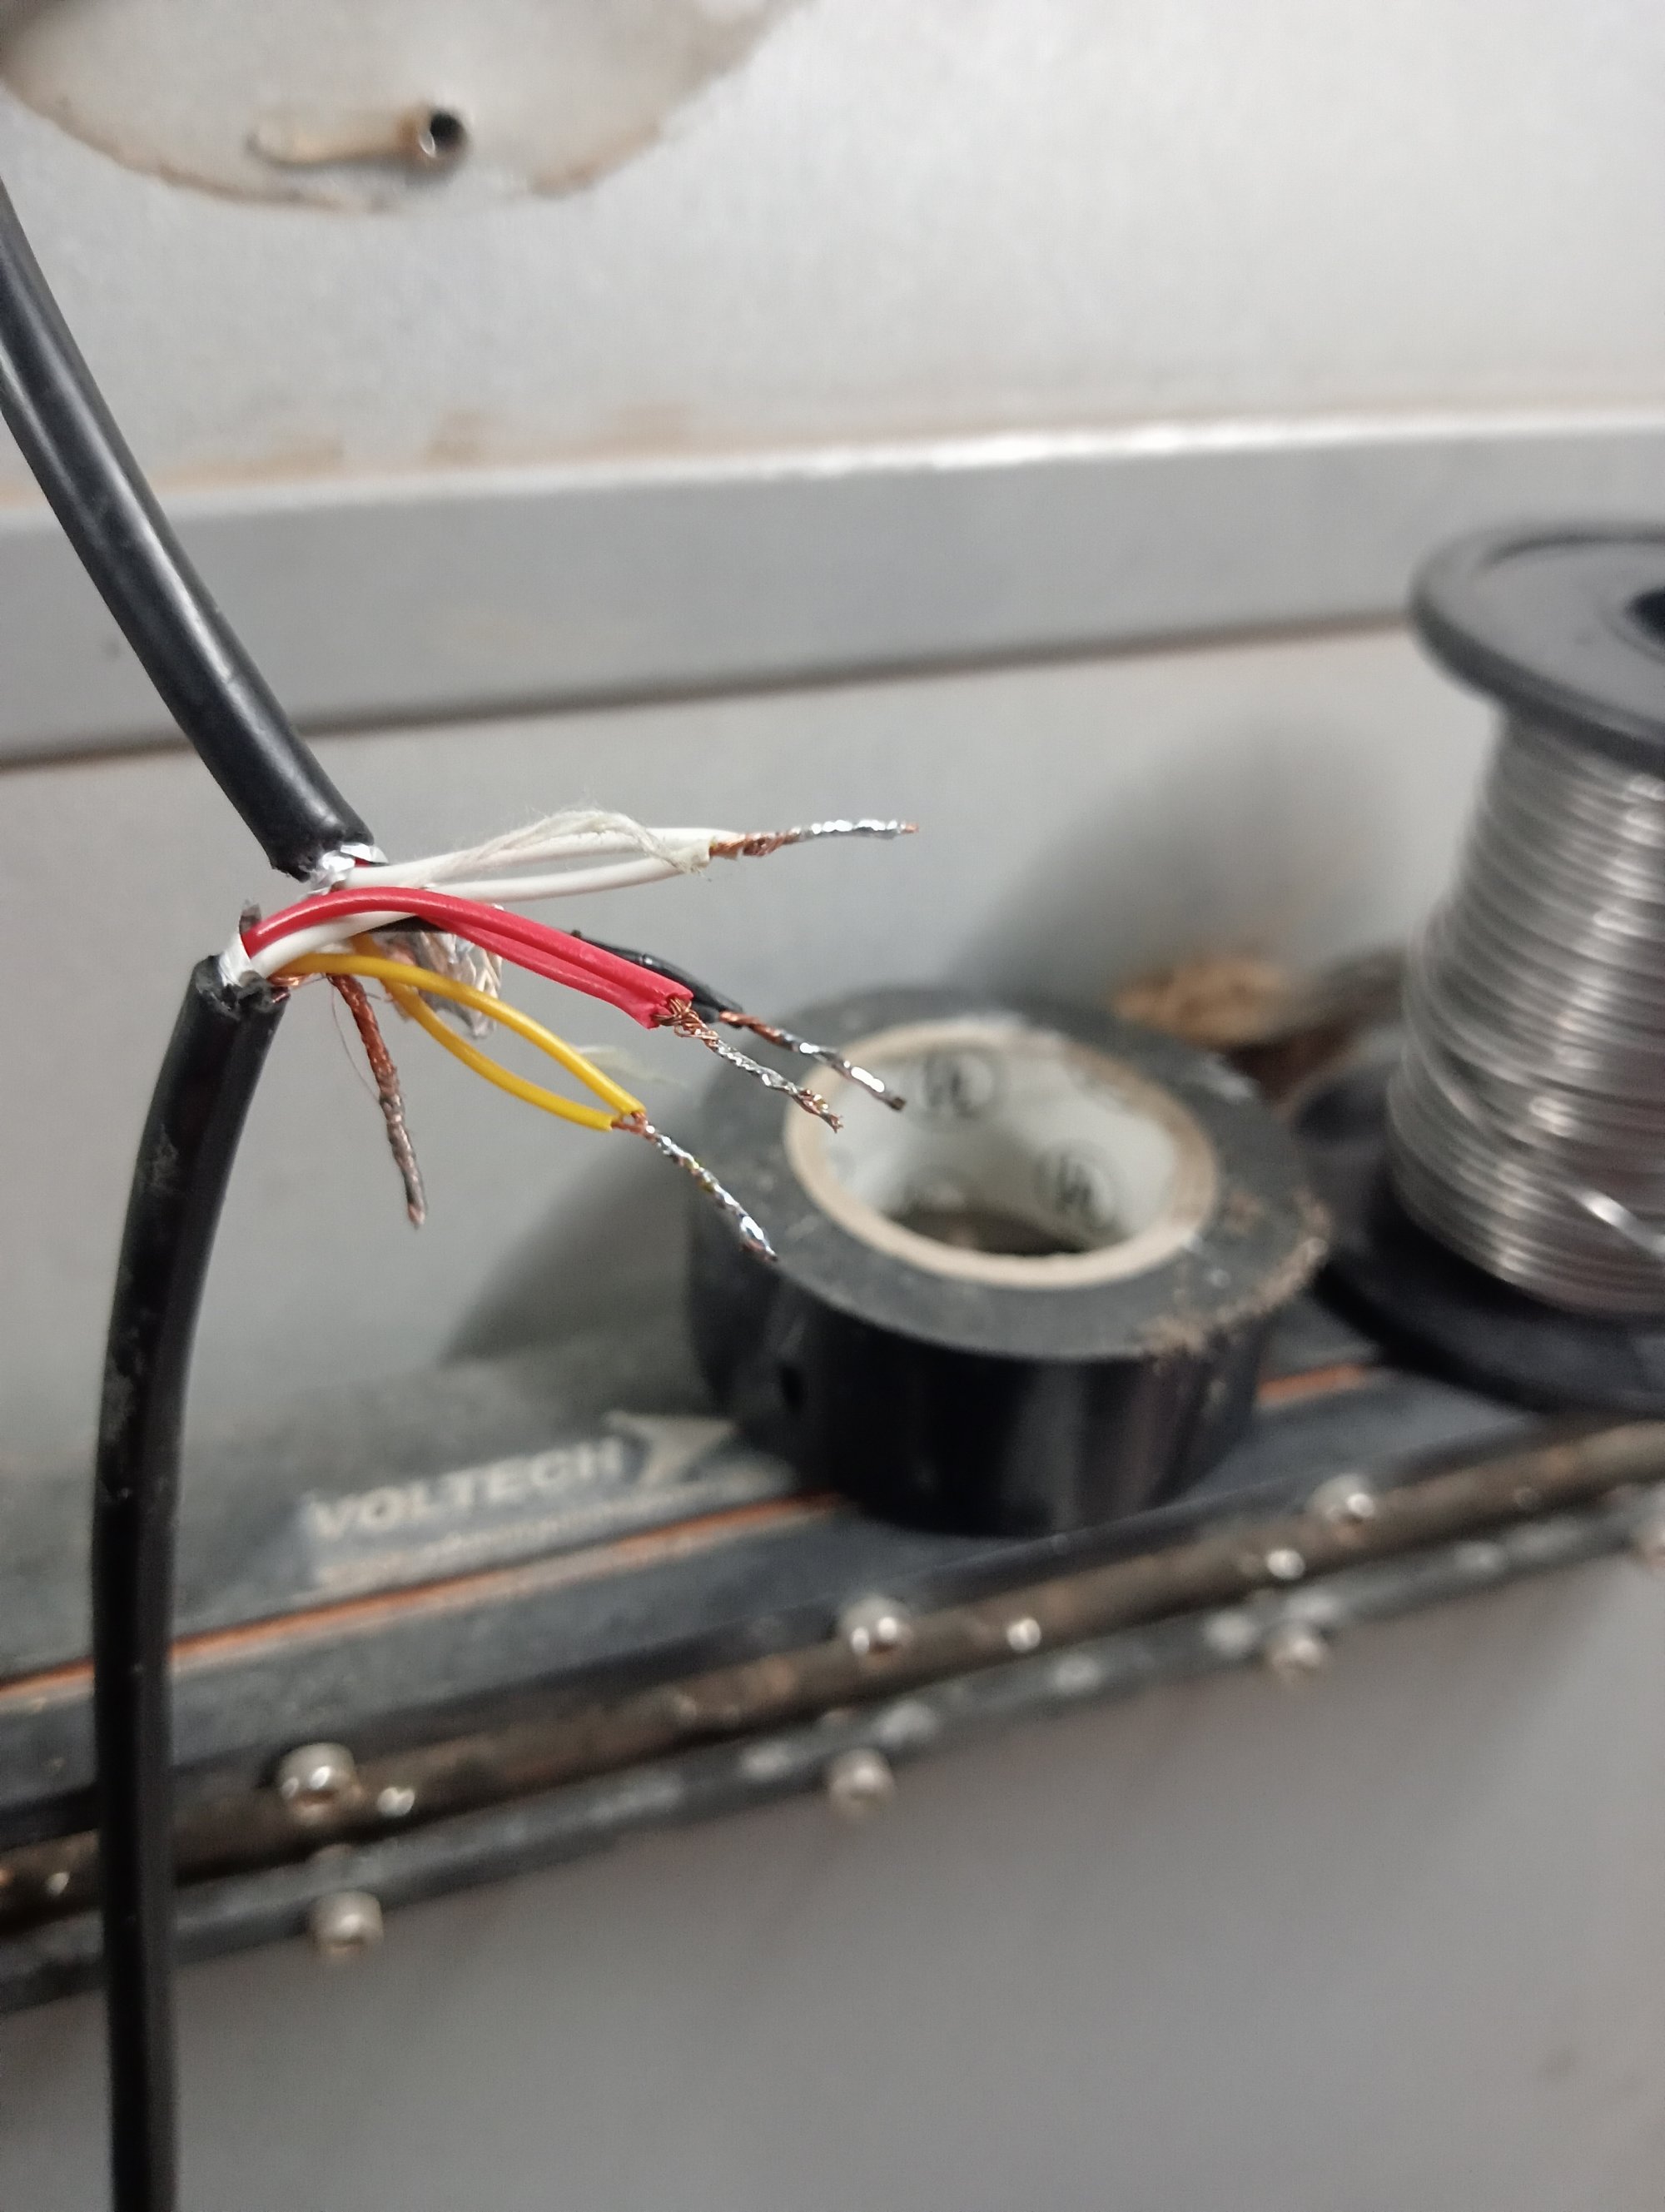
I have ordered some RCA connectors to replace the crimp joins on the video coax but in the meantime I have soldered & heat shrunk. Its better than crimp connectors, but not much better. Whats worse is the outer shield was not connected through at all, it was just cut off, the shield need to be connected through & earthed as it protects the audio & video wires from picking up stray electrical interference. Another cause of static on your screen.
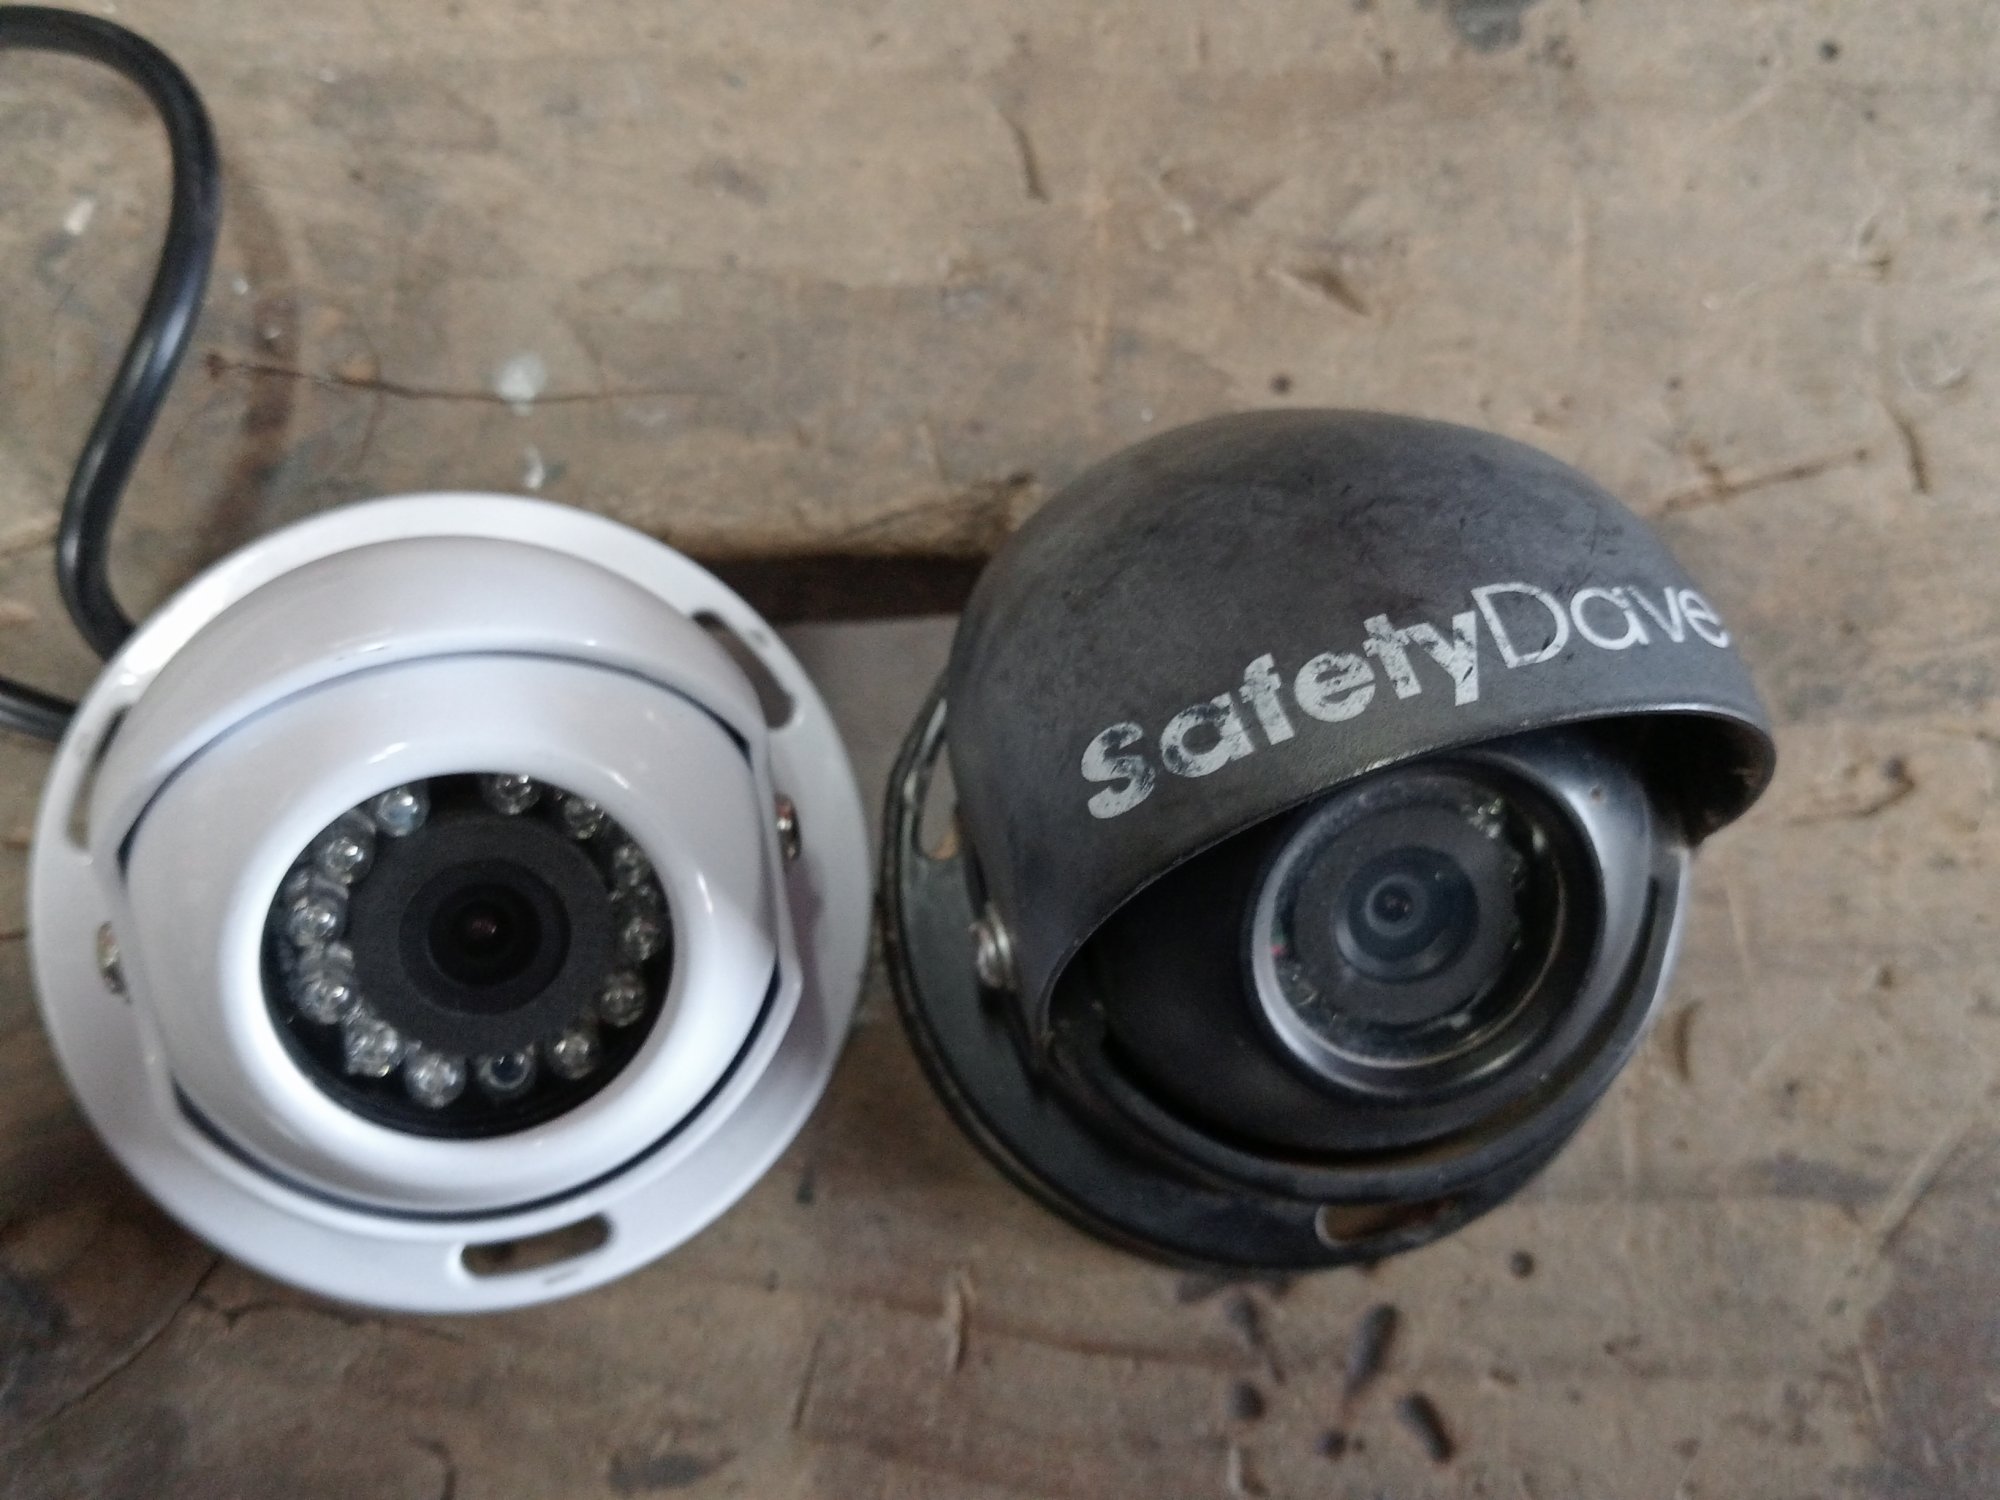
Safety Dave camera vs eBay camera, I took the sun shade off the original camera , painted & fitted to new camera
In my caravan, there are some cables tied up behind the fridge, Take the lower fridge vent off , reach up & release the cable tie, Low & behold one of the cables is another cut & crimped camera cable. There is no reason at all for this butchery , adequate cable is provided in the Safety Dave camera kit to run a single full length all the way from draw bar to camera. I'm sure Dave would not be impressed. At least this time the Shield wire was connected through, (but not crimped). The camera wiring is a recipe for failure.
Cabinet Strut Fail
A few minor easily fixed issues. Every single pneumatic strut (or cabinet stay) has been fitted to the overhead cabinets upside down. These struts are marketed as "gas struts" in reality they are filled with compressed air , not really misleading as after all Air is a gas. In addition to gas they have a small amount of oil to keep the seal lubricated. If the seal dries out the air leaks out. Therefore they MUST be installed with the cylinder at the top & the rod at the bottom, the air is above the oil & the seal will rarely dry out. To be honest I never noticed until one of the cabinet door would not hold open due to a failed strut.

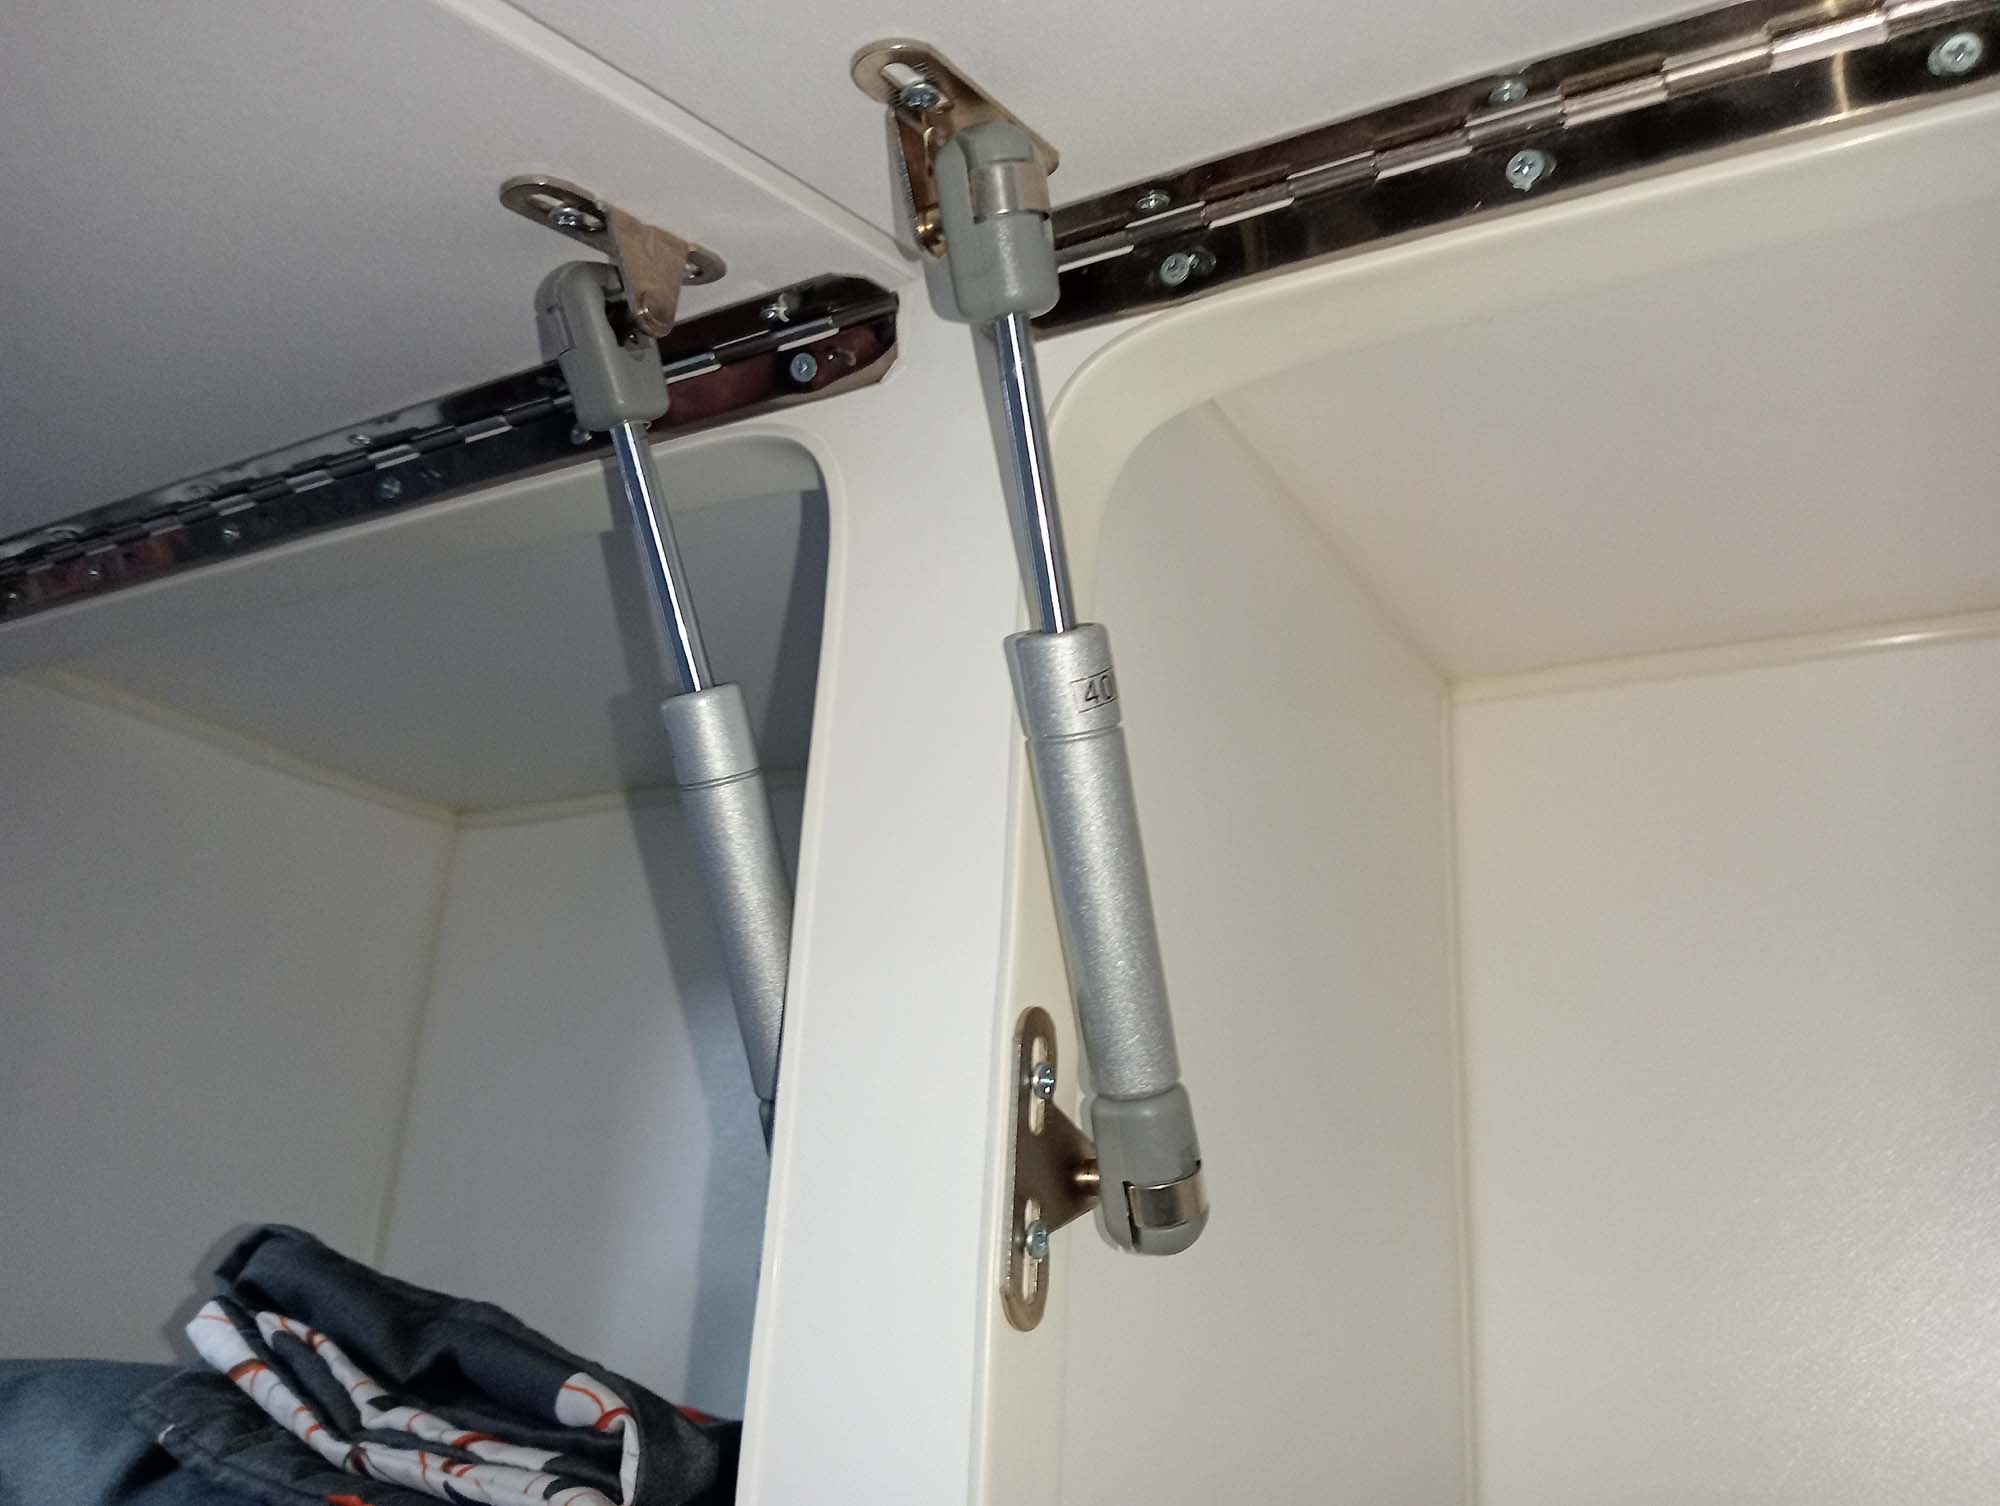
Do yourself a favour if yours are fitted wrong or failed, its a 30 second job to swap them around. Lift the spring steel tab with the point of a small screwdriver and they un-clip from the ball . These things are 40NM 165mm Struts, only $10 each online.
While your at it check the bigger gas struts under the bed to make sure the rod is the lower end when the bed is raised. 50-50 chance, thankfully mine were correct.
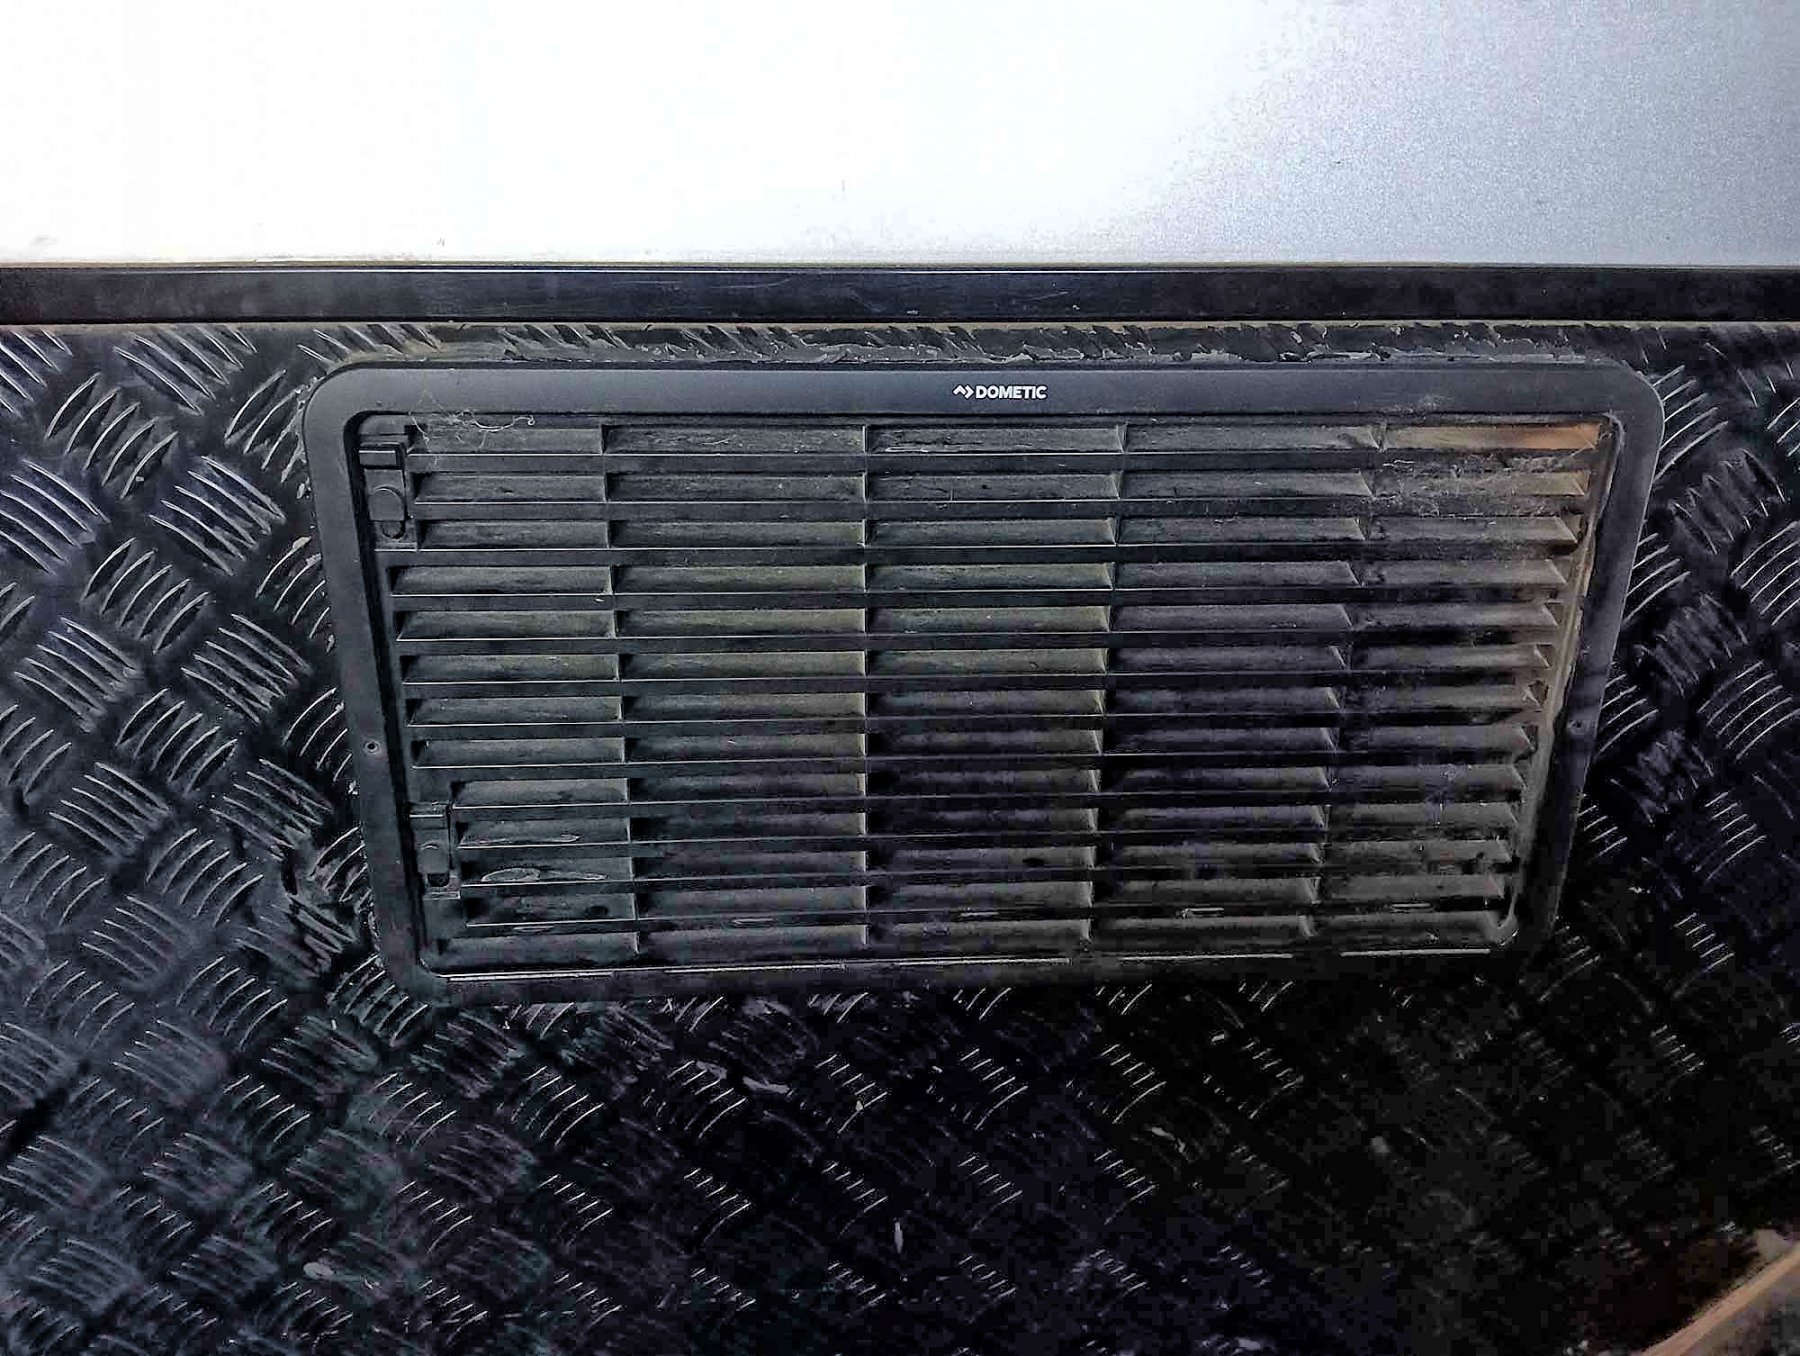
Fridge Vents
Asides from the entry door hinges being put on the wrong way around my other big disappointment upon delivery is they have installed fridge vents. External fridge vents are only a requirement on a Gas or / 3 way fridge. I specifically ordered a van with a compressor fridge thinking there would be no external vents. I was wrong.
ALL these caravans are made with fridge vents. Knowing that now , I would have specified NO FRIDGE VENTS
For an off road van the big problem is dust . The more unnecessary vents in a van, the harder it is to seal from dust.First thing I did when I got home from delivery was seal off inside the fridge vents & add internal venting under the fridge & in the top of the pantry wall.
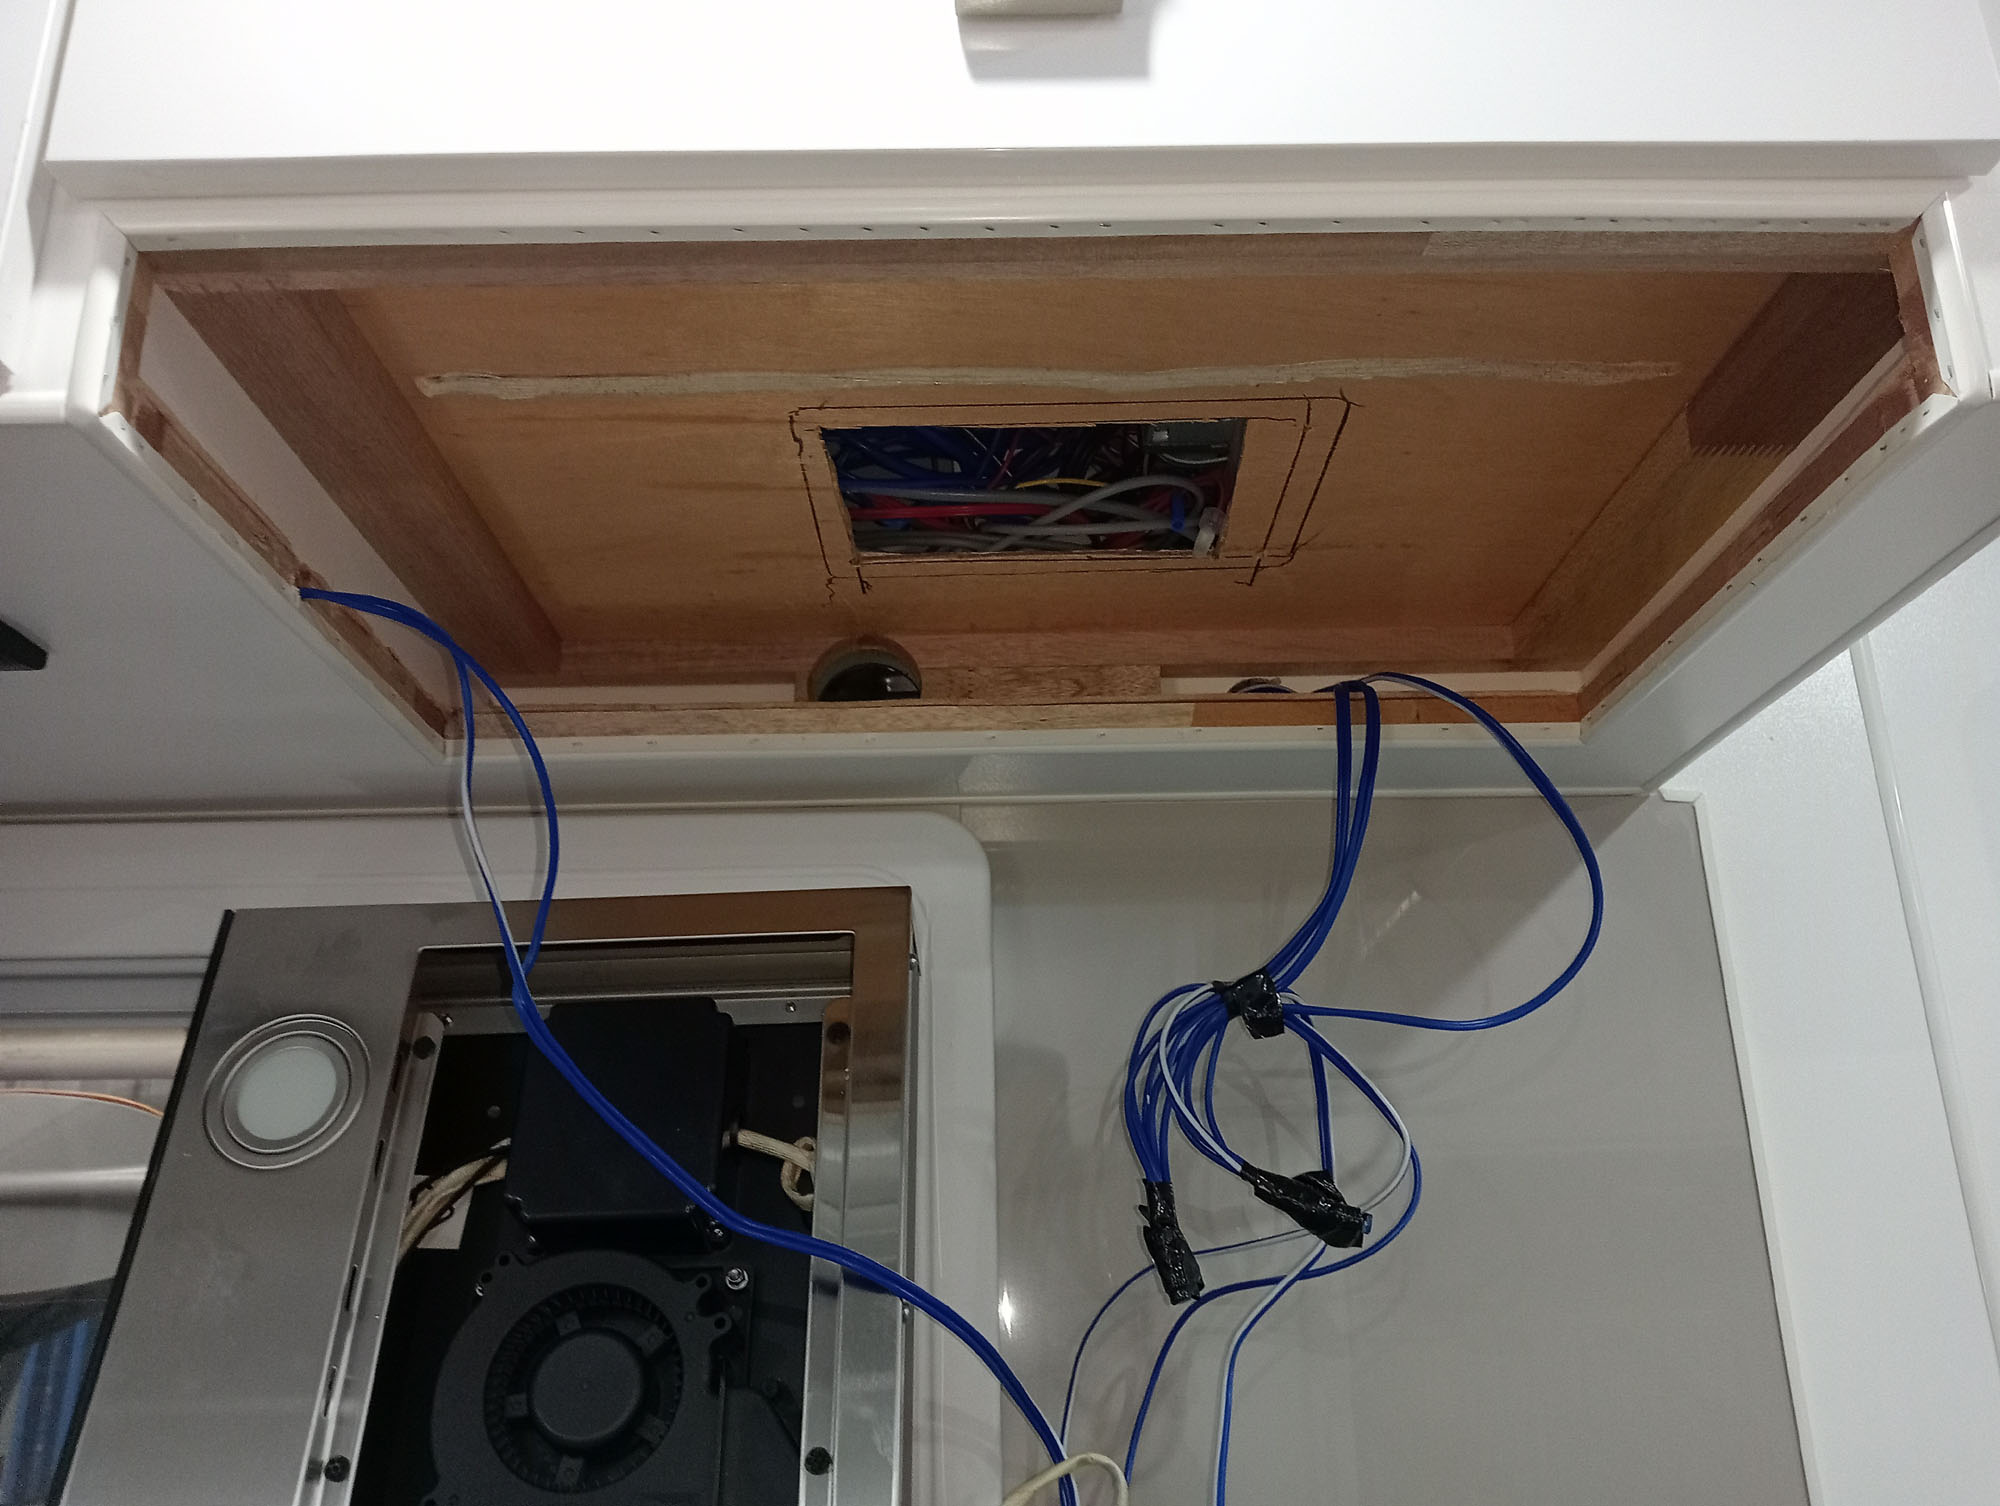
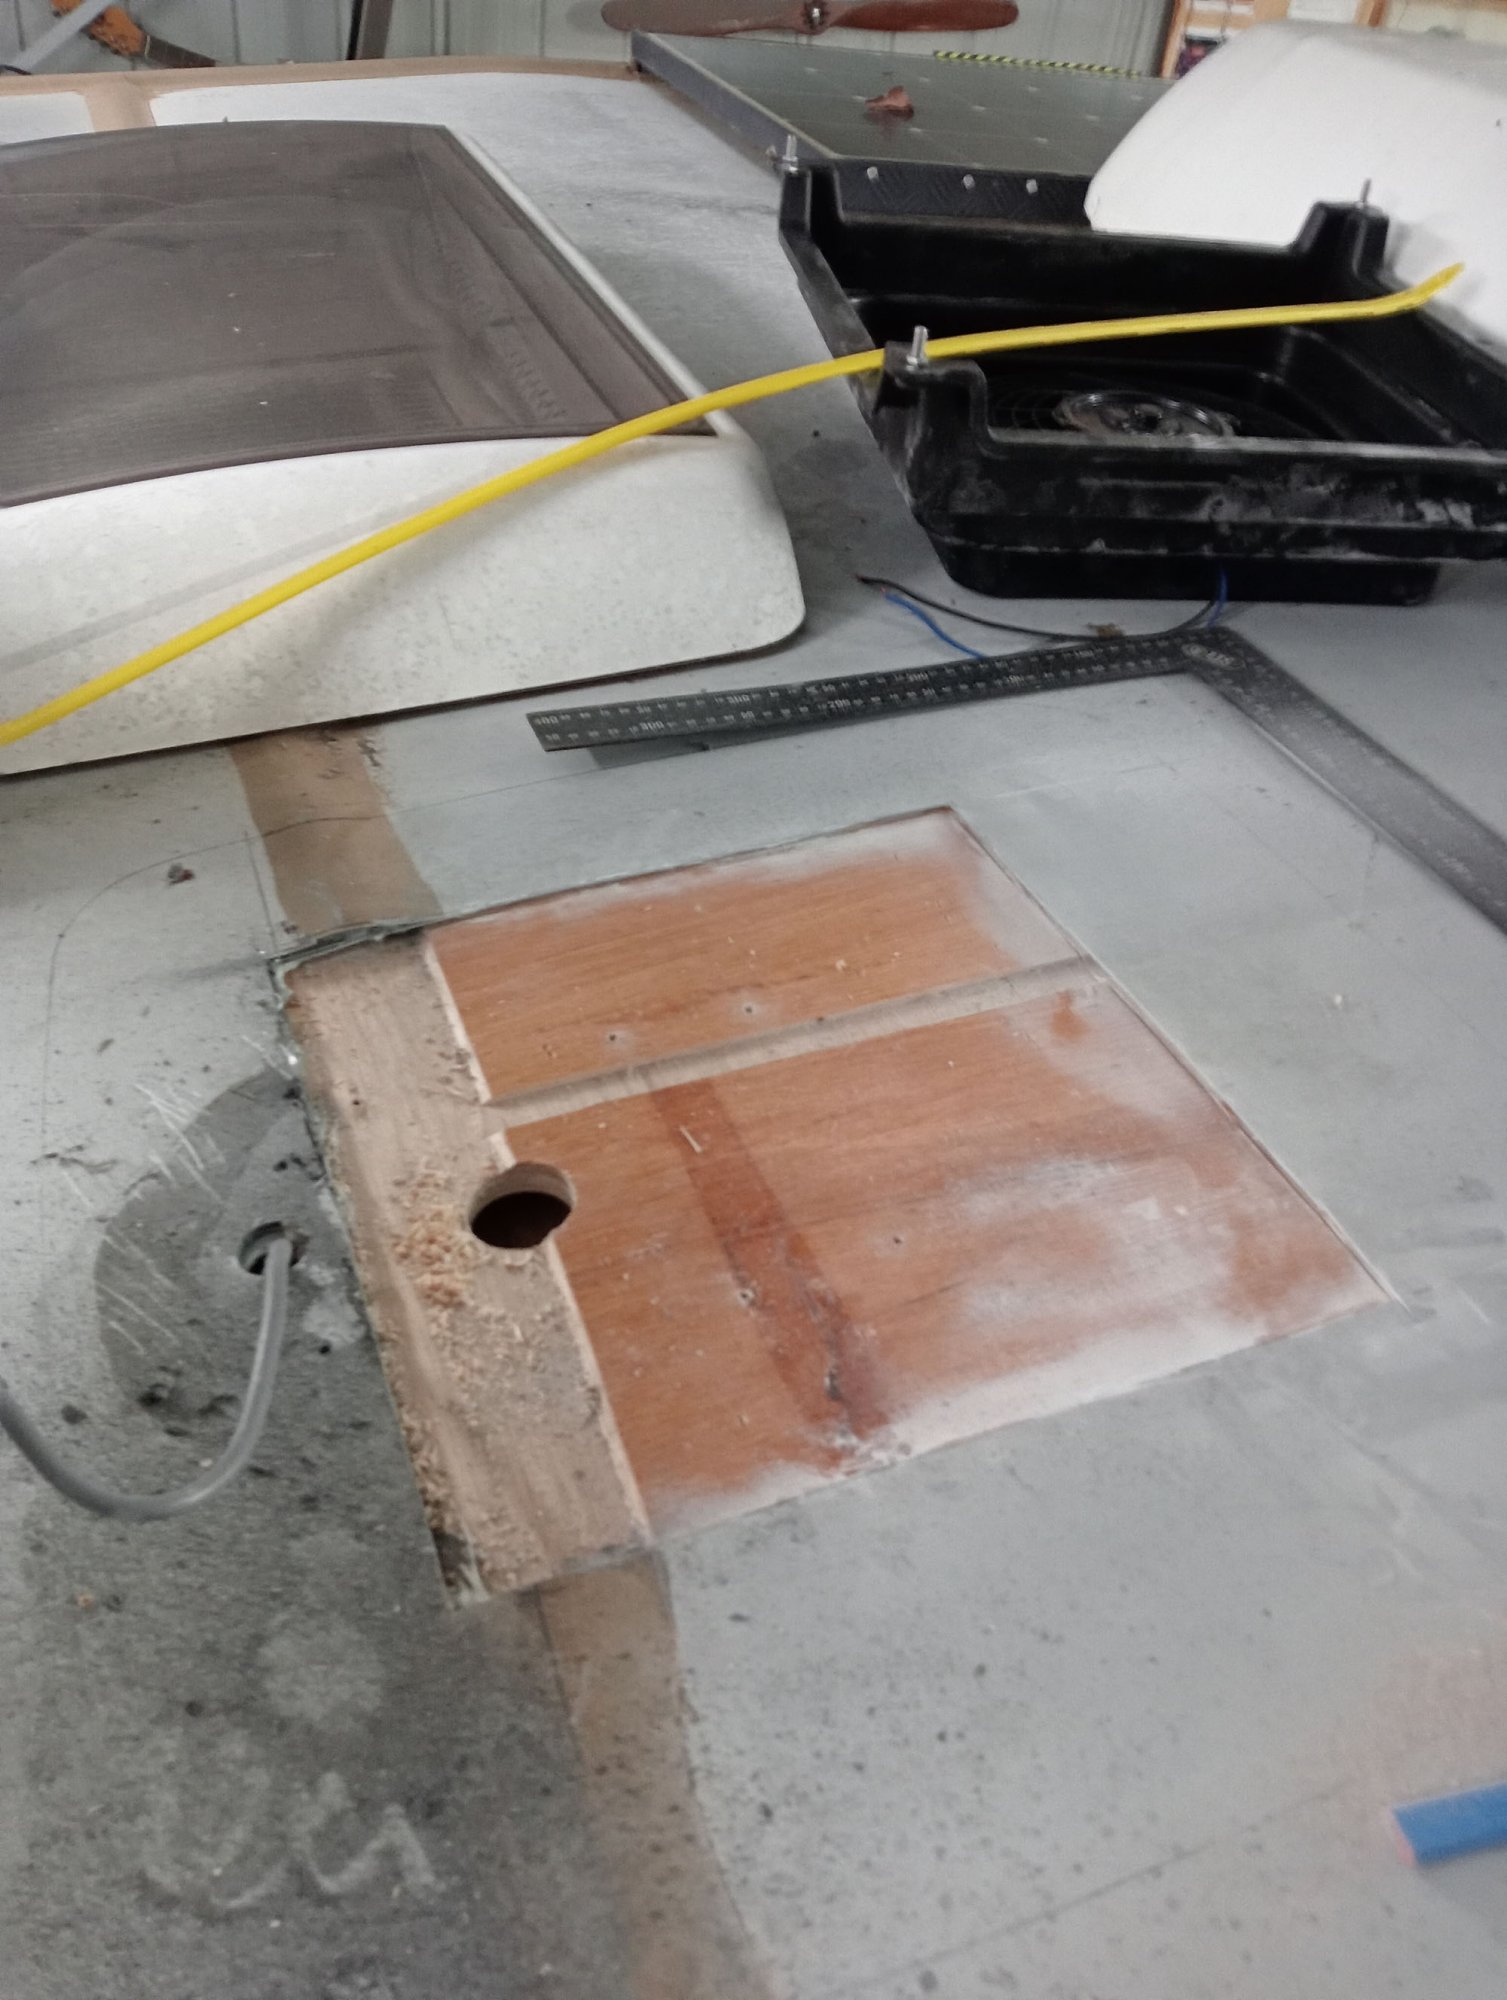
I saw B & JK Adventures on Youtube talking about his problems with his RC Caravan, Video is titled Red Centre Caravan, what broke? check it out.
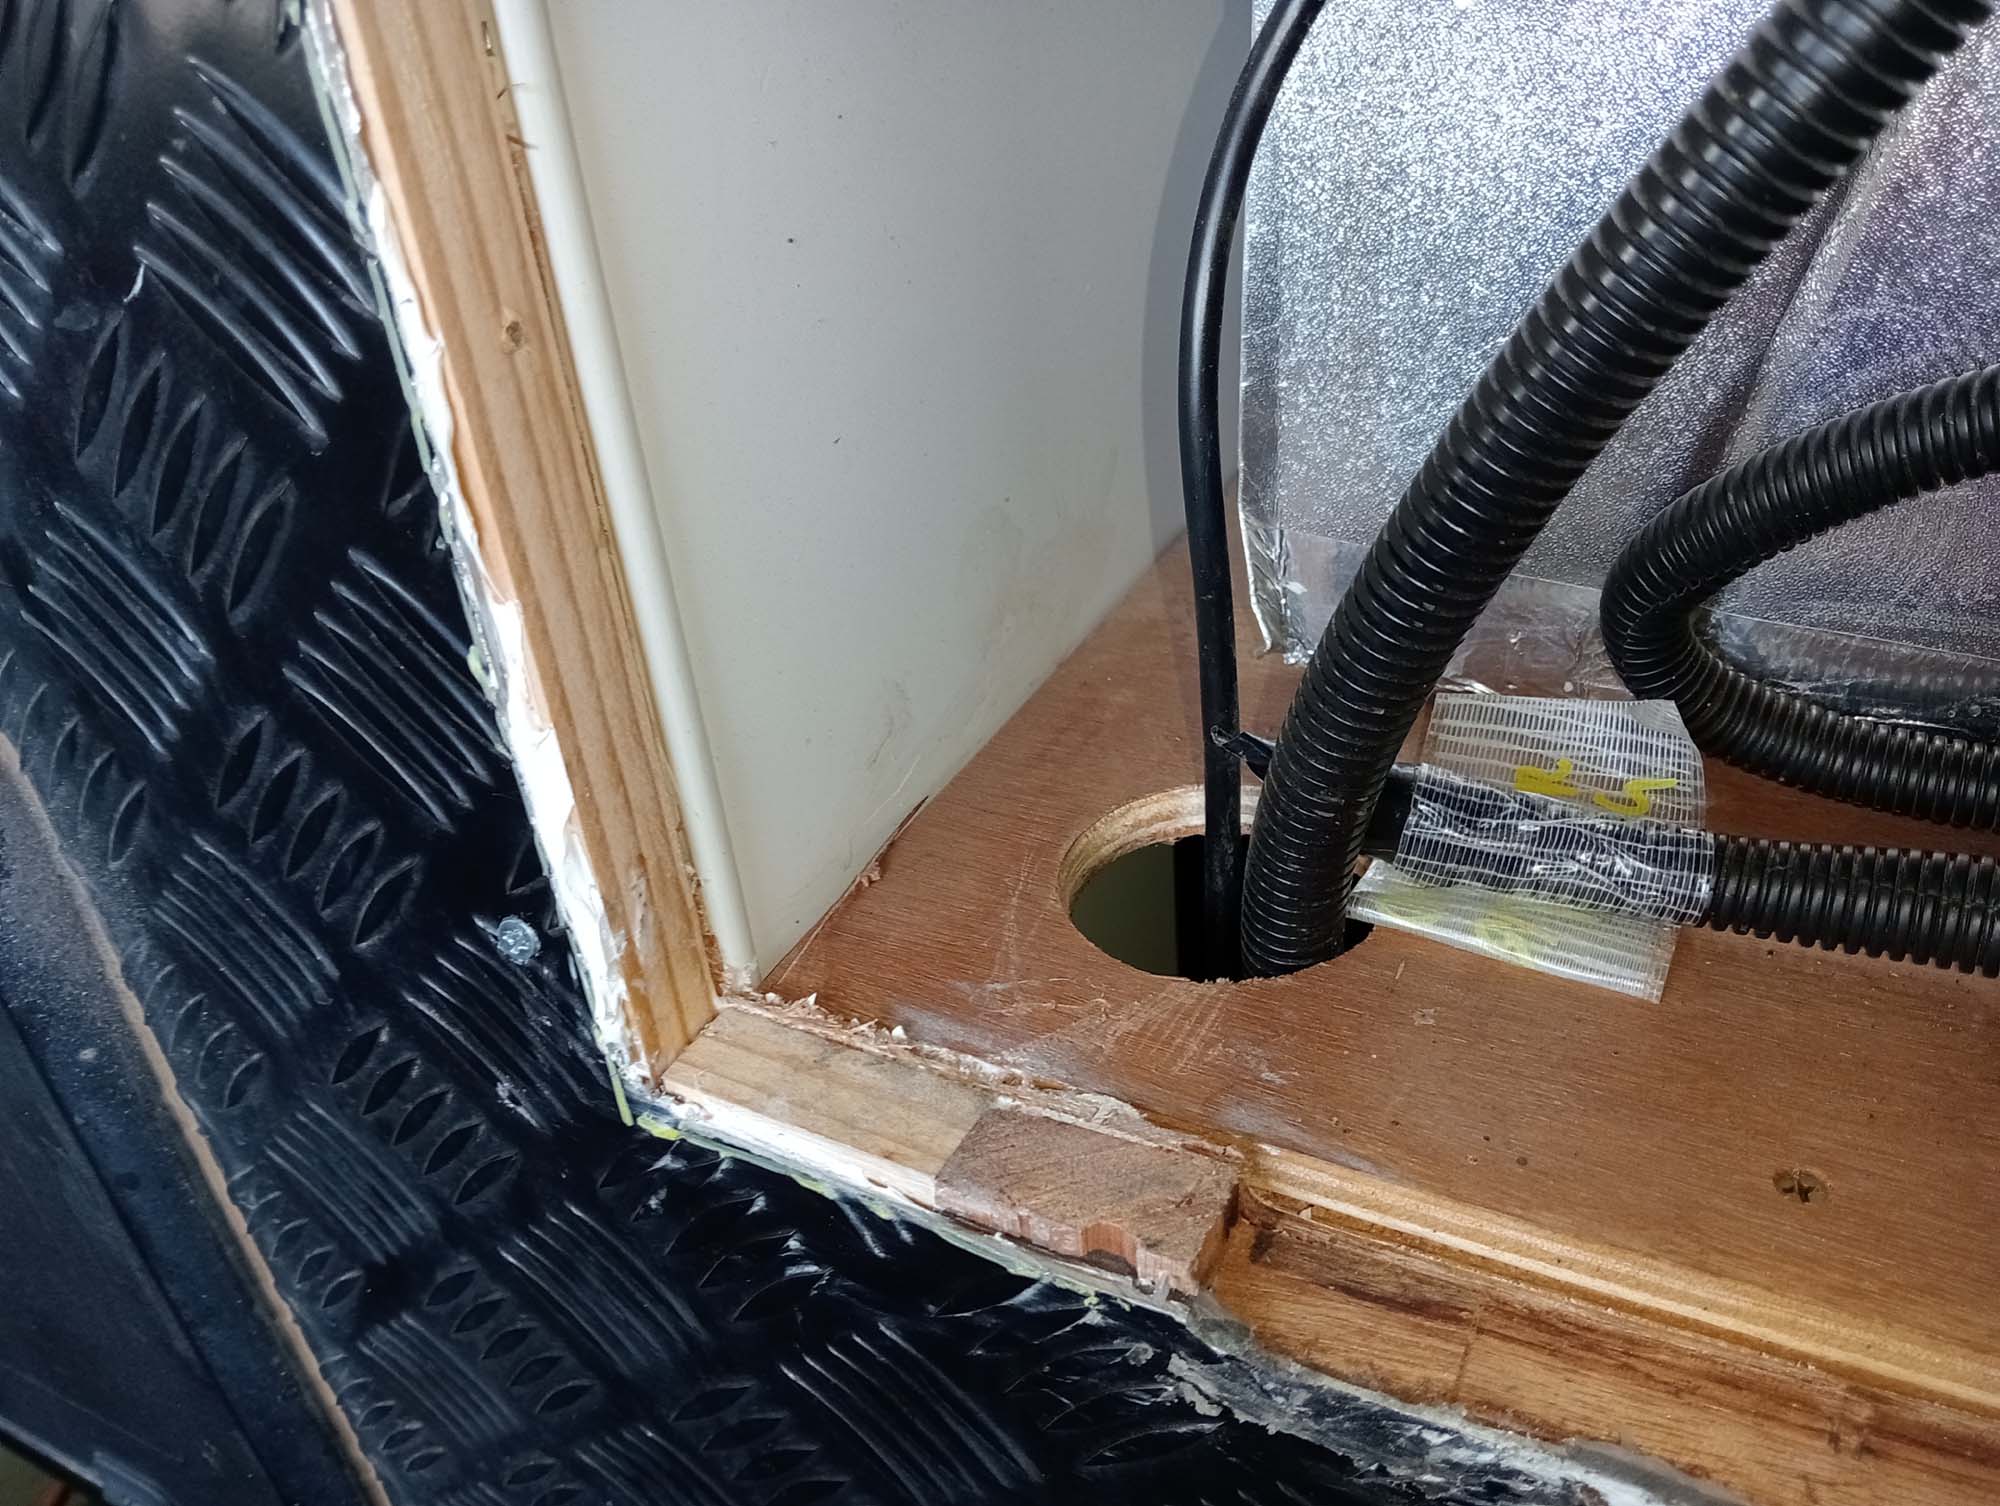
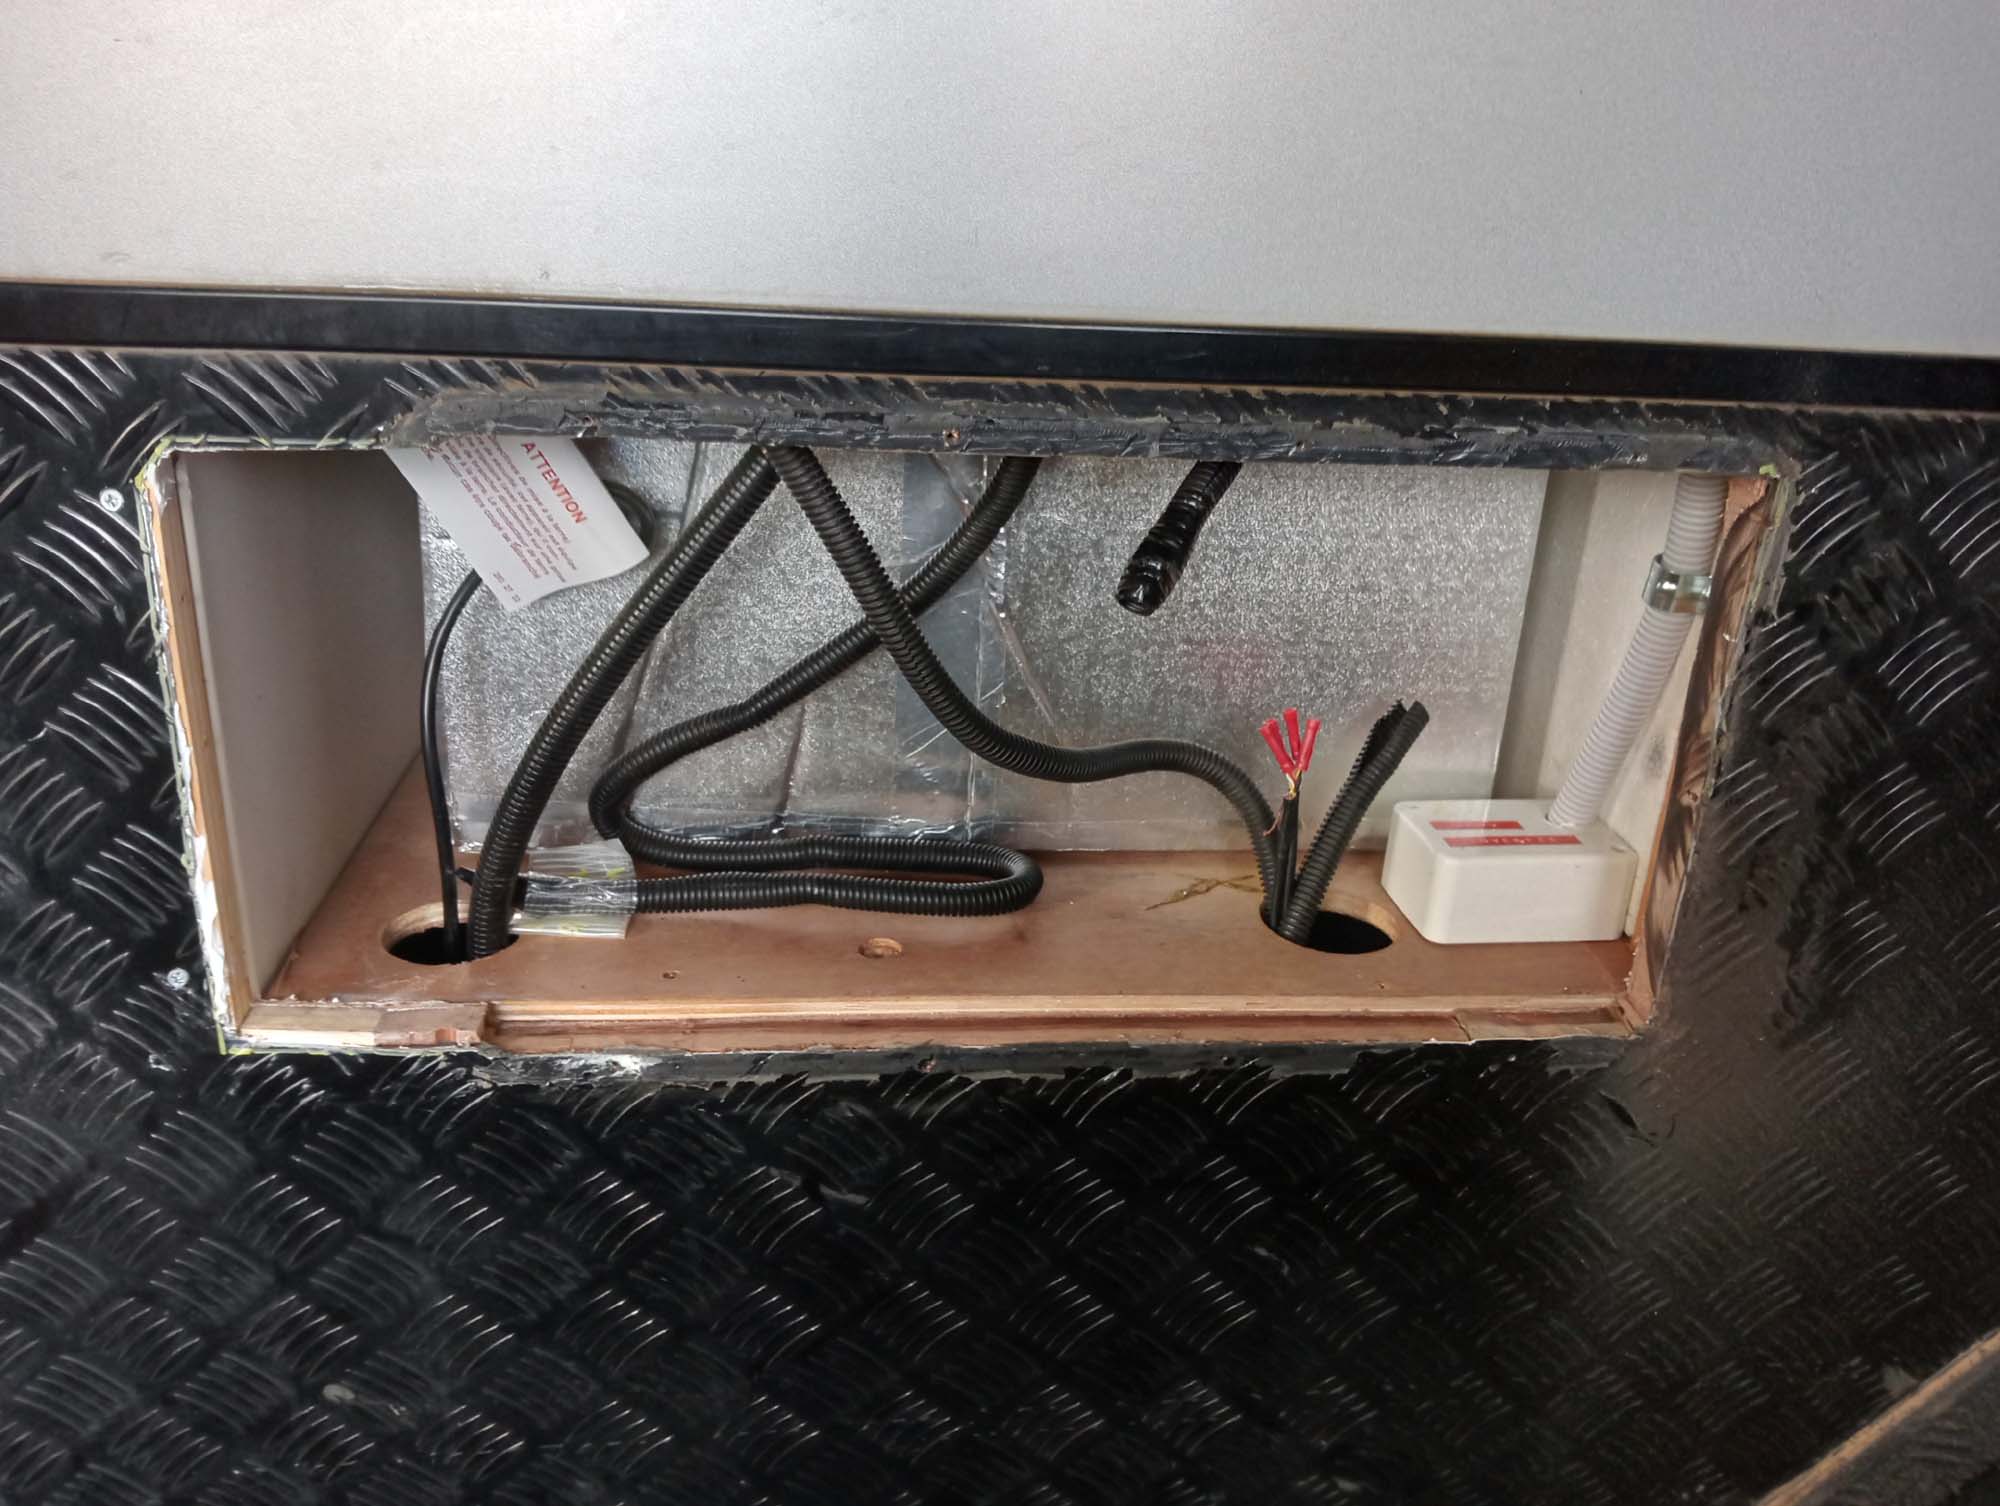
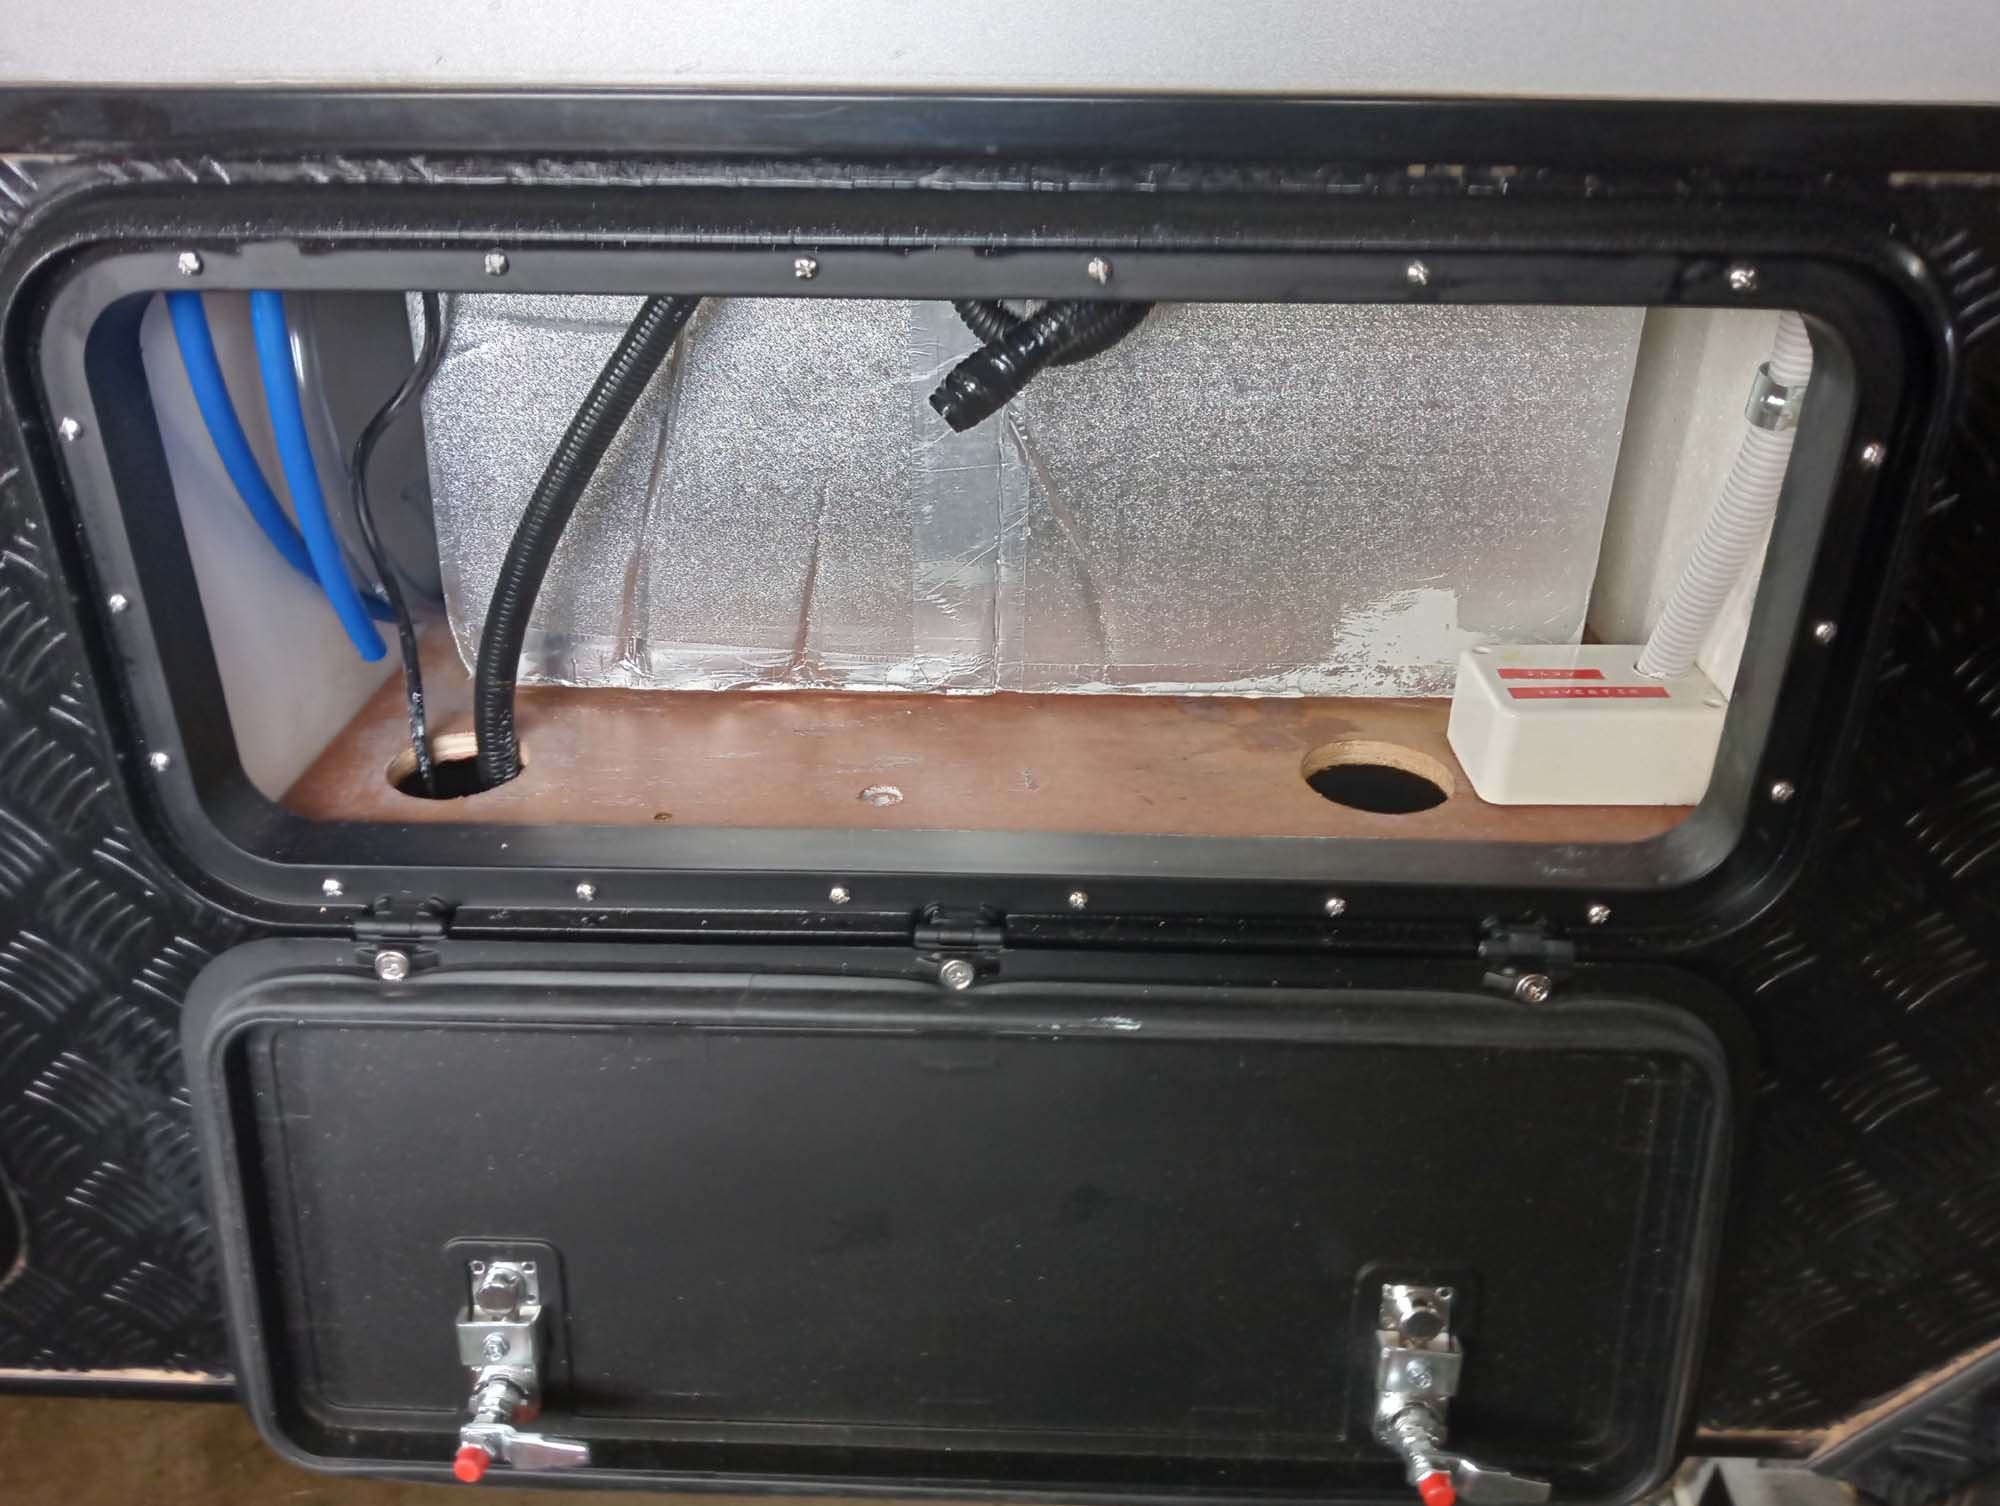
Brad has installed a Coast to Coast hatch in place of the bottom fridge vent (at 9:16 in video) & I reckon its a ripper idea. The hatch matches the other hatches on the van and gives a good little storage space & allows acess to some of the vans wiring which could be handy down the track for fault finding.
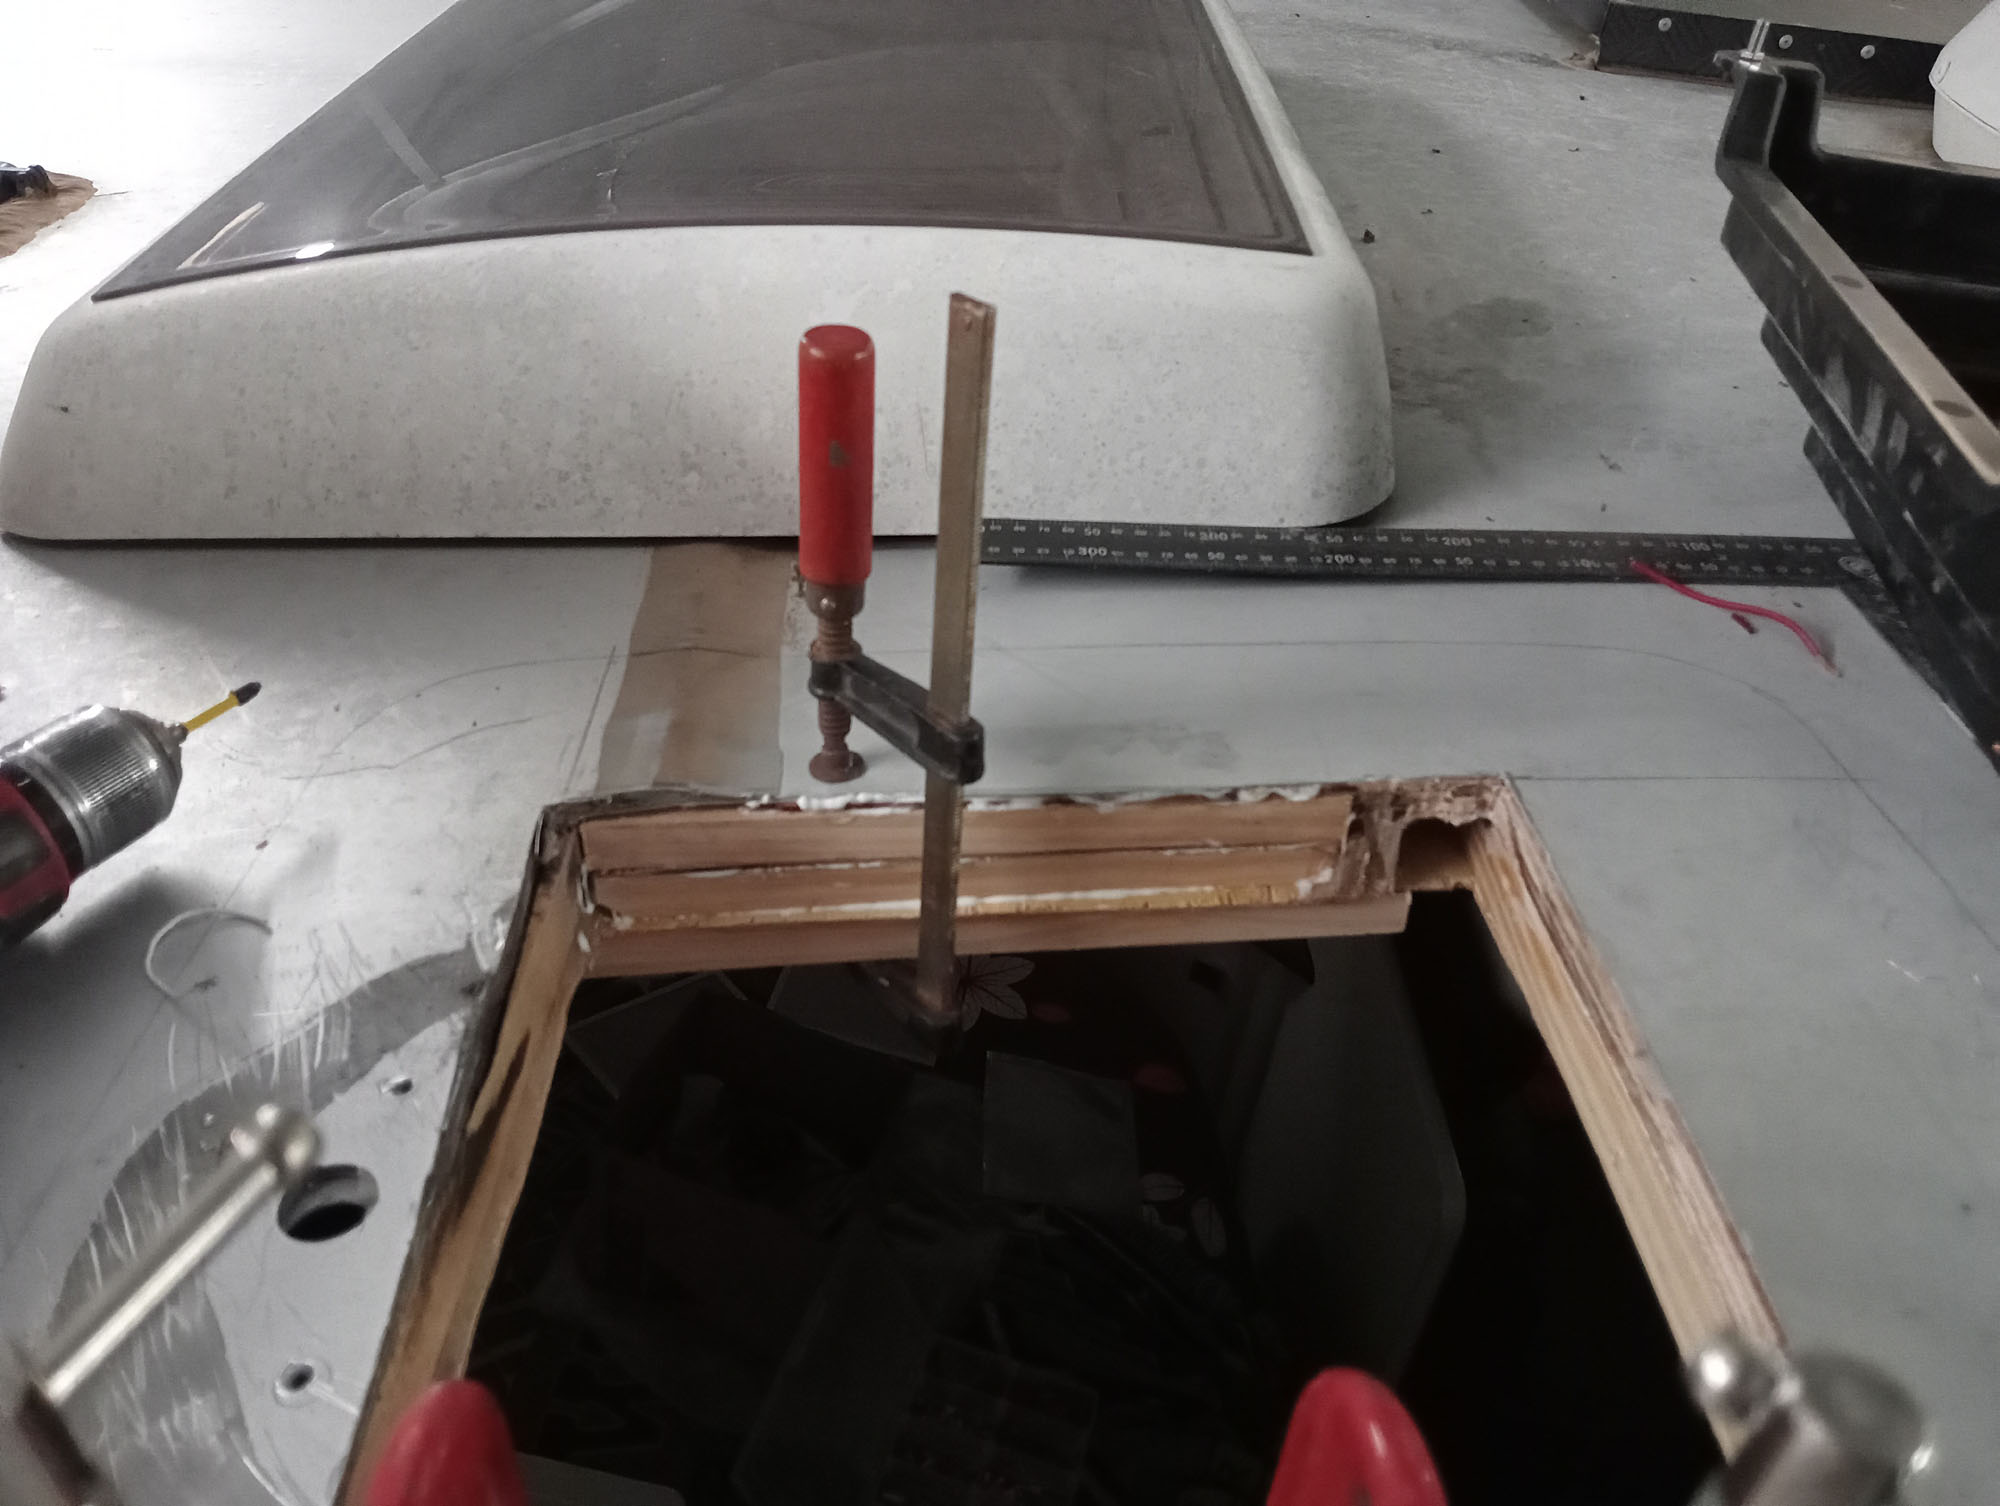
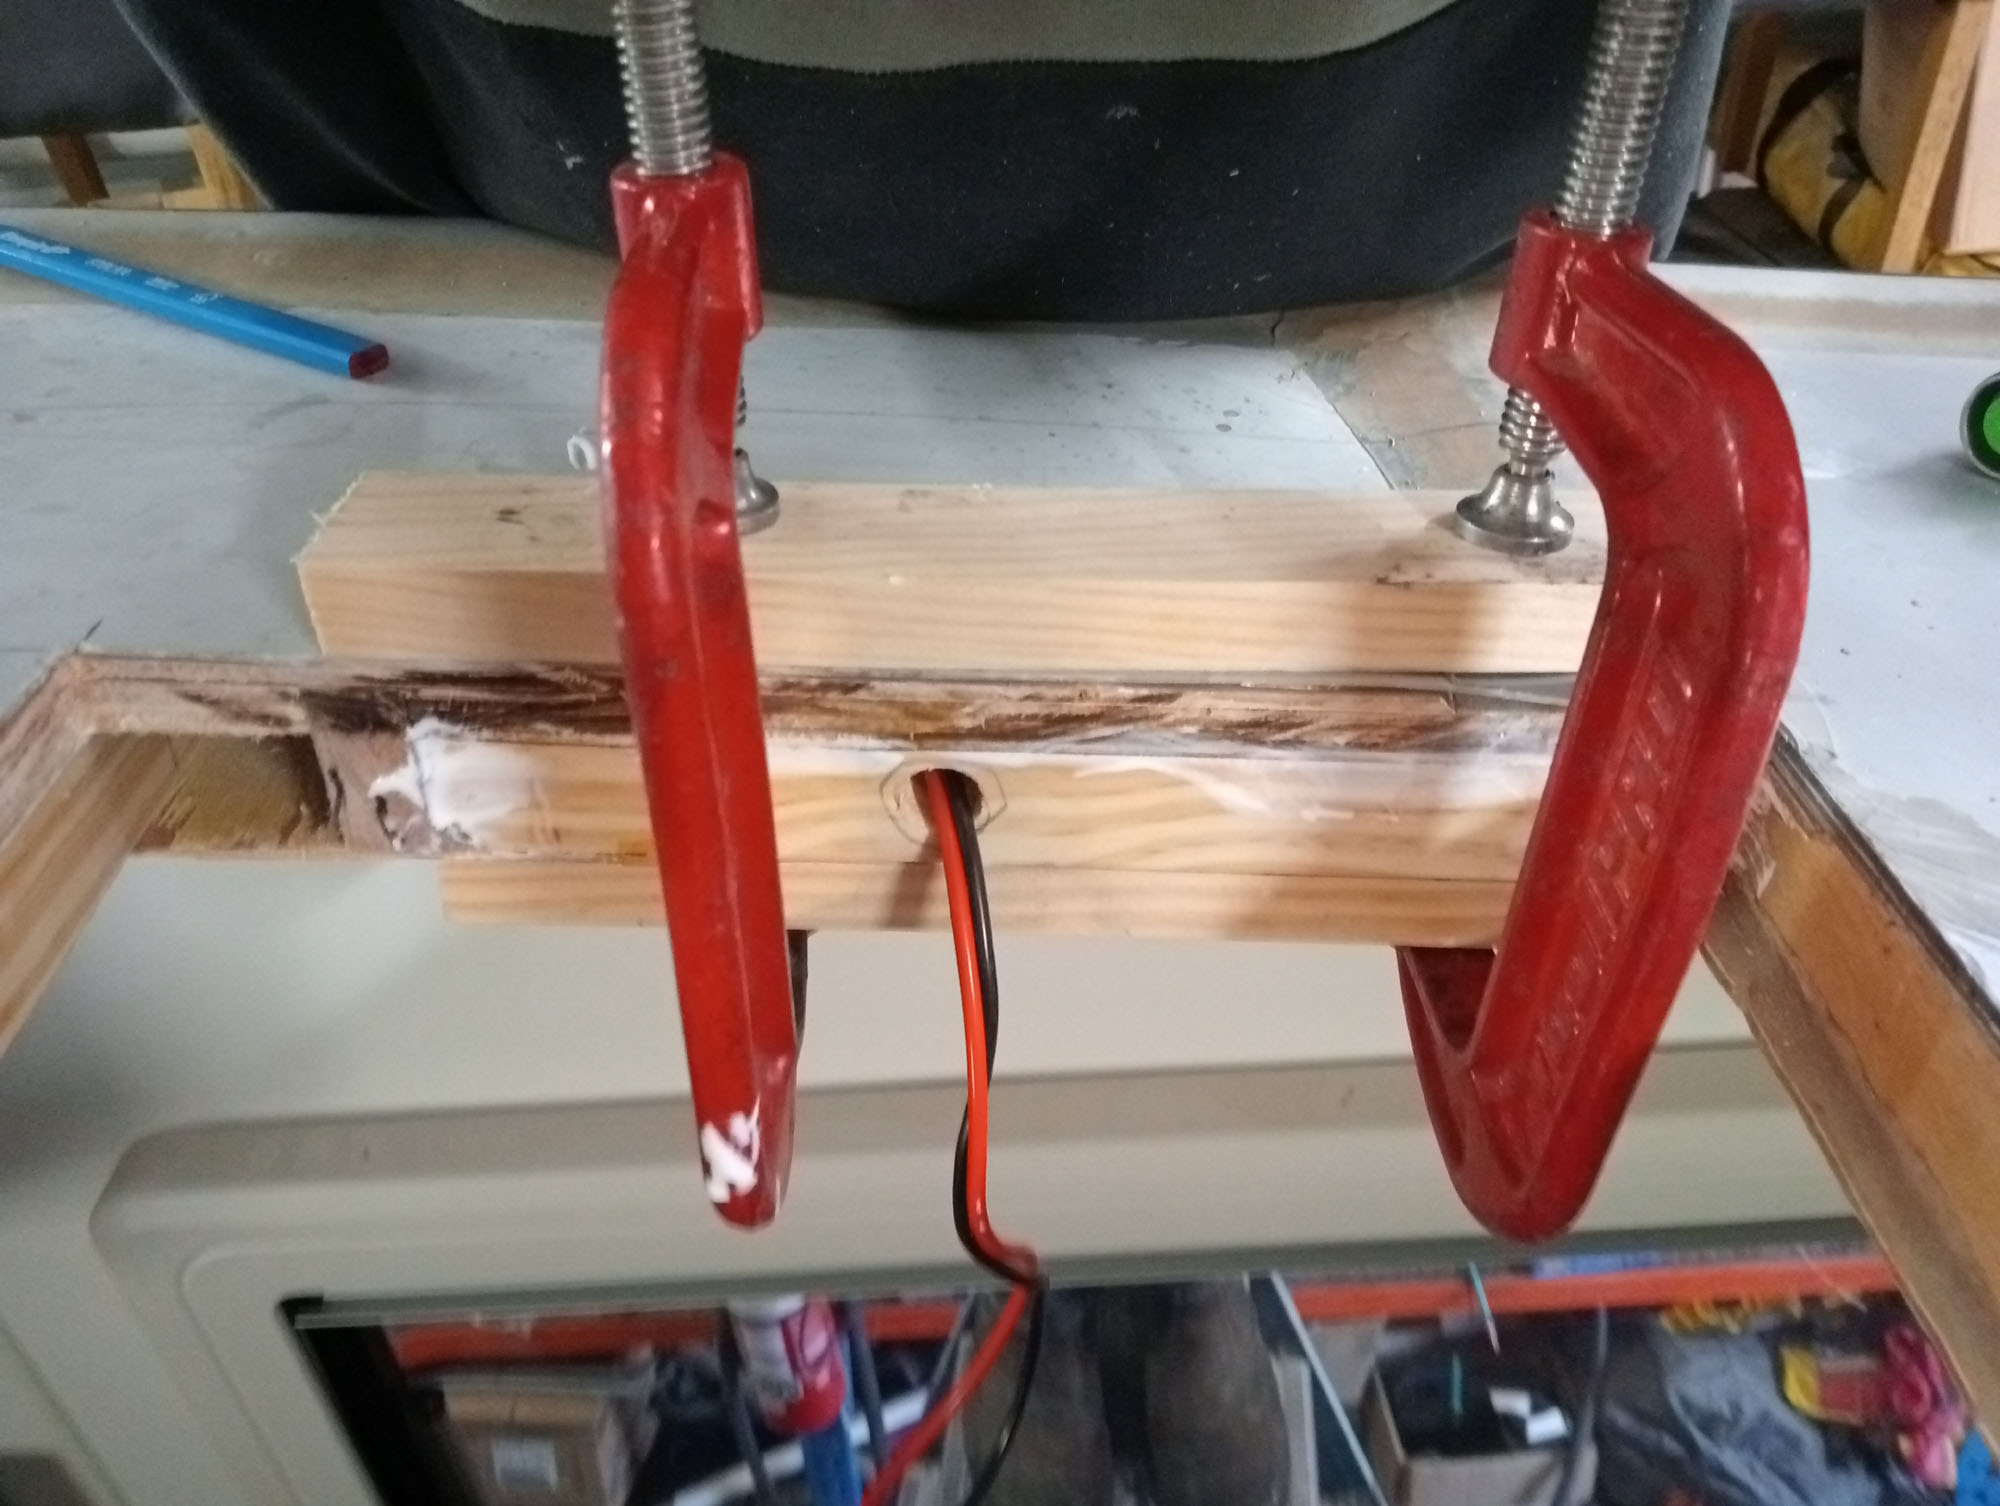
The hatch I ordered is wider rather than taller so I had to do a bit of 'adjustment' with and angle grinder & carpentry tools.

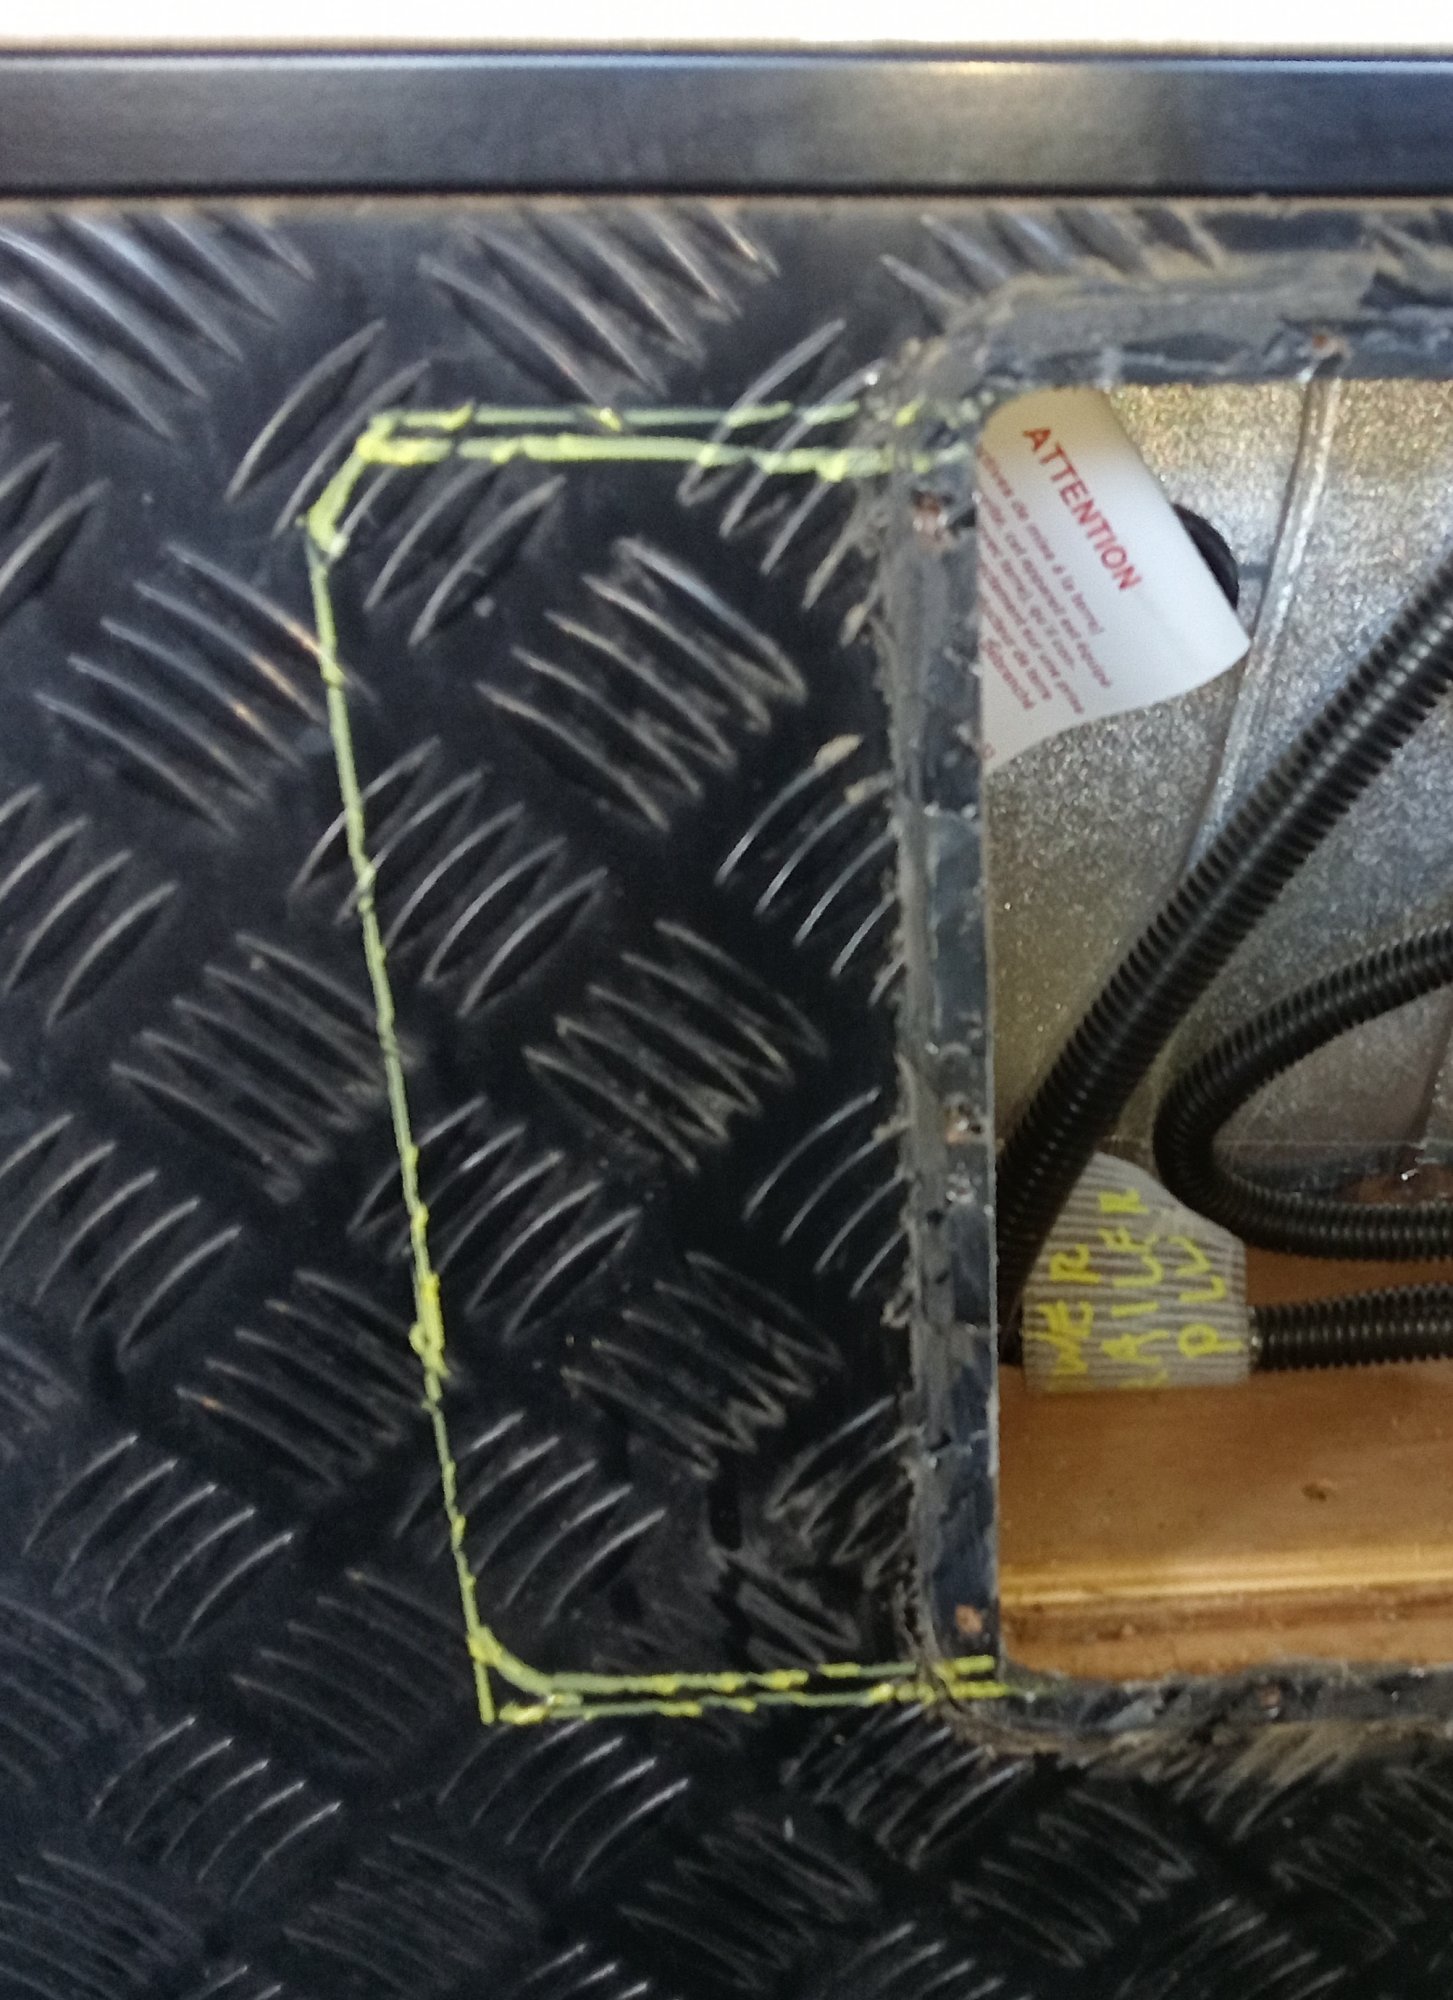
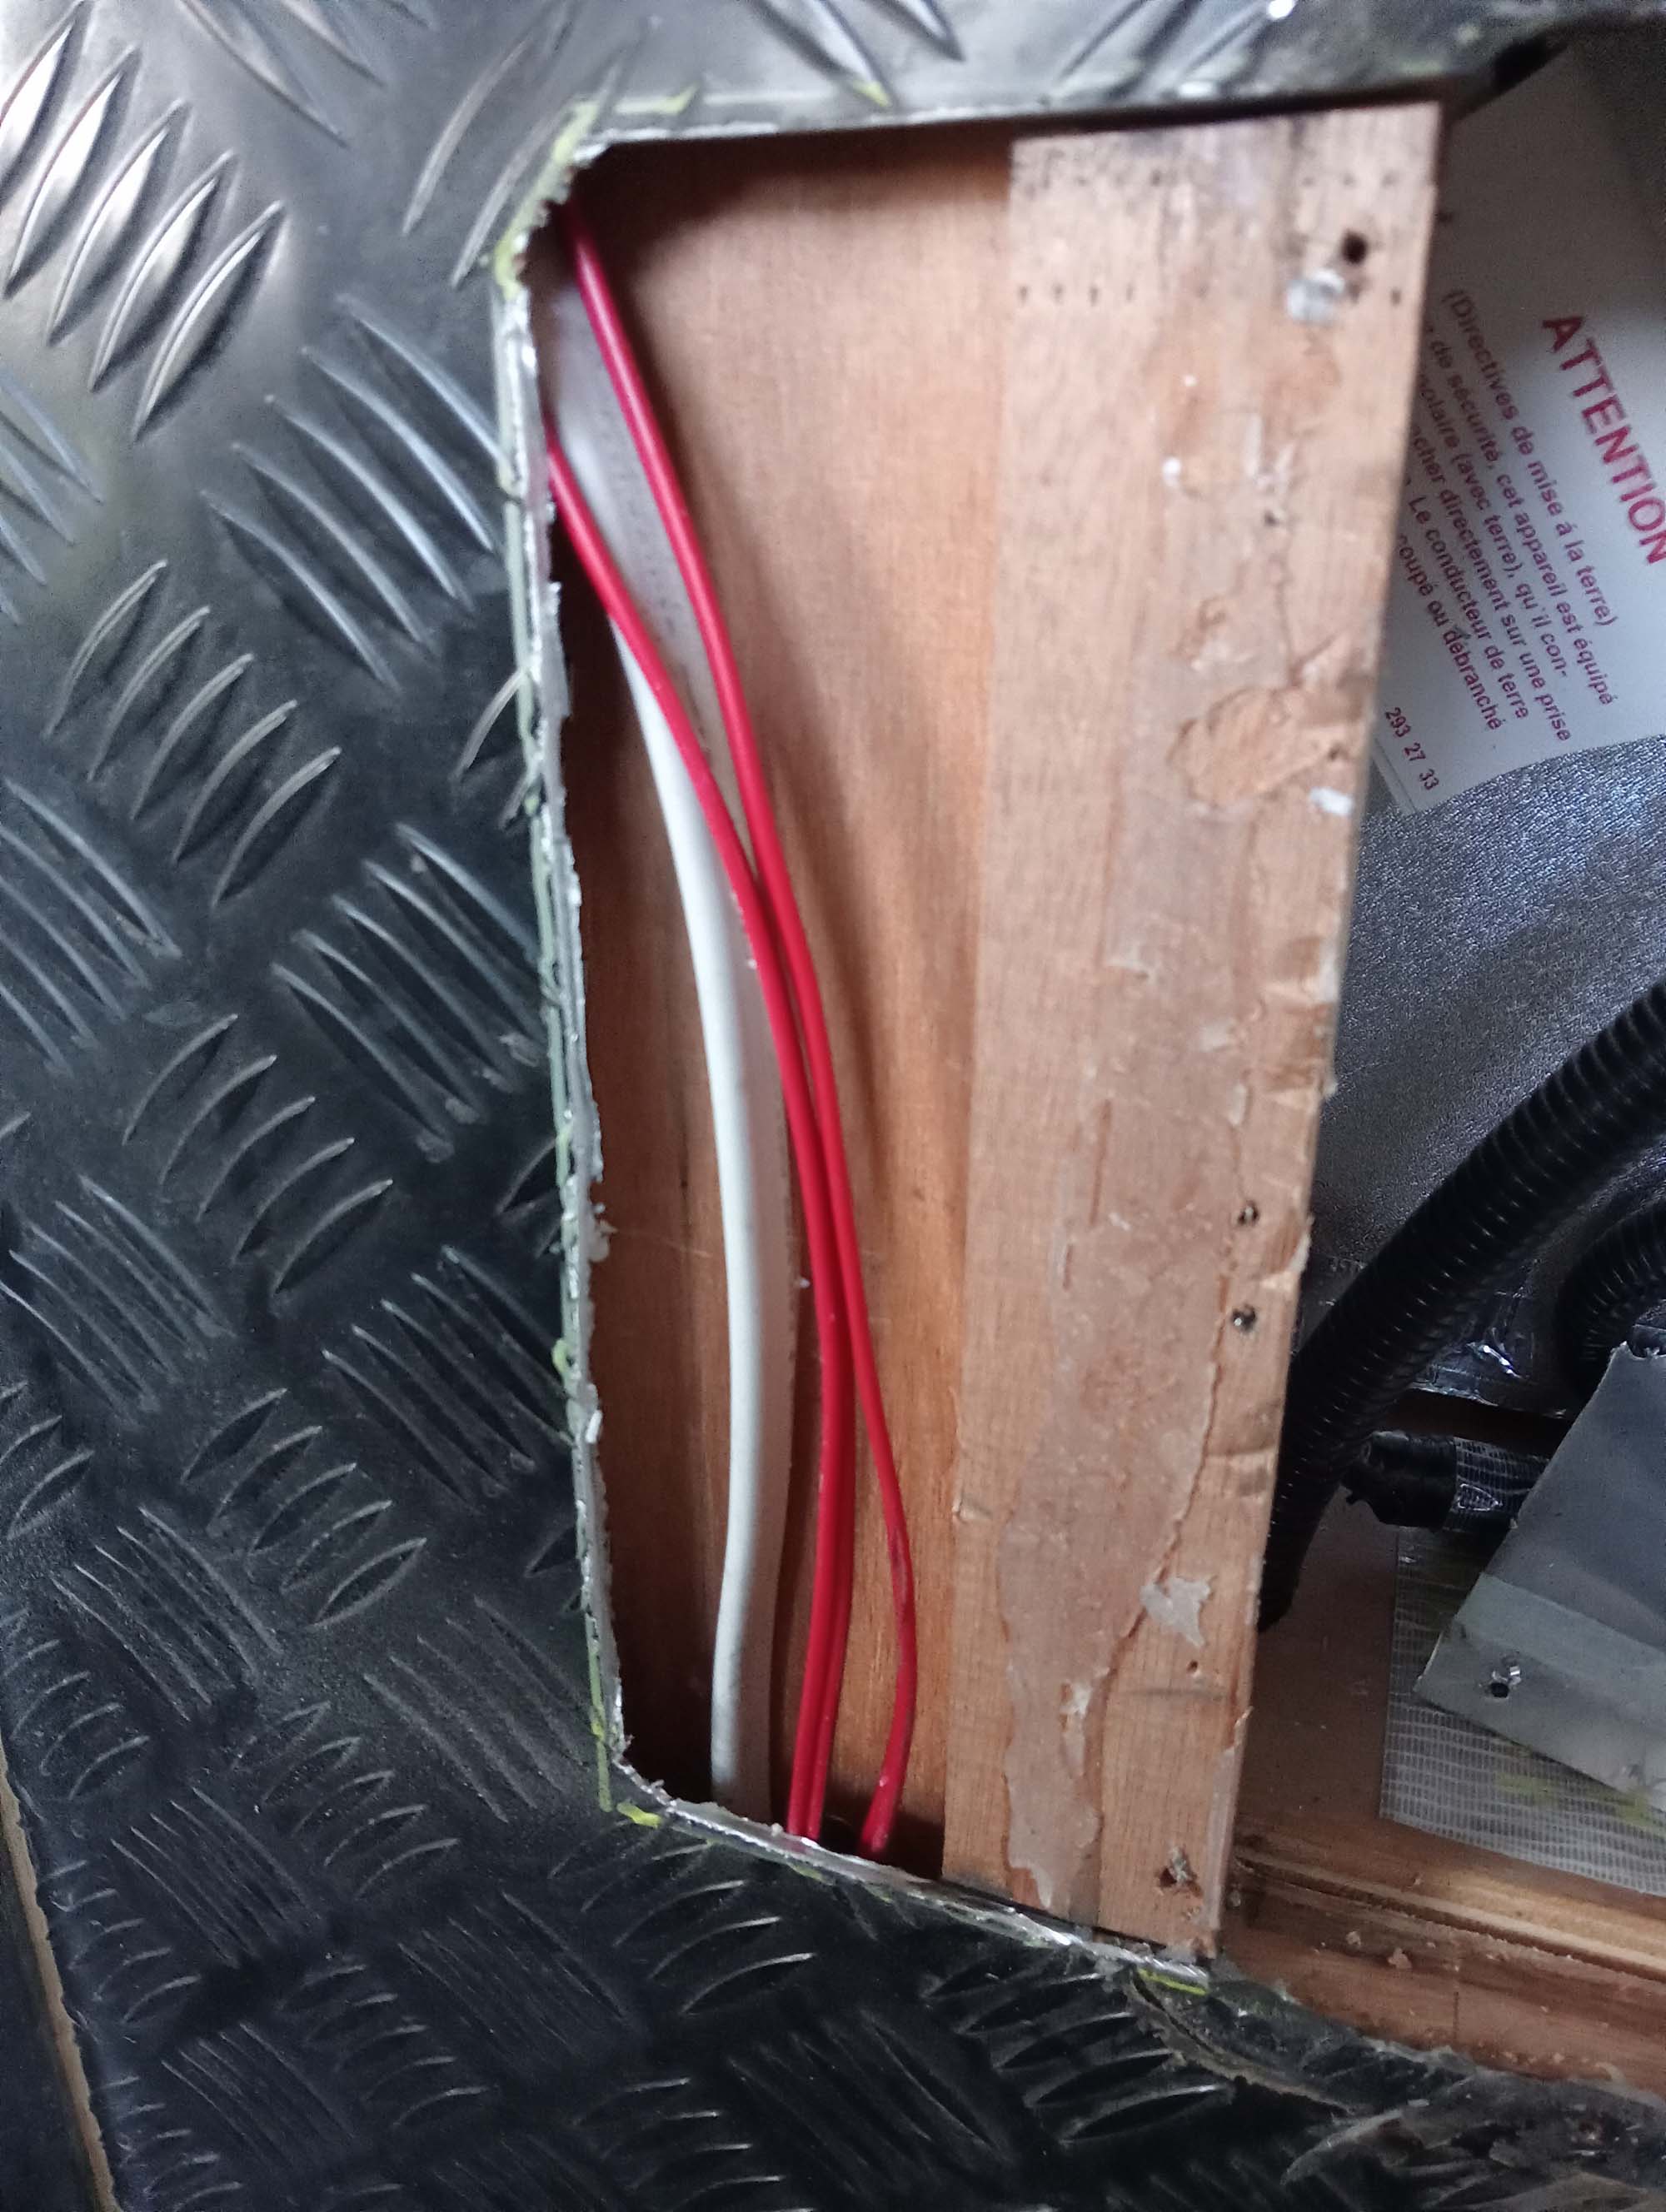
4/ ALWAYS cut skin deep- you never know where wires are
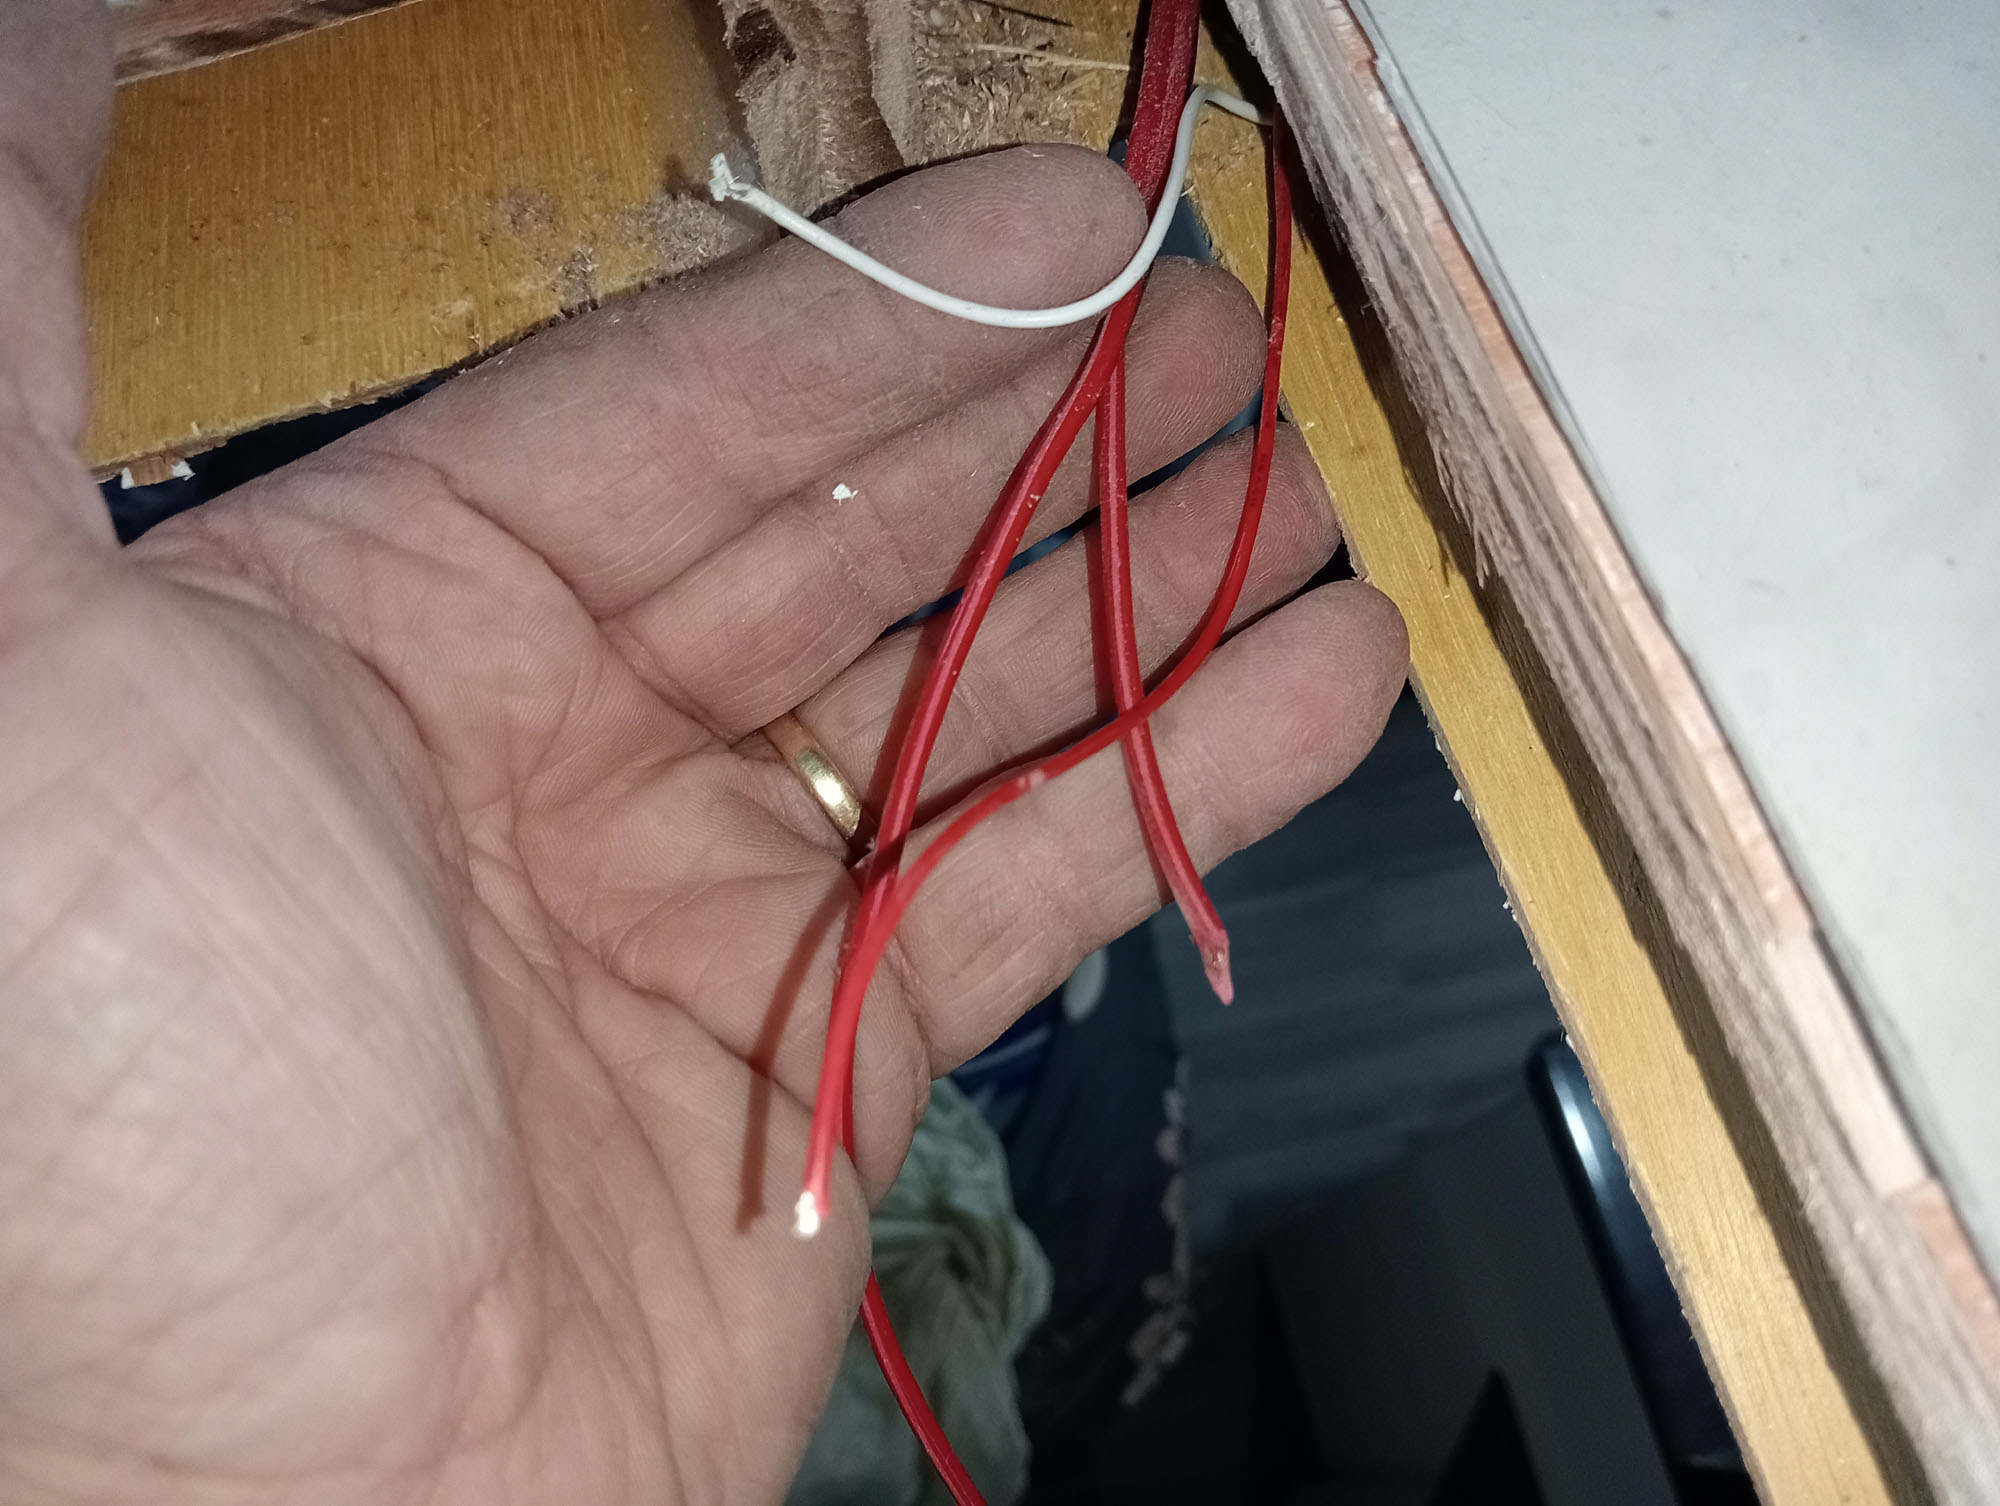
Just on Photo 4 above. It is ILLEGAL to run 240V wires & 12V wires together. The 240V MUST be seperated with a hard barrier (conduit) or otherwise have 50mm separation. These are clearly run through the same holes. This is a result of an unregulated caravan industry where no one that works on them needs any qualifications
Its Ironic that the only trade that needs certification in the entire caravan build is the Gas fitout, And yet the Gas system gets the blame for most caravan fires. I put it to you that it's the Electrical fitout is more likely to blame

How bloody good is that.
topics still to be covered
Inverter Wiring
Water Leaks
Enviro Water Saver
Warranty & The problem with Warranty repairs
more to come in the next few weeks.
Still have to cover cupboard shelves, broken plastic latches, tea towell rail, , & more,